Decorating an apartment to reflect your personality, taste, and lifestyle does not require a massive bank account. Whether you are renting a compact studio in a bustling city center or moving into your first spacious suburban flat, decorating on a budget is an art form rooted in creativity, resourcefulness, and smart styling. By leveraging do-it-yourself strategies, upcycled items, clever lighting hacks, and multi-functional design elements, you can transform ordinary living spaces into high-end visual retreats without making permanent architectural changes or overspending.
Below is an in-depth guide detailing 20 budget-friendly apartment decor ideas. Each idea breaks down the core aesthetic concept, practical step-by-step assembly instructions, creative variations, and exact materials required to execute the look effortlessly.
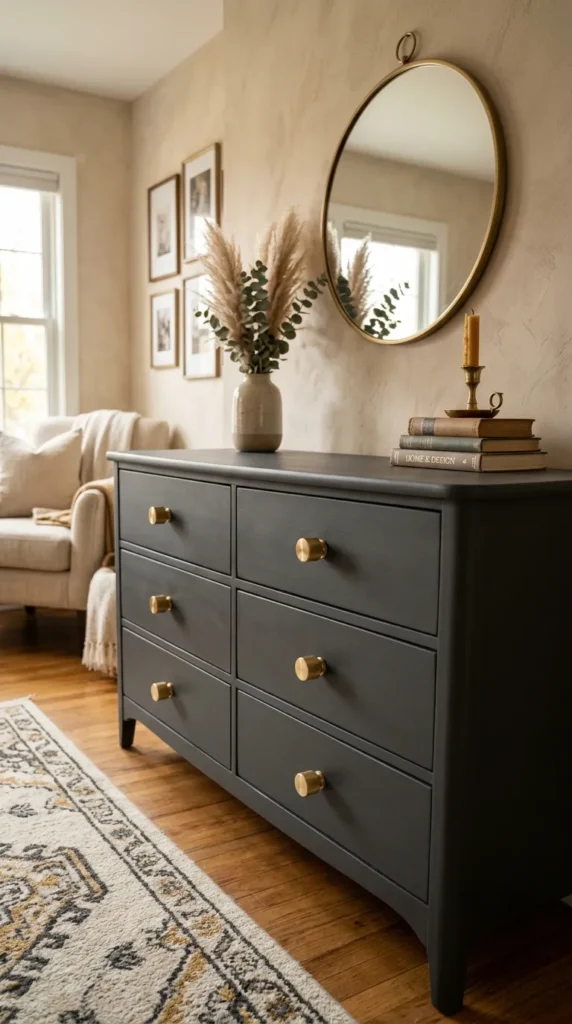


1. Thrifted Statement Mirror Gallery Wall
Brief Introduction
Mirrors are renowned in interior design for their uncanny ability to multiply natural light, widen cramped hallways, and make small room footprints feel twice as spacious. Instead of purchasing a single expensive floor-length mirror, creating a thrifted mirror gallery wall allows you to build an eclectic, antique-inspired focal point on a modest budget.
What This Idea Means
A thrifted mirror gallery wall involves collecting smaller, uniquely shaped mirrors from flea markets, secondhand shops, garage sales, and thrift stores, then clustering them together on a primary wall. The combination of varied frames—ranging from brass, ornate gold, distressed wood, and silver—creates a rich, curated texture that feels accumulated over years rather than bought overnight.
How to Make It
- Source the Mirrors: Collect 5 to 9 mirrors of varying shapes (oval, rectangular, arched, round) and sizes from local thrift stores.
- Unify or Embrace Contrast: Decide whether you want to spray paint all frames in a singular color (e.g., matte black or brushed champagne gold) for a modern look, or leave them in their original patina for a bohemian, Parisian-chic aesthetic.
- Draft the Layout: Lay paper cutouts matching each mirror’s exact shape on the floor to test different spatial arrangements before driving any nails into the wall.
- Hang with Care: Use damage-free heavy-duty adhesive strips (for light frames) or small picture hooks to mount the collection on the wall, keeping equal spacing between frames.
Tips and Variations
- The Monochromatic Frame Look: Coat all different frames with a single color like soft off-white or dark charcoal to unify disparate frame patterns while keeping the structural variety.
- Positioning relative to Light: Hang the collection across from a window to maximize the amount of reflected daylight throughout your apartment.
Needs to Make That Thing
- 5 to 9 thrifted frames with mirrors
- Measuring tape and level
- Painter’s tape and kraft paper (for template modeling)
- Heavy-duty picture hanging strips or small wall nails
- Optional: Rust-Oleum metallic spray paint (brass or matte black)
2. DIY Oversized Abstract Textured Plaster Canvas
Brief Introduction
Large-scale art is notorious for carrying high price tags, often costing hundreds of dollars for simple canvas prints. Creating your own textured plaster canvas brings tactile, museum-worthy minimalist art into your living room for a tiny fraction of the retail cost.
What This Idea Means
This technique uses inexpensive joint compound or spackling paste applied directly over a large blank stretched canvas. By using notched trowels, putty knives, or arch combs, you create dramatic raised ridges, sweeping arches, or rough organic waves across the surface, yielding a striking 3D sculpture-like piece.
How to Make It
- Prep the Canvas: Lay a large, inexpensive blank canvas on a flat, protected work surface.
- Apply Plaster: Scoop pre-mixed joint compound onto the canvas using a wide putty knife, spreading a layer roughly 1/8 to 1/4 inch thick.
- Comb Patterns: Drag a notched plastic scraper, a coarse comb, or a notched trowel across the wet plaster to form geometric lines, arches, or abstract waves.
- Dry and Paint: Allow the compound to dry completely for 24 hours. Once dry, seal and coat it with flat acrylic wall paint in creamy beige, terracotta, or warm ivory.
Tips and Variations
- Color Washing: Apply a light coffee-diluted wash or watered-down acrylic paint into the grooves to emphasize depth and shadow contrast.
- Arch Motif: Create double concentric arches using a notched scraper for a clean, Mediterranean aesthetic.
Needs to Make That Thing
- 1 large blank canvas (30×40 inches or larger)
- 1 tub of pre-mixed wall joint compound or spackling paste
- Putty knife and notched trowel or plastic comb
- Matte acrylic paint or leftover interior latex paint
- Fine-grit sandpaper (optional for smoothing rough edges)
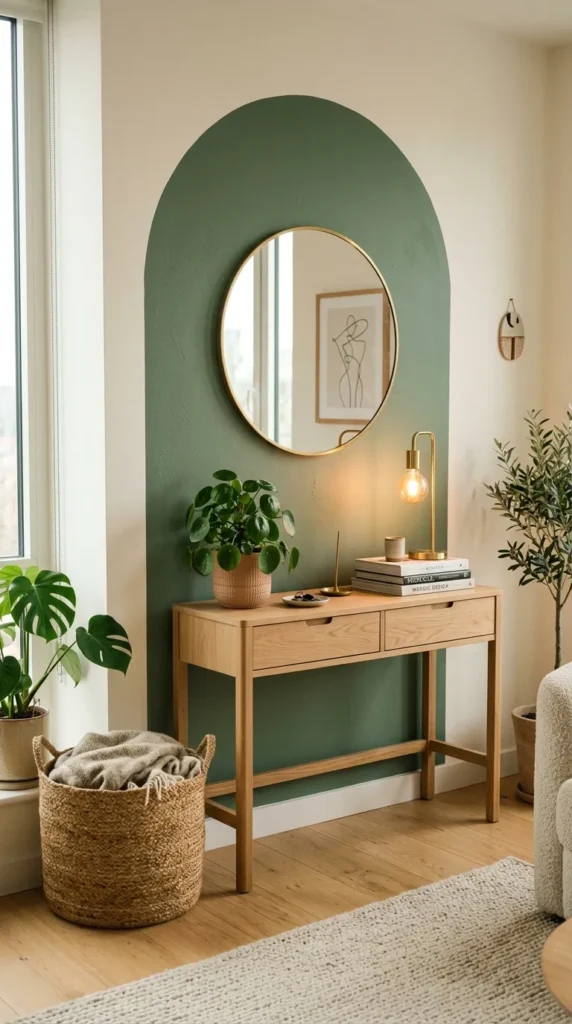
3. Peel-and-Stick Faux Architectural Arch & Focal Wall
Brief Introduction
Accent walls instantly break up boring white rental walls, but painting can result in lease penalties or tedious restoration when moving out. A peel-and-stick vinyl or removable decal arch gives your room a structural architectural feature without permanent alteration.
What This Idea Means
Instead of painting a full wall, an architectural arch cutout creates a framed focal zone behind a bed, a desk, or an entry console table. It tricks the eye into seeing an architectural recessed alcove, elevating basic builder-grade apartment layouts.
How to Make It
- Measure the Focal Area: Measure the height and width of the wall space behind your chosen piece of furniture (like a headboard or entry table).
- Cut or Position Vinyl: Buy removable peel-and-stick vinyl wallpaper rolls or pre-cut wall arch decals. If cutting yourself, use a long ruler and a precision blade to shape the top semicircle cleanly.
- Apply Safely: Clean the wall thoroughly with rubbing alcohol. Peel off the backing paper slowly, smoothing out air bubbles with a plastic squeegee from top to bottom.
Tips and Variations
- Earthy Palettes: Choose muted earth tones like sage green, terracotta, mustard yellow, or soft dusty rose for a cozy aesthetic.
- Functional Zoning: Use the arch shape to delineate an entryway station by mounting small hooks and a floating shelf directly over the center of the arch.
Needs to Make That Thing
- Removable peel-and-stick vinyl roll or pre-cut arch decal
- Precision knife and long straightedge
- Plastic squeegee or felt smoother
- Microfiber cloth and rubbing alcohol for surface cleaning
4. Upcycled Wooden Crate Modular Storage Units
Brief Introduction
Furniture bought new can quickly consume a tight decorating budget. Upcycled wooden crates offer a flexible, rustic-modern storage system that easily morphs into coffee tables, bedside nightstands, or vertical display bookcases.
What This Idea Means
Wooden craft crates (available cheaply at craft stores or hardware outlets) can be sanded, stained or painted, and stacked into customizable modular configurations. Because the boxes are light and individual, you can reconfigure them whenever you move or redecorate.
How to Make It
- Prep the Wood: Sand down any rough splinters on 4 to 8 wooden crates using medium-grit sandpaper.
- Finish the Surface: Apply a rich dark walnut stain or a coat of chalk paint depending on whether you want rustic charm or sleek modern style.
- Assemble: Stack crates horizontally and vertically, alternating directions to form an asymmetrical shelving unit.
- Secure (Optional): Bind crates together internally using heavy-duty binder clips or discreet furniture connector screws so they stay sturdy.
Tips and Variations
- Caster Wheels Addition: Screw four swivel caster wheels to the bottom of a four-crate arrangement to make a rolling coffee table with built-in cubby storage.
- Color Block Interiors: Paint only the interior backboards of the crates in accent colors while leaving the outer wooden frame natural.
Needs to Make That Thing
- 4 to 8 unfinished wooden crafts crates
- Sandpaper (120-grit and 220-grit)
- Wood stain or chalk paint + foam brushes
- Heavy-duty binder clips or small metal brackets/screws
- Felt pads for bottom surfaces
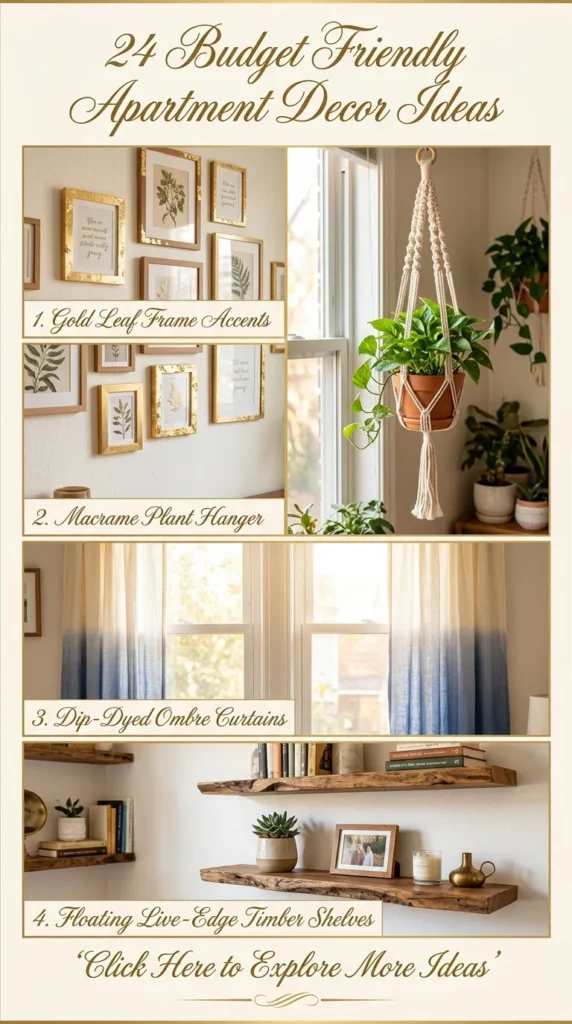
5. Hanging Macramé & Propagation Station Windowsill
Brief Introduction
Houseplants bring freshness, oxygen, and vibrant color into living areas. A vertical propagation station suspended near a window allows plant enthusiasts to display plant cuttings and growing greenery without taking up precious desk or tabletop space.
What This Idea Means
This idea combines hand-knotted macramé cords or wooden hanging strips with glass test tubes or recycled glass bottles. Suspended right in front of a sunlit window, it creates a living, transparent curtain of glass and greenery that catches natural daylight beautiful.
How to Make It
- Build the Frame: Drill evenly spaced holes into a flat piece of drift wood or a clean wooden dowel rod.
- Insert Glass Tubes: Place clear glass test tubes or small narrow glass bottles securely inside the drilled holes or macramé loops.
- Hang the Assembly: Tie cotton macramé cord to both ends of the wood rod and suspend it from a ceiling cup hook or tension curtain rod mounted inside the window frame.
- Add Plants: Fill the glass tubes with clean water and insert plant cuttings like pothos, philodendron, or monstera stems.
Tips and Variations
- Tension Rod Method: If you can’t drill into ceilings, use a sturdy spring-tension curtain rod installed inside the window frame to hang multiple macramé plant hangers.
- Amber Glass Option: Swap clear glass for vintage amber apothecary bottles to add warm amber light filtration.
Needs to Make That Thing
- Wooden dowel rod or flat wood plank
- Glass test tubes or small glass bud vases/bottles
- 3mm natural cotton macramé cord or twine
- Plant cuttings (pothos, heartleaf philodendron, ivy)
- Swivel ceiling hooks or tension rod


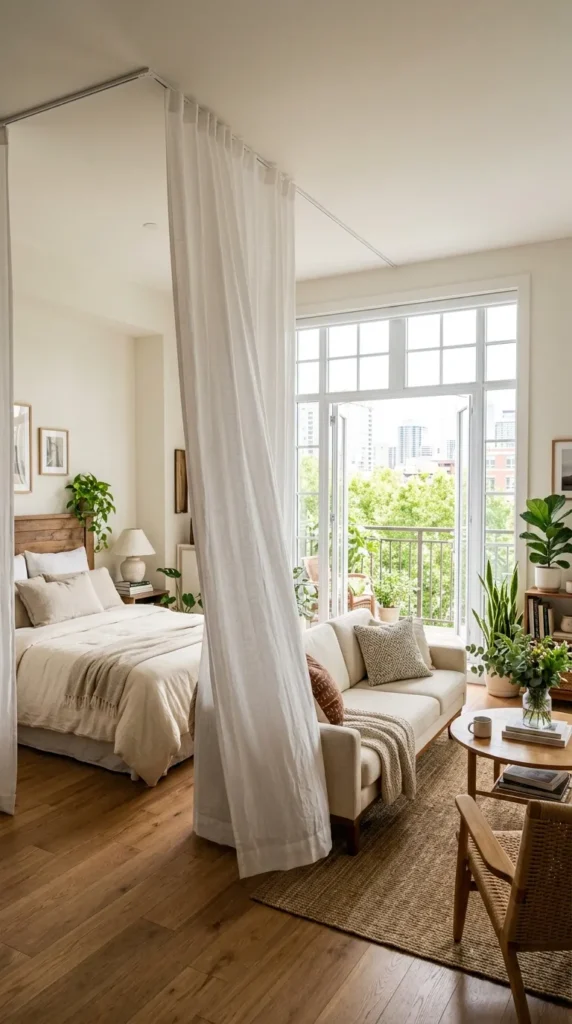

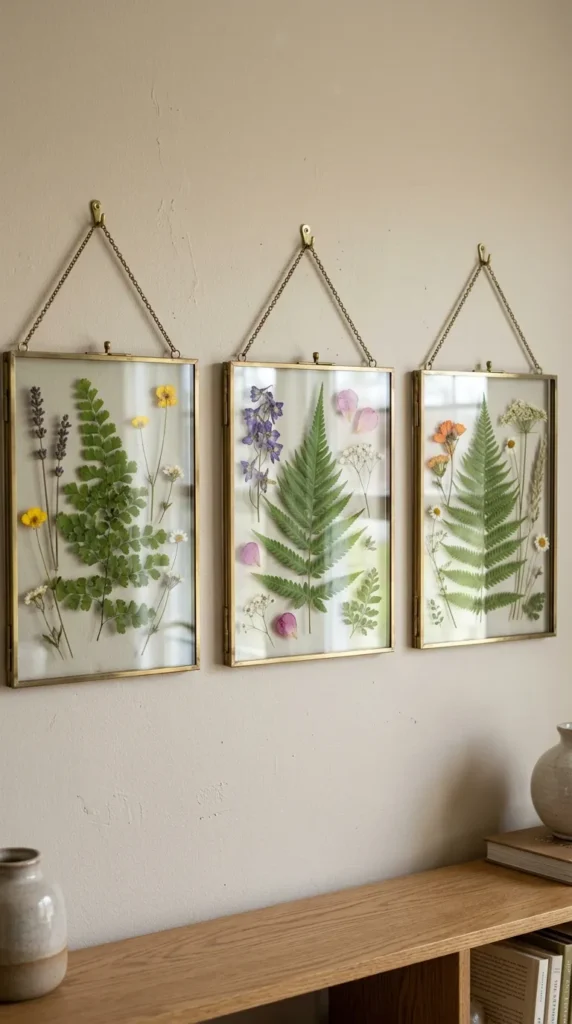
6. Layered Vintage & Neutral Area Rug Stacking
Brief Introduction
Covering worn-out rental carpets or cold parquet flooring can be expensive if you look for a single massive rug. Layering a smaller, ornate vintage-patterned rug over a larger, inexpensive neutral jute or sisal rug creates a cozy, high-end designer floor setup.
What This Idea Means
Rug layering uses two distinct rug sizes and textures to define zones within open-concept apartments. The base rug provides wide neutral coverage, while the top accent rug delivers rich color, pattern, and plush warmth underfoot.
How to Make It
- Choose the Base: Lay a large, budget-friendly 8×10 natural fiber rug (jute, flat-weave cotton, or sisal) directly over your living room floor.
- Choose the Accent Layer: Select a smaller 5×7 vintage-style runner, washable patterned rug, or faux sheepskin throw rug.
- Position the Layer: Angle the top rug slightly diagonally or center it right beneath the coffee table to anchor the sofa seating area.
- Anchor for Safety: Apply non-slip rug tape or rug pads between the floor, base rug, and top layer to prevent slippage.
Tips and Variations
- Asymmetrical Angling: Place a plush faux fur or sheepskin rug at an offset angle over a modern geometric flat-weave rug for a laid-back boho look.
- Delineating Small Spaces: Use layered rugs to visually divide a studio apartment into distinct “living room” and “bedroom” spaces.
Needs to Make That Thing
- 1 large natural jute or flat-weave base rug (e.g., 8×10)
- 1 smaller patterned accent rug or plush throw rug (e.g., 5×7)
- Double-sided non-slip rug tape or rubberized rug pads
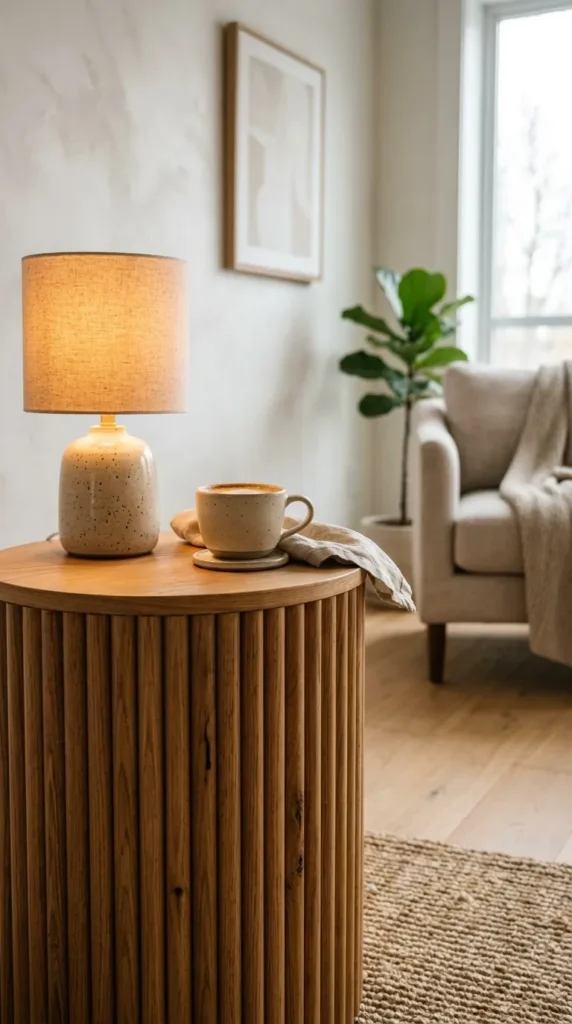
7. DIY Fluted Wooden Slat Accent Furniture
Brief Introduction
Fluted texture—characterized by repetitive, narrow vertical wooden grooves—is a popular architectural trend in modern Scandinavian and Japandi interior design. You can replicate this luxury look on budget furniture like plain IKEA tables or basic cylindrical nightstands using inexpensive wooden pole wrap or half-round dowels.
What This Idea Means
Fluted accents add rich dimensional shadow lines to plain, flat furniture surfaces. By wrapping flexible tambour wood or gluing cut half-round dowels onto basic table bases or cabinet doors, you turn plain items into textured statement pieces.
How to Make It
- Prepare the Surface: Clean and lightly sand the exterior surface of a basic round end table, cylindrical planter, or cabinet door.
- Measure and Cut Dowels: Measure the height of the item and cut half-round wooden dowels (or wood tambour pole wrap sheets) to match the height using a hand saw.
- Glue the Slats: Apply strong construction adhesive or heavy-duty wood glue to the back of each wood slat and press them tightly around the perimeter, securing them with painter’s tape while drying.
- Stain or Paint: Once fully cured, sand any rough edges and finish with a rich oak stain or modern matte taupe paint.
Tips and Variations
- Half-Wrapped Base: Wrap only the central pedestal of a round dining or coffee table for a subtle architectural accent.
- Metallic Highlights: Paint the fluted slats in a muted bronze or satin black paint for an elevated, sophisticated finish.
Needs to Make That Thing
- Plain cylindrical side table, plain cabinet, or basic console
- Half-round wooden dowels or flexible wood tambour pole wrap
- Wood glue or heavy-duty construction adhesive
- Painter’s tape (for holding dowels in place while glue dries)
- Wood stain or acrylic paint + varnish seal
8. Repurposed Wine Bottle & Mason Jar Wall Sconces
Brief Introduction
Lighting is essential for establishing mood and warm atmosphere in an apartment, but hardwired light fixtures require electrician costs and rental modifications. Handcrafted wall sconces made from glass jars or bottles provide ambient glow without electrical wiring.
What This Idea Means
This idea mounts repurposed glass containers (mason jars or upcycled glass wine bottles) onto rustic reclaimed wood planks fixed to the wall. Inside the jars, battery-operated LED fairy light strands or battery puck lights emit a soft golden glow.
How to Make It
- Prep the Wood Backing: Sand and stain two small wooden planks (approx. 6×12 inches) with dark walnut stain.
- Attach Mounting Hooks: Screw black iron pipe clamps or vintage metal hooks into the center of each wooden board.
- Mount the Jars: Wrap heavy wire or leather cord around the neck of clear glass mason jars and suspend them from the hooks (or secure with pipe clamps).
- Insert Lights & Greenery: Place copper-wire battery fairy lights and faux eucalyptus stems inside the jars. Mount the planks on the wall using damage-free adhesive strips.
Tips and Variations
- Remote Control Lights: Use fairy lights that come with wireless remote controls and built-in timers for daily automated evening lighting.
- Dried Floral Arrangement: Swap green foliage for dried lavender or pampas grass to suit warm autumn themes.
Needs to Make That Thing
- 2 glass mason jars or upcycled wine bottles
- 2 wooden planks (reclaimed or craft pine wood)
- Metal pipe hose clamps or metal wall hooks
- Battery-powered copper wire LED fairy lights with remote
- Faux eucalyptus or dried floral stems
- Command picture hanging strips or wall anchor screws
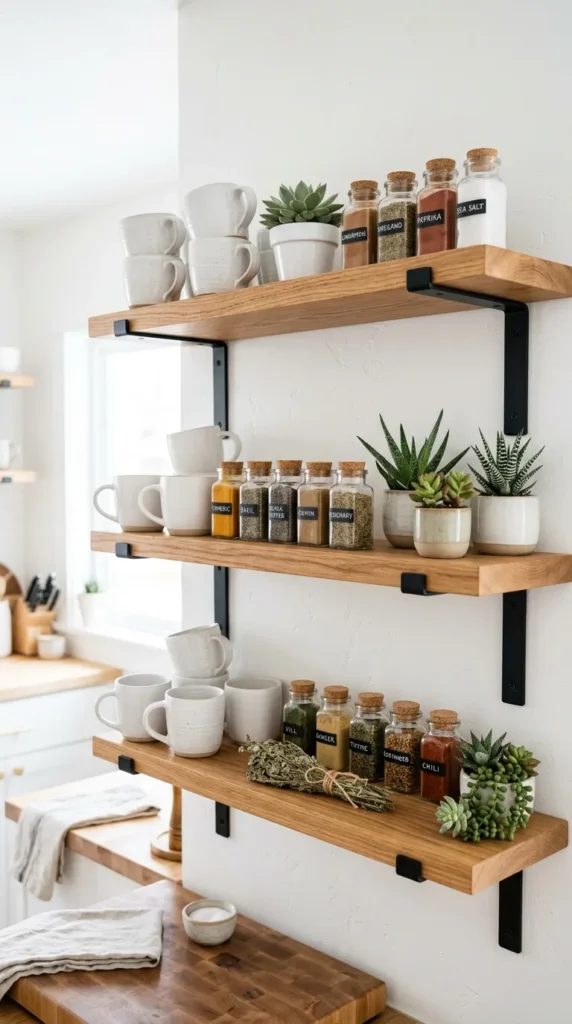
9. Floating Wooden Bracket Shelving for Vertical Storage
Brief Introduction
When floor area is limited, taking advantage of vertical wall space is crucial for apartment living. Simple DIY floating shelves add practical storage and elegant display space across bare walls in kitchens, bathrooms, or living rooms.
What This Idea Means
Instead of buying bulky bookcases, mounting thick pine planks supported by sleek metal or leather strap brackets creates airy vertical storage. It keeps books, ceramics, and small plants organized while maintaining a light visual footprint.
How to Make It
- Cut and Sand Planks: Cut pine or poplar lumber boards to your desired length (e.g., 24 to 36 inches) and sand until smooth.
- Apply Finish: Coat the wood with natural linseed oil or light oak stain to reveal the natural grain beauty.
- Install Brackets: Use a spirit level to mark straight lines on your wall. Secure black steel L-brackets or thick leather hanging straps into wall anchors.
- Mount Plank: Set the wood planks onto the brackets and screw them into place from underneath.
Tips and Variations
- Leather Strap Brackets: Replace metal brackets with sturdy thick leather belts wrapped around each end of the wood plank for an organic modern aesthetic.
- Kitchen Open Shelving: Use floating shelves above a countertop to stack matching coffee mugs, spice jars, and small cookbooks for an inviting, lived-in feel.
Needs to Make That Thing
- Pine or hardwood planks (1×8 or 2×8 inch cuts)
- Heavy-duty steel L-brackets or thick leather hanging straps
- Wall anchor screws and bubble level
- Wood sander and natural wood stain/finish
10. Custom No-Sew Velvet & Linen Textured Throw Pillows
Brief Introduction
Textiles are one of the fastest, most effective ways to introduce richness, warmth, and tactile comfort to a living room couch or bedroom setup. Fabric store remnants can be converted into high-end textured accent cushions without owning a sewing machine.
What This Idea Means
This craft uses heat-activated iron-on hem tape or heavy-duty fabric adhesive to convert affordable fabric pieces (like linen napkins, velvet scrap remnants, or thrifted woven blankets) into tailored pillow covers.
How to Make It
- Cut Fabric: Cut two matching squares of textured fabric (e.g., 18×18 inches) allowing an extra inch on all sides for seams.
- Apply Hem Tape: Place heat-activated iron-on hem tape along three outer edges between the two fabric pieces facing inside out.
- Iron Seals: Press a hot iron firmly over the edges for 10-15 seconds to fuse the fabric seams permanently together.
- Stuff and Seal: Turn the pillow cover right side out, insert a soft plush pillow insert, fold the open edge inward, and seal the final edge with hem tape or fabric glue.
Tips and Variations
- Repurposed Sweaters: Use cozy thrifted knit or cable-weave sweaters to create textured winter cushion covers.
- Tassel Corner Accents: Stitch or glue yarn tassels onto the four corners of the pillow for a playful bohemian touch.
Needs to Make That Thing
- Velvet, linen, or chunky sweater fabric
- Iron-on heavy-duty fusing tape (e.g., HeatnBond) or fabric adhesive
- Household clothes iron
- Pillow inserts (down/feather or plush polyfill inserts)
- Fabric scissors and measuring tape
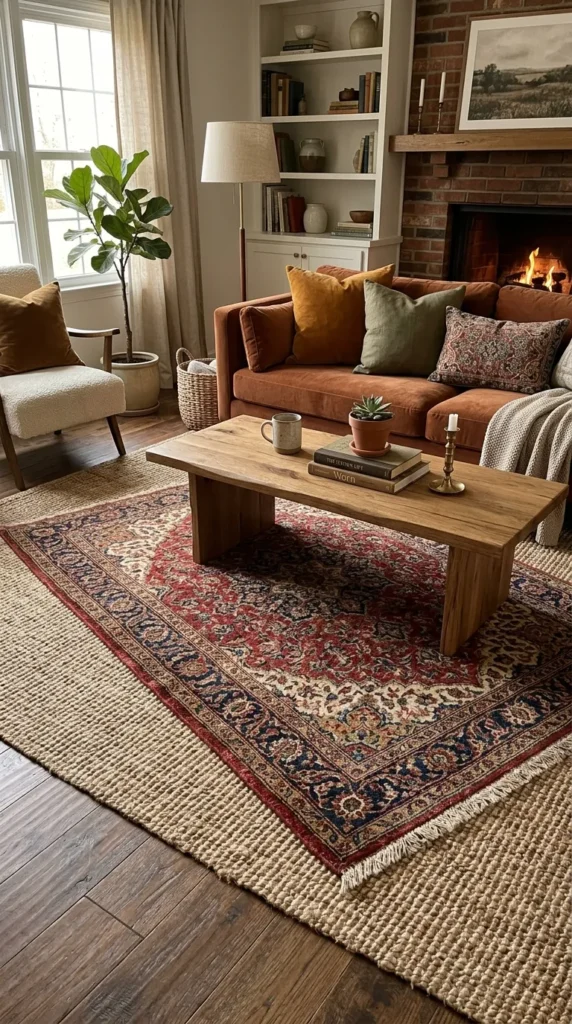


11. Removable Peel-and-Stick Faux Marble Countertop Upgrade
Brief Introduction
Outdated or scratched rental kitchen counters and bathroom vanities can dampen the overall visual appeal of an apartment. Applying high-grade peel-and-stick vinyl film instantly upgrades worn surfaces to modern, luxurious white marble or dark granite looks.
What This Idea Means
Modern adhesive vinyl wrap is water-resistant, durable, and completely removable when heated with a hair dryer. It covers laminate surfaces seamlessly, providing a clean polished stone aesthetic on a tight budget.
How to Make It
- Clean Deeply: Scrub the countertop thoroughly with degreaser and rubbing alcohol so no grease or dust remains.
- Measure & Unroll: Unroll the marble-patterned vinyl wrap across the counter, leaving 2 inches of overhang along edges.
- Smooth & Adhere: Peel back the backing paper gradually while smoothing out the film with a squeegee to eliminate air bubbles.
- Trim Edges: Use a craft utility knife to trim excess vinyl precisely along sink edges and wall backsplashes. Use a hair dryer on low heat to wrap corners snugly.
Tips and Variations
- Faux Butcher Block: Swap marble patterns for natural warm oak or walnut wood-grain contact vinyl for a cozy cottagecore kitchen atmosphere.
- Clear Silicone Sealing: Apply a thin bead of clear removable caulking around the sink rim to prevent water from seeping beneath the vinyl edges.
Needs to Make That Thing
- High-density glossy peel-and-stick marble contact paper/film
- Precision hobby knife with sharp fresh blades
- Plastic squeegee or felt edge smoother
- Household hair dryer (for softening vinyl around corners)
- Rubbing alcohol and cleaning microfiber cloth
12. Boho Curtain Divider for Open-Concept Studio Zoning
Brief Introduction
Living in a studio or open-concept apartment often means sleeping, dining, and working inside a single open space. Installing lightweight textile curtain dividers creates functional zones while preserving an airy feeling.
What This Idea Means
Instead of building heavy physical partition walls, hanging semi-sheer linen or macramé curtains from ceiling tracks or tension rods physically divides spaces without blocking light. It adds privacy around the bed zone while introducing soft, cozy draped textures.
How to Make It
- Define the Zone: Identify where you want to split the room (e.g., separating the sleeping bed nook from the living room couch).
- Mount Track or Rod: Screw a slim ceiling curtain track into ceiling joists, or use a heavy-duty wall-to-wall spring tension rod.
- Hang Curtains: Thread floor-length sheer or textured linen-blend curtain panels onto the hooks or rod.
- Style the Divide: Tie curtains back with braided rope or wooden bead loops during the day to keep natural light flowing through the apartment.
Tips and Variations
- Rattan & Cane Screens: If ceiling hanging is not possible, use a folding three-panel rattan or bamboo screen as a freestanding room divider.
- Integrated Fairy Lights: Weave delicate warm LED string lights along the top curtain track to create a subtle ambient divider at night.
Needs to Make That Thing
- Ceiling-mount curtain track kit or wall-to-wall heavy-duty tension rod
- Floor-length sheer linen, cotton, or semi-opaque curtain panels
- Curtain tie-backs (wooden beads or woven cotton rope)
- Measuring tape and step ladder
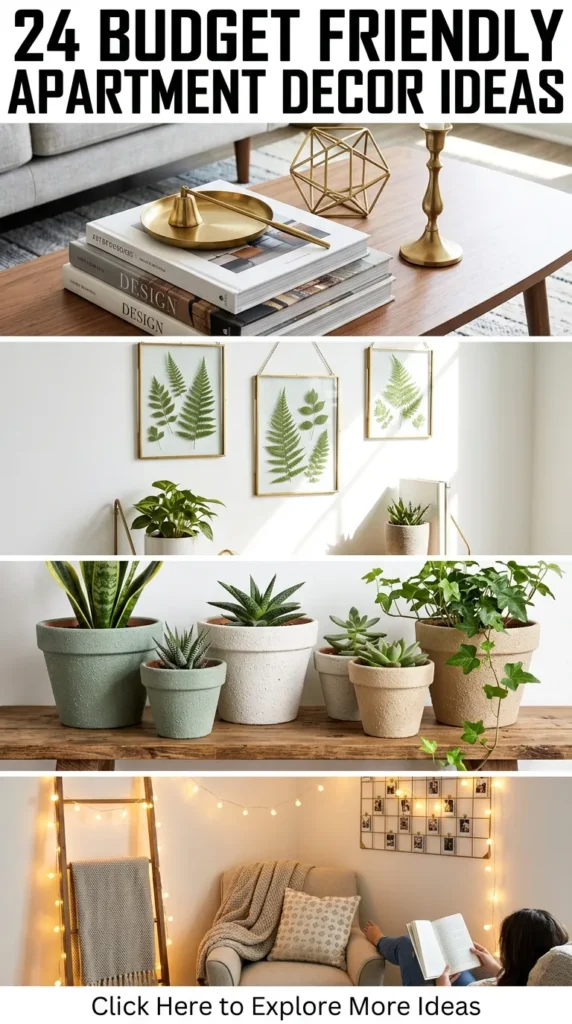
13. Vintage Book Stacking & Upcycled Coffee Table Display
Brief Introduction
Coffee tables can sometimes look plain or messy if not intentionally styled. Curating artful stacks of vintage cloth-bound books paired with small sculptural objects creates an inviting, sophisticated tabletop arrangement.
What This Idea Means
By sourcing old hardback books with beautiful spine colors or embossed covers from thrift shops, you build tiered display platforms. These stacks add elevation levels for candles, brass objects, and small ceramic vessels, bringing personality to your sitting area.
How to Make It
- Hunt for Hardcovers: Collect 6 to 10 hardbound vintage books with attractive linen, cloth, or muted leather covers from thrift stores.
- Remove Dust Jackets: Slip off modern paper dust jackets to reveal the textured fabric bindings underneath.
- Build Stacks: Arrange books horizontally in low stacks of 2 to 4 volumes on your coffee table or side credenza.
- Crown with Objects: Top each stack with a small decorative piece, such as a small potted succulent, a marble coaster, or a brass candleholder.
Tips and Variations
- Spine-In Trick: Turn modern paperback books so their pages face outward and spines face inward toward the wall, creating a clean beige palette.
- Trays and Bowls: Place your book stacks inside a shallow wooden or woven tray to organize smaller items like TV remotes and matchboxes cleanly.
Needs to Make That Thing
- 6 to 10 vintage hardcover books
- Small ceramic bowl, brass tray, or wooden coaster
- Taper candles with brass holders or small glass votives
- Small indoor potted plant or dried flower bud vase
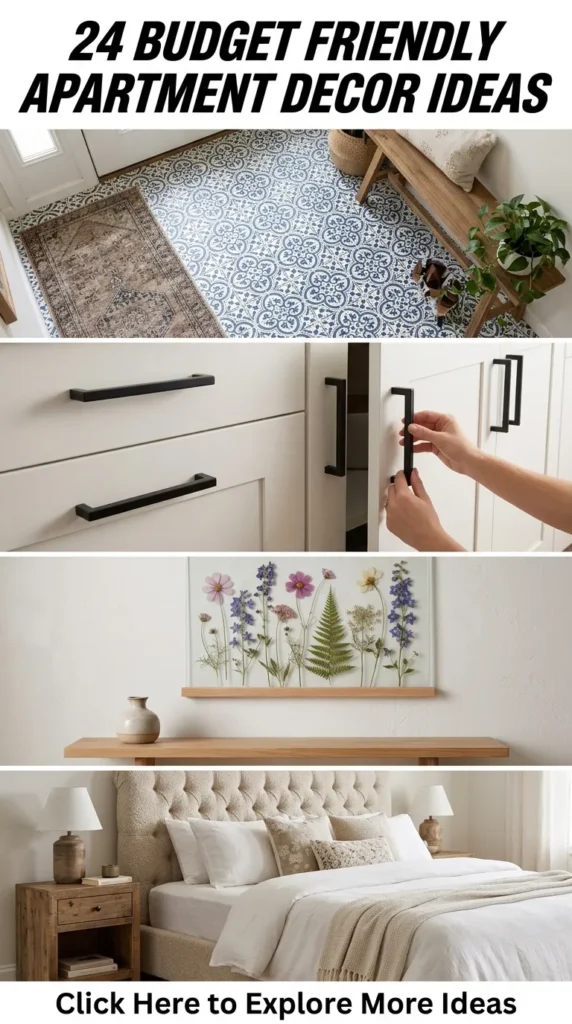
14. DIY Pressed Botanical & Dried Floral Floating Frames
Brief Introduction
Nature-inspired decor creates a soothing, peaceful atmosphere inside city apartments. Preserving real wild leaves, fern fronds, or garden blooms inside double-glass floating frames lets you enjoy botanical art year-round at low cost.
What This Idea Means
Pressed floral frames use transparent glass-on-glass picture frames to sandwich flattened foliage. The natural wall color shows through around the leaf, giving the artwork a weightless float effect.
How to Make It
- Forage & Collect: Pick interesting leaves, fern branches, or flower petals from nearby parks or local flower shops.
- Press the Botanicals: Flatten the greenery between sheets of parchment paper inside heavy books for 5 to 7 days until dry and crisp.
- Arrange in Frame: Clean the glass panes of a double-glass floating frame. Position the dried leaves neatly in the center using tiny dabs of clear craft glue.
- Close & Display: Lock the frame shut and hang it on the wall or rest it against a leaning mirror shelf setup.
Tips and Variations
- Gold Leaf Accent: Apply tiny flecks of metallic gold leaf craft foil around pressed flowers for subtle glimmer.
- Grid Gallery: Hang four matching floating fern frames in a neat square 2×2 grid for a modern botanical gallery display.
Needs to Make That Thing
- Fresh leaves, fern fronds, or flower blooms
- Parchment paper and heavy books (for pressing)
- Glass floating picture frames (with thin brass or wood borders)
- Tweezers and clear craft glue
15. Painted Terracotta & Clay Planter Transformation
Brief Introduction
Standard terracotta clay pots are extremely inexpensive, but their orange tone doesn’t always fit cool-toned, minimalist, or modern neutral room palettes. Transforming basic clay pots with matte acrylic paint and textured baking soda creates high-end ceramic lookalikes for pennies.
What This Idea Means
Mixing acrylic paint with baking soda creates a thick, reactive paste that dries with a stone-like texture. Applied onto plain terra cotta planters, it mimics luxury clay, concrete, or sand-textured pottery.
How to Make It
- Mix Textured Paint: In a plastic container, combine 1 cup of latex or acrylic paint with 2 tablespoons of baking soda, stirring until fuzzy and textured.
- Brush First Coat: Paint the exterior and top inner rim of a clean terracotta pot using broad, sweeping crisscross brushstrokes.
- Dab Texture: Use a sea sponge or dry stippling brush while the paint is tacky to build up sand-like rough texture.
- Seal and Pot: Allow 4 hours of drying time. Spray a light coat of matte clear sealer inside and insert your favorite houseplant.
Tips and Variations
- Aged Stone Look: Mix dark gray, white, and beige paint in layers using a sponge to replicate ancient limestone or granite stone surfaces.
- Color Dip Effect: Paint only the bottom half of the pot in warm cream and leave the upper half natural terracotta for a modern two-tone dip design.
Needs to Make That Thing
- Plain, inexpensive terracotta clay pots
- Acrylic or interior sample wall paint (warm beige, white, charcoal)
- Household baking soda
- Paintbrushes or natural sea sponge
- Clear matte spray sealer




16. Warm Ambience Fairy Light & Brass Wire String Canopy
Brief Introduction
Harsh overhead lighting can make apartments feel clinical and cold. Stringing warm, delicate fairy lights creates a cozy atmosphere that transforms bedrooms or reading nooks into relaxing evening retreats.
What This Idea Means
Instead of harsh outdoor Christmas lights, using micro-LED lights embedded along thin brass or copper wire creates an ambient, starry glow across ceiling corners, bed headboards, or sheer window drapes.
How to Make It
- Plan the Path: Decide where to string the lights (e.g., draped above a headboard, framed around a window, or zig-zagged across a cozy reading corner).
- Attach Clear Hooks: Press small transparent adhesive wire hooks onto wall corners or ceiling perimeters.
- String the Lights: Weave delicate warm-white copper wire lights across the hooks, allowing subtle graceful sags between anchor points.
- Connect Power: Plug into a smart plug socket so you can turn the light canopy on using voice commands or smartphone schedules.
Tips and Variations
- Behind Sheer Curtains: Drape fairy light strands vertically directly behind sheer white window curtains to soften the light glow.
- Glass Dome Display: Coil remaining wire fairy lights inside a clear glass bell jar or lantern for an ambient tabletop lamp.
Needs to Make That Thing
- 33ft to 66ft warm-white micro LED copper/brass fairy lights (USB or plug-in)
- Clear mini adhesive wall clips/hooks
- Optional: Smart Wi-Fi plug timer socket
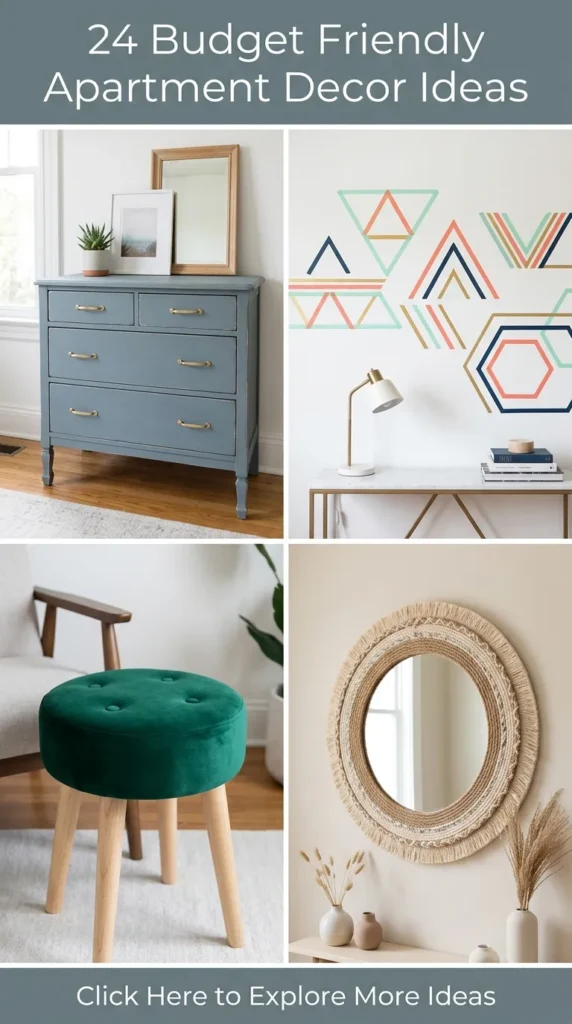
17. Hardware Swap & Chalk Paint Dresser Facelift
Brief Introduction
Hand-me-down, secondhand, or flat-pack laminate dressers are functional, but often lack aesthetic charm. Giving basic furniture a smooth coat of chalk paint and replacing basic handles with modern brass or matte black hardware creates an instant luxury transformation.
What This Idea Means
Chalk paint adheres to furniture surfaces without requiring tedious sanding or priming base coats. Combined with an upgrade in drawer hardware (such as vintage knurled brass knobs or sleek leather pull tabs), it revitalizes outdated wooden furniture.
How to Make It
- Remove Old Hardware: Unscrew existing knobs and handles from the dresser drawers.
- Paint Furniture Body: Apply two coats of matte chalk paint in soft charcoal, sage, or cream using a soft synthetic brush, allowing 2 hours between coats.
- Wax Protection: Apply clear furniture wax using a soft lint-free cloth and buff gently to seal the painted surface against scratches.
- Install New Hardware: Screw in stylish new modern brass knobs, brushed nickel pulls, or leather loop handles.
Tips and Variations
- Fluted Drawer Fronts: Combine this idea with Idea #7 by gluing wooden fluted slats onto drawer fronts before painting for extra textural dimension.
- Two-Tone Staining: Paint the main dresser body dark charcoal while leaving top drawers wood-stained for a contrast look.
Needs to Make That Thing
- Secondhand or flat-pack wooden dresser
- 1 quart of ultra-matte chalk paint
- Clear finishing wax + lint-free application cloth
- New furniture knobs or leather drawer pulls
- Screwdriver set
18. Washi Tape & Ribbon Faux Picture Rail Wall Panels
Brief Introduction
Traditional wall paneling, picture molding, and wainscoting add architectural interest, but require wood cutting, power tools, and wall modifications. Using high-grade decorative Japanese washi tape or thin velvet ribbon lets you craft faux wall molding layouts in a lease-friendly way.
What This Idea Means
By applying thin black, gold, or muted color tape in precise rectangular frames across flat drywall, you mimic classical Parisian wall paneling. The clean geometric lines break up empty wall spaces cleanly.
How to Make It
- Map Wall Rectangles: Use a measuring tape, pencil, and long level to draw geometric rectangular panel grids on your wall.
- Apply Washi Tape: Carefully press low-tack matte black or metallic gold washi tape along your pencil guidelines.
- Trim Joints Cleanly: Use a sharp razor blade at the rectangle corners to trim the tape joints at clean 45-degree angles.
- Hang Art Within: Center a framed art print or small mirror inside each taped rectangular frame to complete the traditional picture-rail wall look.
Tips and Variations
- Fabric Velvet Ribbon: Use thin velvet ribbon and removable fabric adhesive dots for a softer, textured border line.
- Gallery Framing: Create mini taped squares directly around unframed paper art prints to make instant faux picture frames on the wall.
Needs to Make That Thing
- High-tack matte black, dark grey, or metallic gold washi tape (1/2 inch width)
- Bubble spirit level and tape measure
- Precision hobby razor knife
- Pencil and ruler
19. Rope-Wrapped Pendant Light Fixture Hack
Brief Introduction
Standard builder-grade ceiling cord lights or exposed bare bulbs can feel unfinished and industrial. Wrapping plain fixture cords and shades in natural jute or cotton rope softens the look, introducing warm coastal-boho texture to ceiling lighting.
What This Idea Means
This quick DIY wraps cheap hanging pendant cords or basic wire lampshades with thick natural jute twine. The coiled rope masks utilitarian plastic cords and softens cold fixtures with warm woven detail.
How to Make It
- Unplug & Prep: Ensure the lamp fixture is completely unplugged or power is switched off.
- Apply Adhesive: Apply a dab of hot glue at the top base of the light cord where it meets the ceiling canopy.
- Wrap Twine tightly: Wrap 1/4-inch natural jute rope tightly in a continuous spiral down the entire length of the electrical cord, applying small glue spots every few inches.
- Finish Shade Rim: Wrap matching rope around the metal rim of the lampshade for a unified finish.
Tips and Variations
- Colored Cotton Cord: Use cream white or pastel dyed cotton cord instead of jute for a clean Scandinavian modern feel.
- Basket Shade Conversion: Drill a hole in the bottom of an upside-down woven rattan basket and mount it over a pendant bulb for a woven rattan dome light fixture.
Needs to Make That Thing
- Plug-in or hardwired pendant cord light fixture
- 100 feet of 1/4 inch natural jute or cotton rope
- Hot glue gun and all-purpose glue sticks
- Scissors
20. DIY Fabric-Wrapped Acoustic Accent Headboard
Brief Introduction
A bedroom without a headboard can look incomplete, yet quality headboards often carry high prices and take up floor space. Crafting a wall-mounted panel headboard using lightweight insulation foam boards and luxurious textured fabric offers a soft, sound-dampening centerpiece.
What This Idea Means
Lightweight rigid foam insulation boards are cut into vertical rectangular panels, wrapped in soft foam padding, and covered in velvet, boucle, or linen fabric. Mounted directly to the wall behind the bed with adhesive strips, they create an elegant custom upholstered headboard.
How to Make It
- Cut Foam Panels: Cut rigid foam insulation boards into 4 to 6 equal vertical rectangular slats (e.g., 10 inches wide by 48 inches high).
- Wrap with Batting: Wrap each foam panel in thin polyester quilt batting and secure it on the backside using duct tape or spray adhesive.
- Stretch Fabric Cover: Pull rich velvet, linen, or boucle fabric tightly over each padded panel and staple/tape securely along the back edges.
- Mount on Wall: Apply heavy-duty wall hanging strips to the back of each panel and press them side-by-side onto the wall behind your mattress.
Tips and Variations
- Arch Top Headboard: Cut the top profile of the foam panels into a large sweeping semi-circle arch before wrapping for a soft, trendy bedroom look.
- Channel Tufting: Leave a small 1/4-inch gap between mounted panels to emphasize deep, dramatic vertical channels.
Needs to Make That Thing
- Rigid foam insulation board (1-inch thickness)
- Polyester quilt batting sheet
- 2 to 3 yards of textured fabric (boucle, velvet, or linen)
- Heavy-duty duct tape or spray adhesive
- Heavy-duty adhesive mounting strips (e.g., Command XL)