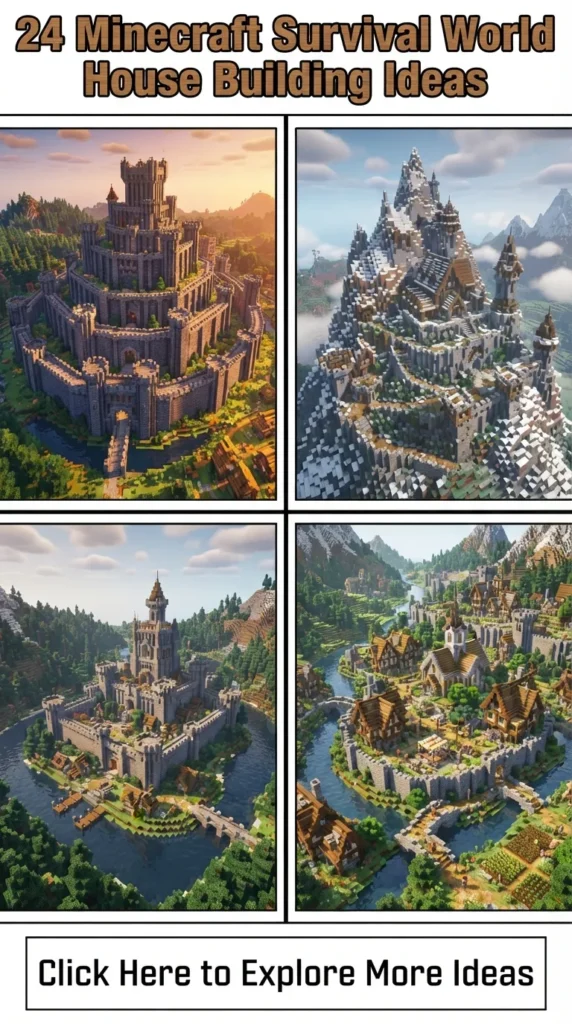
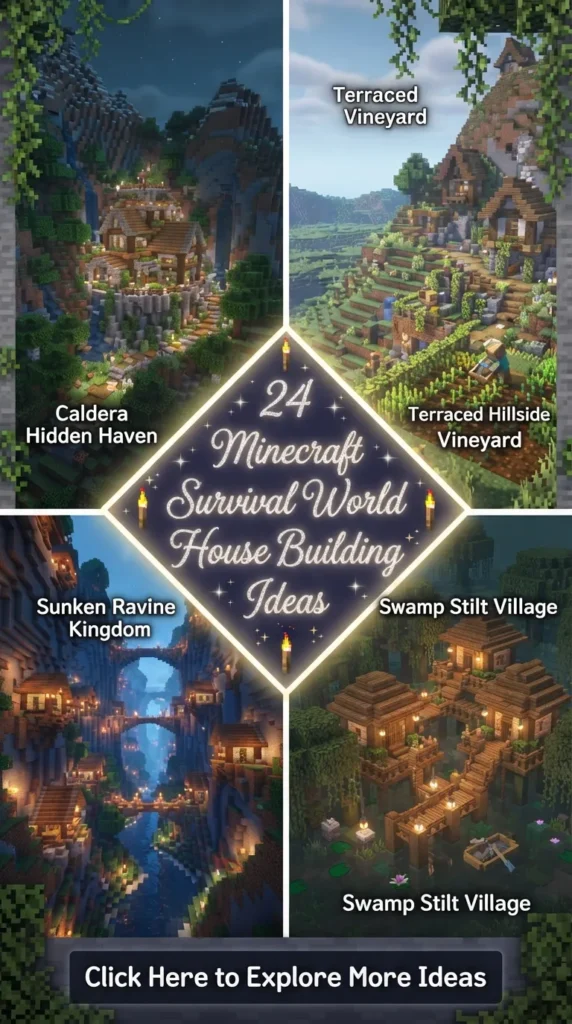
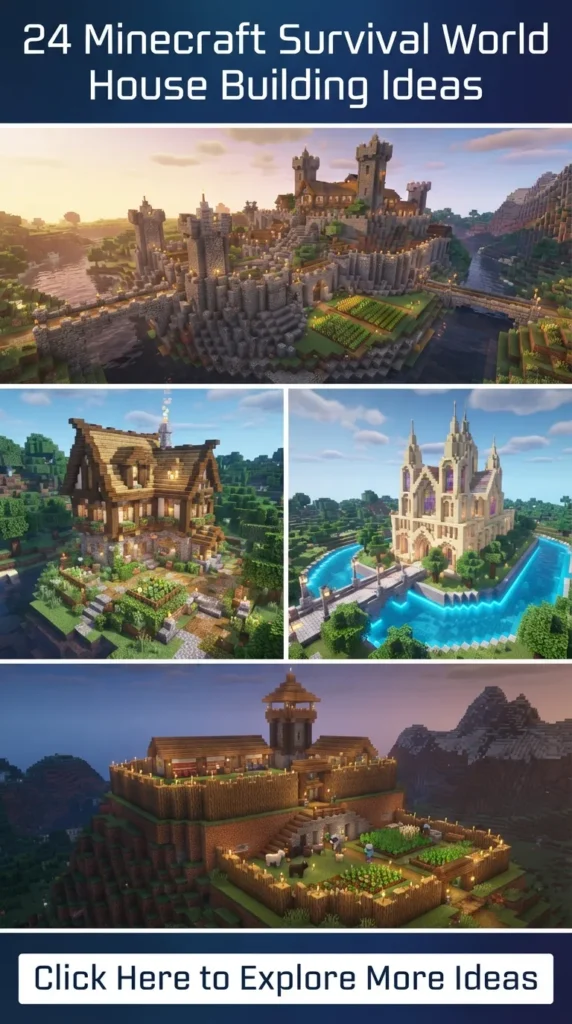
Building a home in Minecraft survival mode is equal parts survival necessity and artistic expression. Whether you are stepping into your first world or looking to overhaul your mid-game base into a Pinterest-worthy sanctuary, the architecture you choose sets the entire mood for your playthrough. A well-designed base isn’t just visually stunning—it streamlines your resource management, protects you from phantom attacks and creeper blasts, and makes returning home after a long mining trip deeply satisfying.
Below are 20 realistic, functional, and aesthetic Minecraft survival house building ideas. Each concept is tailored for practical gameplay while maximizing visual appeal, complete with step-by-step guidance, material breakdowns, and design variations.


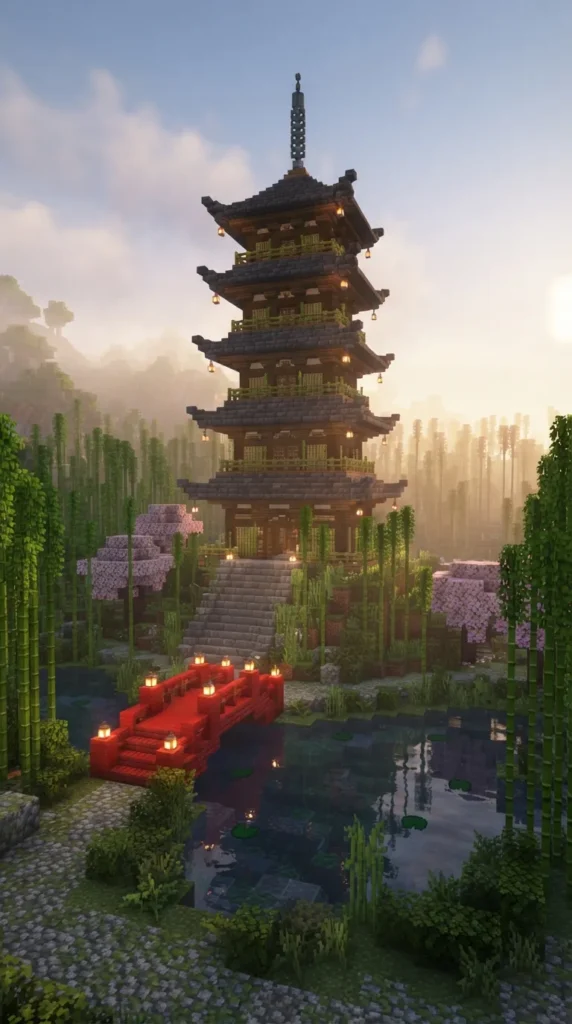

1. The Classic A-Frame Timber Cabin
Introduction
The A-Frame timber cabin is a timeless staple for any survival world. Its steeply pitched roof extending down to or near the ground gives it a cozy, rustic charm that fits perfectly in forest, spruce, or snow biomes.
What This Idea Means
An A-Frame design relies on a triangular silhouette. Instead of building traditional vertical walls and placing a roof on top, the roof is the wall structure. It is one of the most efficient builds for early to mid-game because it minimizes the need for complex exterior decorative wall framing while delivering an instantly recognizable aesthetic.
How to Make It
- Outline the Triangle: Start by laying a stone or cobblestone foundation footprint (e.g., 11 blocks wide by 15 blocks deep). On the outer left and right edges, build diagonal stair ramps inward using dark oak or spruce stairs until they meet at a sharp top peak.
- Fill the Gaps: Use oak planks, stripped logs, and large glass panes to fill the front and back triangular faces. Large glass windows on the front face allow natural sunlight to flood the interior.
- Build the Interior Loft: Inside, set up a two-story layout. The ground floor serves as your crafting and storage center, while the upper triangular peak accommodates a cozy loft bedroom accessible via a ladder or spiral staircase.
Tips and Variations
- Overhanging Roof: Extend the roof stairs one block out on both the front and back ends to add depth and create a small porch overhang.
- Dormer Windows: Add a small dormer window popping out of the roof side to break up large expanses of wood and add headroom to the second floor.
- Snowy Retreat: Swap spruce wood for dark oak and place carpet on the roof to mimic freshly fallen snow without blocking light.
What You Need to Build It
- Spruce or Dark Oak Stairs (~4-6 stacks)
- Oak Planks and Stripped Spruce Logs (~3-4 stacks)
- Glass Panes (~1-2 stacks)
- Cobblestone or Deepslate for the foundation (~2 stacks)
- Lanterns, Ladders, and Interior Furnishings
2. The Sunken Underground Courtyard Base
Introduction
For players who prefer subterranean security without feeling trapped in a dark cave, the sunken underground courtyard base offers open-air lighting paired with total mob isolation.
What This Idea Means
Instead of building upward, you excavate a large square or circular pit into the terrain. The central pit remains open to the sky as a garden courtyard, while your actual living spaces, chest rooms, and auto-farms are dug horizontally into the interior walls surrounding the courtyard.
How to Make It
- Excavate the Pit: Dig out a 15×15 or 21×21 square hole that is 6 to 8 blocks deep. Smooth out the walls using stone bricks, smooth basalt, or concrete.
- Design the Open Courtyard: Place a central fountain, pond, or lush farm patch at the bottom of the pit. Line the bottom edge with moss, flowering azaleas, and cobblestone pathways.
- Carve Out Living Rooms: Punch doorways into the four walls of the pit. Dig interior chambers behind these walls for dedicated rooms: one for storage, one for enchantment/brewing, one for sleeping, and one for smelting. Install glass doors facing the central open sky.
Tips and Variations
- Safety Railing: Place leaf blocks or glass railings around the top edge of the pit on ground level so you or stray mobs don’t accidentally fall into your courtyard.
- Glass Dome Option: If you play in a biome with heavy rainfall or dangerous mob spawns, cover the entire top of the pit with a smooth glass dome.
What You Need to Build It
- Shovels and Pickaxes (Heavy excavation)
- Stone Bricks, Smooth Basalt, or Polished Deepslate (~6-8 stacks)
- Moss Blocks, Leaves, and Water Buckets
- Glass Blocks/Panes
- Lanterns and Glow Lichen
3. The Coastal Cliffside Overlook Base
Introduction
Perched dramatically on the edge of a sheer mountain or ocean cliff, the cliffside overlook base blends breathtaking views with natural impenetrable defense.
What This Idea Means
This design embeds the majority of the living area directly into the cliff wall while extending cantilevered balconies, wooden decks, and glass viewing bays outward over the drop below.
How to Make It
- Locate the Cliff Face: Find a vertical mountain cliff or ocean coastline with at least 15–20 blocks of height above water or land.
- Frame the Balcony: Use dark oak logs and wooden fences to build support beams (struts) anchored into the rock face below. Lay down spruce slabs to create a balcony floor extending out from the cliff face.
- Hollow the Interior: Mine inside the cliff behind the balcony to create spacious interior rooms. Replace the exterior stone openings with floor-to-ceiling glass windows framed by logs.
- Vertical Access: Construct a hidden interior bubble elevator (using soul sand and magma blocks) or a winding exterior staircase down to sea level or up to the mountain peak.
Tips and Variations
- Water Drop Entrance: Install a water stream flowing from the balcony down to the ocean for a quick waterfall jump exit.
- Hanging Gardens: Hang planters filled with trickling vines, glow berries, and leaf blocks under the balcony structure for organic detail.
What You Need to Build It
- Spruce Slabs and Dark Oak Logs (~4 stacks)
- Glass Panes (~2-3 stacks)
- Deepslate/Stone Bricks for structural framing
- Vines, Glow Berries, and Lanterns
- Water and Soul Sand (for elevators)
4. The Raised Lake Palafitte / Stilt House
Introduction
Built entirely above water on sturdy wooden stilts, the palafitte home offers tranquil waterfront living, immunity from grounded mobs, and easy boat access.
What This Idea Means
Palafittes are traditional houses built on piles over water or marshy ground. In Minecraft, this means your house floats above a ocean, lake, or river, connected to land only by a narrow boardwalk or pier.
How to Make It
- Drive the Stilts: In a shallow lake or ocean bay, place vertical log pillars (fences or stripped logs) down into the sea floor, extending 3 to 4 blocks above the water surface.
- Build the Deck Foundation: Frame a large rectangular wooden platform across the tops of the stilts using wood slabs and planks.
- Erect the Cottage: Build a multi-room cottage on top of the platform using warm woods like jungle, mangrove, or spruce wood. Incorporate a wrap-around porch.
- Add Docking Bays: Extend lower platform stairs into the water to create boat slips where boats can anchor safely.
Tips and Variations
- Fishing Deck: Integrate trapdoor openings directly into the interior floor so you can fish safely from inside your living room.
- Distant Village Link: Connect your stilt house to nearby land or other stilt modules using suspension bridges made of campfire bases (extinguished) and chains.
What You Need to Build It
- Stripped Spruce or Mangrove Logs (~5 stacks)
- Spruce and Jungle Slabs/Planks (~6 stacks)
- Fences, Chains, and Lanterns
- Lead / Boats for dock decoration
5. The Modern Concrete & Dark Oak Villa
Introduction
Sleek lines, open layouts, and high contrast define the modern Minecraft villa. It brings a sleek architectural feel into natural Minecraft landscapes.
What This Idea Means
Modern architecture relies on geometric asymmetry, flat or minimal roofs, large panoramic glass walls, and a stark color contrast between crisp white materials (like concrete or quartz) and natural warm woods.
How to Make It
- Create Asymmetric Cubes: Build two overlapping L-shaped structures—one on the ground level made of dark oak and stone, and a second offset level above it built out of white concrete or smooth quartz.
- Install Floor-to-Ceiling Windows: Replace solid walls with vast walls of black or clear glass panes to maximize natural lighting and view lines.
- Incorporate Outdoor Living: Build a ground-floor infinity pool using blue glass underneath water, surrounded by smooth quartz slabs and birch button details.
- Flat Green Roofs: Cover flat roof areas with grass, flowers, and oak leaf hedges to create modern rooftop gardens.
Tips and Variations
- Lighting: Avoid standard torches, which break the modern aesthetic. Use hidden sea lanterns under carpet, end rods, or recessed froglights.
- Color Schemes: Swap white concrete for light gray or cyan terracotta for a moody industrial modern look.
What You Need to Build It
- White Concrete or Smooth Quartz Blocks (~6-8 stacks)
- Dark Oak Planks and Stripped Dark Oak Logs (~4 stacks)
- Black Stained Glass Panes (~4 stacks)
- Sea Lanterns or Froglights
- Water buckets and Quartz Stairs
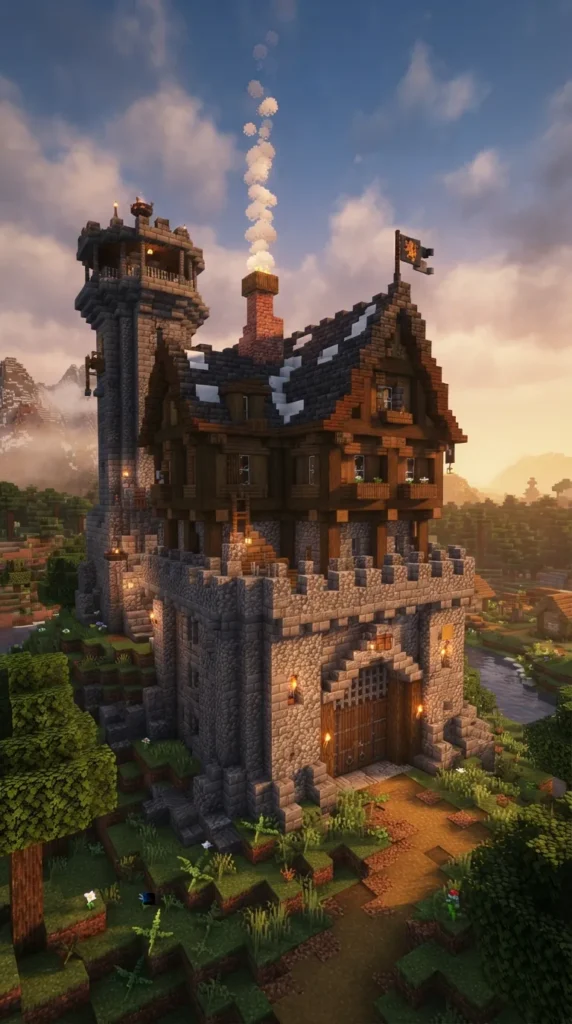


6. The Treehouse Canopy Sanctuary
Introduction
Nestled high within the leaves of giant jungle or oak trees, a treehouse sanctuary offers total defense against night spawns and an immersive nature-focused survival lifestyle.
What This Idea Means
Instead of cutting down the forest, you build within and around the living trunk of a massive tree (custom-built or a natural giant jungle/spruce tree), spreading rooms across branches connected by sky bridges.
How to Make It
- Select or Build a Tree: Grow a giant 2×2 jungle tree or build a custom thick trunk using jungle wood and mangrove roots.
- Wrap the Staircase: Build a winding spiral staircase around the main trunk using wood slabs, fences, and trapdoors.
- Build Branch Platforms: Extend thick horizontal branches out from the trunk using logs. Construct circular or octagonal wooden pods on these branches to serve as rooms.
- Connect with Bridges: String rope bridges (using extinguished campfires, oak slabs, and ropes/fences) between separate tree pods.
Tips and Variations
- Organic Roofs: Use dense foliage (leaf blocks collected with Shears) as natural roofing material for your pods so the base blends into the forest canopy.
- Vines and Drop Lines: Allow vines to hang down from the platforms for fast vertical climbing.
What You Need to Build It
- Jungle or Spruce Logs (~6 stacks)
- Sheared Leaf Blocks (~8-10 stacks)
- Campfires (extinguished with water) and Chains
- Ladders, Vines, and Fences
7. The Desert Sandstone Oasis Fortress
Introduction
Designed to brave the scorching sun and hostile environment of the desert, this fortress utilizes native sandstone, cool interior water features, and fortified battlements.
What This Idea Means
Desert architecture focuses on thick, heat-repelling walls, flat roofs with parapets, interior shady courtyards, and vibrant accents using terracotta and smooth sandstone.
How to Make It
- Build Thick Walls: Construct a square perimeter wall using cut sandstone and smooth sandstone blocks, keeping windows small and narrow to mimic desert survival structures.
- Add Corner Towers: Erect round or square towers on each of the four corners of the fortress equipped with archer slits and battlements.
- Create a Central Oasis: Place a lush garden in the center of the inner courtyard containing a water pond, sugar cane, palm trees (built with jungle wood and leaves), and terracotta paths.
- Upper Terraces: Connect second-story rooms to open roof terraces draped with colored banners and carpeted seating areas.
Tips and Variations
- Chiseled Details: Incorporate chiseled sandstone and orange/blue glazed terracotta along trim lines for decorative Arabic-inspired patterns.
- Underground Storage: Dig deep under the courtyard to build cool underground cellars for item storage and brewing.
What You Need to Build It
- Smooth Sandstone and Cut Sandstone (~8-10 stacks)
- Glazed Terracotta and Terracotta blocks
- Jungle Wood and Leaves (for palm trees)
- Water Buckets and Sugar Cane
- Copper/Iron Bars for windows
8. The Japanese Suburban Minka Estate
Introduction
Inspired by traditional Japanese countryside homes, the Minka estate features elegant flared roofing, clean timber framing, and serene zen gardens.
What This Idea Means
Minka architecture prioritizes harmony with surrounding nature. It features exposed dark timber supports, light paper-like infill walls, and iconic sweeping curved roofs built with deepslate or nether brick.
How to Make It
- Lay the Frame: Frame the ground floor layout using dark oak or mud brick pillars set on a stone foundation.
- Infill the Walls: Fill interior and exterior wall panels using white wool, calcite, or diorite to simulate traditional paper screen walls (Shoji).
- Build the Flared Roof: Construct a sweeping gable roof using deepslate tile stairs. Create a slight upward flare on the bottom corners of the roof by stepping slabs out horizontally.
- Design a Zen Garden: Enclose the estate with a perimeter wall and plant cherry blossom trees, bamboo, gravel pathways, and small water ponds with lilies outside.
Tips and Variations
- Shoji Windows: Combine white stained glass with dark oak trapdoors stacked on top to mimic classical sliding paper doors.
- Cherry Blossom Theme: Use the cherry blossom wood set from newer Minecraft versions to build a warm pink variant of this traditional estate.
What You Need to Build It
- Calcite, White Wool, or Diorite (~4 stacks)
- Dark Oak Logs and Stripped Logs (~4 stacks)
- Deepslate Tile Stairs and Slabs (~6 stacks)
- Bamboo, Cherry Saplings, and Moss
- Dark Oak Trapdoors and Paper/Lanterns
9. The Viking Longhouse Citadel
Introduction
Sturdy, grand, and built to withstand harsh winter climates, the Viking longhouse combines massive timber arches with stone bases and large central hearths.
What This Idea Means
A longhouse is a long, narrow single-room or multi-section building designed around a central fire pit. It uses heavy timber framing with steep sod or wood roofs shaped like an inverted boat hull.
How to Make It
- Set the Foundation: Build a long rectangular outer footprint (e.g., 15 blocks wide by 35 blocks long) using cobble or cracked deepslate bricks.
- Erect Structural Arches: Construct curved interior roof supports using spruce logs that arch inward toward a central ridge beam running down the length of the building.
- Layer the Roof: Cover the roof with dark oak stairs or spruce slabs. Alternatively, cover the roof with moss and grass blocks to create a traditional Scandinavian green turf roof.
- Build the Central Hearth: Lay down a long brick fire pit along the central axis of the floor, venting smoke upward through open roof gaps topped with small chimney caps.
Tips and Variations
- Dragon Heads: Decorate the front and rear roof peaks with carved dragon head motifs using wooden stairs and fences.
- Shield Walls: Hang colorful round wooden shields (framed shields or banners on item frames) along the exterior side walls.
What You Need to Build It
- Spruce Logs and Stripped Spruce Logs (~8 stacks)
- Dark Oak Planks / Slabs or Moss Blocks (~8-10 stacks)
- Deepslate Bricks and Campfires
- Banners, Item Frames, and Chains
- Cobblestone and Bricks
10. The Lush Greenhouse Biodome Base
Introduction
A futuristic yet eco-friendly base concept, the biodome encloses an entire self-sustaining ecosystem inside a vast transparent glass sphere or hemisphere.
What This Idea Means
Instead of building a conventional house with rooms, you construct a large glass dome shell and build your living spaces into the natural interior landscape—surrounded by trees, crops, and flowing water.
How to Make It
- Plot the Circle Blueprint: Use a sphere/circle generator formula to chart out a 25-block or 31-block diameter circle on ground level.
- Build the Glass Dome: Extrude the circle upward in step-down layers to construct a smooth dome shell using clear glass blocks or glass panes.
- Landscape the Interior: Fill the base of the dome with grass, moss, flowering azaleas, and small terraced hills. Build a small timber hut in the center for your bed and private gear.
- Integrate Auto-Farms: Conceal automated crop farms, pumpkin/melon farms, and bee hives inside the lush scenery surrounding your central hut.
Tips and Variations
- Multi-Dome Base: Connect several smaller glass domes together using glass-enclosed tunnels (e.g., one dome for living, one for farming, one for enchanting).
- Nether Bio-Dome: Build a dome in the Overworld filled with Nether foliage (Crimson and Warped fungus), glowing vegetation, and basalt columns.
What You Need to Build It
- Clear Glass Blocks (~10-15 stacks)
- Moss Blocks, Grass, and Azalea Leaves
- Oak / Birch Wood for interior structures
- Sea Lanterns or Shroomlights for hidden lighting
- Water Buckets and Crops


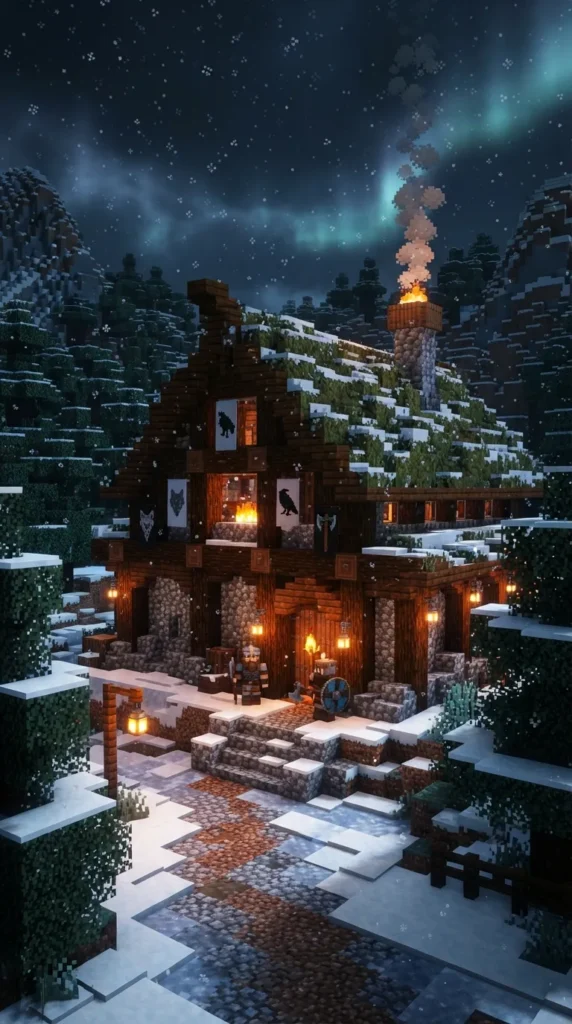

11. The Medieval Stone & Timber Keep
Introduction
The classic fantasy survival stronghold. Combining thick cobblestone foundations with warm wood upper stories, this build is as protective as it is majestic.
What This Idea Means
Based on high-medieval fortification, this house separates functional defensive lower levels (storage, armorers, crafting) from comfortable upper residential quarters topped with watchtowers and battlements.
How to Make It
- Construct Ground Floor Fortress: Build a sturdy 12×12 stone base using a textured mix of cobblestone, stone bricks, mossy stone, and cracked bricks. Keep ground windows narrow.
- Jetty the Second Floor: Extend the second-story wooden walls one block OUT past the stone base (a historical technique called jettying). Use oak logs for vertical framing and stripped oak for wall fill.
- Add Peak Roofs & Towers: Top the structure with steep slate-colored roofs using deepslate stairs. Attach a tall 4×4 lookout tower on one corner with a open bell/lantern balcony.
- Detailing: Add upside-down stairs beneath wall overhangs to create realistic structural supports (corbels).
Tips and Variations
- Texturing: Never build walls with just one block type. Mix 70% Stone Bricks with 20% Cobblestone and 10% Andesite to make walls look aged and realistic.
- Chimney Smoke: Place a campfire inside a brick chimney cap with a hay bale underneath it to make chimney smoke drift high into the sky.
What You Need to Build It
- Stone Bricks, Cobblestone, and Andesite (~8 stacks)
- Oak Logs and Stripped Oak Planks (~5 stacks)
- Deepslate Stairs (~4 stacks)
- Iron Bars, Lanterns, and Campfires
- Hay Bales (for smoker enhancement)
12. The Cozy Hobbit Hole Hillside Dwelling
Introduction
Seamlessly blended into a gentle rolling green hill, the Hobbit Hole is warm, charming, highly defensible, and budget-friendly on building materials.
What This Idea Means
Instead of building exterior walls, you carve your house directly into existing terrain. The hallmark of a true hobbit hole is its round wooden door and circular framed windows popping out of a grassy slope.
How to Make It
- Find a Natural Hill: Locate a smooth, grassy hill or mountain slope. Dig out a series of connected rounded chambers inside the dirt.
- Build the Circular Doorway: Carve a 3×3 circular opening on the hillside face. Frame it with dark oak or spruce trapdoors, wood stairs, and a central circular door.
- Interior Timber Arches: Line the interior dirt walls and ceiling with curved wooden arches made of stripped logs and wood slabs to give the interior a underground burrow feel.
- Overgrown Decor: Cover the front entrance area with wild flowers, wheat, moss carpets, lanterns on fences, and small stone pathways leading up to the door.
Tips and Variations
- Sunlight Shafts: Punch secret vertical 1×1 shafts up to the top of the hill, capping them with glass trapdoors on top to allow natural sunlight into inner rooms.
- Multi-Burrow Village: Connect multiple hillside burrows together via underground tunnels to create an entire underground shire network.
What You Need to Build It
- Spruce or Dark Oak Logs/Slabs (~3-4 stacks)
- Barrel, Chests, and Furnaces for built-in storage
- Lanterns and Flower Pots
- Moss Blocks and Bone Meal
- Fence Posts and Cobble Slabs for pathways
13. The Rustic Taiga Log Cabin with Smoking Chimney
Introduction
Designed specifically for cold forest biomes, this thick-timber log cabin embodies warm, rugged, frontier survival life.
What This Idea Means
A frontier log cabin focuses on heavy unstripped timber construction, warm interior lighting, wide fireplaces, and thick roofs designed to look like they withstand heavy mountain blizzards.
How to Make It
- Horizontal Log Walls: Build wall panels using unstripped spruce logs laid horizontally with exposed corner notches (criss-crossing log ends extending at the corners).
- Stone Chimney Anchor: Build a grand cobblestone and granite stone fireplace along one wall, extending a tall chimney high above the roofline.
- Warm Porch: Build a covered front porch featuring hanging lanterns, wood storage piles (using horizontal logs topped with trapdoors), and a rocking chair setup (stairs with signs on the sides).
- Gable Roof: Use dark oak or spruce stairs for a classic high-pitched roof overhang.
Tips and Variations
- Fireplace Safety: Ensure no flammable wood blocks are within 2 blocks of open netherrack fire or campfire blocks inside the fireplace to avoid burning down your cabin!
- Window Shutters: Place wooden trapdoors on the sides of glass windows to act as open rustic shutters.
What You Need to Build It
- Unstripped Spruce Logs (~6-8 stacks)
- Cobblestone, Andesite, and Bricks (~3 stacks)
- Spruce Stairs and Slabs (~4 stacks)
- Campfires and Hay Bales
- Signs and Trapdoors
14. The Coral Reef Underwater Glass Base
Introduction
Submerged beneath the ocean waves inside a glowing coral reef, this base offers complete protection from overland night mobs and stunning sub-aquatic views.
What This Idea Means
An underwater base utilizes curved glass domes or interconnected aquatic pods submerged beneath the water level, allowing you to live alongside marine life and coral formations.
How to Make It
- Clear the Submerged Area: Choose a spot in a warm ocean or coral reef. Frame your floor plan on the ocean bed using stone bricks or prismarine.
- Build Glass Enclosures: Construct glass domes or rectangular glass tunnels extending between living modules.
- Drain the Water: Fill the enclosed glass rooms completely with sponge blocks (or sand blocks) and remove them to clear out all water inside the living chambers.
- Aesthetic Exterior: Install exterior sea lanterns to illuminate the surrounding coral reef and ocean floor outside your windows.
Tips and Variations
- Conduit Core: Build a functional Conduit at the center of your base layout to give you infinite underwater breath, night vision, and mining speed near your home.
- Water Lock Entrances: Create vertical air-lock entrances using doors, drop chutes, or soul sand bubble elevators to move seamlessly from base interior to open ocean.
What You Need to Build It
- Glass Blocks / Tinted Glass (~10+ stacks)
- Sponges (for clearing water)
- Prismarine or Stone Bricks (~4 stacks)
- Sea Lanterns (~1-2 stacks)
- Conduit and Heart of the Sea
15. The Fantasy Mushroom Cottage
Introduction
Whimsical, colorful, and straight out of a fairy tale, the mushroom cottage turns giant red or brown mushrooms into charming multi-level houses.
What This Idea Means
Built either on rare Mushroom Islands or nestled in dense dark forests, this house uses red mushroom caps and stalk blocks as structural elements for an organic fantasy aesthetic.
How to Make It
- Grow or Build a Giant Mushroom: Use bone meal on a red or brown mushroom on podzol/mycelium, or manually place red mushroom cap blocks to build a custom oversized mushroom umbrella.
- Convert the Stalk: Use the hollow stem as a vertical spiral staircase connecting ground level to the wide cap above.
- Build Living Chambers Inside the Cap: Hollow out the interior red cap to create cozy bedrooms and potion brewing nooks. Carve out small circular dormer windows through the red skin.
- Magical Flora: Decorate the surroundings with spore blossoms, glowing berries, hanging lanterns, moss carpet, and azalea bushes.
Tips and Variations
- Mob-Proof Haven: If built on a true Mushroom Island biome, hostiles will never naturally spawn around your home, even in pitch darkness!
- Mushroom Village: Grow several interconnected mushrooms of varying heights and link them together using hanging log bridges.
What You Need to Build It
- Red Mushroom Cap Blocks and Mushroom Stalks (~5 stacks – Silk Touch tool required)
- Birch or Spruce Wood for interior floors
- Glass Panes and Lanterns
- Spore Blossoms, Moss, and Glow Berries


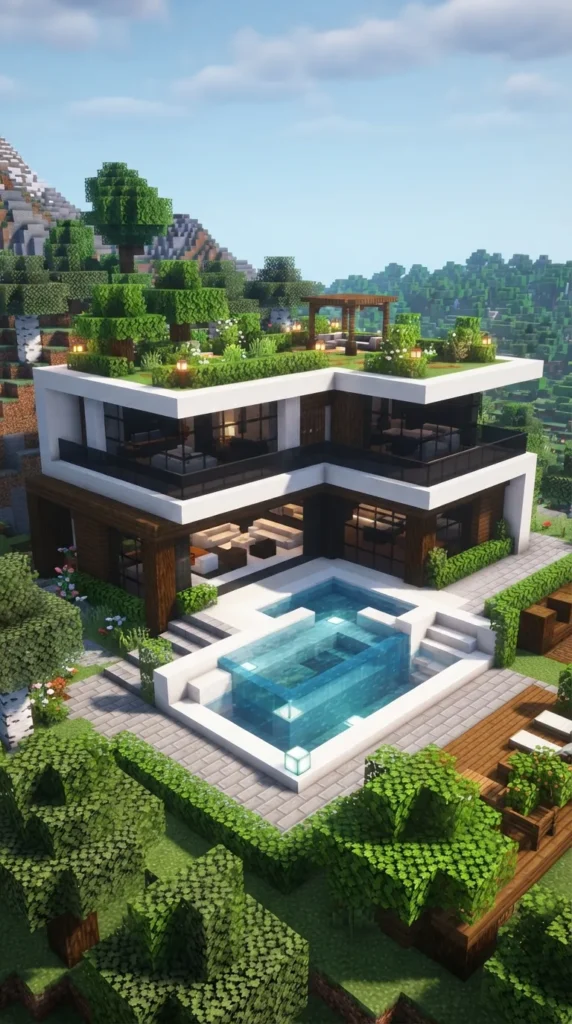

16. The Nether Manor in the Crimson Forest
Introduction
For brave survivalists looking to establish a permanent residence in the Nether, the Nether Manor blends gothic dark architecture with heat-resistant materials.
What This Idea Means
A Nether base requires non-flammable or Nether-native building blocks (blackstone, nether brick, crimson stem) designed to resist ghast fireball explosions and complement the red landscapes.
How to Make It
- Construct Explosive-Resistant Frame: Build outer walls using Polished Blackstone Bricks and Nether Bricks, which have high blast resistance against Ghast attacks.
- Crimson Wood Accents: Use vibrant Crimson stem wood and warped planks for interior flooring, doors, and roofing trims—adding vivid purple and red color contrasts.
- Protect Windows: Avoid clear glass windows that Ghasts can spot you through; use nether brick fences, iron bars, or tinted glass instead.
- Interior Respawn Hub: Set up a central safe room containing a recharged Respawn Anchor (fueled by glowstone) as your primary spawn point.
Tips and Variations
- Lava Moat: Surround the manor exterior with a controlled moat of flowing lava, serving as both automated defense against Piglins and a light source.
- Warped Garden: Build an indoor climate-controlled greenhouse featuring Warped Fungus and Twisted Vines for easy Nether resource farming.
What You Need to Build It
- Polished Blackstone Bricks (~8 stacks)
- Nether Bricks and Crimson Stems (~5 stacks)
- Respawn Anchor and Glowstone
- Iron Bars / Tinted Glass
- Chains and Soul Lanterns
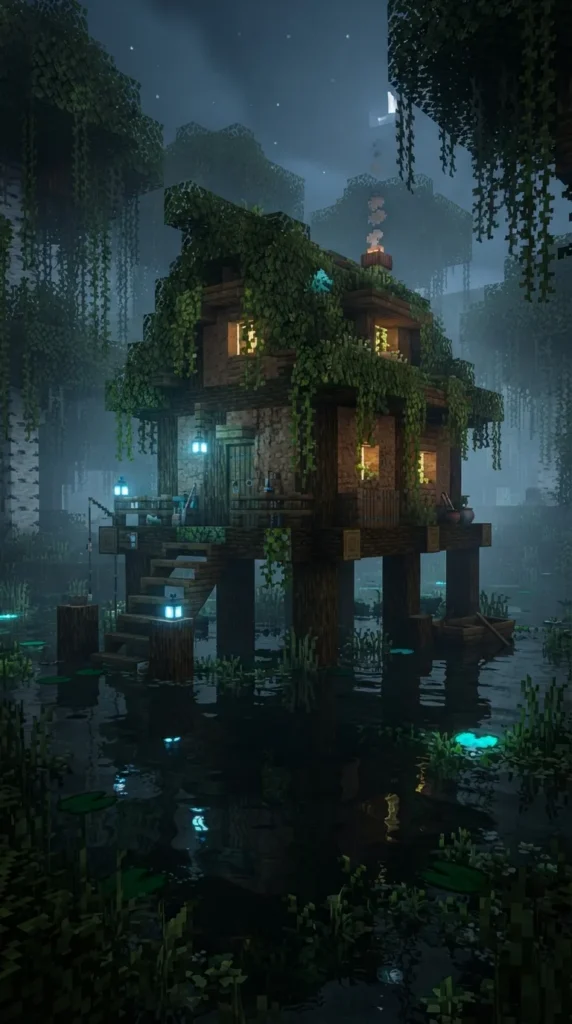
17. The Stilt Swamp Willow Cottage
Introduction
Set deep within murky mangrove or oak swamps, this cottage rests on stilts over water and overgrown weeping roots, giving off an eerie yet witchy homestead vibe.
What This Idea Means
Swamp cottages embrace weathered, decaying textures—using mud bricks, mangrove roots, moss, and dark woods to build a structure that feels naturally rooted in marshland.
How to Make It
- Stilt Foundation: Drive weathered dark oak or mangrove log stilts into the shallow swamp water.
- Build Mud-Brick Walls: Construct walls using packed mud, mud bricks, and mossy cobblestone for an authentic rustic cottage look.
- Drooping Roofline: Build a wide, uneven roof using dark oak stairs. Allow leaf blocks, moss, and weeping vines to cascade down from the roof edges into the water below.
- Dock & Brew Station: Extend a wooden boardwalk out into the swamp for lily-pad fishing and place an exterior cauldron/brewing setup on the porch.
Tips and Variations
- Witchy Lighting: Use soul lanterns (blue light) instead of standard orange lanterns to give the cottage a mysterious, magical night ambience.
- Frog Habitat: Build small lily-pad landings around your stilts and breed colorful frogs nearby for automated froglight harvesting.
What You Need to Build It
- Mud Bricks and Packed Mud (~5 stacks)
- Mangrove Roots and Dark Oak Logs (~4 stacks)
- Moss Blocks, Vines, and Weeping Vines
- Soul Lanterns and Cauldrons
- Lily Pads and Spruce Slabs
18. The Coastal Guardhouse & Working Lighthouse
Introduction
Standing tall against ocean storms, the lighthouse base serves a dual purpose: a high-visibility navigational beacon for miles around and a functional coastal survival home.
What This Idea Means
This concept pairs a tall cylindrical light tower with a attached ground-level keeper’s quarters cottage, providing high-altitude lookout views, ocean navigation, and ground living space.
How to Make It
- Build the Base Cottage: Erect a cozy stone brick base cottage on a coastal cliff or peninsula edge.
- Build the Tapered Tower: Construct a round tower attached to the cottage (e.g., 7×7 base tapering to 5×5 near the top) alternating bands of red and white terracotta or calcite and red concrete.
- Install Light Beacon: At the tower peak, construct a glass lamp room housing a rotating redstone light system, sea lanterns, or a functional Nether Star Beacon.
- Add Wrap-Around Balcony: Add an iron bar balcony around the lamp room at the top for panoramic views of surrounding ocean biomes.
Tips and Variations
- Automatic Redstone Lamp: Wire a simple redstone clock at the top to make redstone lamps rotate in a circle, simulating a real sweeping lighthouse beam at night.
- Port Harbor: Build a stone pier and storage warehouse at the base of the cliff below for marine transport.
What You Need to Build It
- Calcite / White Concrete (~5 stacks)
- Red Concrete / Red Terracotta (~5 stacks)
- Glass Blocks and Iron Bars
- Redstone Lamps, Observer, and Redstone dust
- Stone Bricks for keeper’s house
19. The Bamboo Forest Pagoda Haven
Introduction
Rising above dense bamboo foliage, a multi-tiered traditional pagoda offers peaceful elevated living and vertical space organization.
What This Idea Means
A pagoda features stacked, symmetrically diminishing stories—each bordered by wide, upward-curved roofs. It uses natural materials like bamboo, jungle wood, deepslate, and red accents.
How to Make It
- Level 1 Base Frame: Construct a square 13×13 base using dark oak or mud brick pillars.
- Tiered Roofs: At the top of each floor, extend a wide roof outward using deepslate or acacia stairs, curving the corner blocks upward using slabs.
- Step Inward Each Floor: Make each successive story slightly smaller than the one below it (e.g., Floor 1 = 13×13, Floor 2 = 11×11, Floor 3 = 9×9).
- Vertical Organization: Dedicate each floor level to a single survival function (Floor 1: Crafting/Smelting, Floor 2: Storage, Floor 3: Enchanting, Floor 4: Sleeping/Balcony).
Tips and Variations
- Scaffolding Integration: Use bamboo scaffolding as an authentic interior elevator running through the central column of all pagoda levels.
- Pond Perimeter: Dig a moat filled with koi fish (salmon/tropical fish) around the pagoda base crossed by a red-painted bridge.
What You Need to Build It
- Deepslate Tile / Acacia Stairs (~6-8 stacks)
- Bamboo Blocks / Stripped Bamboo (~4 stacks)
- Mud Bricks or Dark Oak Logs
- Scaffolding and Paper Lanterns
- Water Buckets and Tropical Fish
20. The Grand Mega Barnyard & Farmstead Estate
Introduction
The ultimate base choice for resource hoards, automated farming, and animal husbandry—combining an enormous rustic barn with integrated surrounding crop fields.
What This Idea Means
Instead of putting small farms in random spots, this build unifies all animal pens, crop fields, silos, and storage facilities under one massive, beautifully designed agricultural estate.
How to Make It
- Build the Main Barn Structure: Erect a massive gambrel-roof barn (curved two-stage roof slope) using red terracotta or crimson wood for walls and oak for framing.
- Construct Grain Silos: Build two tall cylindrical silos on the side of the barn using stone bricks and smooth quartz capped with rounded copper domes.
- Organize Interior Wings: Divide the interior ground floor into dedicated animal stalls (sheep, cows, pigs, horses) with automatic water troughs and collection hoppers.
- Hay Loft Storage: Use the giant upper roof space as a massive chest room and automated crop sorting hub.
Tips and Variations
- Terraced Crop Fields: Lay out large 9×9 irrigated crop fields surrounding the barn, framed with log borders and lit with lanterns placed on fence posts.
- Windmill Addition: Build a working or decorative windmill next to the main barn to complete the rural farmstead aesthetic.
What You Need to Build It
- Red Terracotta or Crimson Planks (~10+ stacks)
- Oak Logs and Spruce Stairs (~8 stacks)
- Hay Bales (~2-3 stacks for detailing)
- Water Buckets, Hoppers, and Chests
- Fences, Lanterns, and Farmland tools