Faux fur brings instant warmth, texture, and high-end elegance to any craft project. Whether you are redecorating your living space or creating custom accessories, working with synthetic fur allows you to achieve a luxurious look on a approachable budget. Below are 20 creative, step-by-step faux fur craft ideas designed to inspire your next DIY session.



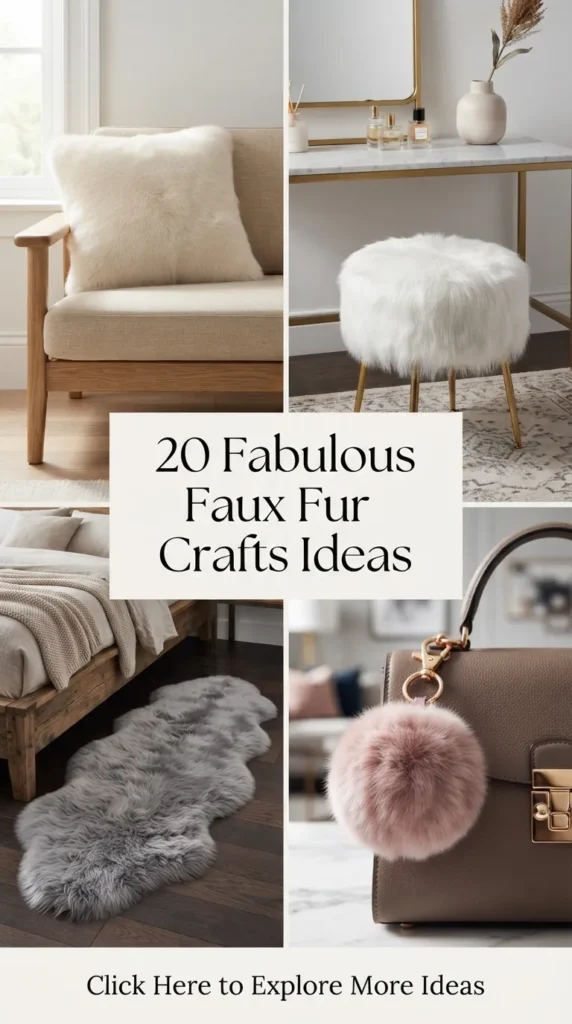
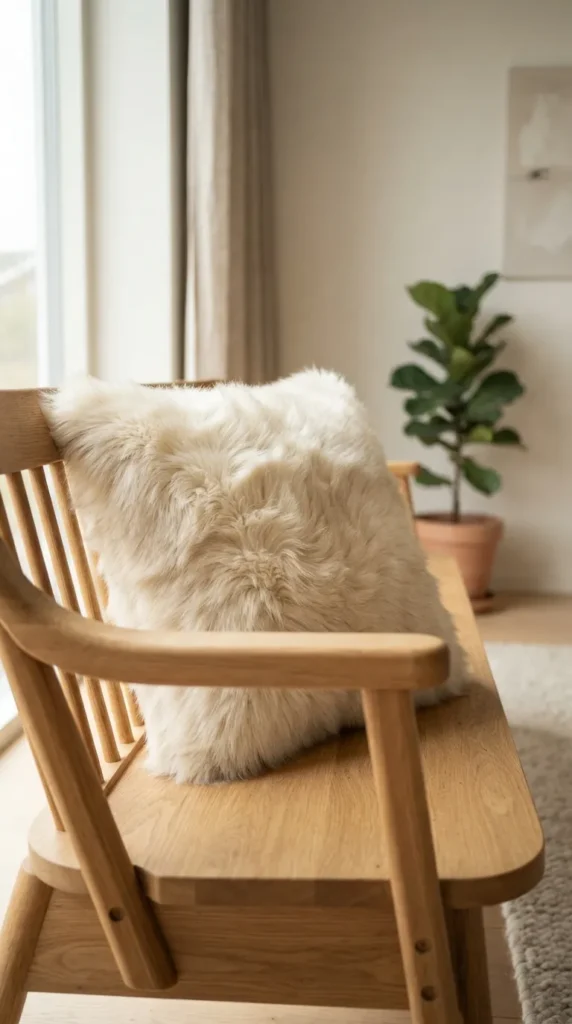
1. Minimalist Faux Fur Throw Pillow
What This Idea Means
A minimalist faux fur throw pillow adds soft textural contrast to modern furniture. Instead of overwhelming a room with heavy patterns, this accent piece focuses on tactile comfort and subtle elegance, working seamlessly across Scandinavian, boho, or contemporary decor styles.
What You Need to Make It
- 1/2 yard of short-to-medium pile faux fur
- 1/2 yard of matching canvas or linen backing fabric
- Heavy-duty upholstery thread
- Fabric scissors or a detail craft knife
- Sewing machine or hand needle
- 18×18 inch pillow insert
- Sewing pins or craft clips
How to Make It
- Cut your faux fur and backing fabric into 19×19 inch squares using a craft knife on the backing side to avoid cutting the fur fibers.
- Comb all outer fur fibers inward away from the edges.
- Place the backing fabric and faux fur right-sides together, pinning the edges securely.
- Sew a 1/2-inch seam around the perimeter, leaving a 6-inch opening on one side for turning.
- Turn the cover right-side out, gently pull any trapped fur out of the seams with a comb or needle, stuff with the pillow insert, and hand-stitch the opening closed using a ladder stitch.
Tips & Variations
- Tip: Always cut faux fur from the back fabric side with a blade, slicing only the mesh substrate.
- Variation: Add a hidden zipper along the bottom seam for easy washing.
Common Mistakes to Avoid
Avoid cutting through faux fur using standard scissors straight across the top, as this creates a chopped, blunt haircut look along the edges. Do not use high heat when pressing your seams, because synthetic fibers melt easily under direct iron heat.
2. Plush Faux Fur Ottoman Slipcover
What This Idea Means
Refreshing an old vanity stool or footrest with a faux fur cover transforms a functional piece of furniture into a statement centerpiece. It offers a soft touch for relaxing feet while shielding the original upholstery from daily wear.
What You Need to Make It
- Medium-to-long pile faux fur fabric (sized to fit your ottoman)
- Heavy-duty elastic band (1/2-inch wide)
- Measuring tape
- Fabric marker
- Craft knife
- Sewing machine with a denim needle
- Safety pins
How to Make It
- Measure the top surface of the ottoman along with its side depth, adding 3 inches all around for hem clearance.
- Trace and cut the faux fur circle or rectangle according to your measurements.
- Fold the outer 1-inch edge toward the backside to form a hem casing, pinning it flat while keeping the fur tucked inside.
- Sew along the inner raw edge of the fold, leaving a 2-inch gap to insert the elastic.
- Thread the elastic through the channel using a safety pin, pull it taut until it fits snug around the base of the ottoman, stitch the elastic ends together, and sew the opening shut.
Tips & Variations
- Tip: Choose a low-density backing for easier gathering under the stool base.
- Variation: Attach non-slip rubber grip fabric to the underside top section if your ottoman is made of smooth leather.
Common Mistakes to Avoid
Do not make the casing tight without leaving stretch space for the elastic, as this prevents the cover from fitting smoothly. Avoid buying ultra-thick pile fur for intricate, small stools, as excess volume makes gathering around corners bulky and uneven.
3. Nordic-Style Faux Fur Area Runner
What This Idea Means
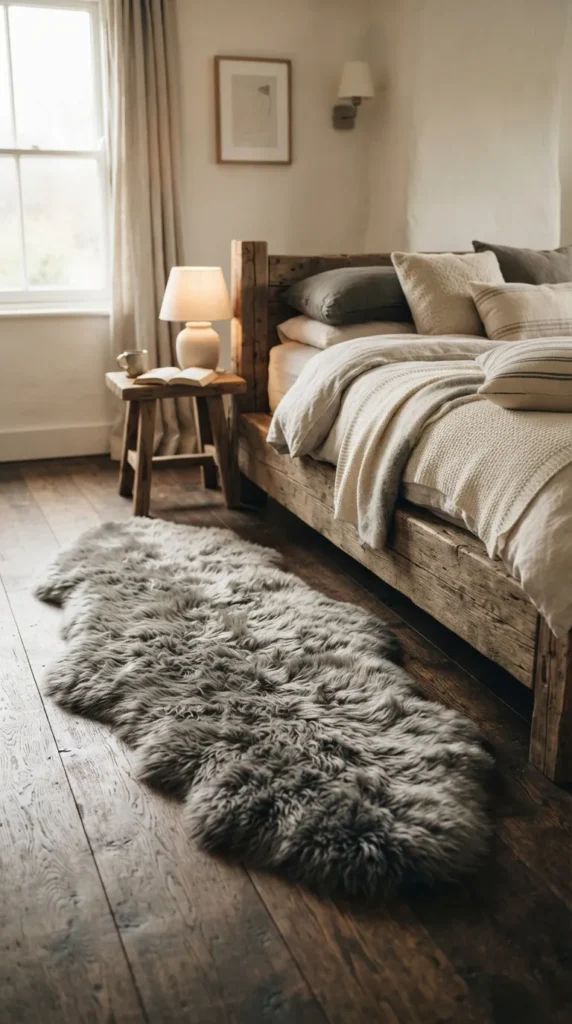
A Nordic-inspired runner brings organic curves, warmth, and textured layers to hardwood floors, bedside spaces, or entryway benches. It mimics the natural, unstructured shape of sheepskin without using animal products.
What You Need to Make It
- 1.5 yards of high-density faux sheepskin fur
- Heavy-duty non-slip rug backing material
- Fabric adhesive or flexible hot glue
- Craft knife
- Craft marker
- Large needle and thick button thread
How to Make It
- Draw a natural, asymmetrical hide contour onto the backing side of the faux fur.
- Cut along the template line using a razor or craft knife, keeping the cut strictly on the backing layer.
- Trace the same shape onto the non-slip rug backing material, making it 1/2 inch smaller all around.
- Glue the non-slip backing to the rear fabric side of the faux fur, pressing firmly from the center outward.
- Secure the outer edges with a quick whipstitch around the perimeter for extra durability.
Tips & Variations
- Tip: Gently brush the outer fur outward after assembly to hide the hem seam completely.
- Variation: Use multiple contrasting shades of grey and cream faux fur panels sewn together for a patchwork look.
Common Mistakes to Avoid
Avoid using standard liquid glue that dries brittle, as this causes the rug to crack when walked on or rolled up. Never place an unbacked faux fur runner directly onto polished hardwood floors, as it will slide easily.
4. Luxe Faux Fur Pom-Pom Keychain
What This Idea Means
Faux fur pom-pom keychains add a stylish accent to handbags, backpacks, or keys. They are quick to assemble, making them an ideal project for using up smaller fabric scraps from larger home decor crafts.
What You Need to Make It
- 4-inch circle of high-pile faux fur scrap
- Heavy-duty nylon thread
- Hand sewing needle
- Polyfill stuffing
- Metal keychain ring with lobster clasp
- Narrow satin ribbon (4 inches long)
How to Make It
- Cut a 4-inch circle out of the faux fur backing layer.
- Thread a needle with double-stranded nylon thread and sew a long running stitch around the entire outer circle edge.
- Pull the thread slightly to draw the edges together into a small pouch.
- Fill the center firmly with polyfill stuffing, insert the folded loop of satin ribbon into the middle, and pull the thread tight to close the opening.
- Knot the thread securely around the ribbon base and attach the ribbon loop to your keychain ring.
Tips & Variations
- Tip: Comb the fur away from the center knot before pulling the thread tight so no fibers get trapped inside the core.
- Variation: Attach small wooden beads or metal charms along the ribbon base for extra design detail.
Common Mistakes to Avoid
Do not use thin cotton embroidery floss or standard sewing thread, as strong pulling during closure can cause the thread to snap. Avoid over-filling the pom-pom with stuffing, which prevents the opening from closing tightly.
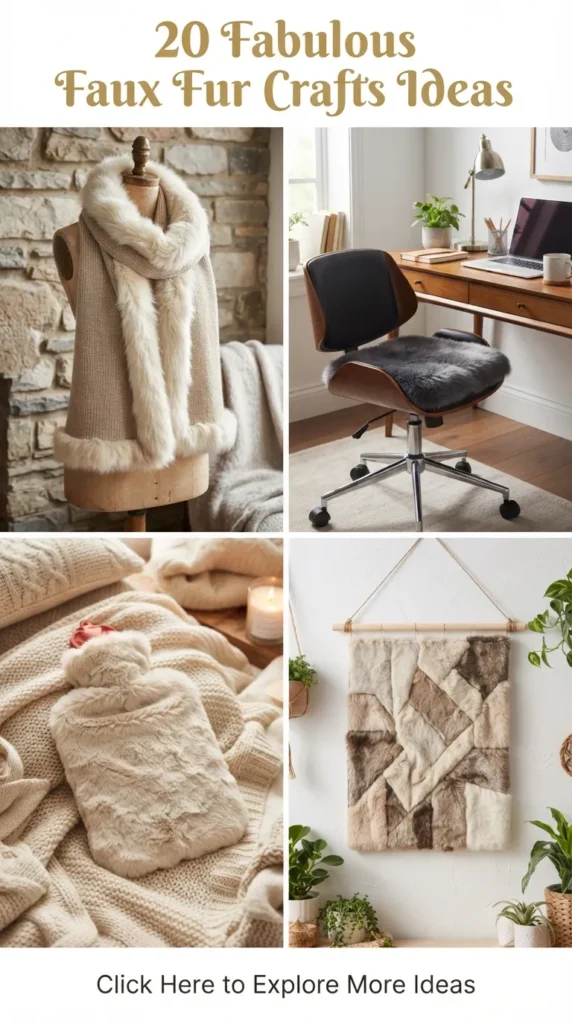
5. Chic Faux Fur Trimmed Winter Scarf
What This Idea Means
Combining structured knitted fabric with plush faux fur trim creates an elegant cold-weather scarf. The soft fur border adds extra insulation around the neck while elevating basic knitwear into a sophisticated winter fashion statement.
What You Need to Make It
- 1 pre-made knit or wool scarf (or knitted scarf base)
- Strip of medium-pile faux fur (4 inches wide by length of scarf)
- Color-matched sewing thread
- Hand sewing needle
- Fabric pins
- Comb
How to Make It
- Measure the bottom edges or full side borders of your scarf where the fur trim will attach.
- Cut faux fur strips to match these dimensions using a craft knife.
- Align the faux fur edge right-sides together with the edge of the scarf, pinning every two inches while brushing fur fibers back from the seam allowance.
- Hand-stitch the edge using a neat whipstitch or ladder stitch for maximum control over the stretch.
- Flip the trim outward and comb through the seam line to free tucked fur strands.
Tips & Variations
- Tip: Keep stitches flexible and slightly loose to allow the scarf fabric to stretch naturally without bunching.
- Variation: Add faux fur trim only to the pockets of a long wrap scarf instead of the hem edges.
Common Mistakes to Avoid
Avoid machine sewing fur trim onto delicate open-knit scarves, as feed dogs can pull and snag the yarn loops. Do not skip pinning, which can lead to uneven alignment along long scarf borders.



6. Modern Faux Fur Desk Chair Mat
What This Idea Means
A faux fur desk chair pad brings softness and lumbar comfort to hard office seating. It softens modern home workspace aesthetics while reducing friction on wooden or plastic chair shells.
What You Need to Make It
- Short-to-medium pile faux fur (cut to chair seat size)
- High-density 1-inch foam cushion sheet
- Cotton backing fabric
- Bias tape
- Craft knife
- Fabric adhesive
How to Make It
- Trace the outline of your desk chair seat onto the foam sheet and cut out the shape.
- Cut identical shapes from the faux fur and cotton backing, adding 1 inch of extra seam allowance around both.
- Layer the cotton backing, foam pad, and faux fur top in order.
- Wrap bias tape around the raw outer edges to encapsulate all layers smoothly.
- Stitch through the bias binding and fabric layers using a heavy-duty sewing machine, moving slowly along curves.
Tips & Variations
- Tip: Lightly spray temporary fabric adhesive between the foam and backing to prevent interior sliding during use.
- Variation: Add color-matched fabric ties to secure the cushion to the back spindles of your chair.
Common Mistakes to Avoid
Do not use low-density craft foam, which flattens quickly under regular seating weight. Avoid using long-pile fur for seat bases, as prolonged sitting matting can create stubborn flat spots.
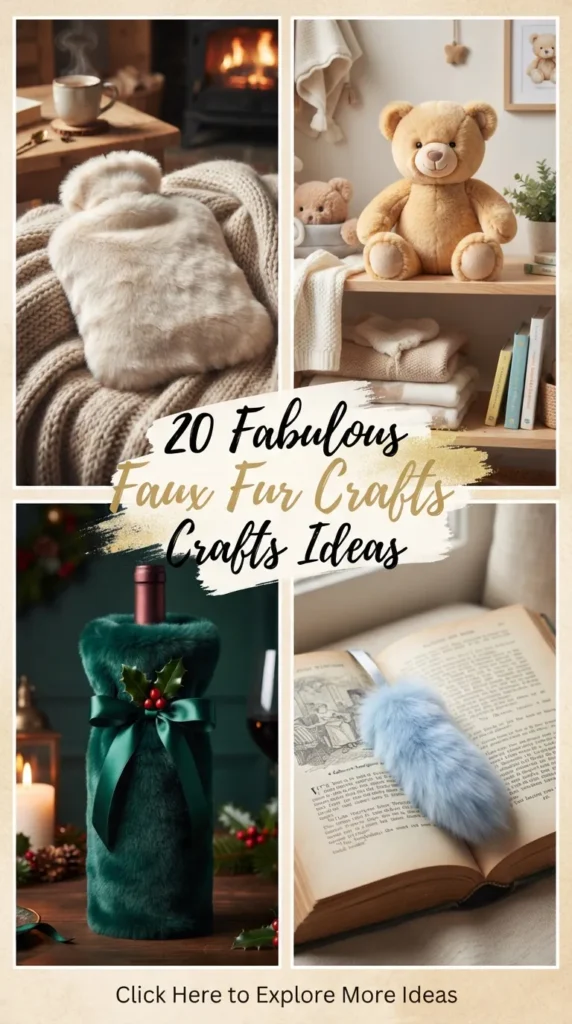
7. Cosy Faux Fur Hot Water Bottle Cover
What This Idea Means
Encasing a traditional hot water bottle in a thick faux fur cover retains heat longer while offering a soft, soothing touch against the skin during chilly winter nights.
What You Need to Make It
- Standard rubber hot water bottle (for template)
- Medium-pile faux fur fabric
- Soft cotton fleece for lining
- 9-inch zipper or hook-and-loop tape
- Fabric scissors
- Pins
- Sewing machine
How to Make It
- Trace around the hot water bottle on the back of the fur, adding a 1-inch margin around all sides. Cut two identical pieces.
- Repeat the process on the cotton fleece to create matching lining pieces.
- Baste the fleece lining to the inner side of each fur panel along the edges.
- Sew the zipper across the top neck opening, securing both sides cleanly.
- Place front and back panels right-sides together, stitch around the lower edges, turn the cover right-side out, and insert your bottle.
Tips & Variations
- Tip: Comb fur away from zipper teeth during sewing to prevent fabric jams during everyday opening and closing.
- Variation: Create an envelope flap closure at the back instead of using a zipper.
Common Mistakes to Avoid
Do not leave exposed raw inner seams inside the cover without lining, as rubber friction will slowly shred unfinished backing edges. Avoid placing direct high heat on faux fur surfaces when filling or emptying the bottle.
8. Boho Faux Fur & Canvas Wall Hanging
What This Idea Means
Combining organic canvas weave with faux fur accents creates a textured wall hanging. It works as an artistic focus point that breaks up flat walls, adding depth and cozy tactile design to living rooms or bedrooms.
What You Need to Make It
- Heavyweight cotton canvas fabric (18×24 inches)
- Faux fur scraps in geometric shapes
- Wooden dowel rod (20 inches long)
- Hanging twine or leather cord
- Fabric glue or stitch witchery
- Sewing machine (optional)
How to Make It
- Hem the side and bottom edges of your canvas base panel.
- Fold the top 2 inches of canvas backward over the wooden dowel rod and sew a straight channel for hanging.
- Cut geometric shapes (triangles, diamonds, or arch ribbons) from faux fur scrap pieces.
- Layout the faux fur shapes onto the canvas front until you achieve a balanced geometric composition.
- Glue or top-stitch the fur shapes down, working from top to bottom. Tie hanging twine to both ends of the dowel.
Tips & Variations
- Tip: Use mixed pile lengths across shapes to add dynamic visual depth across your hanging artwork.
- Variation: Dip-dye the bottom edge of the canvas fabric before attaching fur shapes for an ombre style.
Common Mistakes to Avoid
Avoid using glue excessively near the edges of fur patches, as excess glue can seep into the front fibers and cause stiff, discolored spots. Do not use flimsy wall hanging rods that bend under fabric weight.
9. Deluxe Faux Fur Dog Bed Cushion
What This Idea Means
A luxury faux fur dog bed offers an inviting, calming spot for pets. The thick fur texture mimics natural warmth, while a removable cover design makes regular cleaning simple.
What You Need to Make It
- High-density thick faux fur fabric
- Heavy-duty canvas for base bottom
- Heavy-duty long zipper
- Inner pillow liner bag
- Shredded memory foam or polyfill
- Upholstery needle and thread
How to Make It
- Measure your pet’s sleeping dimensions and cut two large circles or rectangles from faux fur (top) and canvas (bottom).
- Install the heavy-duty zipper along one side edge connecting the canvas and fur sections.
- Pin the remaining three sides right-sides together, ensuring fur strands stay pointed toward the middle.
- Stitch with a 5/8-inch seam allowance using heavy upholstery thread.
- Fill the inner pillow liner bag with memory foam, zip it closed, and insert it inside the sewn outer fur cover.
Tips & Variations
- Tip: Double-stitch all outer perimeter seams to hold up against pet scratching and nesting behavior.
- Variation: Insert a waterproof inner lining around the pillow core to shield against moisture.
Common Mistakes to Avoid
Do not leave loose fur tufts along outer seams that pets could chew off and swallow. Avoid non-washable internal filling materials, as pet cushions require periodic freshening.
10. Glam Faux Fur Hand Muff
What This Idea Means
A modern take on a classic vintage accessory, the faux fur hand muff keeps hands warm while adding a touch of old-world charm to cold-weather outfits and formal winter wear.
What You Need to Make It
- 1/2 yard of plush faux fur
- 1/2 yard of satin or thermal fleece lining
- Batting layer for internal insulation
- Ribbon or cord for neck strap (optional)
- Sewing thread
- Sewing machine
How to Make It
- Cut one piece of faux fur and one piece of lining fabric measuring 14×18 inches.
- Layer the insulation batting under the lining fabric and sew around edges to hold them together.
- Place the fur rectangle over the lined rectangle, right-sides facing, and stitch the two long edges together to form a tube.
- Turn the cylinder right-side out so the fur is on top and lining is inside.
- Fold the open ends inward, match the shorter edges to complete the muff ring, hand-stitch the inner seam closed, and attach the optional neck strap.
Tips & Variations
- Tip: Add a small zippered pocket inside the lining layer to stash keys or cards safely while walking.
- Variation: Use contrasting leopard print faux fur on the outside with a bright silk lining inside.
Common Mistakes to Avoid
Avoid sizing the hand tube too tight; keep space wide enough to insert gloved hands comfortably. Do not use low-density lining fabrics, which permit cold winds to pass through the muff core.




11. Rustic Faux Fur Stocking Cuff
What This Idea Means
Upcycling plain burlap, felt, or knit holiday stockings with plush faux fur cuffs creates a classic seasonal decor accent. It bridges rustic style with cozy holiday charm.
What You Need to Make It
- Plain holiday stocking base
- 5-inch wide strip of long-pile white or cream faux fur
- Fabric glue or needle and thread
- Craft knife
- Pins
How to Make It
- Measure the upper circumference of the stocking opening, adding 1 inch for seam allowance.
- Cut a strip of faux fur 5 inches wide by the measured circumference length.
- Stitch the short ends of the fur strip together to form a continuous cuff loop.
- Slip the cuff loop over the top edge of the stocking right-sides together, aligning top raw edges.
- Sew around the top edge, fold the fur cuff down over the outside of the stocking, and comb through the edge fibers.
Tips & Variations
- Tip: Ensure the directional direction (nap) of the fur points downward toward the toe before stitching.
- Variation: Attach small pinecones, wooden beads, or ribbon accents along the bottom edge of the fur cuff.
Common Mistakes to Avoid
Do not sew the cuff closed without confirming the underlying stocking opening stays wide enough for gifts. Avoid high-heat iron pressing on the turned cuff edge.
12. Modern Faux Fur Coaster Set
What This Idea Means
Faux fur coasters add dynamic texture to coffee tables and trays. They protect furniture surfaces from scratches while functioning as chic decorative accents under dry glassware, candles, or small vases.
What You Need to Make It
- Scraps of low-pile faux fur
- Thick cork backing sheets (4-inch circles or squares)
- Strong craft adhesive (like E6000 or heavy fabric glue)
- Utility knife
- Marker
How to Make It
- Trace 4-inch circles onto the cork sheet backing and cut them out using a utility knife.
- Trace matching 4.5-inch circles onto the backing of your faux fur scraps.
- Carefully trim the fur fabric, keeping cuts smooth along the drawn perimeter lines.
- Apply adhesive evenly to the top surface of the cork shape.
- Center the fur backing on the cork, press down firmly, fold the extra 1/2-inch fur hem cleanly around to the underside, and glue flat.
Tips & Variations
- Tip: Stick to short, dense pile fur scrap choices so drink glasses stand level without tipping over.
- Variation: Wrap metallic ribbon around the exposed outer rims for a glam finish.
Common Mistakes to Avoid
Do not use ultra-long pile fur for coasters, as tall fibers will cause cups to wobble or spill. Avoid over-applying glue near top pile zones to prevent stiff fur spots.
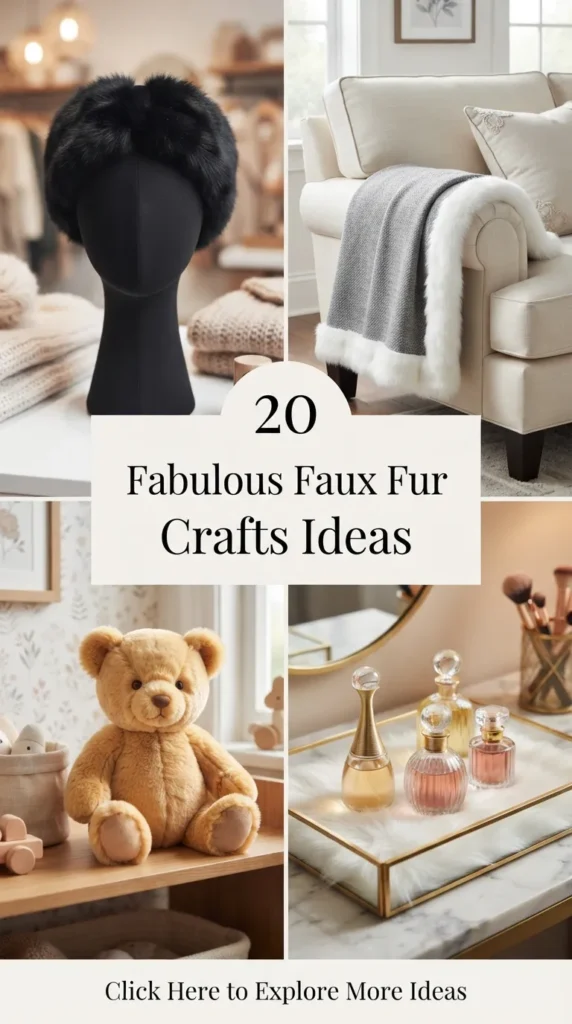
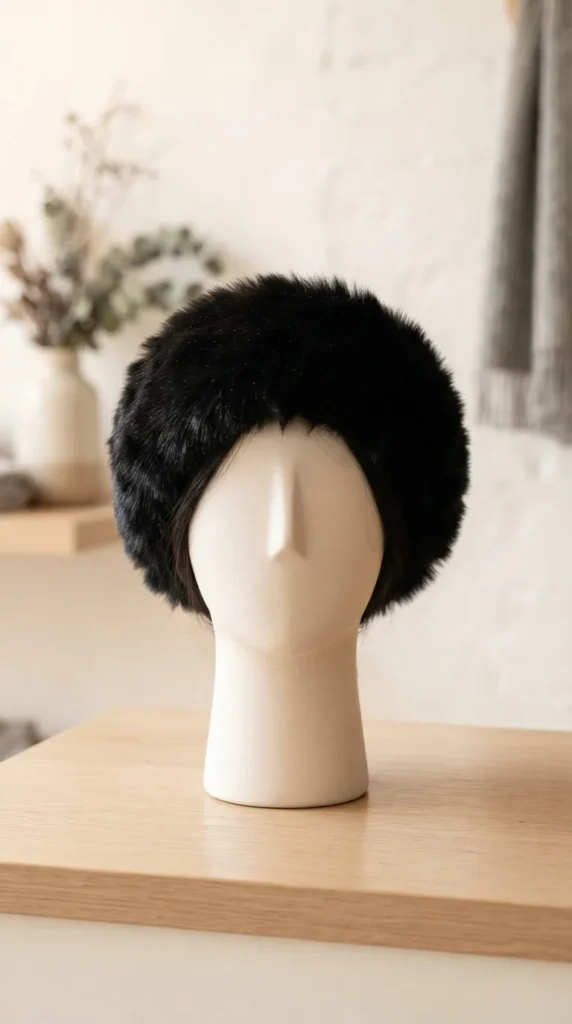
13. Statement Faux Fur Headband
What This Idea Means
A faux fur winter headband delivers practical ears warmth while doubling as an eye-catching fashion accessory. It offers a stylish alternative to standard beanies during cold-weather outings.
What You Need to Make It
- Medium-pile faux fur strip (4×22 inches, adjust to head measurement)
- Soft jersey knit lining fabric
- 2-inch long piece of 1-inch wide elastic strip
- Sewing machine
- Pins
How to Make It
- Measure your head circumference, subtracting 2 inches to allow for elastic stretch.
- Cut fur and jersey lining strips to this length by 4.5 inches wide.
- Place lining and fur right-sides together, sewing along both long edges to create a open tube.
- Turn the tube right-side out, bringing the soft fur to the outer side.
- Insert elastic ends into both tube openings, gather slightly, and stitch across securely multiple times.
Tips & Variations
- Tip: Check that the fur nap runs around the head horizontally or downward for a uniform finish.
- Variation: Twist the front center of the tube 180 degrees before joining back ends to make a knotted headband.
Common Mistakes to Avoid
Avoid cutting elastic pieces without measuring stretch tension, as a band that is too tight can cause headaches. Do not use scratchy synthetic backing fabric against skin; stick to comfortable cotton or jersey lining.
14. Cozy Faux Fur Edge Throw Blanket
What This Idea Means
Adding a thick faux fur border to a woven or fleece throw blanket elevates a simple cover into a cozy luxury item. It brings extra weight, tactile interest, and contrast to bedroom or sofa linens.
What You Need to Make It
- Plain woven or fleece blanket
- 6-inch wide faux fur strips (enough to cover blanket perimeter)
- Quilting clips or heavy pins
- Strong sewing thread
- Sewing machine with walking foot attachment
How to Make It
- Cut 6-inch wide faux fur strips to match the perimeter length of your blanket.
- Join individual fur strips end-to-end to form one long continuous framing strip.
- Fold the fur strip lengthwise over the outer blanket edge, sandwiching the original blanket border inside.
- Securely pin or clip the sandwich every 2 inches along the border length.
- Slow-stitch down the center of the fur band using a walking foot attachment to process thick layers smoothly.
Tips & Variations
- Tip: A walking foot helps move heavy fur and blanket layers evenly through the sewing machine feed dogs without shifting.
- Variation: Trim only the shorter top and bottom ends of the throw instead of all four sides.
Common Mistakes to Avoid
Do not use a standard thin machine needle, which can snap when sewing thick layers. Avoid pulling the fur strip taut while stitching, as this causes the blanket edges to pucker.
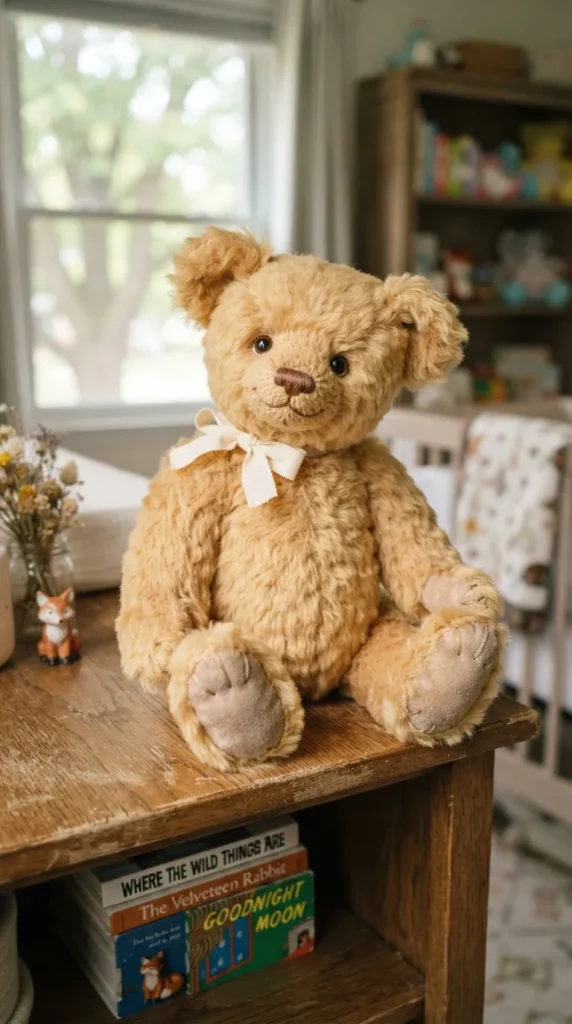
15. Charming Faux Fur Stuffed Animal Accent
What This Idea Means
Crafting handmade faux fur teddy bears or woodland creatures results in cozy keepsakes or nursery decor. The rich plush texture gives handmade soft toys a boutique finish.
What You Need to Make It
- Plush short-pile faux fur
- Simple soft toy sewing pattern
- Safety eyes and nose attachments
- Polyfill stuffing
- Hand sewing needle and strong thread
- Fabric scissors
How to Make It
- Pin pattern pieces onto the backing side of your faux fur, observing directional arrows for pile flow.
- Carefully cut out all pattern sections with a razor knife to protect fur ends.
- Attach plastic safety eyes and nose pieces onto the designated facial fabric section.
- Pin corresponding pattern pieces right-sides together and sew along marked seam lines, leaving a 2-inch gap on the back body panel.
- Turn the animal right-side out, stuff firmly with polyfill, and close the back opening using a hidden ladder stitch.
Tips & Variations
- Tip: Use safety eyes with locking washers to ensure the plush toy is safe for kids.
- Variation: Combine faux fur bodies with woven cotton patches for inner ears and paw pads.
Common Mistakes to Avoid
Avoid cutting out symmetric body pairs in the same pile direction; always flip pattern pieces to mirror right and left sides correctly. Do not over-stuff limbs, which makes joints stiff.



16. Glamorous Faux Fur Vanity Tray Liner
What This Idea Means
Line modern glass or metallic vanity trays with faux fur to create an elegant landing spot for perfume bottles, jewelry, and daily beauty essentials. It protects delicate surfaces while adding modern luxury to your bedroom or bath.
What You Need to Make It
- Decorative vanity tray (metal, wooden, or acrylic)
- Medium-pile white or pale pink faux fur sheet
- Poster board or heavy cardstock
- Craft knife
- Scissors
How to Make It
- Press poster board into the bottom base of the tray to create an accurate template insert.
- Cut out the poster board template and verify it lies completely flat inside the tray.
- Place template upside down onto the backside of your faux fur fabric and trace around edges with a marker.
- Cut out the fur insert using a craft knife around the perimeter lines.
- Drop the custom fur pad directly into the tray base without gluing so it remains easy to take out and clean.
Tips & Variations
- Tip: Shake out the cut piece outdoors thoroughly before placing it inside the tray to drop loose edge fibers.
- Variation: Glue backing felt under the fur cut-out for an extra cushioned layer.
Common Mistakes to Avoid
Avoid gluing the insert permanently inside decorative trays, which makes cleaning off spilled makeup or dust tricky. Do not use ultra-long pile fur that keeps tall perfume bottles from sitting flat.
17. Elegant Faux Fur Wine Bottle Sleeve
What This Idea Means
Wrapping a wine bottle in a tailored faux fur sleeve creates a cozy, memorable gift presentation for holiday hostesses or winter dinner parties.
What You Need to Make It
- Medium-pile faux fur (12×14 inches)
- Satin ribbon (1/2-inch wide, 18 inches long)
- Fabric scissors or craft knife
- Sewing machine or hand needle
- Pins
How to Make It
- Wrap the faux fur sheet around a standard wine bottle to check height and width fit, leaving 1 inch of extra fabric at edges.
- Cut your faux fur rectangular base accurately from the back side.
- Fold rectangle in half lengthwise, right-sides together, aligning long side edges.
- Pin along the side and bottom edges, leaving the top open, and sew with a 1/2-inch seam.
- Turn sleeve right-side out, slide wine bottle inside, and tie a satin ribbon around the bottle neck.
Tips & Variations
- Tip: Use deep jewel tones like burgundy, emerald, or navy fur for elegant holiday tablescapes.
- Variation: Add small metallic bell accents to the ribbon ends for a seasonal chime.
Common Mistakes to Avoid
Do not sew the bottom base curve too tight, or the bottle won’t rest flat on tables. Avoid low-grade fur that sheds fibers onto open wine corks or glass rims.
18. Faux Fur Accent Bookmark
What This Idea Means
A faux fur bookmark adds a plush tactile accent to daily reading. Featuring a sleek fur tail extending out from book pages, it combines whimsical styling with handy functionality.
What You Need to Make It
- Scrap strip of long-pile faux fur (2×8 inches)
- Velvet or satin ribbon (1-inch wide, 10 inches long)
- Fabric glue
- Craft knife
How to Make It
- Cut a slender 1.5×3 inch strip out of long-pile faux fur scrap using a craft knife.
- Measure your ribbon to 10 inches and fold the bottom 1 inch over to form a secure hem.
- Glue the upper raw portion of the ribbon to the backside of the faux fur strip.
- Press both sections firmly together under a heavy book for 30 minutes until fully dry.
- Use a comb to smooth the fur strands pointing downward along the top bookmark tab.
Tips & Variations
- Tip: Choose vivid colored fur scraps like teal or lavender to locate marked book pages quickly.
- Variation: Attach small metal bookmark charms or charms to the bottom ribbon end for weight balance.
Common Mistakes to Avoid
Avoid making the internal ribbon section too thick, which can stretch or damage vintage book spines. Do not use runny liquid craft glues that bleed through thin velvet ribbons.
19. Luxe Faux Fur Camera Strap Cover
What This Idea Means
Transforming a standard camera strap with a padded faux fur sleeve eases neck strain during long photography sessions while giving gear a stylish, custom finish.
What You Need to Make It
- Medium-pile soft faux fur fabric sheet
- Lightweight neoprene or padded lining fabric
- Measuring tape
- Pins
- Sewing machine with heavy-duty needle
How to Make It
- Measure the length and width of your camera strap, adding 1 inch to the width to allow clearance for sliding.
- Cut matching rectangles from the faux fur and lining padding using a craft blade.
- Baste the lining padding directly onto the wrong side of the fur base.
- Fold long sides right-side inward to construct a long open tube, pinning seam lines flat.
- Stitch down the long side, turn the tube right-side out, and thread your camera strap through the padded fur sleeve.
Tips & Variations
- Tip: Add a tiny exterior slip pocket on the fur sleeve to hold lens caps safely while shooting.
- Variation: Use patterned animal prints like cheetah or snow leopard for an eye-catching creative look.
Common Mistakes to Avoid
Do not sew the interior sleeve dimensions too narrow, or dragging the strap through will prove difficult. Avoid placing long fur where it could hang over and block your camera lens view.
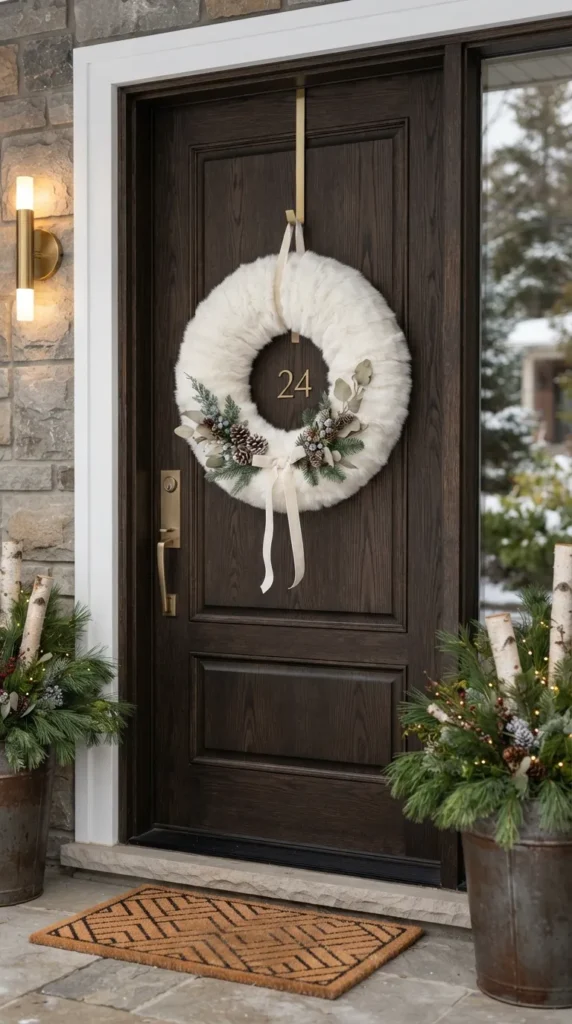
20. Cozy Faux Fur Wreath
What This Idea Means
A faux fur wreath brings plush texture to winter front doors or mantle displays. It creates an inviting decorative focus point that complements Scandinavian, rustic, or modern holiday setups.
What You Need to Make It
- 14-inch straw or foam wreath form
- 3-inch wide continuous strip of medium-to-long pile faux fur
- Sewing pins or U-shaped floral pins
- Scissors or craft knife
- Decorative ribbon or accent picks (pine, berries, or stars)
How to Make It
- Pin the initial end of your long faux fur strip securely to the back of the wreath form.
- Wrap the fur strip continuously around the form frame, overlapping each turn by 1/2 inch to cover core spots fully.
- Keep pulling fur fibers outward during wrapping so hair does not flatten against the base.
- Secure the final end of the fur strip to the back of the wreath form with multiple floral pins.
- Fluff up the wrapped fur around the front face, and attach decorative ribbon loops or winter accent picks.
Tips & Variations
- Tip: Use a white or cream fur base to emulate a soft, snowy wreath texture for seasonal displays.
- Variation: Intertwine micro warm-white LED string lights throughout the fur layer for a gentle night glow.
Common Mistakes to Avoid
Do not stretch the fur strip too tight while wrapping, which flattens the plush texture and exposes the underlying form. Avoid exposing non-waterproof fur wreaths to rain or harsh weather outdoors.