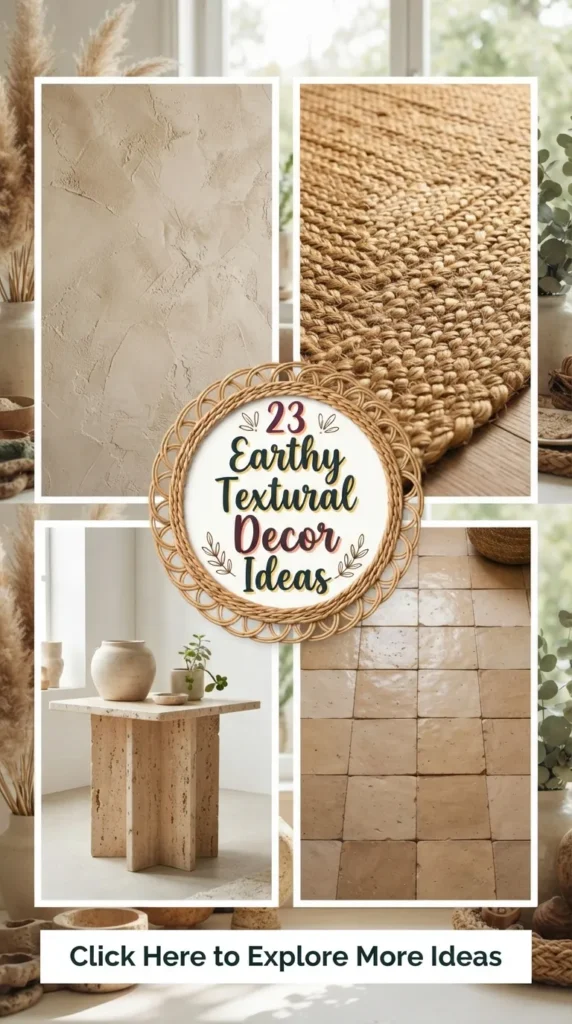
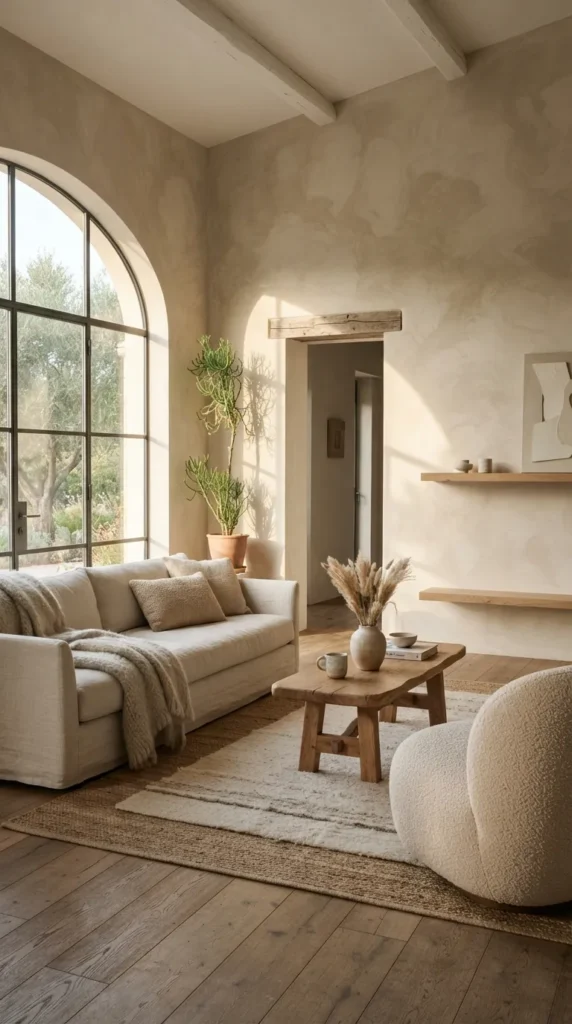
Home decorating is shifting away from flat, overly polished surfaces and moving toward environments that feel grounded, organic, and richly tactile. Earthy textural decor embraces the natural imperfections of organic materials, bringing the calm warmth of the outdoors into living spaces. By combining rough-hewn stone, woven natural fibers, tactile plaster, and weathered woods, you can transform any room into a tranquil, sensory-rich sanctuary.
Here are 20 timeless, earthy textural decor ideas to bring warmth, depth, and organic elegance into your home.


1. Hand-Troweled Limewash Walls
What This Idea Means
Limewash is a ancient wall finish made from slaked lime and natural pigments. Unlike modern flat acrylic paint, limewash absorbs into porous surfaces, creating a subtle, mottled finish with soft tonal variations and a velvety texture reminiscent of centuries-old Mediterranean stone homes.
How to Make It
- Prepare the Surface: Clean the wall thoroughly and apply a dedicated mineral or acrylic primer designed for limewash.
- Mix the Paint: Dilute the limewash powder or premixed paste with water according to manufacturer instructions until it reaches a thin, milk-like consistency.
- Apply in Cross-Hatch Strokes: Using a large block brush, apply the paint in sweeping, overlapping “X” motions. Work quickly to keep a wet edge.
- Build Layers: Allow the first coat to dry completely (usually 12 to 24 hours). Apply a second thin coat using the same cross-hatch motion to build soft depth and cloud-like movement.
Tips and Variations
- Ponal Warmth: Choose warm beige, terracotta, greige, or soft chalky olive tones for an authentic organic look.
- Texture Boost: For extra grain, mix fine silica sand into the first coat.
- Moisture Caution: If applying in a bathroom, apply a breathable protective sealer over the cured limewash to resist water splashes.
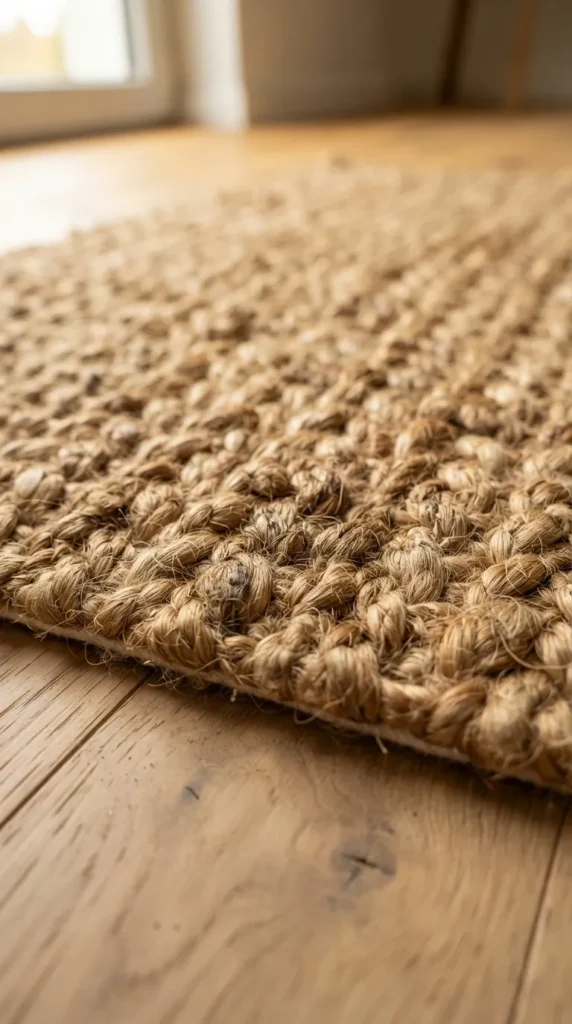
2. Chunky Raw Jute Area Rugs
What This Idea Means
Jute is a natural plant fiber known for its thick, rope-like strands and rich, golden-brown undertones. A chunky weave jute rug introduces immediate ground-level texture, anchoring minimalist furniture and softening hard floors like polished concrete or tile.
How to Make It
While weaving a full rug from scratch requires specialized looms, you can create a custom oversized jute rug by joining smaller natural mats:
- Source Natural Jute Runners or Tiles: Purchase un-dyed, thick-braided jute runners or modular woven tiles.
- Align the Seams: Lay the pieces side-by-side on a flat surface, ensuring the weave patterns line up cleanly.
- Bind with Heavy Canvas Thread: Using a curved upholstery needle and durable linen thread, hand-stitch the underside edges together using a blind whipstitch.
- Backing: Attach a heavy non-slip rug pad underneath to prevent shifting and preserve the natural fibers.
Tips and Variations
- Layering: Layer a smaller vintage wool Persian rug over a chunky jute base to create a rich contrast of cozy and coarse textures.
- Border Trim: Sew a wide cotton canvas or leather border around the edges for a tailored finish.
- Maintenance: Avoid placing jute rugs in high-moisture areas, as natural fibers absorb water easily.
3. Terracotta Slab Coffee Table
What This Idea Means
Terracotta brings deep earth-born warmth to an interior. A low-profile coffee table constructed from unglazed terracotta tiles or slab material combines architectural geometry with a clay texture that feels grounded and inviting.
How to Make It
- Construct a Frame: Build a simple box frame out of sturdy exterior-grade plywood or medium-density fiberboard (MDF) to your desired coffee table dimensions.
- Prepare Tile Cement: Apply thin-set mortar evenly across the wooden frame using a notched trowel.
- Lay Unglazed Tiles: Place handmade terracotta tiles tightly across the top and sides, using tile spacers for even lines.
- Grout and Seal: Fill the joints with a wide-joint sand grout in a complementary stone-colored hue. Once cured, apply a matte, penetrating sealer to protect the porous clay from stains while maintaining a raw finish.
Tips and Variations
- Fluted Base: Use vertical half-round terracotta pipes to form a pedestal base topped with a smooth, round wood or stone slab.
- Color Play: Mix natural reddish-brown terracotta tiles with pale cream zellige accent tiles for subtle visual interest.
4. Reclaimed Wood Beam Floating Shelves
What This Idea Means
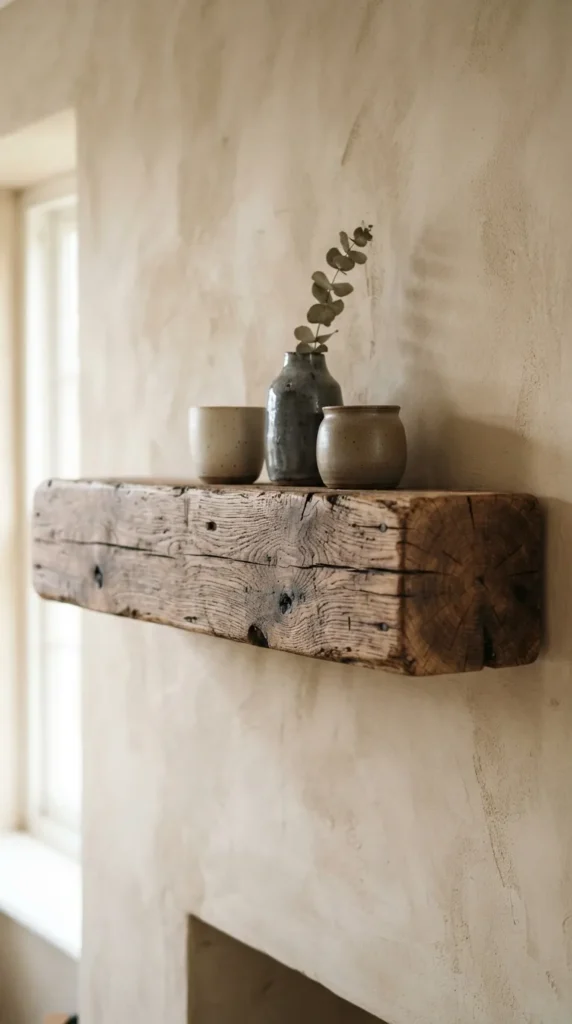
Reclaimed timber carries history, character, and deep tactile beauty through axe marks, original nail holes, weathered grain, and natural checking. Floating shelves made from old barn beams or salvaged structural joists introduce rugged warmth against smooth walls.
How to Make It
- Source Timber: Find salvaged hardwood beams (oak, pine, or chestnut) with rich surface aging.
- Clean and Sand: Wire-brush the surface to remove loose dirt and debris. Lightly hand-sand with medium-grit sandpaper to smooth splintered areas while preserving raw knots and saw marks.
- Install Hidden Brackets: Drill deep pockets into the back edge of the beam using a spade bit. Mount heavy-duty steel floating shelf brackets directly into wall studs, then slide the beam onto the steel rods.
- Finish: Coat with natural clear beeswax or matte hemp oil to deepen the wood grain without creating a plastic sheen.
Tips and Variations
- Live Edge: Keep the natural live-edge contour of the wood facing outward for an organic, unrefined silhouette.
- Dark Stain: Apply an ebony or charcoal wash to reclaimed wood to create a dramatic, moody earthy aesthetic.
5. Coarse Linen Drapery Panels
What This Idea Means
Linen made from natural flax offers an slubbed texture that filters light into a soft glow. Heavyweight, unbleached linen drapes soften structural window frames and introduce gentle, rhythmic movement to a room.
How to Make It
- Measure and Cut: Calculate window length, adding generous extra length (approx. 4–6 inches) so the linen pools gracefully on the floor.
- Hem Edges: Turn under the side and bottom edges by double-folding 1-inch hems. Press with a hot steam iron to crisp the natural fibers, then secure with a straight stitch.
- Top Header: Create a thick double-folded top header. Attach curtain tape or hand-sew brass curtain rings along the back.
- Hang and Soften: Hang the panels on an iron drapery rod. Wash or steam the linen repeatedly to enhance its natural rumpled drop.
Tips and Variations
- Raw Fringed Edges: Fray the bottom hem by pulling individual horizontal threads for a relaxed, undone hemline.
- Layering: Combine heavy beige linen drapes with sheer oatmeal linen panels underneath for versatile light control and added depth.


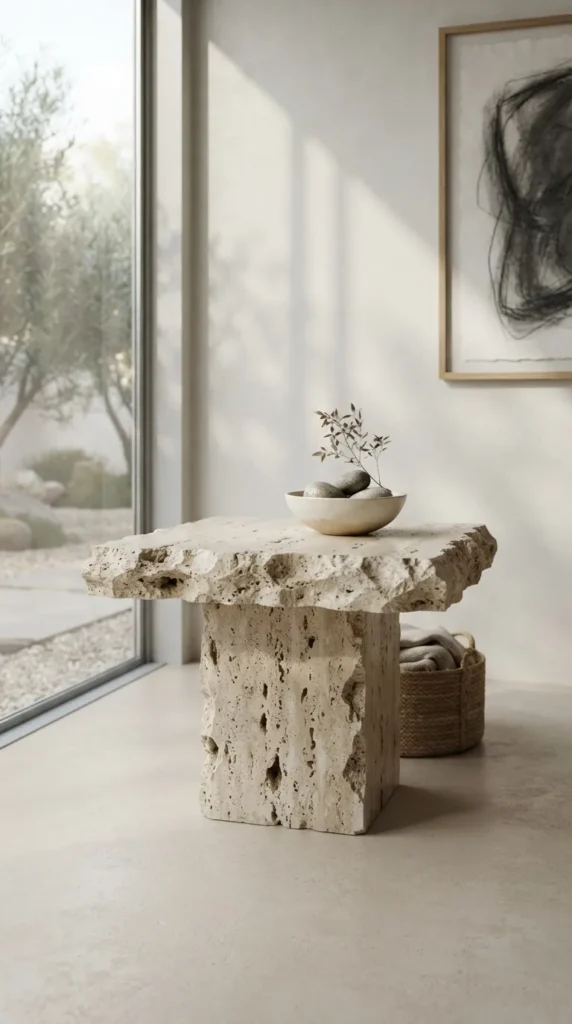
6. Rough-Cut Travertine Side Table
What This Idea Means
Travertine is a form of limestone characterized by unique voids, veining, and pitted textures. Utilizing rough-cut or chiseled-edge travertine highlights the raw geological structure of the stone, turning a simple accent table into a piece of sculpture.
How to Make It
- Source Slabs: Obtain thick slabs of raw, unfilled travertine from a local stone yard or mason.
- Chisel Edges: Use a hammer and stone chisel along the perimeter edges to create a rough, hand-broken fracture line while keeping the top flat.
- Base Assembly: Create a pedestal base using two perpendicular travertine slabs set in a cross formation, secured with high-strength stone epoxy.
- Top Attachment: Fasten the chiseled top slab to the base using stone epoxy adhesive. Apply a breathable matte stone sealer across the top surface to guard against spills.
Tips and Variations
- Vein Alignment: Position slabs so that natural mineral veining runs continuously across the table’s orientation.
- Filled vs. Unfilled: Leave side voids unfilled to showcase natural texture, but fill top surface pits with clear epoxy for practical liquid resistance.
7. Woven Rattan Wall Hanging Art
What This Idea Means
Moving away from framed flat prints, woven rattan wall art introduces architectural dimensionality and organic warmth to vertical surfaces. Geometric or abstract configurations made from cane, wicker, and split rattan act as acoustic-softening focal points.
How to Make It
- Frame Setup: Construct a simple geometric wooden frame (circle, arch, or rectangle) using thin timber strips.
- Soak Rattan: Submerge open-weave rattan cane webbing in warm water for 30 minutes to make it pliable and easy to handle.
- Stretch and Attach: Lay the wet webbing across the back of the wooden frame. Pull taut and secure around the border using a heavy-duty staple gun.
- Trim and Finish: Trim excess webbing along the edges once dry (it will shrink tight as it dries). Add a thin wood trim molding over the stapled line to enclose the back.
Tips and Variations
- Multi-Layer Shapes: Overlap multiple rattan hoops of different diameters to create a layered, modern kinetic wall sculpture.
- Dual Tone: Stain half of the rattan webbing in a deep walnut tint before weaving to produce striking contrast patterns.
8. Hand-Molded Plaster Vessel
What This Idea Means
Sculptural vessels crafted with thick, hand-applied plaster bring artisanal character and soft matte white or chalky gray tones to shelving, mantelpieces, and dining tables.
How to Make It
- Form the Base: Use a simple glass vase, balloon, or recycled plastic container as an interior structural core.
- Apply Plaster Bandages: Dip plaster-of-Paris gauze strips in water and wrap them smoothly over the base vessel to form the rough shape.
- Build Surface Depth: Once dry, mix joint compound or plaster mix to a thick paste. Hand-trowel or brush the plaster over the entire exterior using short, uneven strokes to create physical ridges and valleys.
- Sand and Seal: Once fully cured (24 hours), lightly sand down harsh points. Paint with matte interior latex paint or chalk paint, then apply wax sealer.
Tips and Variations
- Organic Inclusions: Mix fine crushed eggshells, sand, or dried coffee grounds into the plaster for an extra gritty, stone-like texture.
- Dry Arrangement Only: Unless built around a waterproof inner container, use plaster vessels exclusively for dry botanical arrangements.
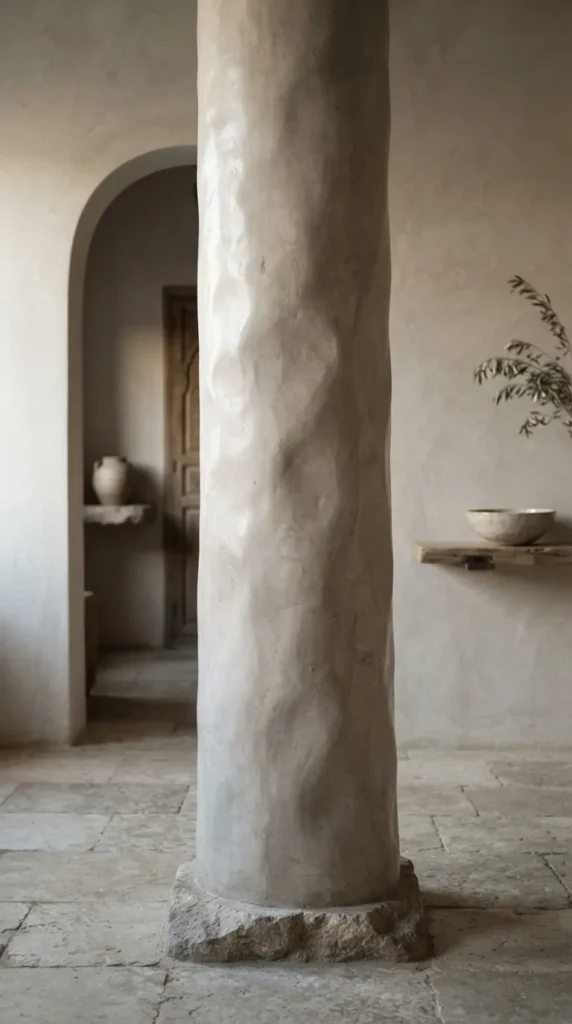
9. Wabi-Sabi Tadelakt Accent Pillar
What This Idea Means
Tadelakt is a traditional Moroccan plastering technique that results in a smooth, slightly wavy, water-resistant surface with an ethereal organic sheen. Applying this finish to an accent column, alcove, or structural pillar anchors a space with tactile minimalism.
How to Make It
- Base Preparation: Apply a coarse mineral scratch coat over a masonry or drywall column to ensure proper adhesion.
- Apply Tadelakt Plaster: Trowel on a coat of lime-based Tadelakt plaster mixed with natural mineral pigments.
- Burnish with Stone: As the plaster begins to set, polish the entire surface in firm circular motions using a smooth, flat river stone. This compresses the plaster and creates a dense, silky surface.
- Olive Oil Soap Finish: Wash the burnished surface with olive-oil-based black soap. The soap reacts chemically with the lime to make the surface water-repellent and subtly glossy.
Tips and Variations
- Soft Curves: Round off sharp column corners before applying plaster to accentuate Tadelakt’s silky light-reflecting properties.
- Earthy Tones: Soft mustard, warm ochre, or pale cement grey work beautifully for this Mediterranean-inspired technique.
10. Bouclé and Raw Wool Accent Seating
What This Idea Means
Bouclé—a fabric woven from looped yarn—offers cozy tactile depth that breaks up hard architectural lines. Pairing heavy nubby bouclé or raw, un-carded wool with sleek timber or metal chair frames creates a balanced juxtaposition between soft and structured elements.
How to Make It
- Strip Existing Fabric: Remove old upholstery from an accent armless lounge chair or ottoman down to the padding.
- Upgrade Padding: Wrap high-density foam cushions in a thick layer of polyester batting to create soft, rounded contours.
- Upholster with Bouclé: Stretch high-weight wool bouclé fabric tightly over the seat and backrest, pulling evenly from center edges outwards.
- Secure and Finish: Anchor the fabric using a heavy-duty staple gun on the underside frame, folding neat hospital corners along edges. Cover exposed staple lines with fabric dust cover lining.
Tips and Variations
- Warm Cream Tones: Stick to oatmeal, ivory, or warm mushroom hues to emphasize loop-texture shadow play.
- Pillow Accents: If reupholstering furniture feels too complex, throw raw wool or bouclé accent pillows onto a leather sofa for instant tactile contrast.



11. Mortar-Washed Brick Fireplace Surround
What This Idea Means
A mortar-wash (often called a German Smear) covers sharp red bricks with a heavy coating of textured mortar. This technique tones down harsh brick colors, adds dimensional mortar ridges, and mimics historic European stone cottages.
How to Make It
- Clean the Brick: Scrub the brick surface thoroughly with a wire brush and cleaner to remove dust and soot; dampen the brick with water before applying mortar.
- Mix Mortar: Prepare pre-mixed white or off-white masonry mortar with water until it reaches a thick paste consistency similar to peanut butter.
- Apply with Trowel or Glove: Smear mortar onto the brickwork using a trowel or heavy rubber gloved hands, pressing it firmly into grout lines and spreading it across brick faces.
- Wipe Back: Before the mortar sets completely, use a wet sponge or wire brush to rub away portions from selected bricks to reveal hint layers of underlying brick.
Tips and Variations
- Coverage Control: Adjust coverage from heavy (90% brick covered) for a plaster-like wall to light (40% covered) for a weathered vintage feel.
- Sanded Finish: Use coarse-grained masonry sand to add gritty texture to the mortar mixture.
12. Compressed Rammed Earth Decor Panels
What This Idea Means
Rammed earth is a ancient construction technique involving compacted layers of soil, clay, gravel, and sand. Framing thin, non-structural rammed earth panels creates striking artwork that showcases natural geological striations.
How to Make It
- Build a Formwork: Construct a narrow, deep rectangular wooden frame using sturdy plywood and clamps.
- Mix Earth Formulations: Prepare separate batches of moist soil, sand, fine gravel, and lime binder, tinting each batch slightly with different iron oxide mineral pigments (red, ochre, brown, beige).
- Layer and Tamp: Pour a 2-inch layer of one color mix into the frame and compact it firmly using a hand tamper. Repeat with alternating color batches to build visible horizontal earth strata.
- Cure and Mount: Allow the panel to dry thoroughly inside the formwork for several days. Remove the wooden side forms carefully, seal with a matte stone hardener, and secure within a heavy metal frame for hanging.
Tips and Variations
- Wave Layering: Pour soil at slight angles between tamping cycles to create natural undulating topography lines.
- Embedded Elements: Embed small polished river pebbles or quartz fragments along the edge of layers for extra visual texture.
13. Slatted Wood and Charcoal Acoustic Paneling
What This Idea Means
Combining vertical thin wood slats with a deep dark felt backing creates an architectural wall treatment that combines rich tactile depth with sound-absorbing functionality.
How to Make It
- Prepare Backing: Cut thick black or charcoal acoustic polyester felt sheets to fit your target wall height and width.
- Prepare Slats: Cut thin strips of natural oak, walnut, or ash lumber (approx. 1 inch wide by 0.5 inch deep). Sand smooth and apply a clear matte protective oil.
- Mount Slats to Felt: Space wood slats evenly across the acoustic felt (leaving a 0.5-inch gap between slats). Fasten slats from the back of the felt using short wood screws or heavy adhesive.
- Install Panels: Secure completed acoustic panels to wall studs using black drywall screws driven between the slats into the black felt.
Tips and Variations
- Half-Wall Application: Install vertical wood slat panels on the lower half of a wall as a contemporary wainscoting alternative.
- Unstained Contrast: Pair pale Scandinavian blonde pine with ultra-dark black felt for clean architectural contrast.
14. Woven Seagrass Floor Poufs
What This Idea Means
Seagrass is a durable, water-resistant natural plant material woven into rugged rope strands. Large seagrass poufs serve as flexible floor seating, footrests, or informal coffee tables while bringing rich coastal-organic texture indoors.
How to Make It
- Construct/Obtain Outer Shell: Weave thick braided seagrass cord in a continuous spiral pattern, stitching adjacent coils together with heavy nylon thread (or purchase a pre-woven seagrass shell).
- Insert Inner Liner: Place a heavy canvas or drop-cloth fabric liner sack inside the seagrass casing.
- Fill Density: Fill the liner tightly with a combination of high-density shredded memory foam (for comfort) and recycled fiberfill or dense textile scraps (to maintain structure).
- Seal: Hand-sew the canvas liner shut, then draw the bottom seagrass coils together and fasten securely with a cord tie.
Tips and Variations
- Two-Tone Dye: Dip the lower half of a natural seagrass pouf into charcoal or dark terracotta fabric dye for a modern color-block look.
- Firm Top: Place a round flat wooden tray on top of the pouf to instantly convert floor seating into a stable side table.
15. Raw Stone and Concrete Pedestals
What This Idea Means
Substantial stone or micro-cement pedestals offer a grounding presence for displaying sculptures, green plants, or lighting. The contrast of porous stone textures alongside sleek modern room elements elevates simple objects.
How to Make It
- Build Core Box: Construct a tall rectangular box using sturdy 3/4-inch MDF or exterior plywood.
- Apply Mesh Reinforcement: Wrap the outer wooden box in fiberglass mesh tape to ensure strong bonding for cement layers.
- Trowel Micro-Cement: Mix coarse micro-cement or feather-finish concrete powder with water. Apply a thin coat over the entire pedestal using a steel trowel, deliberately leaving visible trowel sweeps and subtle pockets.
- Sand and Seal: Once dry, sand rough spots with 120-grit sandpaper to reveal fine aggregate details. Seal with a zero-shine matte concrete sealer.
Tips and Variations
- Embedded Stone Aggregates: Press small coarse granite chips or crushed marble into wet cement before setting to create a textured terrazzo look.
- Fluted Columns: Glue half-round wood dowels side-by-side onto a cylindrical cardboard form tube before applying concrete finish for a classic fluted pillar look.


16. Unglazed Zellige Accent Tile Backsplash
What This Idea Means
Zellige tiles are hand-molded, sun-dried Moroccan clay tiles. Leaving Zellige tiles unglazed exposes the raw terracotta body, complete with natural color shifts, uneven edges, and subtle surface pits that catch light dynamically.
How to Make It
- Prepare Substrate: Ensure the wall surface is clean, flat, and backed with cement board if installing in wet areas.
- Dry Laying Pattern: Lay out unglazed Zellige tiles on the floor to mix shade variations evenly across the layout.
- Apply Mortar and Set: Apply white thin-set mortar to the wall with a notched trowel. Press tiles tightly together by hand, leaving tiny or virtually zero grout joints (traditionally laid edge-to-edge).
- Grout Lightly: Push fine, un-sanded pale stone grout into any narrow crevices. Damp-sponge tile faces clean before grout cures fully. Apply a penetrating sealer to guard against oil or water staining.
Tips and Variations
- Herringbone Pattern: Install square or rectangular unglazed tiles in a diagonal herringbone pattern to emphasize geometric texture shadows.
- Mix Gloss and Raw: Intersperse a few glossy glazed zellige tiles among unglazed ones for subtle light reflections.
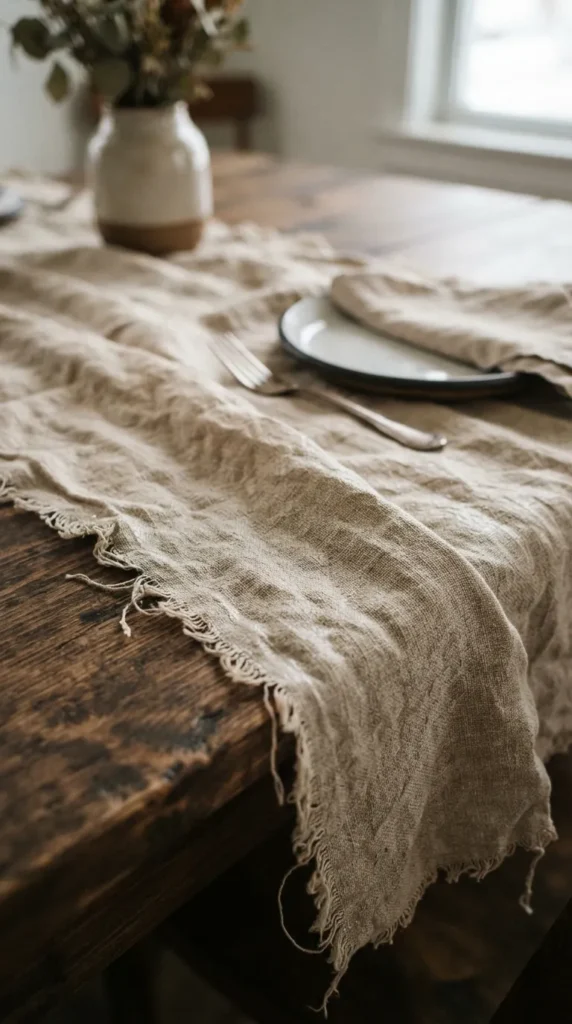
17. Crinkle Waxed Linen Table Runners
What This Idea Means
Treating natural linen with beeswax creates a crinkled, water-repellent fabric with a rich sheen and distinct tactile memory. A waxed linen runner lays down an earthy rustic base layer for dining tables and sideboards.
How to Make It
- Prep Fabric: Cut an unbleached raw linen fabric strip to your desired table dimensions, allowing for a generous drape over table ends. Fray side edges by hand for a relaxed hem.
- Melt Wax Blend: Melt natural yellow beeswax combined with a small amount of jojoba oil in a double boiler over medium heat.
- Apply Wax: Lay the linen flat on parchment paper. Brush the melted wax evenly across the fabric using a natural bristle paintbrush.
- Set and Crinkle: Use a heat gun or hairdryer to melt the wax deep into the linen fibers until evenly saturated. Once cool, crumple and fold the fabric repeatedly in your hands to form characteristic light-refracting wax crinkles.
Tips and Variations
- Natural Botanical Dyes: Dye linen using avocado pits (pinkish beige), walnut husks (warm brown), or onion skins (amber ochre) prior to waxing.
- Easy Maintenance: Clean by wiping down with a cool, damp cloth—avoid hot water to preserve the wax structure.
18. Weathered Driftwood Wall Sculpture
What This Idea Means
Ocean-weathered driftwood features soft, rounded contours, deep wood grain grooves, and bleached pale tones crafted entirely by natural water erosion. Assembling pieces into abstract wall installations brings coastal serenity into home interiors.
How to Make It
- Collect and Treat Wood: Gather naturally dried, ocean- or river-washed driftwood pieces. Sanitize by scrubbing with a mild vinegar solution and baking thoroughly in a low-temp oven (200°F) for 2 hours.
- Design Composition: Lay out pieces on the floor in an overlapping art arrangement (such as a sunburst, cloud shape, or abstract wave).
- Join Structure: Connect individual driftwood branches using hidden wooden dowels, wood glue, and stainless steel screws driven from the back.
- Mounting: Attach heavy-duty French cleat hardware behind the central join point to hang the sculpture securely.
Tips and Variations
- Integrated Lighting: Conceal a warm LED strip light behind the central sculpture structure to project soft ambient backlight across wall textures.
- Bleached Finish: Dip dark driftwood in a diluted hydrogen peroxide solution to brighten wood tones to an airy chalky white.
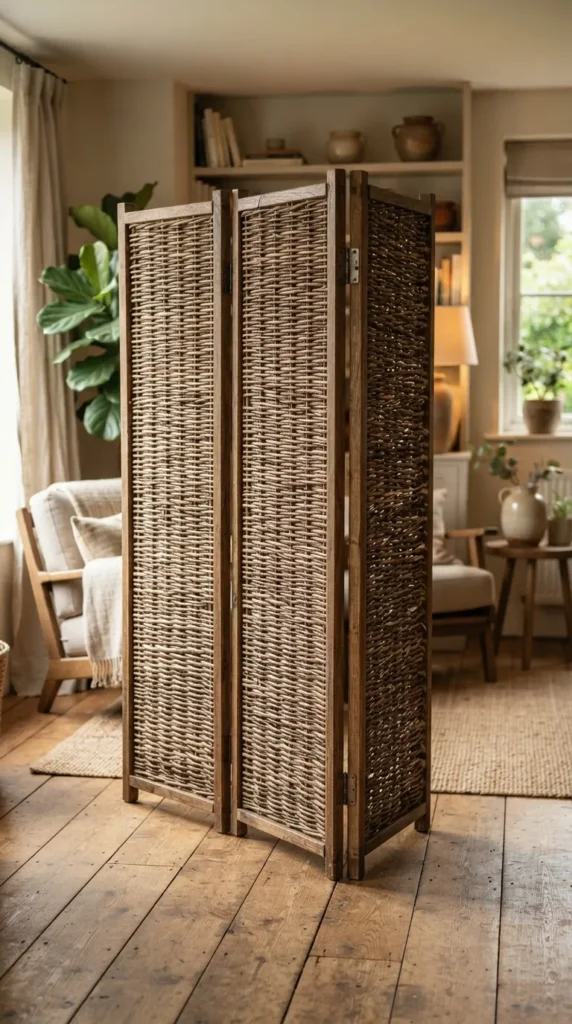
19. Woven Willow and Twig Room Dividers
What This Idea Means
Willow branches and flexible twigs woven through vertical frames offer light-filtering room dividers. These natural screens define separate living areas while preserving air flow and visual openness.
How to Make It
- Build Frame Structure: Construct a tall 3-panel folding screen frame using 2×2 timber posts connected by heavy brass butt hinges.
- Install Vertical Guides: Drill holes along the top and bottom interior rails of each frame panel and insert thick, straight hazel or bamboo vertical uprights.
- Weave Willow Hurdles: Soak flexible peeled or unpeeled willow rods in water until pliable. Weave rods horizontally over and under the vertical guides in a classic basketry weave pattern.
- Pack and Secure: Push woven rows down firmly as you work to keep the weave tight. Trim excess twig ends flush along side frame edges.
Tips and Variations
- Peeled vs. Unpeeled: Unpeeled willow retains natural dark bark texture, while peeled willow offers a smooth, pale golden finish.
- Partial Weave: Leave the top third of the panel open with vertical twigs only, weaving only the lower two-thirds for a balanced, open look.
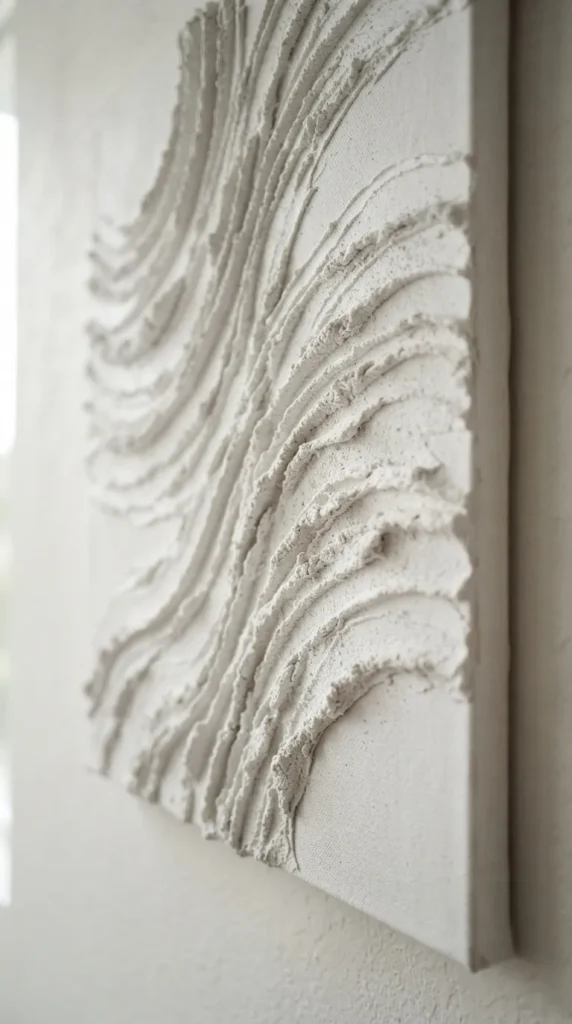
20. Layered Coarse Sand Art Panels
What This Idea Means
Tactile canvas art made with natural sands, crushed stone, and textured binder brings rich geological landscapes indoors. Minimalist monochromatic wave patterns made with coarse sand catch room lighting from every angle.
How to Make It
- Prepare Canvas: Stretch heavy duck canvas over a sturdy wood frame or use a primed wooden cradle board.
- Mix Sand Paste: Combine heavy body acrylic gel medium or tile adhesive with coarse beach sand, crushed quartz, or volcanic ash to create a thick, sculptable paste.
- Trowel and Form: Spread the sand paste onto the canvas using a notched trowel, wide spatula, or coarse comb to sculpt organic waves, concentric circles, or architectural ridges.
- Dry and Seal: Allow to dry completely over 24 to 48 hours. Leave natural sand shades exposed, or spray with a thin coat of matte chalk paint and protective sealant.
Tips and Variations
- Multi-Gradation Sands: Use naturally contrasting sands (black volcanic sand, white quartz sand, and red desert sand) in distinct bands across the canvas.
- Framing: Enclose finished sand canvases within slim, unvarnished natural oak float frames for a refined gallery presentation.