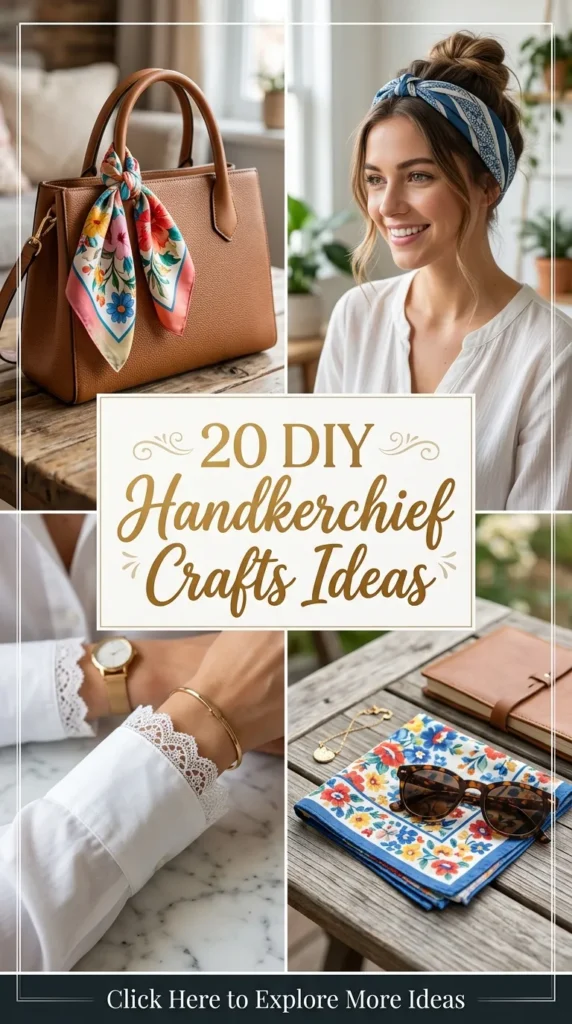
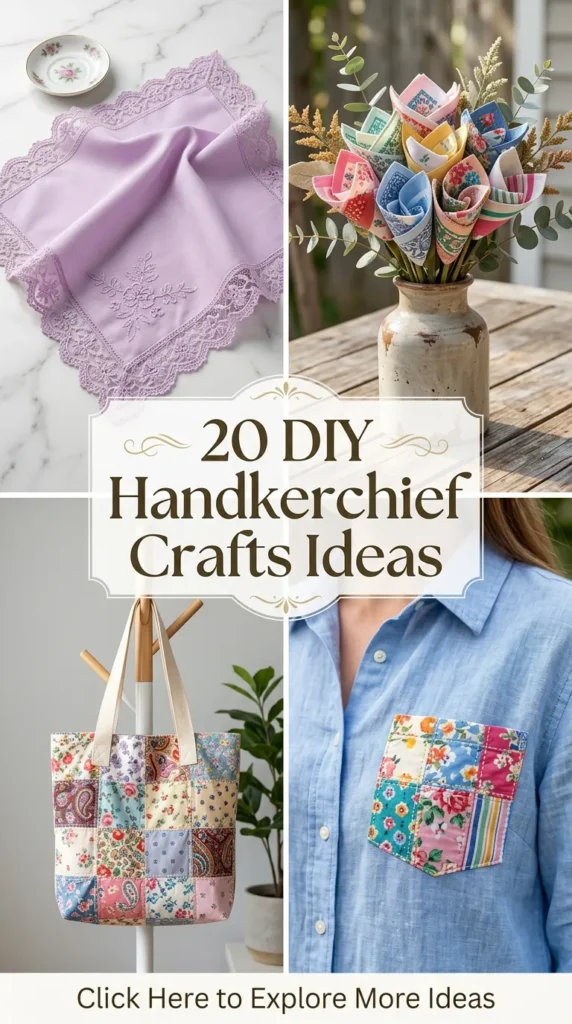
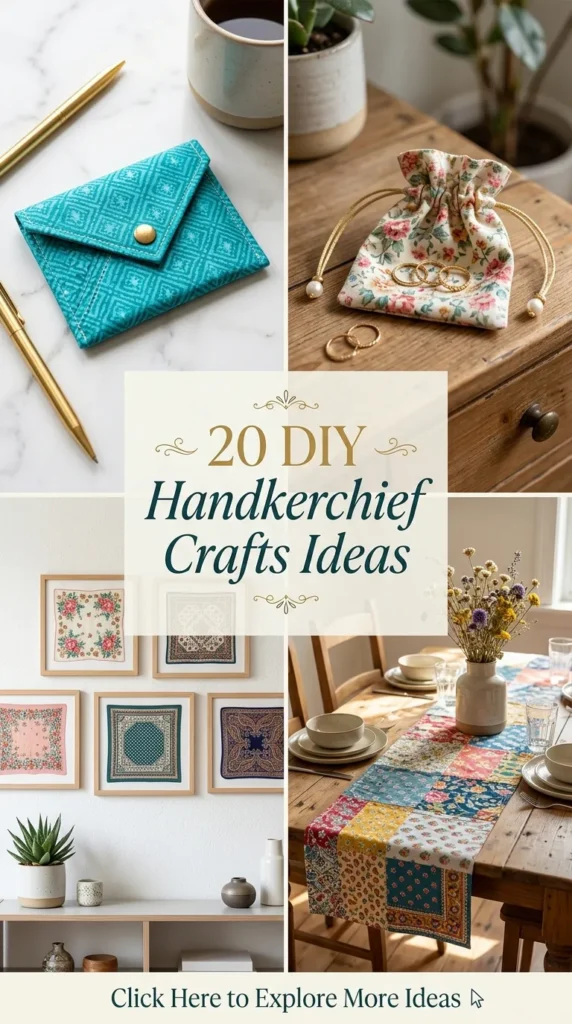
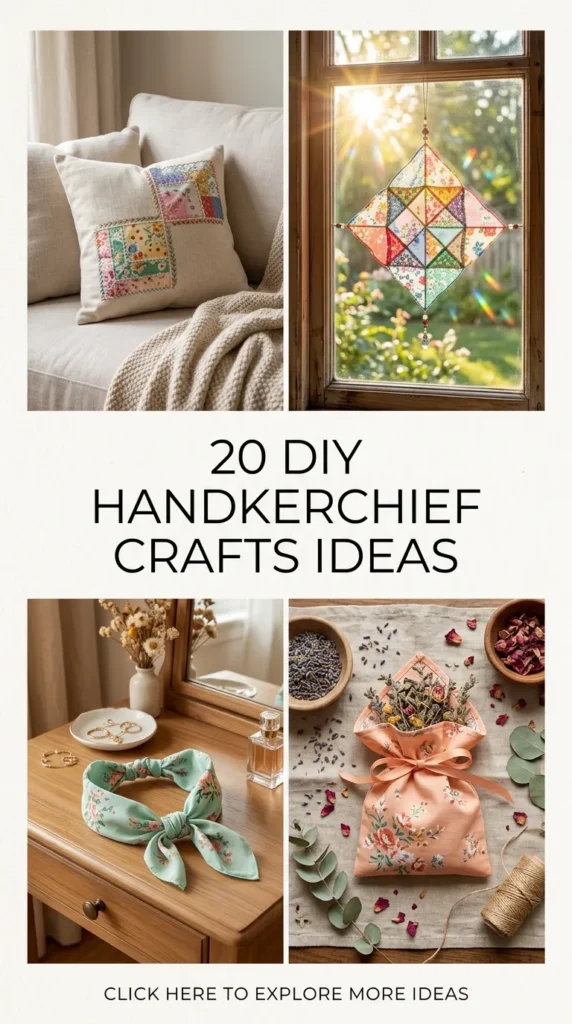
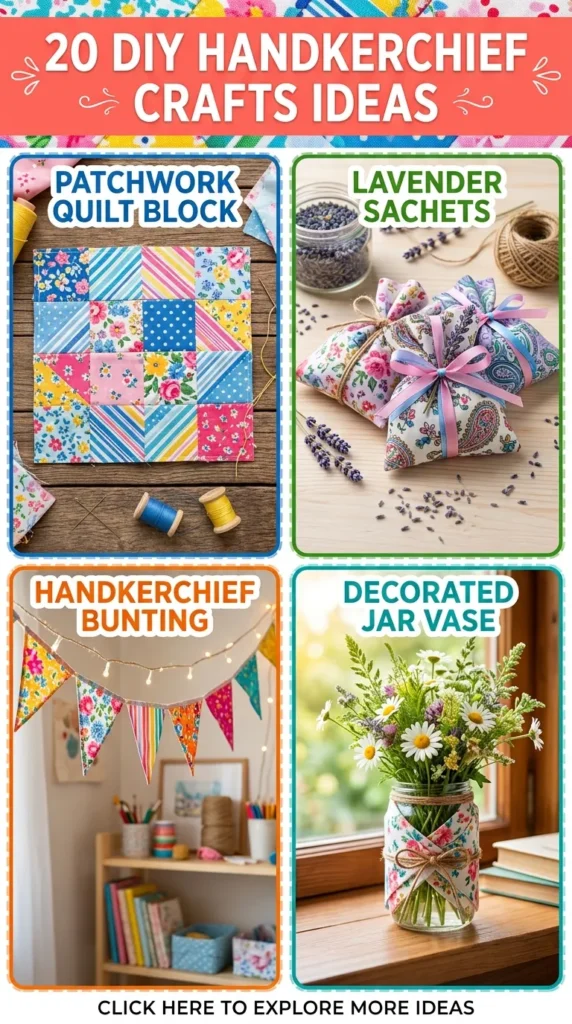
Lace-trimmed, embroidered, or vibrant printed handkerchiefs carry a quiet charm that modern fabrics rarely match. Whether you have inherited a stack of heirloom linens or stumbled across a treasure trove at a local flea market, these delicate squares of fabric deserve more than sitting inside a forgotten dresser drawer. With a few simple steps, you can upcycle vintage and floral handkerchiefs into stylish home accents, wearable accessories, and memorable gifts.
Here are 20 inspired DIY handkerchief craft ideas to revive your vintage textile collection, complete with detailed guides, materials, and tips for seamless crafting.
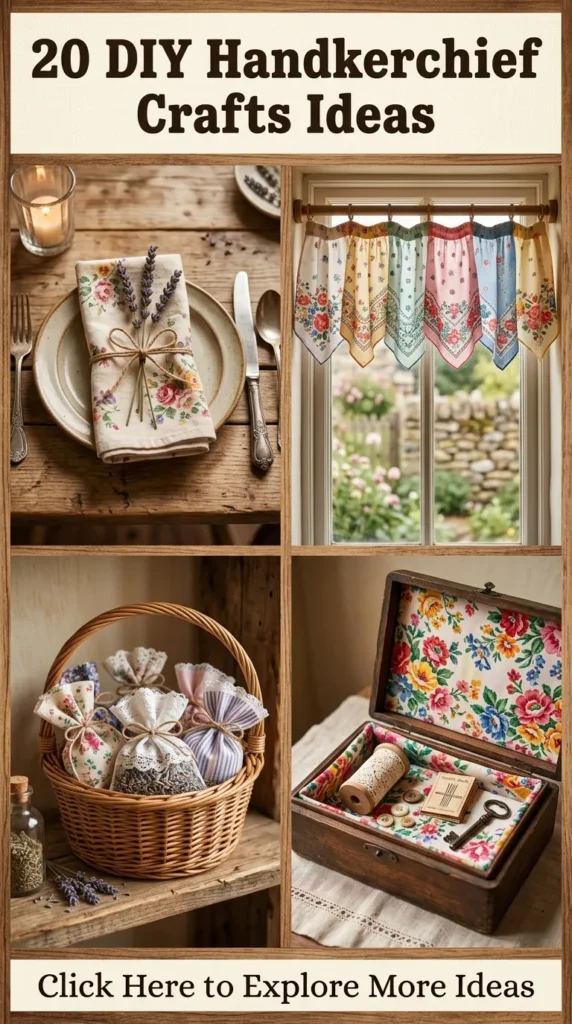
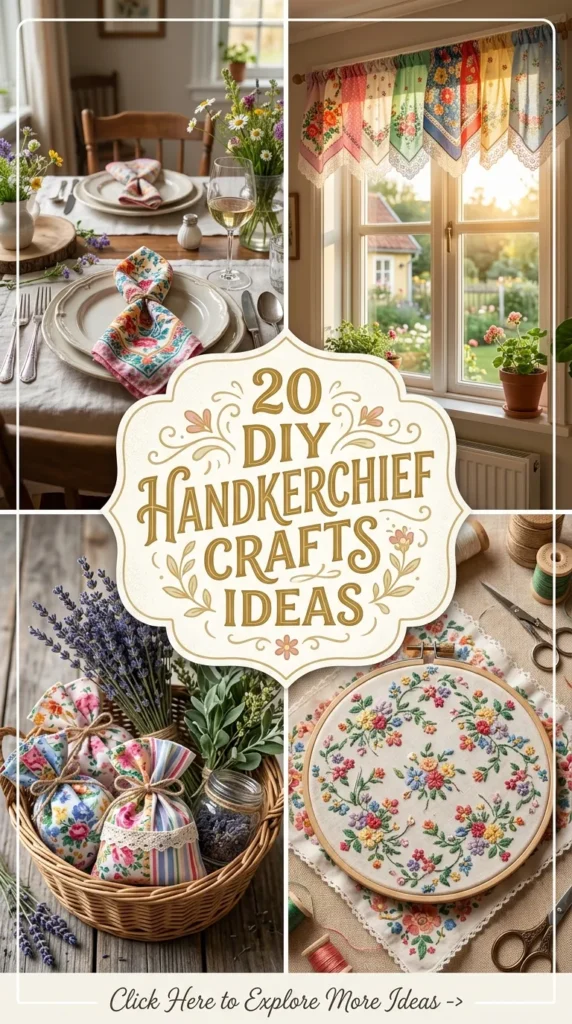
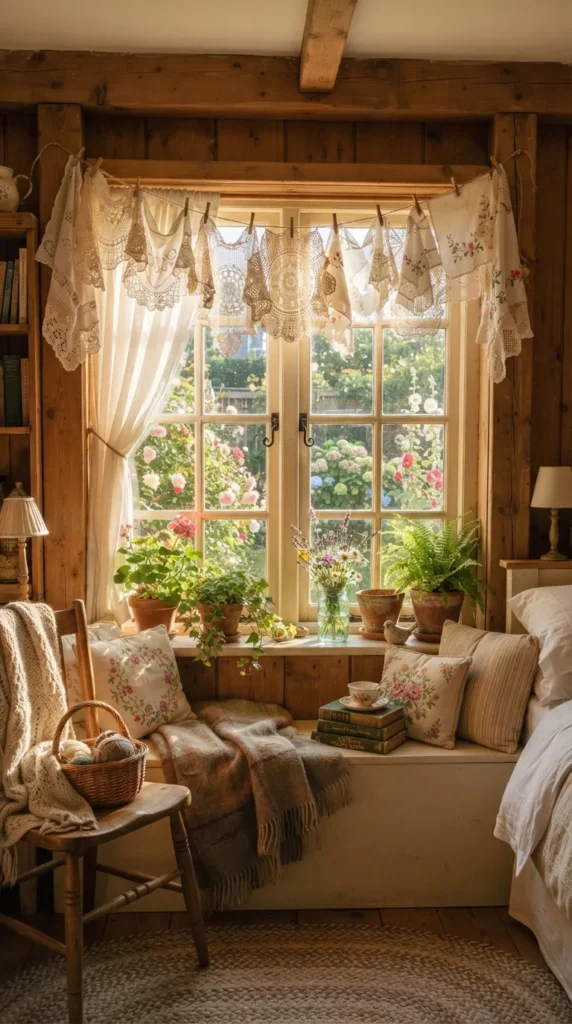
1. Handkerchief Cottagecore Window Valance
Introduction
A handkerchief window valance brings soft, filtered sunlight and nostalgic charm into any room. By connecting multiple handkerchiefs along a curtain rod, you create a lightweight drapery that sways with the slightest breeze.
What This Idea Means
This project turns sheer, patterned linens into functional window treatments. It highlights the intricate lace borders and scalloped edges of individual handkerchiefs without cutting or altering their original form.
Materials Needed
- 6 to 10 vintage handkerchiefs (matching or complementary colors)
- Fine sewing thread or liquid fabric fuse
- Standard curtain rod or decorative wooden dowel
- Small clip rings or ribbon ties
- Iron and ironing board
How to Make It
- Prep and Press: Wash and press all handkerchiefs thoroughly to crisp the edges and flatten creases.
- Layout Design: Lay the handkerchiefs flat on a table to test layout combinations, alternating patterns, lace styles, and fabric densities.
- Connect the Squares: Overlap the edges of adjacent handkerchiefs by a quarter-inch. Stitch down the overlap using a narrow zig-zag stitch or apply a thin line of fabric adhesive.
- Attach Rings or Ribbons: Fasten curtain clip rings across the top edge spaced 4 inches apart, or hand-sew ribbon loops to suspend the valance from the rod.
- Hang and Adjust: Slide the valance onto your curtain rod and adjust the gathers evenly across the window frame.
Tips and Variations
- Tip: Group handkerchiefs with similar fabric weights together so the drape remains uniform across the top.
- Variation: Hang handkerchiefs diagonally in a diamond orientation to create a pointed, handkerchief-hem valance.
What to Avoid
Avoid heavy-duty threads or thick needles, which can tear vintage cotton threads or create visible puckering along the seams.
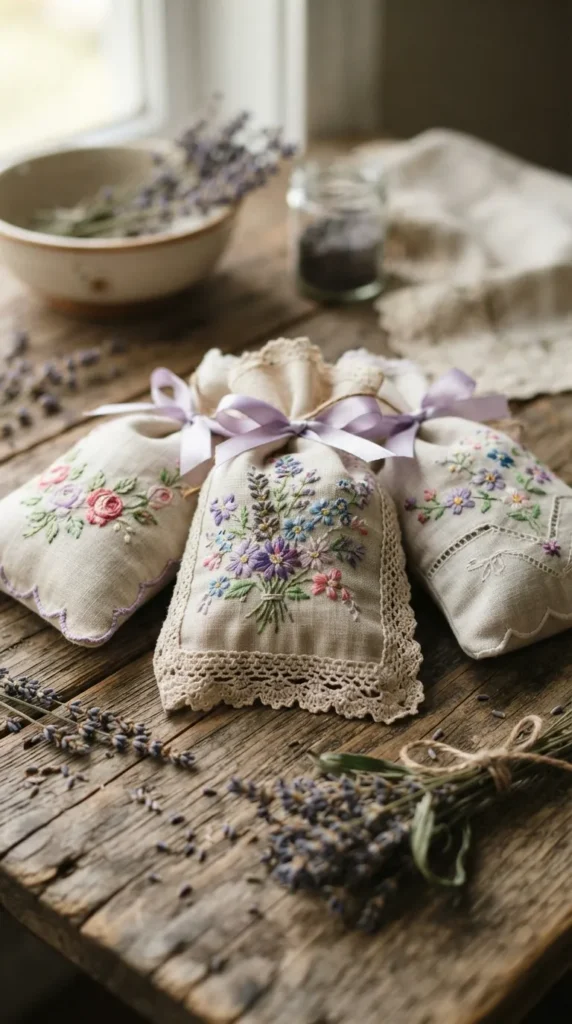
2. Embroidered Pocket Square Lavender Sachets
Introduction
Fill your linen closets, drawers, and luggage with natural fragrance by crafting petite lavender sachets from embroidered handkerchiefs.
What This Idea Means
Sachets isolate beautiful embroidered corner motifs into self-contained, aromatic cushions. They serve as functional closet fresheners while showcasing vintage handiwork.
Materials Needed
- 1 vintage embroidered handkerchief (yields 1–2 sachets)
- Dried lavender buds or aromatic botanical mix
- Fiberfill stuffing (optional)
- Matching thread and sewing needle
- Fabric shears
How to Make It
- Cut the Squares: Fold the handkerchief to isolate the embroidered corner. Cut two matching 4×4-inch squares, keeping the embroidered motif centered on the front piece.
- Sew Three Sides: Place the decorative sides facing each other. Stitch around three edges with a 1/4-inch seam allowance, leaving one side open.
- Turn and Pack: Turn the fabric right side out through the opening and gently push out the corners using a blunt point.
- Fill: Fill the pouch with dried lavender buds, mixing in a pinch of fiberfill if you prefer a softer, plump shape.
- Seal the Edge: Fold the raw edges inward by 1/4 inch and hand-stitch the open side closed using an invisible slip stitch.
Tips and Variations
- Tip: Add a drop of lavender essential oil to the dried buds prior to filling for a longer-lasting fragrance.
- Variation: Tie a thin satin ribbon loop into the top seam before stitching so you can hang the sachet from coat hangers.
What to Avoid
Avoid overfilling the sachets to the point where the seams strain, which can cause the delicate handkerchief fibers to split over time.
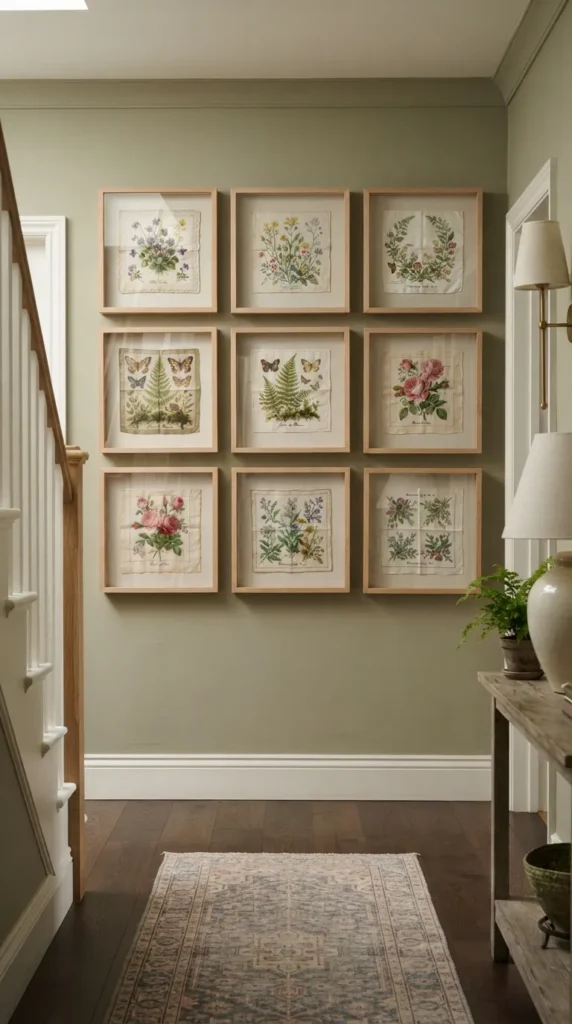
3. Heirloom Handkerchief Framed Wall Gallery
Introduction
Turn delicate, one-of-a-kind handkerchief designs into museum-style wall art by displaying them inside shadow boxes or floating frames.
What This Idea Means
Framing preserves fragile textiles from dust and handling while elevating them into fine art focal points for gallery walls and entryways.
Materials Needed
- Vintage handkerchiefs with vibrant patterns or contrast embroidery
- Glass frames or deep shadow box frames
- Acid-free mat board or linen backing
- Fabric-safe double-sided archival tape or mounting pins
- Iron
How to Make It
- Prepare Fabric: Press the handkerchief thoroughly with steam to eliminate fold marks.
- Prepare Backing: Cut acid-free mat board to match the inner dimensions of your frame.
- Position Handkerchief: Center the handkerchief on the mat board, ensuring line work and pattern grids align straight with the borders.
- Secure Textile: Anchor the corners and center using small strips of acid-free textile tape or tiny rust-proof pins pushed through the board.
- Assemble Frame: Place the mounted textile into the frame frame, seal the back, and attach hanging hardware.
Tips and Variations
- Tip: Use floating frames where the handkerchief is suspended between two panes of glass to accentuate openwork lace.
- Variation: Frame four matching handkerchiefs in a grid layout across a large hallway wall for a bold graphic statement.
What to Avoid
Avoid using standard tape or hot glue directly on handkerchief fabric, as adhesive chemicals permanently stain and degrade vintage fibers.
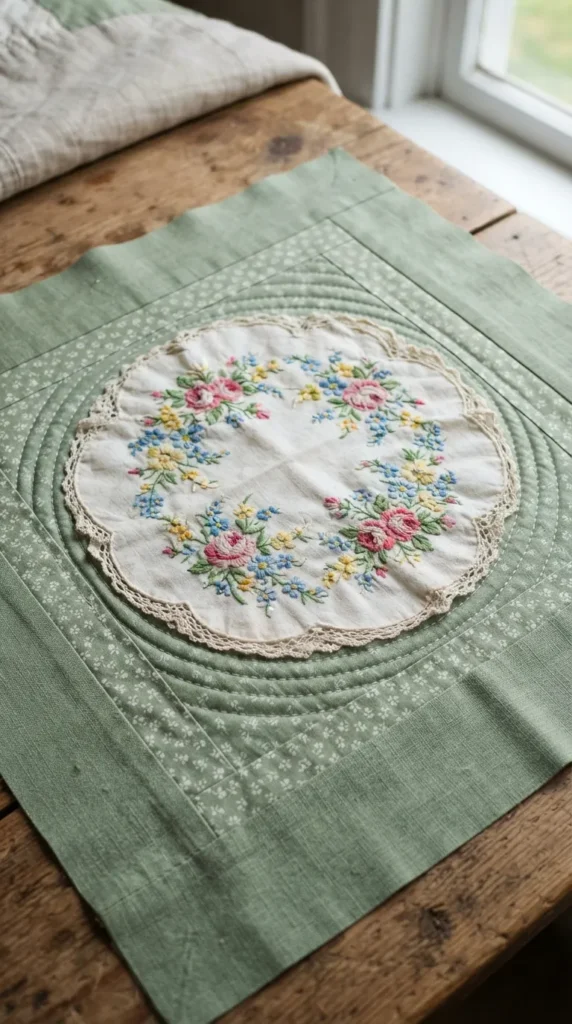
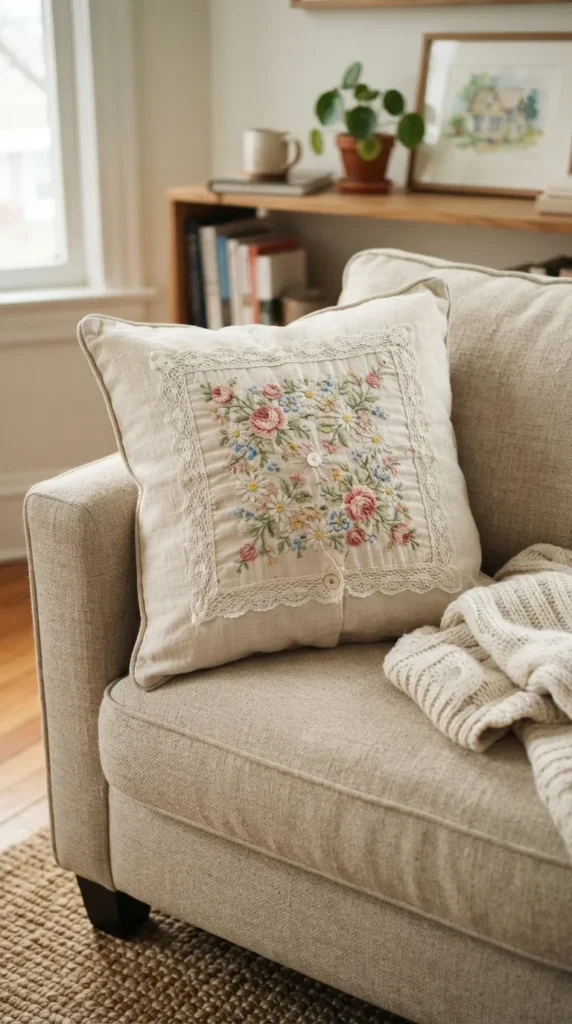
4. Vintage Botanical Handkerchief Quilted Pillows
Introduction
Craft cozy throw pillows by combining vintage botanical handkerchiefs with durable neutral linens.
What This Idea Means
This craft integrates thin, decorative fabrics onto sturdy cushion covers, ensuring delicate handkerchiefs can endure regular daily use.
Materials Needed
- 1 printed or floral handkerchief
- 1/2 yard of background fabric (linen or cotton duck)
- Pillow insert matching your target dimensions
- Zipper or envelope pillow back materials
- Sewing machine and thread
How to Make It
- Prepare Base Fabric: Cut a panel of sturdy linen slightly larger than your handkerchief to act as a supportive backing panel.
- Position Handkerchief: Lay the handkerchief dead-center on the front face of the linen base panel.
- Appliqué Handkerchief: Pin securely. Topstitch around the perimeter of the handkerchief, staying within 1/8 inch of the border fold.
- Quilt Accents (Optional): Stitch straight lines through both layers to create a quilted texture across the face panel.
- Construct Cushion: Join the front panel to your pillow backing pieces right-sides together, stitch around all four edges, trim corners, turn right side out, and insert your pillow form.
Tips and Variations
- Tip: Place a lightweight fusible interfacing behind the handkerchief before sewing to keep the sheer cotton flat.
- Variation: Layer small lace handkerchiefs diagonally on the cushion front for a geometric composition.
What to Avoid
Avoid using brightly colored pillow bases under sheer, light-colored handkerchiefs, as the background shade will show through the delicate weave.
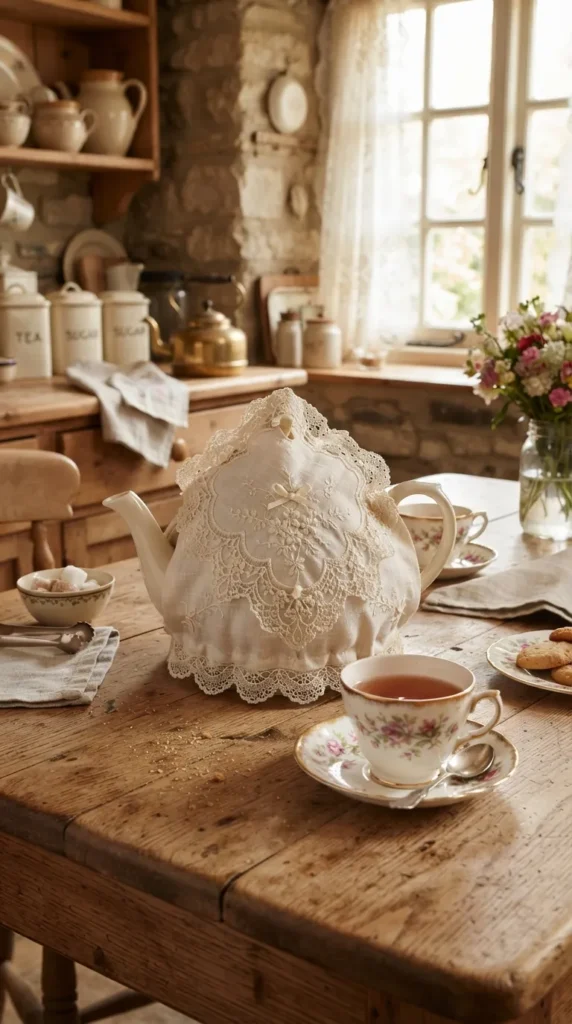
5. Lace-Trimmed Handkerchief Tea Cosy
Introduction
Keep your teapots warm while adding traditional tabletop elegance with an insulated, lace-embellished handkerchief tea cosy.
What This Idea Means
This project wraps tea accessories in quilted layers featuring external handkerchief lace trim, perfect for afternoon tea gatherings.
Materials Needed
- 2 lace-bordered handkerchiefs
- 1/2 yard outer cotton fabric and lining fabric
- Low-loft batting or heat-resistant insulation lining
- Bias tape for finished edges
- Thread and sewing tools
How to Make It
- Template Drafting: Measure your teapot’s height and width. Trace a rounded dome template onto paper, adding 1 inch of seam allowance.
- Cut Layers: Cut two dome pieces from outer fabric, lining fabric, and heat insulation material.
- Attach Handkerchiefs: Sew or fuse your handkerchiefs onto the outer fabric panels, allowing lace trims to hang lower than the bottom hemline.
- Layer and Quilt: Sandwich insulation between outer and lining panels. Stitch horizontal quilt lines to lock layers together.
- Assemble and Bind: Join the front and back domes along the top curved edge. Finish the bottom opening hemline with folded bias tape.
Tips and Variations
- Tip: Ensure insulation layers are thoroughly pinned before quilting to prevent bulk from shifting.
- Variation: Stitch small decorative pearl beads onto the handkerchief motifs on the exterior cosy dome.
What to Avoid
Avoid exposed insulation or unlined raw handkerchief edges on the interior where moisture and steam could cause fraying.
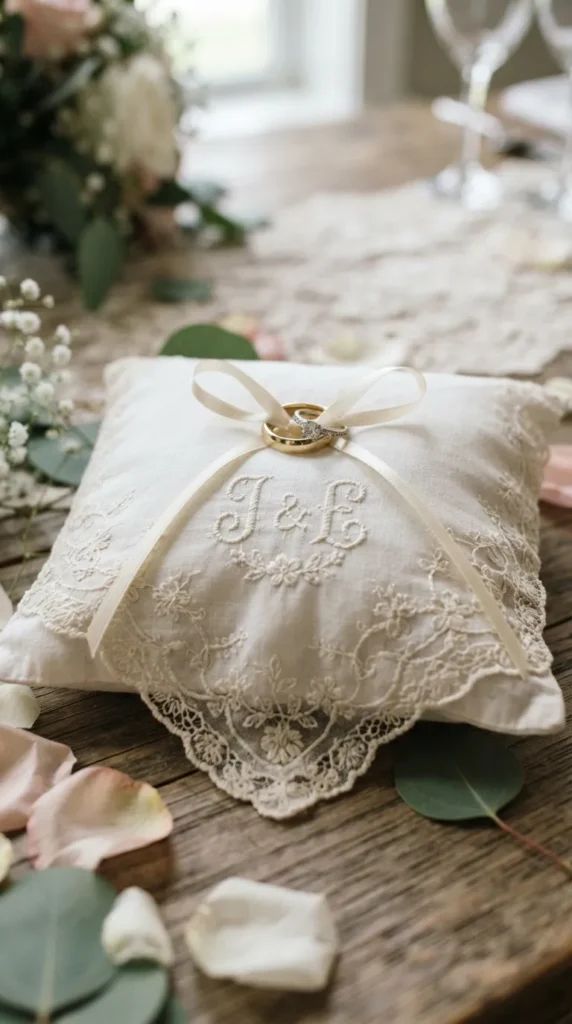
6. Monogrammed Handkerchief Ring Bearer Pillow
Introduction
Incorporate family history into a wedding ceremony by fashioning a customized ring bearer pillow featuring a monogrammed heirloom handkerchief.
What This Idea Means
This keepsake craft fuses cherished family linens into modern wedding details, creating an heirloom to pass down through generations.
Materials Needed
- 1 monogrammed vintage handkerchief
- Satin or silk dupioni background fabric (8×8 inches)
- Polyester polyfill stuffing
- Thin ribbon (satin or velvet)
- Needle and thread
How to Make It
- Cut Fabrics: Prepare two 8×8-inch squares of white or ivory satin.
- Center Textile: Lay the monogrammed handkerchief over the front panel, aligning the monogram centered or angled in a lower corner.
- Baste Handkerchief: Hand-baste or pin the handkerchief across the face of the top satin layer.
- Attach Ring Ribbons: Hand-sew two 12-inch ribbon strands to the center of the pillow front to secure wedding rings.
- Stitch Pillow: Align front and back panels right-sides facing. Stitch around the border with a 1/2-inch seam, leaving a 2-inch gap. Turn, stuff firmly, and slip-stitch the opening closed.
Tips and Variations
- Tip: Hand-sew tiny seed pearls around the handkerchief embroidery to tie into bridal jewelry details.
- Variation: Fold the handkerchief into a envelope pocket shape across the front panel to hold rings inside the fold.
What to Avoid
Avoid pulling machine stitches too tightly around delicate monograms, which causes puckering across thin handkerchief fabrics.
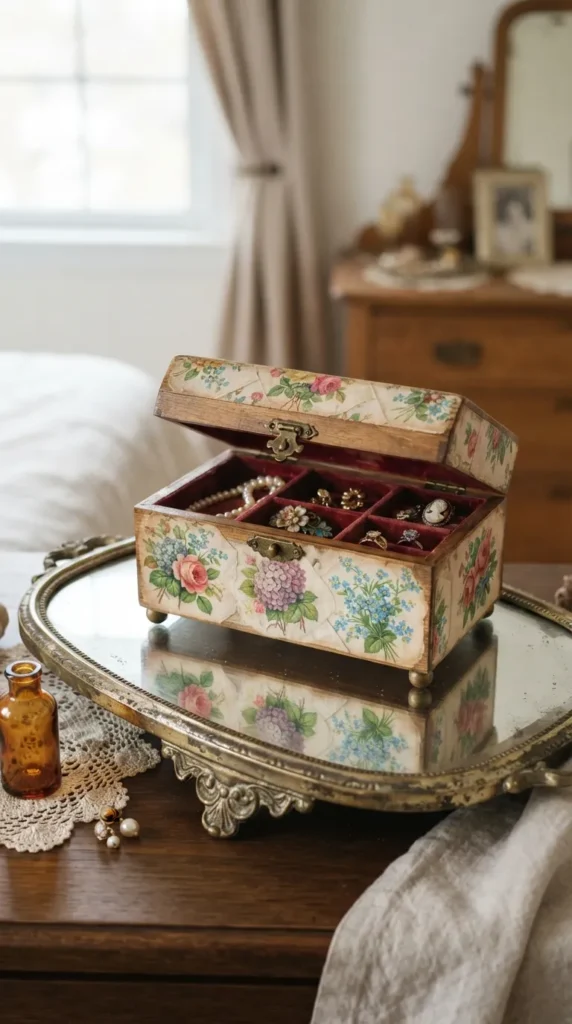
7. Decoupage Vintage Handkerchief Wooden Jewelry Box
Introduction
Breathe new life into a plain wooden jewelry box by decoupaging printed cotton handkerchief motifs onto its surface.
What This Idea Means
Decoupage transforms fabric into a permanent decorative veneer, allowing intricate printed patterns to wrap around wooden contours seamlessly.
Materials Needed
- Unfinished or sanded wooden jewelry box
- 1 patterned handkerchief (floral or graphic print)
- Fabric-to-wood decoupage medium (Mod Podge)
- Foam brush and fine sand-block
- Clear acrylic topcoat sealer
How to Make It
- Prep Wood Surface: Sand the wooden box smooth and wipe away dust with a tack cloth. Prime with light acrylic paint if desired.
- Cut Motifs: Cut out floral clusters or design sections from your handkerchief, or use the whole panel to wrap the top lid.
- Apply Adhesive: Brush an even coat of decoupage medium onto the top lid or sides of the box.
- Smooth Fabric: Carefully press the handkerchief section onto the wet glue, smoothing outward from the center to release air bubbles.
- Seal Surface: Let dry completely for 1 hour. Apply two topcoats of decoupage medium, sanding lightly between coats, and finish with a clear sealer.
Tips and Variations
- Tip: Dampen the fabric slightly with a mist bottle before placing it onto glue to keep it pliable and wrinkle-free.
- Variation: Mix and match smaller floral cutouts across drawer fronts to create an eclectic mosaic effect.
What to Avoid
Avoid applying thick coats of decoupage glue all at once, which can saturate thin cotton and leave cloudy white patches under the surface.
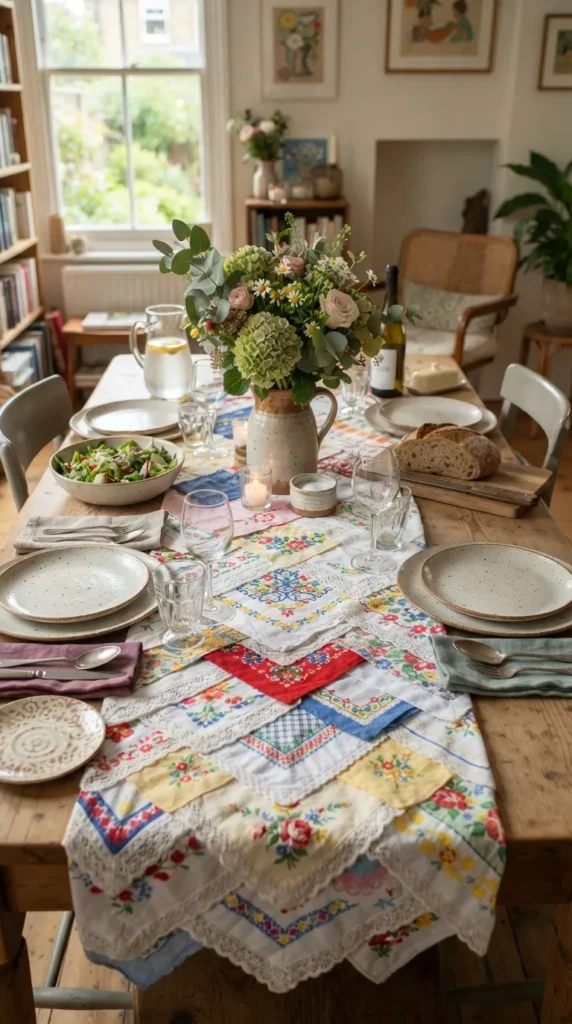
8. Layered Handkerchief Table Runner
Introduction
Set a charming table by combining an assortment of mismatched handkerchiefs into an intricate, overlapping table runner.
What This Idea Means
This project blends disparate colors and lace patterns into a cohesive dining room focal piece that fits long dining tables.
Materials Needed
- 8 to 14 varied vintage handkerchiefs
- Fabric glue or clear fusible web tape
- Sewing machine and thread
- Iron
How to Make It
- Determine Length: Measure your table surface and decide on desired drop lengths at both ends.
- Arrange Sequence: Lay handkerchiefs end-to-end on a flat surface, overlapping edges by 1 to 2 inches at dynamic angles.
- Fuse Layers: Secure overlapping seams using small strips of heat-fusible webbing pressed with an iron.
- Stitch Joints: Permanently secure all overlaps by sewing straight or decorative stitch lines along edges.
- Final Press: Give the entire finished runner a thorough press with steam to keep seams lying flat.
Tips and Variations
- Tip: Maintain visual balance by spacing heavily embroidered pieces evenly down the length of the runner.
- Variation: Back the handkerchief line with a solid linen strip for added weight and structure.
What to Avoid
Avoid assembling handkerchiefs with widely contrasting fabric thicknesses, which can cause the runner to gather unevenly on the table.
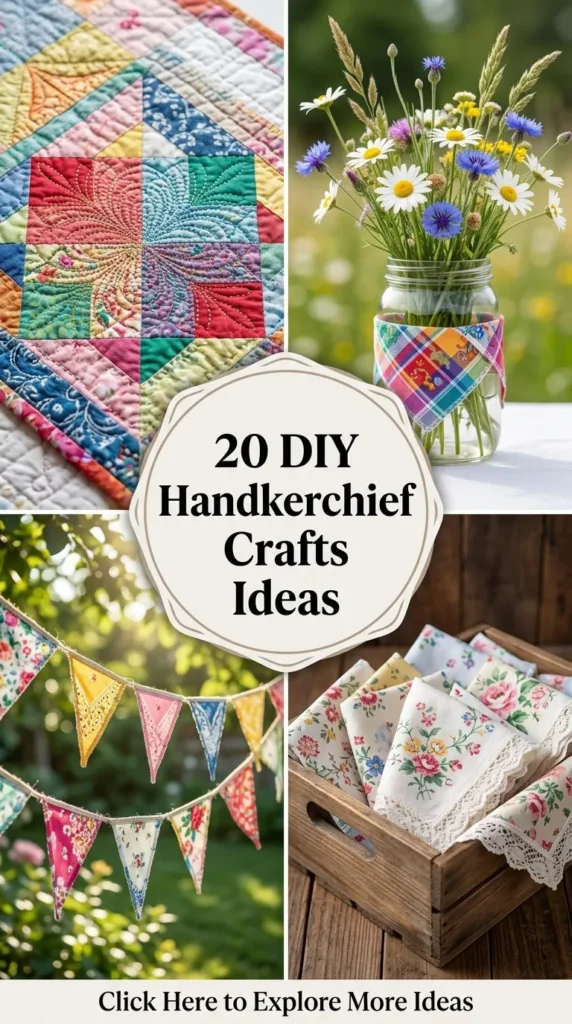
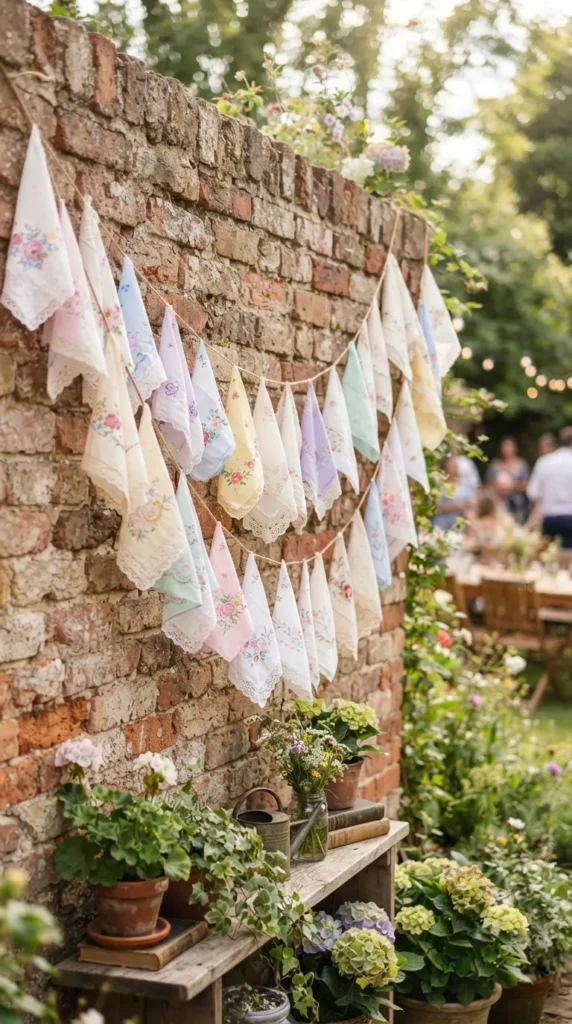
9. Handkerchief Bunting Banner Garland
Introduction
Decorate parties, nurseries, or craft corners with sweet triangular or square bunting created from colorful vintage handkerchiefs.
What This Idea Means
Bunting utilizes handkerchiefs with minimal cutting, hanging hemmed edges into celebratory flags strung on ribbons.
Materials Needed
- 5 to 8 patterned handkerchiefs
- 3 yards of bias tape or twill tape
- Scissors and ruler
- Pins and sewing machine
How to Make It
- Cut Shapes: Fold each handkerchief diagonally to form triangles, cutting along the fold, or fold them in half to form hung squares.
- Press Edges: Press fold lines flat with an iron.
- Space Flags: Unfold your bias tape band along a table. Place handkerchief flags inside the folded bias tape spaced 2 inches apart.
- Pin in Place: Pin each flag securely into the tape.
- Stitch Garland: Topstitch continuously along the length of the bias tape to bind all handkerchief flags in place.
Tips and Variations
- Tip: Leave at least 18 inches of empty bias tape at both ends for easy hanging and knotting.
- Variation: Let handkerchief lace edges form the bottom borders of flags for an elegant vintage aesthetic.
What to Avoid
Avoid using overly heavy hanging ropes that overwhelm delicate cotton flags and cause them to slip.
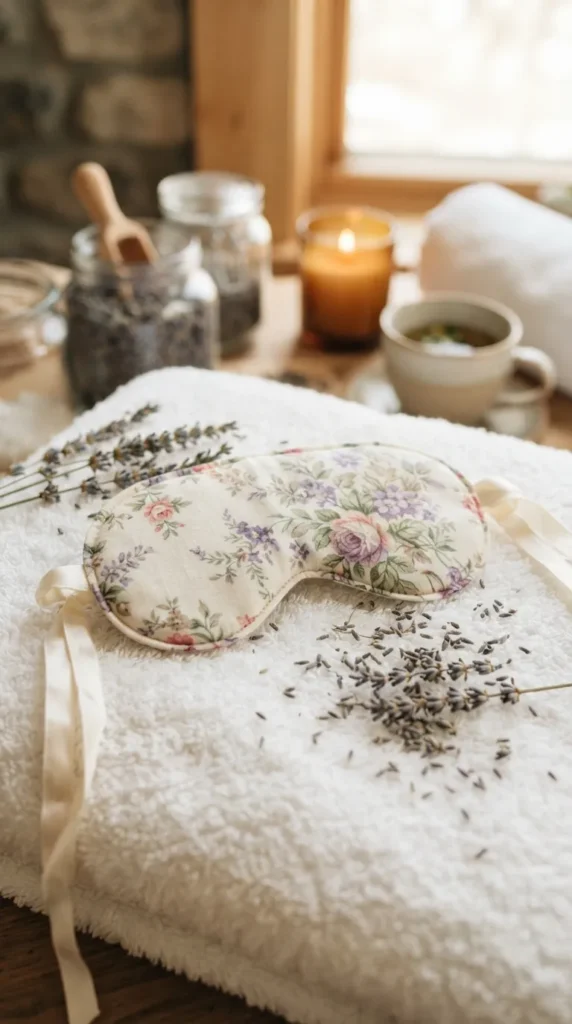
10. Handkerchief Lavender & Herb Eye Mask
Introduction
Craft a soothing, weighted eye mask using soft, worn handkerchief fabrics for quiet evenings and home spa days.
What This Idea Means
Old cotton handkerchiefs are exceptionally soft against delicate skin, making them ideal outer covers for relaxing eye pillows.
Materials Needed
- 1 ultra-soft vintage cotton handkerchief
- 1/2 cup uncooked flaxseed or white rice
- 2 tablespoons dried lavender or chamomile flowers
- Elastic ribbon (14 inches)
- Sewing thread and pins
How to Make It
- Cut Template: Cut two eye mask shapes from your handkerchief fabric using an eye mask pattern template.
- Attach Strap: Pin ends of the elastic ribbon to the side edges of the front mask panel, facing inward.
- Stitch Mask: Layer mask panels right-sides together with elastic tucked inside. Sew around edges with a 1/4-inch seam allowance, leaving a 1.5-inch opening on top.
- Fill Mask: Turn right side out. Fill with the mixture of flaxseed and dried flowers using a funnel.
- Close Opening: Slip-stitch the open top gap by hand until tight and secure.
Tips and Variations
- Tip: Use 100% organic cotton or handkerchiefs softened by multiple washings for maximum skin comfort.
- Variation: Create a removable, washable outer sleeve from the handkerchief to slip over an inner herb pouch.
What to Avoid
Avoid overfilling the mask with heavy grains; it should stay soft and flexible so it contours gently around your eyes.
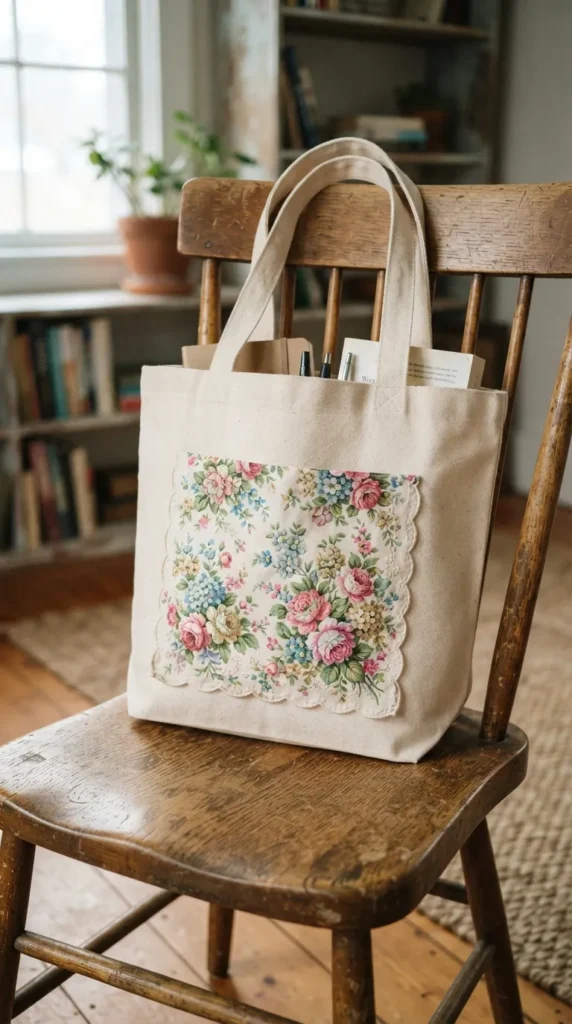
11. Upcycled Handkerchief Tote Bag Accent
Introduction
Transform a plain canvas tote into a custom fashion accessory by stitching a vintage floral handkerchief onto its front pocket area.
What This Idea Means
This project upgrades durable everyday canvas bags with delicate vintage textile accents, creating a high-contrast style.
Materials Needed
- Plain cotton canvas tote bag
- 1 bold vintage printed handkerchief
- Heavy-duty sewing thread or embroidery floss
- Sewing machine or hand-sewing needle
How to Make It
- Position Accents: Center the handkerchief flat against the front wall of the tote bag.
- Pin Flat: Pin all corners securely to keep the fabric taut over the thick canvas.
- Sew Borders: Topstitch along three sides of the handkerchief using a narrow seam allowance to convert it into a functional front slide pocket.
- Reinforce Stress Points: Backstitch multiple times at the top pocket opening corners for extra strength.
- Press: Press the completed pocket with steam.
Tips and Variations
- Tip: Use embroidery thread to hand-stitch sashiko-style stitches along the edges for an artisan finish.
- Variation: Sew the handkerchief completely flat on four sides to serve purely as a decorative front panel.
What to Avoid
Avoid using lightweight thread to attach pockets on tote bags; heavy daily items can strain delicate threads.
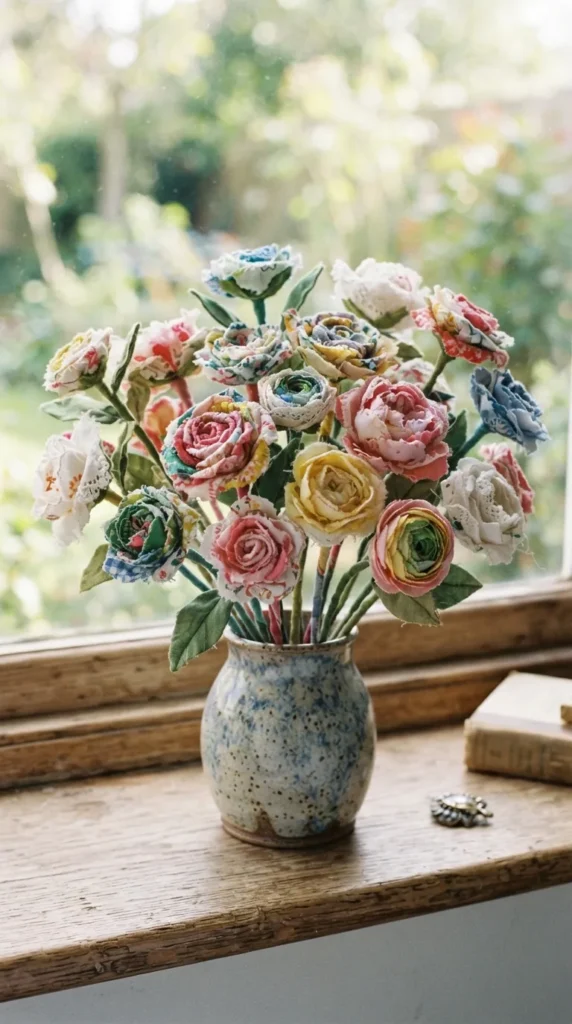
12. Vintage Handkerchief Fabric Flowers
Introduction
Sculpt delicate, long-lasting fabric blooms from vintage handkerchiefs to decorate arrangements, brooches, or hair clips.
What This Idea Means
This technique converts two-dimensional textiles into soft 3D floral sculptures that never fade or wilt.
Materials Needed
- Printed handkerchiefs (reds, pinks, or yellows work best)
- Floral wire and green floral tape
- Hot glue gun and glue sticks
- Fabric scissors
How to Make It
- Cut Petals: Cut 10 to 15 teardrop-shaped petals in varying sizes from colorful sections of your handkerchief.
- Form Center: Bend the tip of a piece of floral wire into a small loop. Wrap a small scrap of fabric around the loop and glue it down to build the bloom center.
- Attach Petals: Glue small petals around the wire core, overlapping them gradually.
- Layer Outer Petals: Glue larger petals around the outside, flaring petal tips slightly outward for a blooming effect.
- Wrap Stem: Wrap green floral tape down the wire stem to secure petal bases and create a clean finish.
Tips and Variations
- Tip: Slightly singe or starch petal edges to add structure before assembling.
- Variation: Attach completed floral heads to safety pins or barrettes for wearable vintage floral accessories.
What to Avoid
Avoid applying excessive hot glue near outer petal edges, which can leave hard, visible lumps through sheer handkerchief fabric.
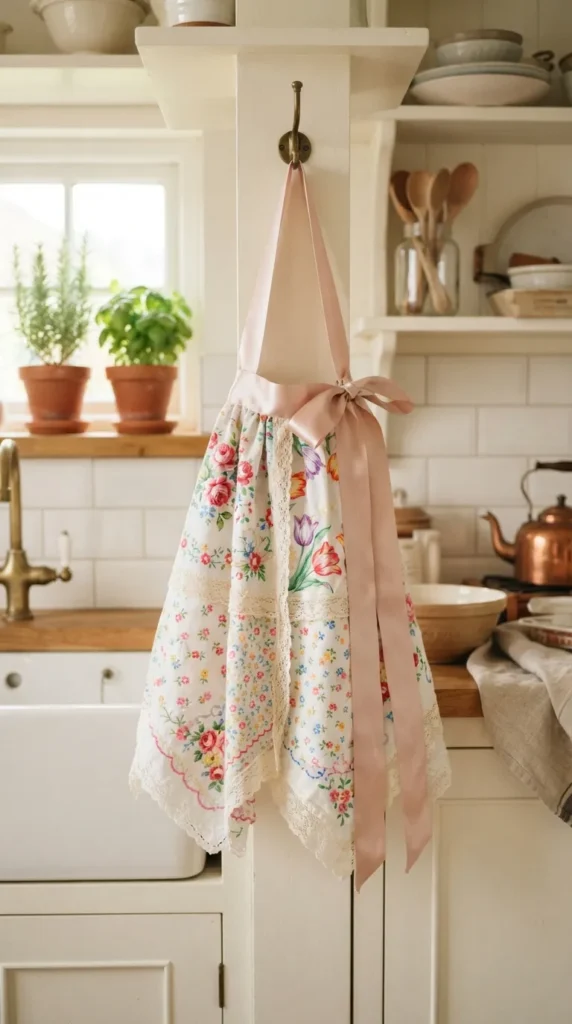
13. Handkerchief Scalloped Apron
Introduction
Stitch a lightweight, retro kitchen apron by piecing together floral handkerchiefs onto a waistband tie.
What This Idea Means
This project turns sheer vintage linens into a stylish half-apron that brings retro flair to host duties and baking.
Materials Needed
- 4 vintage handkerchiefs (complementary prints)
- 2.5 yards of 2-inch wide satin or cotton ribbon
- Sewing machine and thread
How to Make It
- Arrange Skirt: Lay four handkerchiefs in a two-by-two grid, overlapping edges slightly to form an apron panel.
- Join Handkerchiefs: Stitch the overlapping seams to create one continuous fabric apron body.
- Gather Top Edge: Sew a basting stitch across the top edge of the apron panel and pull threads gently to gather it down to about 18 inches wide.
- Attach Waistband: Center the gathered top edge inside folded ribbon. Pin and stitch across the ribbon length, securing the apron skirt inside.
- Finish Ribbon Ends: Hem or cut ribbon ends diagonally to prevent fraying.
Tips and Variations
- Tip: Choose handkerchiefs with bright, vibrant borders so the lower hem displays scalloped patterns.
- Variation: Add a single small handkerchief angled into a front apron pocket for holding utensils.
What to Avoid
Avoid using high heat when ironing satin ribbon waistbands to prevent fabric scorching.
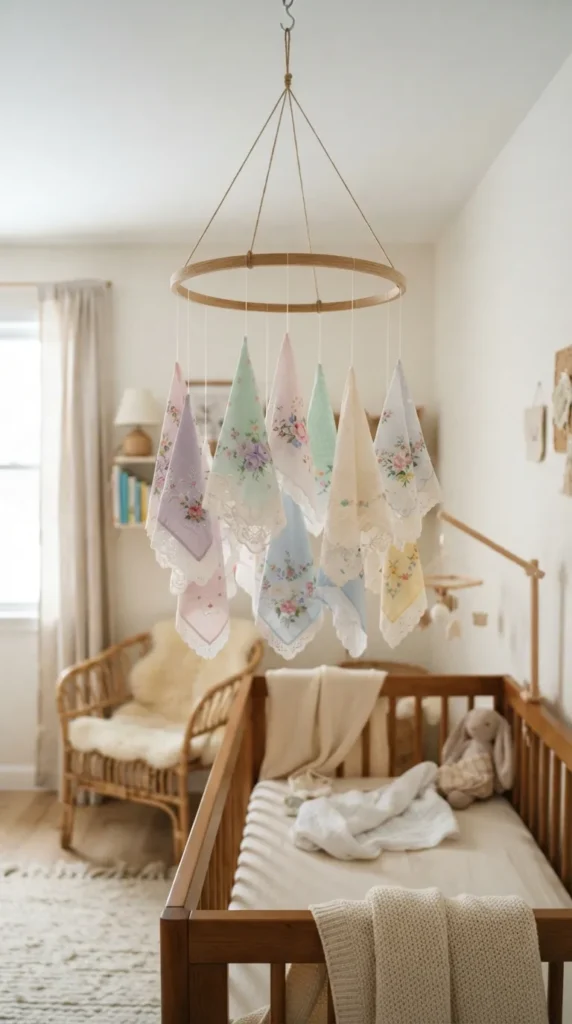
14. Framed Handkerchief Nursery Mobile
Introduction
Craft a gentle, floating nursery mobile using colorful vintage handkerchiefs draped over embroidery hoops.
What This Idea Means
This craft transforms soft pastels and floral graphics into dynamic ceiling art for baby rooms and nurseries.
Materials Needed
- 3 to 5 lightweight pastel handkerchiefs
- 8-inch wooden embroidery hoop
- Macramé cord or ribbon
- Small wooden beads
- Scissors
How to Make It
- Prepare Hoop: Separate wooden embroidery hoop rings; use the inner ring as your hanging base.
- Cut Shapes: Cut handkerchiefs into uniform ribbons, stars, or diamond shapes.
- Attach Cords: Tie lengths of cord at equal distances around the wooden ring, converging at the top into a single knot for hanging.
- Suspend Fabric: Fasten handkerchief cutouts or gathered diamond centers along hanging strings using simple knots or wooden beads.
- Balance: Adjust string positions until the mobile hangs completely level.
Tips and Variations
- Tip: Choose handkerchiefs with light pastels to maintain a soft nursery feel.
- Variation: Fold handkerchiefs into miniature fabric origami birds before suspending them from the frame.
What to Avoid
Avoid placing heavy beads or weighted items on delicate hanging strings, as this distorts the balance of the mobile.
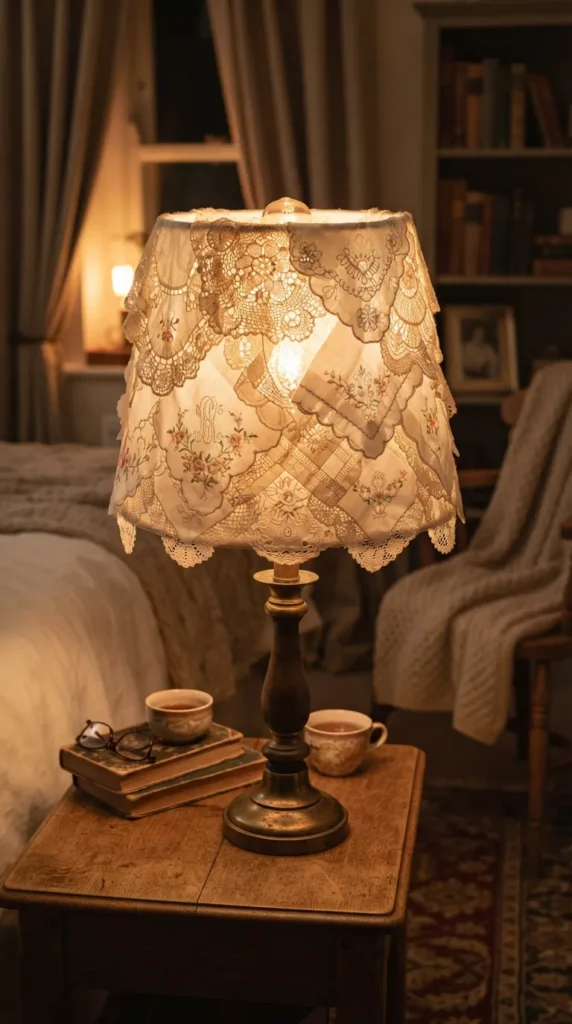
15. Handkerchief Covered Lampshade
Introduction
Cast warm, textured light across a room by covering a simple white lampshade with overlapping vintage handkerchief panels.
What This Idea Means
Light shining through patterned cotton highlights delicate weaves, lace details, and intricate print work on lampshades.
Materials Needed
- Plain white or cream lampshade
- 3 to 5 lace-bordered handkerchiefs
- Spray adhesive or fabric glue
- Scissors and trim ribbon
How to Make It
- Clean Shade: Wipe down your lampshade surface to clear dust.
- Test Fit: Wrap handkerchiefs around the shade exterior to determine layout and overlap.
- Apply Adhesive: Spray fabric adhesive light-to-medium over the back of the first handkerchief.
- Apply Fabric: Smooth the handkerchief onto the shade from top to bottom, tucking excess fabric over the top and bottom wire rims.
- Finish Edges: Repeat around the entire shade, then seal top and bottom wire edges with thin decorative bias tape or ribbon.
Tips and Variations
- Tip: Use a drum-shaped shade for easier, smooth application without extreme tapering folds.
- Variation: Use only white lace handkerchiefs for an elegant monochrome glow when illuminated.
What to Avoid
Avoid using lampshades on high-wattage incandescent bulbs; use cool LED bulbs to keep fabric safe from heat buildup.
16. Vintage Handkerchief Patchwork Quilt Block
Introduction
Incorporate fragile, historic linens into durable bedding by piecing handkerchiefs into patchwork quilt blocks.
What This Idea Means
This technique surrounds delicate handkerchief squares with sturdy quilting cottons, preserving fragile heirlooms inside bed covers.
Materials Needed
- Assorted handkerchief corners or full centers
- Quilting cotton fabric strips
- Rotary cutter, mat, and ruler
- Sewing machine and thread
How to Make It
- Square Motifs: Cut handkerchiefs into precise 6×6-inch square panels using a rotary cutter.
- Cut Frame Strips: Cut 2.5-inch wide strips of sturdy quilting cotton to build frames around each block.
- Stitch Borders: Sew border strips to opposite sides of your handkerchief square, press open, then sew strips to remaining sides.
- Trim and Square: Trim completed quilt blocks using a square ruler so all blocks match in size (e.g., 10×10 inches).
- Piece Top: Join multiple framed blocks into rows to build your finished quilt top layout.
Tips and Variations
- Tip: Apply thin fusible tricot interfacing to the back of delicate handkerchief squares to stabilize the weave.
- Variation: Mix floral handkerchief squares with solid chambray cottons for a classic farmhouse look.
What to Avoid
Avoid pulling unevenly when sewing delicate handkerchief pieces to modern quilting cottons to prevent warped quilt seams.
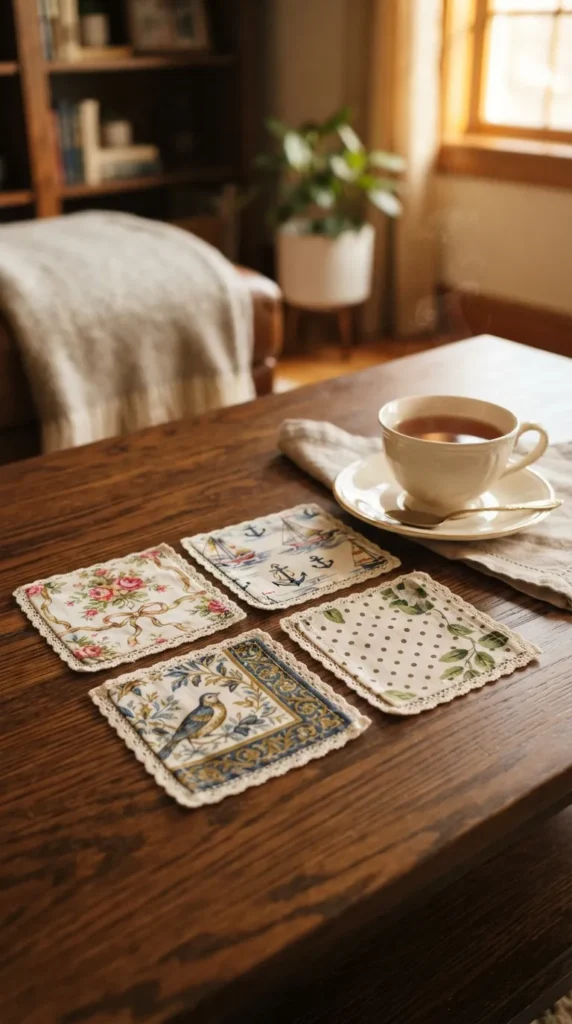
17. Handkerchief Soft Fabric Coasters
Introduction
Protect coffee tables with reusable, absorbent fabric coasters sewn from vintage printed handkerchiefs.
What This Idea Means
This project repurposes handkerchief scraps into functional, washable home accents that protect wooden surfaces.
Materials Needed
- Patterned handkerchiefs
- Cotton quilt batting or felt core
- Fabric shears and sewing machine
- Iron
How to Make It
- Cut Panels: Cut 5×5-inch squares from handkerchief pieces and sturdy backing fabric (cotton or canvas).
- Cut Core: Cut matching 4.5×4.5-inch squares of cotton batting.
- Layer Fabrics: Layer batting, top handkerchief right-side up, and backing right-side down.
- Stitch Edges: Sew around borders with a 1/4-inch seam, leaving a 1.5-inch gap. Trim corners.
- Turn and Finish: Turn coaster right-side out, press flat with an iron, and topstitch 1/8 inch from the edge to seal the opening.
Tips and Variations
- Tip: Add a layer of insulated fleece inside for better protection against hot drinks.
- Variation: Quilt decorative cross-hatch lines across coaster tops for added texture and stability.
What to Avoid
Avoid using synthetic heat-sensitive fillings that can melt when hot mugs rest on top of coasters.
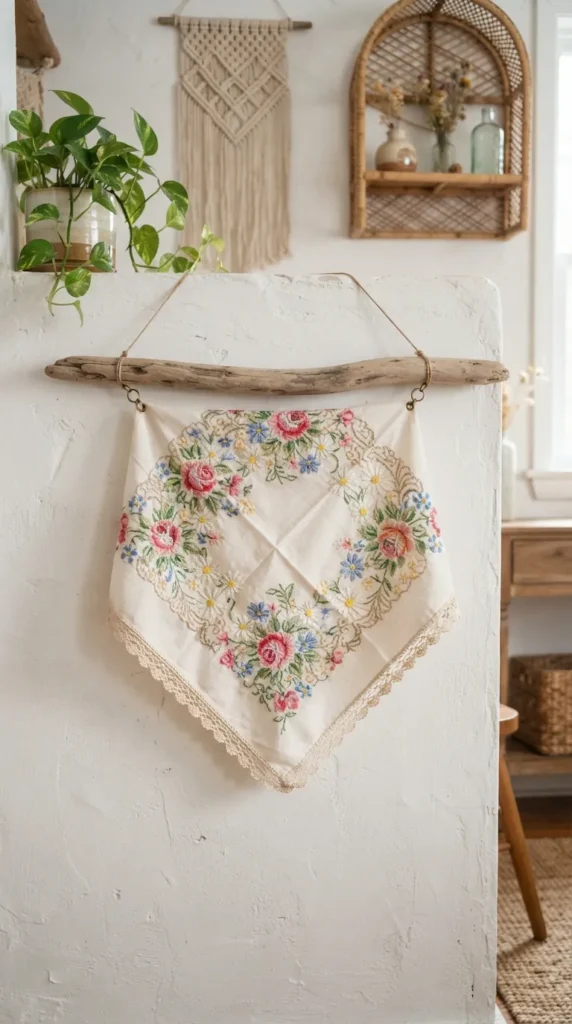
18. Delicate Handkerchief Wall Hanging Banner
Introduction
Display intricate embroidery and lace motifs on a wall hanging banner suspended from a natural driftwood branch.
What This Idea Means
This wall display highlights fragile textile details, turning delicate linens into focal points for cozy rooms.
Materials Needed
- 1 large, detailed vintage handkerchief
- 1 wooden dowel or piece of smooth driftwood
- Hanging cord or twine
- Fabric glue or basic sewing thread
How to Make It
- Press Textile: Thoroughly steam and iron your handkerchief flat.
- Create Top Sleeve: Fold the top edge of the handkerchief backward by 1 to 2 inches to form a pocket channel for the rod.
- Stitch Channel: Sew or glue along the folded edge to hold the channel in place.
- Insert Rod: Slide your wooden dowel or driftwood piece through the fabric channel.
- Attach Cord: Tie twine to both exposed ends of the dowel and suspend your wall hanging from a hook.
Tips and Variations
- Tip: Add subtle fabric tassels or wooden beads along the bottom corners to balance the wall hanging.
- Variation: Layer a smaller embroidered handkerchief over a larger lace handkerchief for extra depth.
What to Avoid
Avoid hanging delicate wall banners in direct, unshaded sunlight, which fades vintage dyes and weakens natural fibers.
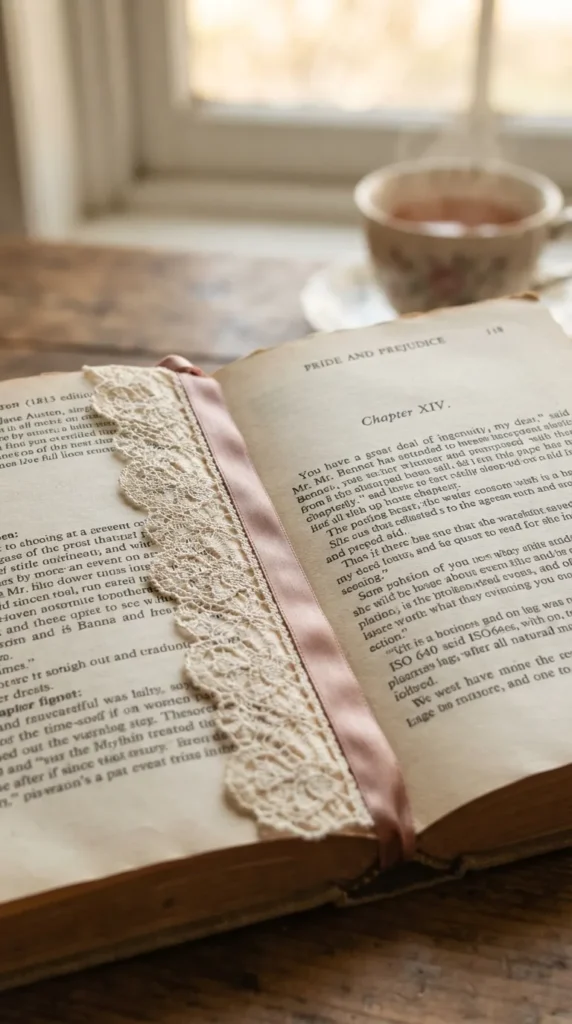
19. Handkerchief Charm Bookmark
Introduction
Keep your place in your favorite books with slender, lace-trimmed bookmarks crafted from vintage handkerchief edges.
What This Idea Means
This simple project turns small handkerchief edge cutoffs into delicate, functional literary gifts.
Materials Needed
- Handkerchief lace borders or patterned strips
- Heavy cardstock or clear vinyl laminate sheets
- Ribbon and small jewelry charms
- Hole puncher and scissors
How to Make It
- Cut Strips: Cut a 2×6-inch strip centered on an embroidered or lace edge of your handkerchief.
- Prepare Cardstock: Cut a matching 2×6-inch cardstock backing strip.
- Mount Textile: Secure fabric onto cardstock using clear double-sided adhesive sheets or laminate strips.
- Punch Top Hole: Punch a small hole centered 1/2 inch below the top short edge.
- Attach Charm: Loop a short satin ribbon through the hole and attach a small metal vintage charm to the end.
Tips and Variations
- Tip: Write personalized notes or book quotes onto the cardstock before mounting sheer fabrics over top.
- Variation: Encase the fabric fully in clear cold-laminate film to protect it from thumb marks and wear.
What to Avoid
Avoid using liquid glue directly under thin bookmark fabrics without testing first, as it can bleed through and stain cardstock backing.
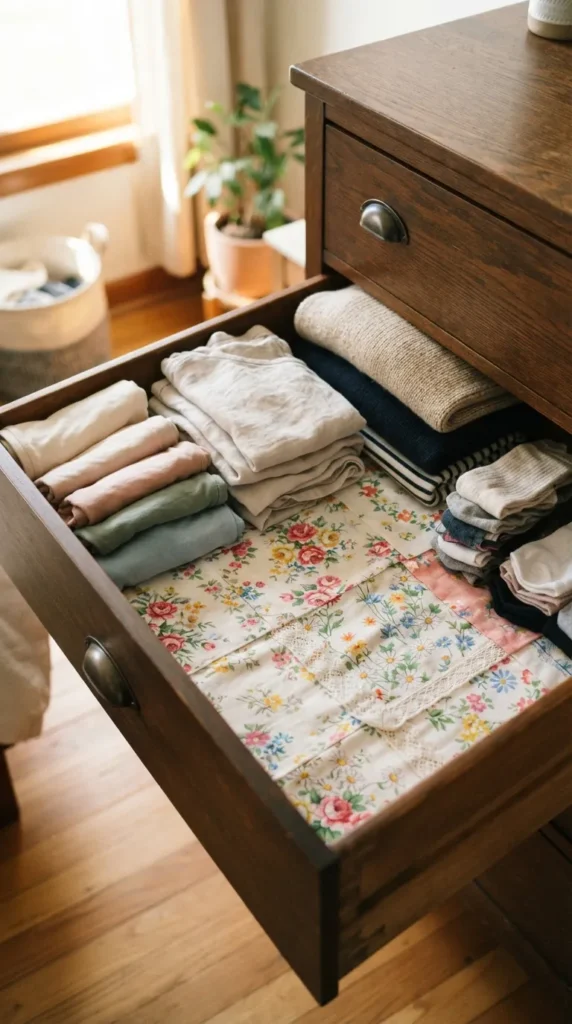
20. Handkerchief Lavender Drawer Liner Sheets
Introduction
Laminate or lay pressed handkerchiefs inside dresser drawers to create scented, non-slip decorative drawer liners.
What This Idea Means
Drawer liners shield clothes from rough wooden surfaces while filling wardrobe drawers with subtle botanical scents.
Materials Needed
- 2 to 4 large vintage handkerchiefs
- Scented drawer spray or lavender oil mist
- Clear self-adhesive shelf liner or non-skid mesh
- Scissors and ruler
How to Make It
- Measure Drawers: Measure interior bottom dimensions of your targeted dresser drawers.
- Layout Handkerchiefs: Arrange handkerchiefs flat on top of backing sheets cut to drawer size.
- Secure Edges: Use small strips of double-sided tape or clear contact paper to lock handkerchiefs in position.
- Scent Fabrics: Lightly spress fabric backs with lavender mist or essential oils before placing them down.
- Place Liners: Smooth completed liner sheets into the bottoms of your drawers and arrange clothing on top.
Tips and Variations
- Tip: Re-scent handkerchief liners periodically with a light spray of floral water to refresh your drawers.
- Variation: Use bright floral prints inside dark wood drawers to add unexpected color every time you open them.
What to Avoid
Avoid spraying essential oils directly onto top fabric surfaces where oil residues could transfer onto clothes.