Keychains are no longer just utilitarian tools designed to keep our keys in one place. Today, they are miniature canvases for self-expression, tiny pieces of art that hang from our bags, car ignitions, and backpacks. Whether you want to add a pop of personal style to your everyday carry, create thoughtful, handmade gifts for your loved ones, or build a thriving side hustle on platforms like Etsy, crafting your own keychains is one of the most rewarding, accessible, and highly aesthetic DIY projects you can dive into.
In this ultimate, comprehensive guide, we are exploring 20 incredibly cute, trendy, and unique DIY keychain-making ideas. From the elegant simplicity of minimalist leather to the vibrant, tactile joy of colorful polymer clay and chunky beads, there is a design here for every aesthetic.
Grab your jewelry pliers, prep your crafting table, and let’s explore these creative ideas to elevate your daily accessories!
The Anatomy of a Perfect DIY Keychain
Before diving into the specific ideas, it helps to understand the basic materials that form the foundation of almost every professional-looking DIY keychain. Having these essentials in your craft toolkit will ensure your finished pieces are not only beautiful but also durable enough to withstand the daily wear and tear of being tossed into deep bags and jangled against metal keys.
Essential Hardware
- Split Rings: The classic circular metal ring that holds the actual keys.
- Lobster Clasps and D-Rings: Perfect for easily clipping your keychain onto belt loops, purse straps, or backpack zippers.
- Jump Rings: Small, open metal loops used to connect your decorative charms to the main keyring. (Pro tip: Use heavy-duty or double-looped jump rings for maximum durability.)
- Eye Pins and Head Pins: Straight metal wires with a loop (eye) or flat surface (head) at one end, essential for securing beads, clay creations, and charms.
Must-Have Tools
- Chain-Nose Pliers: For opening and closing jump rings cleanly without warping the metal.
- Round-Nose Pliers: Essential for bending wire into neat, professional loops.
- Wire Cutters: For trimming excess head pins, jewelry wire, or chain link.
- Craft Glue / UV Resin: To secure knots, seal raw edges, or add a glossy, protective, glass-like finish to your designs.
Unique & Cute DIY Keychain Ideas



1. The Pastel Polymer Clay Daisy Chain
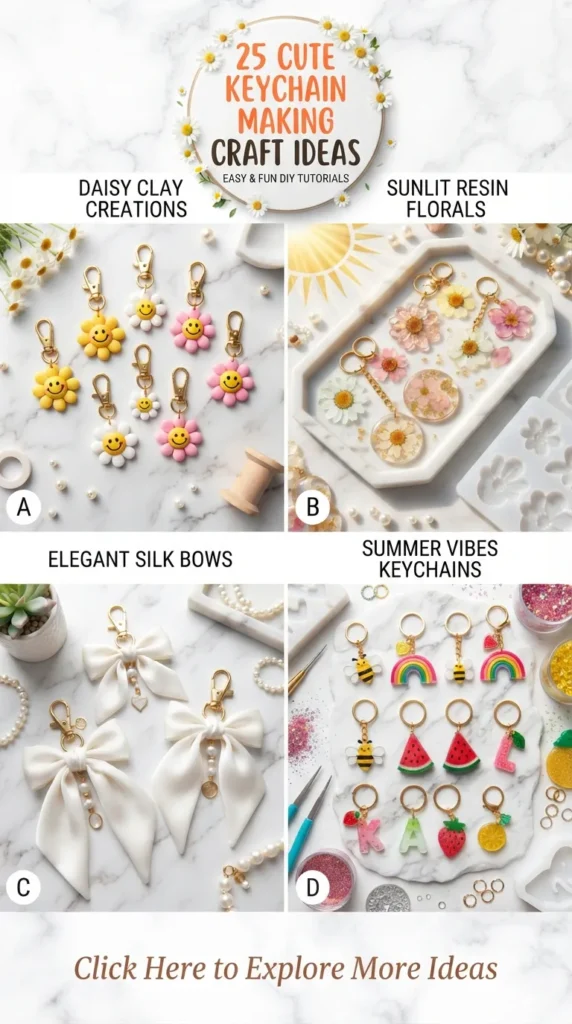
Polymer clay is a holy grail medium for DIY enthusiasts. It is incredibly versatile, lightweight, and comes in every color imaginable. For a retro, whimsical aesthetic, a soft pastel daisy chain is unmatched. By rolling small balls of pale yellow clay for the center and arranging cream, lavender, or mint green clay petals around it, you can sculpt tiny, durable flowers. Once baked according to the package instructions, a coat of glossy varnish or UV resin makes these floral charms pop. Connect three or four of these daisies in a vertical drop using delicate gold jump rings for a gorgeous, swinging floral accessory.
2. Chunky Bubblegum Bead Wristlets
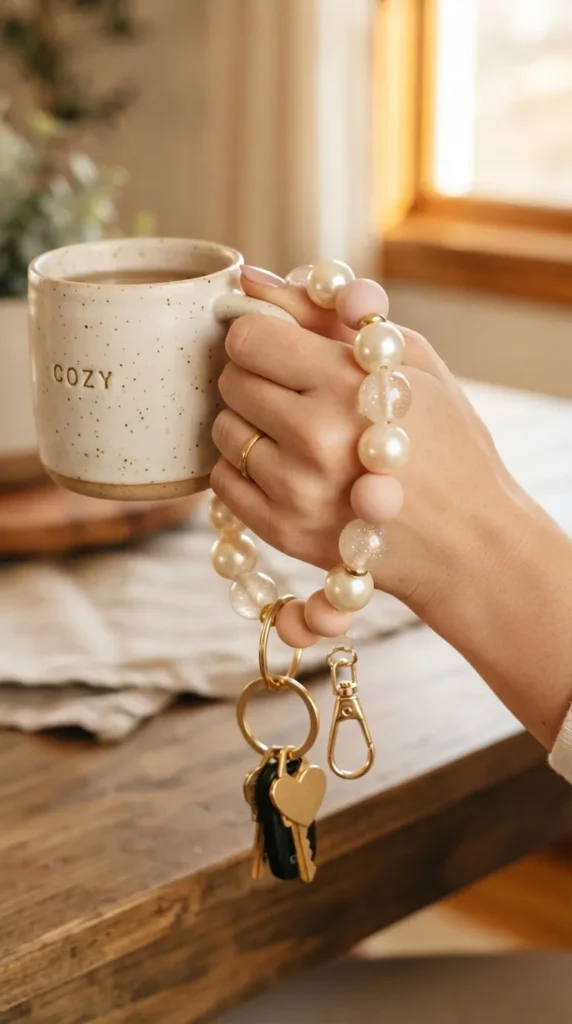
Wristlet keychains are the ultimate blend of fashion and hands-free convenience. To create a highly aesthetic, tactile wristlet, opt for chunky, high-shine acrylic “bubblegum” beads. Thread these oversized beads—ranging from pearlescent finishes and glitter-filled spheres to matte pastels—onto a durable, thick elastic cord or high-tensile nylon thread. Secure the knot with a drop of jewelry glue and hide it inside one of the bead holes. Attach a gold swivel clasp, and you have a stylish, chunky wristlet that slips easily over your hand when you are carrying groceries or holding a coffee cup.
3. Minimalist Stamped Leather Tabs
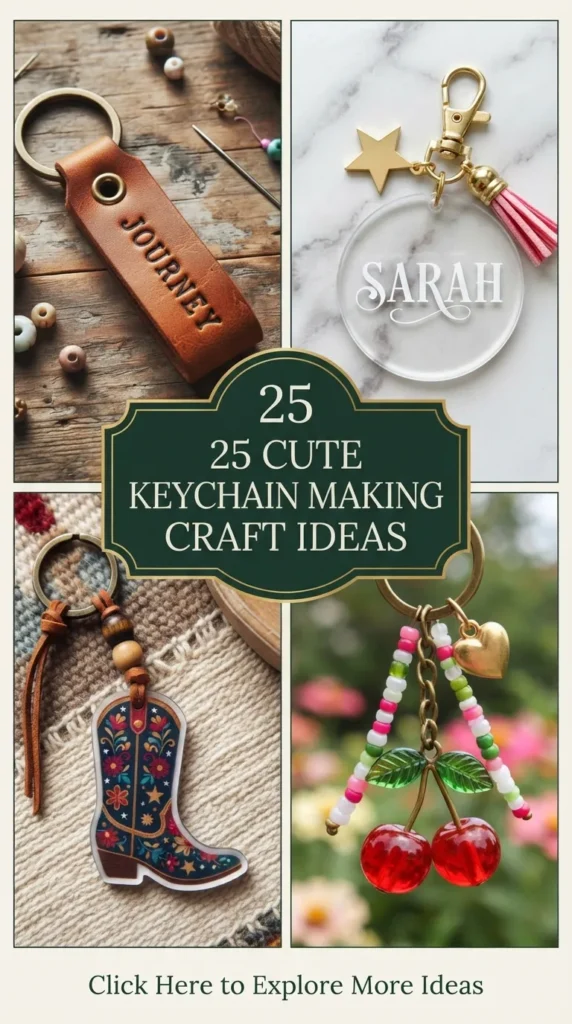
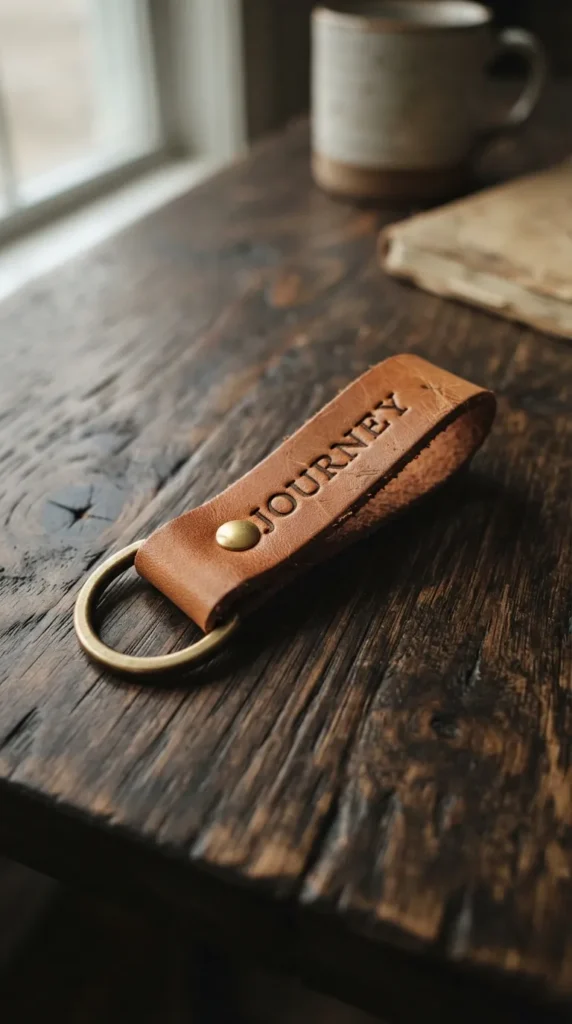
For those who prefer a more sophisticated, understated, and grounded aesthetic, vegetable-tanned leather is the perfect material. Cut a sleek strip of leather (about three inches long and half an inch wide), fold it over a classic brass D-ring, and secure it with a matching metal rivet. Before fastening, use a metal stamping kit to gently hammer initials, a meaningful date, or a single-word mantra (like “CREATE” or “JOURNEY”) into the leather surface. Over time, the leather will develop a beautiful, rich patina, making it a timeless accessory.
4. Vibrant Dried Flower Resin Blocks
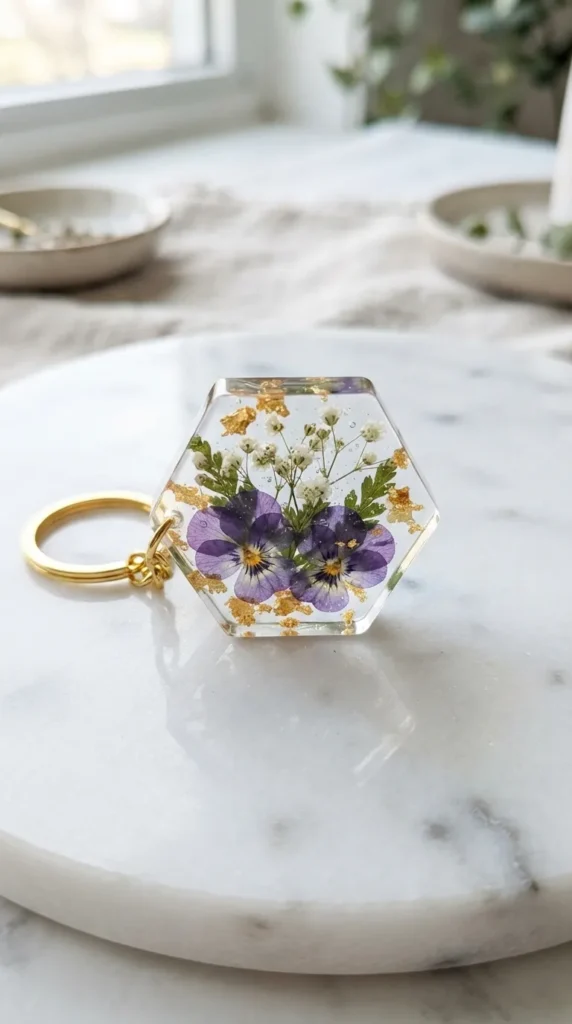
Capture the fleeting beauty of spring by preserving real, dried botanical elements in crystal-clear resin. Using small silicone molds shaped like rectangles, hexagons, or letters, pour a thin layer of clear epoxy or UV resin. Carefully place tiny pressed flowers—such as baby’s breath, pansies, or forget-me-nots—alongside delicate flecks of gold leaf using a pair of tweezers. Pour another layer of resin to seal the botanical arrangement completely. Once fully cured and popped out of the mold, drill a tiny hole at the top, insert an eye screw, and connect it to a gold keyring for a breathtakingly elegant piece of wearable nature.
5. Cozy Miniature Macrame Feathers
Bring a touch of boho-chic, warm texture to your key ring with miniature macrame feathers. Using soft, single-twist cotton cord in warm earthy tones like terracotta, sage, mustard, or cream, tie a series of simple lark’s head knots around a central holding cord attached directly to a wooden ring or metal clasp. Once your knots are secure, brush out the cotton fringe thoroughly with a fine-tooth comb until it becomes incredibly soft and fluffy. Trim the edges using sharp fabric scissors into a clean, symmetrical feather or leaf shape. Spritz with a light coat of fabric stiffener or hairspray to help the feather maintain its crisp shape during daily use.



6. Whimsical Terrazzo Arch Charms
Terrazzo pattern work is highly trendy, modern, and surprisingly simple to replicate at home. Using a base of white or soft beige polymer clay, roll it out into a flat sheet about an eighth of an inch thick. Take tiny, leftover scraps of contrasting clay colors (such as rust, navy, mustard, and sage green), tear them into irregular, paper-thin flecks, and scatter them randomly across your base sheet. Gently roll over the sheet with a acrylic roller to press the colorful flakes flat into the base. Use an arch-shaped cookie cutter to stamp out your charm, bake, sand the edges smooth, and seal with a matte finish for an ultra-chic, modern-art-inspired accessory.
7. Personalized Acrylic Brushstroke Discs
Acrylic blanks are incredibly inexpensive and serve as the perfect blank canvas for personalized lettering. To create this viral, chic style, paint a textured, abstract swipe of acrylic paint across the back of a clear, circular acrylic disc using a dry, wide brush. This creates a stunning “brushstroke” background effect when viewed from the front. Once dry, flip the disc over and use a fine-tip paint pen, permanent vinyl, or a cutting machine to write a custom name, initial, or motivational word on the clean front side. Seal the painted back with a thin layer of clear acrylic sealer or resin to prevent scratching.
8. Retro Hotel-Style Motel Key Tags
Step back in time with a DIY nod to mid-century vintage aesthetic. Using blank vintage-style plastic or wooden hotel key tags (readily available in retro diamond shapes), you can craft custom designs using paint markers, hand-engraving tools, or vinyl decals. Lean into the retro vibe by designing your tag with quirky fictional locations like “The Heartbreak Hotel, Room 101,” “The Starlet Motel,” or a simple, cheeky phrase like “Self Love Club.” Pair the finished retro tag with a classic brass ball chain for that authentic, old-school feel.
9. Sweet Miniature Felt Donuts
For a soft, adorable, and completely shatter-proof accessory, try working with high-quality wool felt sheets. Cut out two identical circular donut shapes from a warm caramel-toned felt, and a slightly smaller, wavy “frosting” layer from pastel pink or chocolate brown felt. Sew the frosting onto one of the circles using simple embroidery stitches, adding colorful seed beads or tiny embroidered lines to mimic sweet sprinkles. Blanket-stitch the two donut halves together, stuffing the inside gently with a small handful of polyester fiberfill before sealing it shut. This squishy, sweet treat adds a playful, cozy element to any bag.
10. Textured Tufted Mini Rug Keychains
Bring the booming trend of tufting down to a miniature scale! Using punch needle embroidery techniques on a small piece of monk’s cloth secured in an embroidery hoop, you can create tiny, incredibly textured, and fuzzy designs. Think cute smiley faces, abstract checkered patterns, or tiny strawberries. Once the punch needle work is complete, apply a generous layer of fabric glue to the back of the stitches to secure them. Cut out the design, fold the raw edges of the fabric backward, and glue them to a sturdy felt backing. Attach a metal lobster clasp to the top edge for a highly tactile, unique, and cozy masterpiece.


11. Miniature Bookworm Journals
If you are a book lover, writer, or student, this miniature leather-bound journal keychain is the perfect accessory. Cut a small rectangle of scrap leather or vegan leather to act as the book cover. Fold several small sheets of blank white paper in half to form a tiny booklet (signatures). Stitch the paper pages directly through the center spine of the leather cover using a strong, waxed bookbinding thread. Leave an extra loop of thread at the top of the spine to attach your jump ring and clasp. You now have a tiny, functional, pocket-sized notebook ready for microscopic doodles or secret notes!
12. Celestial Wire-Wrapped Raw Crystals
Harness positive energy and bohemian elegance by incorporating raw, rough-cut crystals into your daily carry. Select a small, raw gemstone point like rose quartz, amethyst, or clear quartz. Using a flexible, tarnish-resistant gold or silver jewelry wire (20 or 22 gauge), wrap the wire securely around the natural grooves of the stone, twisting it tightly at the top to form a sturdy, aesthetic wire loop. Thread the loop onto a delicate metal chain alongside a tiny, stamped metal moon or star charm to complete the dreamy, celestial aesthetic.
13. Fluffy Pom-Pom Animal Buddies
Make a bold, playful statement with ultra-soft yarn pom-poms transformed into adorable little animals. Using a basic plastic pom-pom maker and plush yarn in shades of grey, brown, or cream, create a dense, fluffy sphere. Use sharp scissors to trim and sculpt the pom-pom into a neat, round shape. Glue on tiny felt cut-outs for ears, and small black beads or safety eyes to create a cute little koala, bear, or bunny face. This lightweight, incredibly soft accessory is perfect for finding your keys instantly at the bottom of a spacious tote bag.
14. Intricate Cottagecore Micro-Embroidery
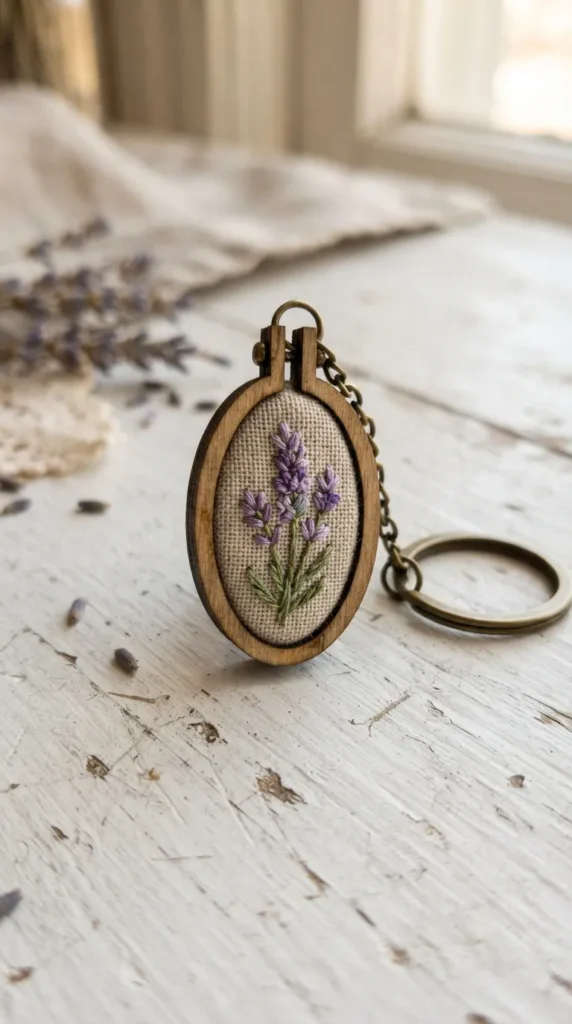
Micro-embroidery is an incredibly elegant, delicate art form that looks stunning when framed as an accessory. Using a tiny, one-inch wooden embroidery hoop or frame pendant, stretch a piece of neutral linen fabric tight. Using a single strand of embroidery floss, stitch a delicate, detailed design—such as a tiny lavender sprig, a miniature mushroom, or a tiny, golden bumblebee. Once finished, tighten the frame around your work, trim the excess fabric behind the frame, glue it flat against a backing plate, and hang it from a vintage bronze-toned keychain clasp.
15. Chic Braided Suede Tassel Bundles
Tassels are a timeless keychain element that adds movement and sleek elegance. To make a high-end, boutique-style version, cut several equal strips of soft, faux-suede cord in complementary earthy or pastel tones (such as taupe, cream, and olive green). Gather the strips together, fold them in half over a gold metal ring, and wrap another piece of suede cord tightly around the neck of the bundle, securing it with a touch of strong fabric glue to create a neat “head.” For extra flair, slide a few metallic gold accent beads onto some of the hanging strands or braid a few of the outer cords.


16. Sculpted Polymer Clay Mushroom Toadstools
Bring a touch of whimsical, fairy-tale magic to your everyday keys with a hand-sculpted, 3D polymer clay mushroom. Sculpt a thick, sturdy stem using white or cream clay, and a wide, slightly curved cap using deep forest green, classic red, or dusty terracotta clay. Assemble the pieces, adding tiny white clay dots to the cap for that classic, whimsical toadstool look. Insert an eye pin directly down through the center of the mushroom cap and into the stem before baking to ensure the hardware is completely anchored inside. Once baked and cooled, brush on a high-gloss glaze for a glassy finish.
17. Vibrant Upcycled Fabric Scraps Scarf Tails
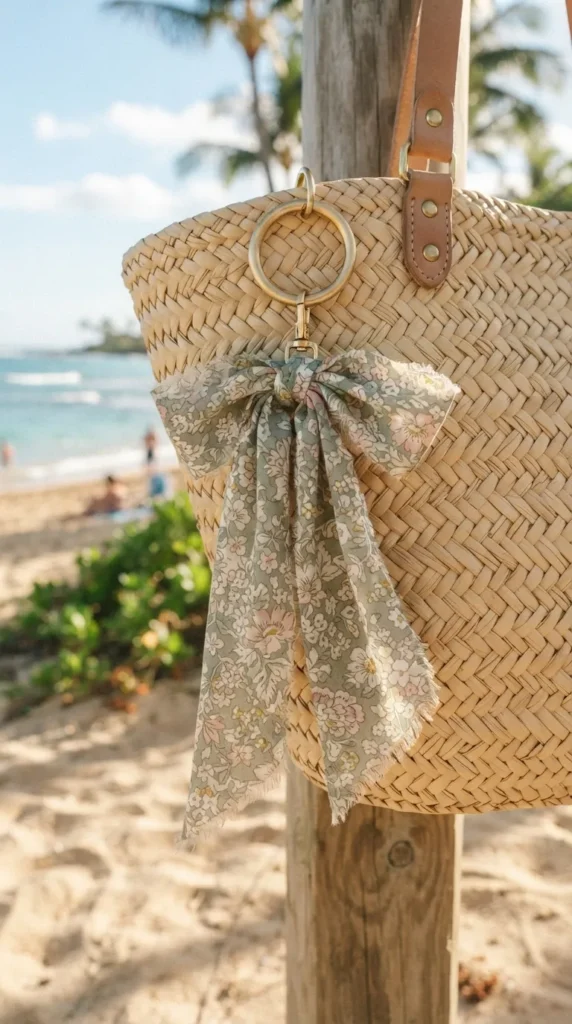
For an effortless, flowy, and highly bohemian accessory, upcycle beautiful silk or linen fabric scraps from old scarves or sewing projects. Cut a strip of fabric about ten inches long and two inches wide, choosing patterns like delicate ditsy florals, vintage paisley, or chic gingham. Thread the fabric strip through a heavy-duty gold key ring and tie it in a soft, elegant bow or a simple, long-tailed double knot. Let the raw, slightly frayed edges hang loose for an organic, relaxed look that looks beautiful blowing in the breeze when your keys are in the ignition.
18. Nostalgic Shrink Plastic Illustrations
If you love hand-drawing and illustrating, shrink plastic (often known as shrink dinks) is an incredibly fun, nostalgic, and satisfying medium. Draw your custom illustrations—such as cute retro cameras, tiny iced coffee cups, quirky cats, or colorful cowboy boots—directly onto a sheet of sanded shrink plastic using colored pencils or permanent markers. Cut your designs out with scissors, and crucially, use a standard hole punch to make a hole for your jump ring before baking. Bake the designs in an oven for a few minutes; watch in awe as they shrink to a fraction of their size, becoming thick, durable, and highly vibrant plastic charms.
19. Bold Checkered Polymer Clay Slabs
Checkered patterns are a massive trend in modern graphic design and home decor. To create a flawless checkered pattern keychain, roll out two sheets of polymer clay of equal thickness—one in a cream color and one in a bold, contrasting color like sage green, cobalt blue, or lavender. Cut both sheets into perfectly equal square strips, then align and stack the strips alternately to create a long, checkered cane. Slice thin cross-sections of the cane to reveal perfect checkered slabs. Use a sharp craft blade to cut out sleek rectangular tags, punch a hole at the top, bake, and finish with a smooth matte sealer.
20. Colorful Seed Bead Fruit Charms
Seed beads offer infinite possibilities for creating intricate, colorful patterns. Using a basic, sturdy jewelry wire or beading thread, you can easily weave tiny, vibrant glass seed beads into cute, recognizable fruit shapes. Follow a simple bead-weaving grid to construct a tiny slice of watermelon, a pair of bright red cherries on green wire stems, or a textured, golden-yellow pineapple. The tiny glass beads catch the light beautifully, creating a sparkling, playful, and incredibly colorful addition to your keychain cluster.
Pro-Tips for Selling & Gifting Your DIY Keychains
If you are planning to gift your handmade creations or sell them online, presentation and durability are everything. A few small touches can transform a casual hobby project into a high-end, professional product:
- Elevate the Packaging: Pin your keychains onto custom-designed, heavy cardstock backing cards. A clean kraft paper card with your brand logo, handwritten “handmade with love” text, or an aesthetic background pattern immediately elevates the perceived value of your piece.
- Double-Check Your Connections: Always use high-quality, sturdy jump rings and ensure they are closed completely flush with your pliers. Loose jump rings are the number one reason DIY keychains break, so investing in heavy-duty or split jump rings is always worth it.
- Combine and Layer: Don’t be afraid to mix and match! Some of the most beautiful keychains on Pinterest are clusters. Try combining a minimalist stamped leather tab with a small, colorful beaded strand, or pairing a large acrylic disc with a small, soft suede tassel. Layering different textures creates visual depth and a luxurious feel.