In an era dominated by instant messages, quick double-taps, and fleeting digital interactions, there is a quiet, radical magic in receiving a physical letter. Holding a textured piece of paper, breaking a real wax seal, and smelling the faint scent of ink or pressed botanicals connects us in a way an email never could. Snail mail is not just about communication; it is an exchange of art, intentionality, and time.
If you want to turn your letters into keepsakes that your pen pals will cherish forever, you have come to the right place. Below is an ultimate, highly detailed guide to 20 unique snail mail stationery craft ideas that will transform your outgoing mail into beautiful works of art.




1. Dried Pressed Flower Envelopes
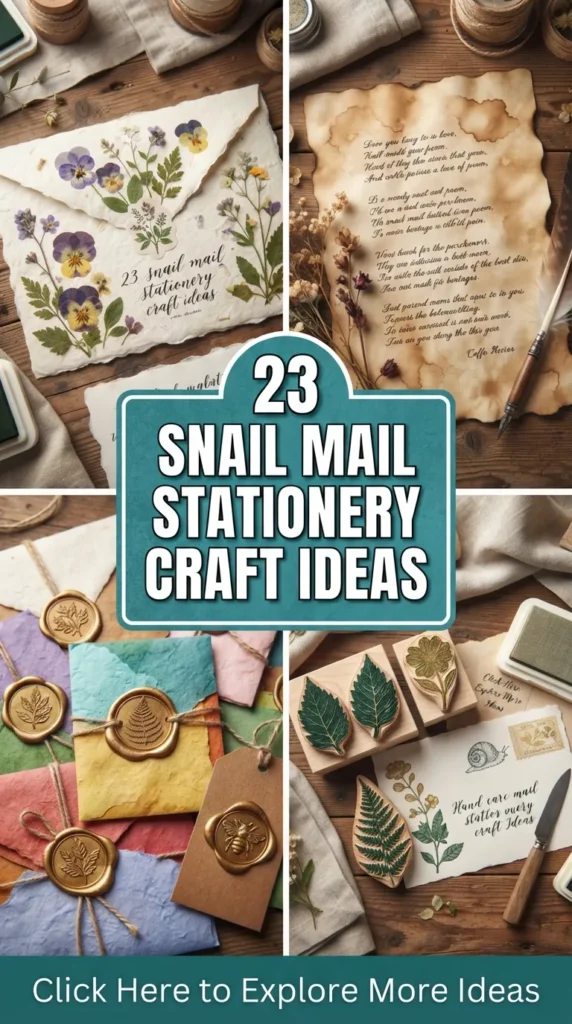
There is nothing quite as romantic as the delicate beauty of real botanicals preserved on paper. This craft infuses your mail with an organic, cottagecore aesthetic that feels like a warm breeze from a summer garden.
Materials Needed:
- Heavyweight envelope liners or plain kraft envelopes
- Flat-pressed flowers and leaves (pansies, ferns, and baby’s breath work beautifully)
- Clear matte decoupage glue (like Mod Podge)
- A soft-bristled brush
- Tweezers for precise placement
Step-by-Step Guide:
- Design the Layout: Gently arrange your pressed florals on the back flap of a closed envelope or along the front corners using tweezers. Keep them away from where the address and postage stamp will go.
- Apply the Base: Lift each flower carefully, apply a tiny dot of glue to the back, and place it back down.
- Seal and Protect: Once your layout is set, brush a very thin, even layer of matte decoupage glue over the entire floral design. This seals the petals so they don’t tear or peel off during transit.
- Dry Completely: Let the envelopes dry flat for at least four hours before writing on them.
Pro Tip: Stick to thin, fully dried petals. Thicker flowers can get caught in postal sorting machines, so flat leaves and delicate blossoms are your best bet.
2. Coffee and Tea-Stained Parchment Letters
Give your letters a vintage, historical feel as if they were penned in a candlelit study centuries ago. This technique adds rich texture, variable sepia tones, and a soothing, comforting scent to your paper.
Materials Needed:
- Plain white or cream-colored printer paper (cotton blend works best)
- Strong brewed black coffee or black tea (cool or lukewarm)
- A shallow baking tray larger than your paper
- Sponge brush or spray bottle
- Flat iron or oven (optional)
Step-by-Step Guide:
- Prepare the Liquid: Brew a very strong cup of tea or coffee. The darker the brew, the deeper the vintage stain.
- Soak the Paper: Pour the liquid into your baking tray. Submerge your sheets of paper completely for 1 to 3 minutes.
- Create Distressed Textures: For a speckled, aged look, sprinkle a few dry coffee grounds or wet tea leaves directly onto the wet paper.
- Dry the Sheets: Carefully lift the paper and let it air dry on a wire rack, or place it on a clean cookie sheet and bake at the lowest oven setting (around 150°F / 65°C) for a few minutes until crisp.
- Flatten and Smooth: If the paper is too crinkled, place a clean cloth over it and run a household iron on low heat over the surface to flatten it out.
3. Custom Wax Seal Liners & Wax Melts
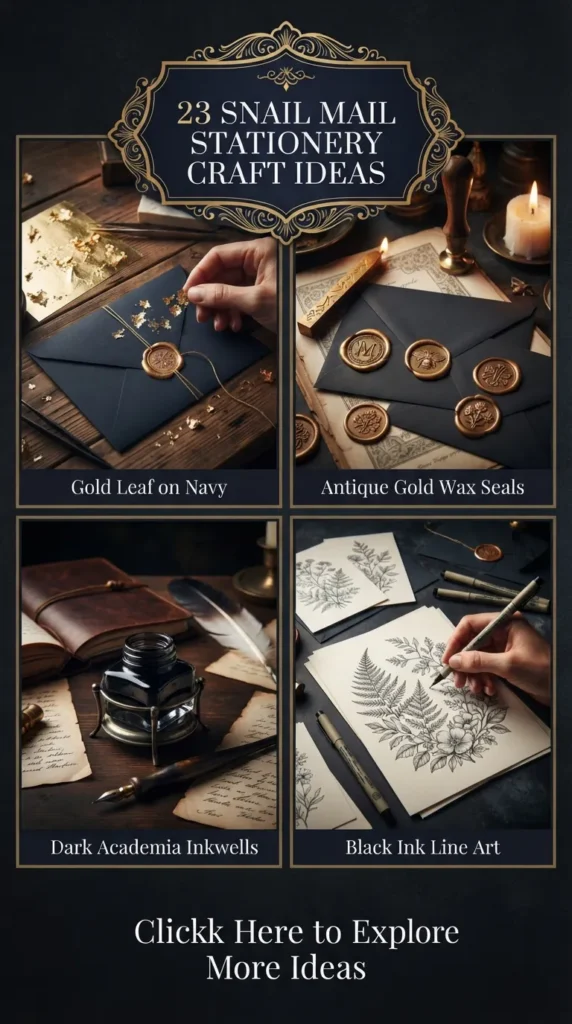
Wax seals are the ultimate signature of elegance. While sealing the outside of an envelope is classic, creating beautiful wax medallions inside your letter or as decorative accents on custom tags ensures they arrive perfectly intact.
Materials Needed:
- Wax sealing stamps with unique brass designs
- Sealing wax beads in complementary colors (sage green, dusty rose, or antique gold)
- Melting spoon and tea light candle
- Silicone baking mat
- Double-sided adhesive backing stickers
Step-by-Step Guide:
- Melt the Wax: Melt 3 to 4 wax beads in your spoon over the candle flame.
- Pour onto Silicone: Pour the melted wax into a perfect circle on a clean, heat-resistant silicone mat.
- Stamp and Set: Gently press your brass stamp into the center of the wax pool. Let it sit for 30 seconds before slowly peeling the stamp away.
- Peel and Store: Once fully cooled, peel the wax seal off the silicone mat.
- Apply to Mail: Apply a circular double-sided sticker to the flat back of the wax seal. Now you can stick it anywhere on your letters, tags, or ribbons without worrying about it melting or breaking in the post office machinery.
4. Hand-Carved Linocut Stamp Stationery
Create your own signature branding by carving custom rubber stamps. From minimalist botanical sprigs to geometric patterns, hand-carved stamps give your letterheads and envelope flaps a beautifully rustic, artisanal quality.
Materials Needed:
- Linoleum or soft rubber carving blocks
- Lino carving tool with interchangeable V and U-shaped blades
- Slow-drying stamp ink pads (pigment ink works best for vibrant colors)
- Smooth-surface cardstock or plain envelopes
- Pencil and tracing paper
Step-by-Step Guide:
- Design Your Motif: Draw a simple design on tracing paper. Remember that stamp designs will print in reverse, so flip any words or asymmetrical drawings.
- Transfer to Block: Rub the back of the tracing paper to transfer the graphite pencil design onto your rubber carving block.
- Carve the Outline: Use the fine V-tool to carefully outline your design. Always carve away from your body.
- Remove Excess Material: Use the wider U-tool to scoop away the surrounding rubber that you don’t want to print.
- Test and Print: Press your custom stamp onto an ink pad and test it on scrap paper first. Adjust the carving if needed, then stamp your collection of custom letterheads.
5. Watercolor Wash Letterhead
Bring a soft, ethereal touch to your correspondence with abstract watercolor washes. No painting skills are required for this—the beauty lies in the unpredictable, flowing movement of pigments.
Materials Needed:
- Heavyweight watercolor paper (90lb to 140lb)
- Watercolor paints in soft pastel, jewel, or earth tones
- Large, soft flat paint brush
- Clean water and paper towels
Step-by-Step Guide:
- Prep the Paper: Lightly mist your paper with clean water to help the pigments run and blend smoothly.
- Apply the Color: Dip your brush in highly diluted watercolor paint and sweep it gently across the top, bottom, or borders of the paper.
- Blend the Edges: Soften any harsh color lines with a clean, wet brush to create a seamless gradient fade.
- Add Accents: For a dreamy look, splat a tiny bit of concentrated watercolor paint or metallic gold ink across the damp wash.
- Dry and Press: Let the paper dry. To fix any curling, press the dry sheets under heavy books overnight.


6. Botanical Thread-Stitched Cardstock
Adding embroidery or hand-stitched elements to your cards introduces a beautiful tactile dimension. This delicate, crafty technique is perfect for creating minimalist botanical illustrations or geometric borders.
Materials Needed:
- Blank heavyweight cardstock cards
- Colorful embroidery floss (cotton thread)
- A fine embroidery needle
- A sharp pushpin or awl
- A soft cork board or foam mat
Step-by-Step Guide:
- Map Your Pattern: Lightly sketch a simple design (like a single leaf, tulip, or minimal heart) on the front of your card with a pencil.
- Punch Guide Holes: Place the card on a soft foam mat. Use a pushpin to punch tiny holes along your pencil sketch, spacing them about 1/8 to 1/4 inch apart.
- Erase Guidelines: Gently erase the pencil marks so only the clean, punched holes remain.
- Stitch the Pattern: Thread your needle with embroidery floss and tie a small knot at the end. Sew through your punched holes using a simple backstitch.
- Secure the Back: Knot the thread securely on the inside of the card. Cover the messy back of the stitches by gluing a clean piece of paper or liner over it.
7. Vintage Book Page Envelopes
Repurpose old, damaged books or vintage sheet music into uniquely charming envelopes. This eco-friendly craft is perfect for historical fiction lovers, music enthusiasts, and vintage collectors.
Materials Needed:
- Pages from old, discarded books, atlases, or sheet music
- A standard envelope to use as a template
- Pencil and scissors
- High-quality paper glue stick or double-sided tape
Step-by-Step Guide:
- Disassemble Your Template: Gently open up a standard envelope to use as your flat pattern.
- Trace Onto Vintage Pages: Lay the template over your book page. Position it so that the text or musical notes are oriented beautifully. Trace the outline with a pencil.
- Cut Your Pattern: Carefully cut out the traced pattern.
- Fold the Flaps: Place your ruler along the folding lines and fold the side flaps inward, followed by the bottom flap.
- Glue the Seams: Apply double-sided tape or a thin layer of glue along the overlapping edges of the side and bottom flaps. Press firmly to secure.
Pro Tip: Since vintage paper can be fragile, you can write the recipient’s address on a blank white adhesive label and stick it to the front of the envelope for maximum legibility.
8. Calligraphy-Embellished Edge Paper
You don’t need to be a master calligrapher to create breathtaking, customized paper edges. Using ink and metallic accents to highlight the borders of your paper adds an instant regal touch.
Materials Needed:
- Deckle-edge or torn-edge cotton paper
- Metallic gold, silver, or bronze calligraphy ink
- Fine-tip paint brush or small cosmetic sponge
- Painters tape (optional)
Step-by-Step Guide:
- Create the Paper Edge: If you don’t have deckle-edge paper, make your own by folding a sheet of cotton paper, dampening the fold with a wet brush, and gently tearing along the wet line to create a beautiful, feathered edge.
- Prepare the Metallic Ink: Stir your metallic ink thoroughly so the gold pigment is evenly suspended.
- Apply the Color: Lightly dip a small, dry cosmetic sponge into the ink and gently dab it along the rough edges of your paper.
- Control the Intensity: Keep your hand light so the gold only clings to the raised fibers, creating a delicate, sparkling border.
- Dry: Set the paper aside on a flat surface to dry for an hour.
9. Confetti-Filled Pocket Envelopes
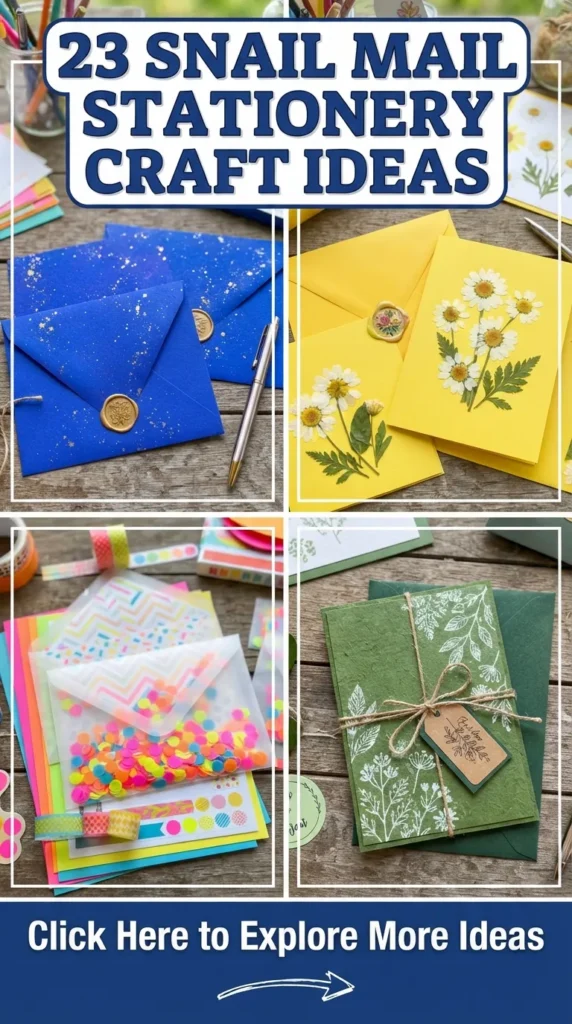
Add a touch of whimsy and celebration to your mail! Perfect for birthdays, holidays, or joyful announcements, these translucent pocket envelopes show off colorful, fluttering confetti inside.
Materials Needed:
- Semi-translucent vellum paper or clear glassine envelopes
- Colorful tissue paper confetti, star sequins, or glitter
- Sewing machine or double-sided adhesive tape
- Colorful baker’s twine or ribbon
Step-by-Step Guide:
- Fold Your Pocket: Fold a sheet of vellum paper in half to make a simple card pocket, or use a pre-made glassine envelope.
- Seal Two Sides: Sew along two of the open edges with a sewing machine or seal them down using strong double-sided tape.
- Fill with Confetti: Slip a handful of flat paper confetti, dried petals, or tiny sequins into the open pocket.
- Insert Your Letter: Slide your handwritten letter into the pocket, nestled among the colorful shapes.
- Seal the Top: Sew or tape the top edge closed, then wrap it with baker’s twine and a sweet gift tag.
10. Pressed Herb & Leaf Wax-Sealed Notes
Introduce a lovely botanical aroma to your mail. By preserving fragrant herbs like rosemary, lavender, or thyme under a classic wax seal, you create a beautiful, multisensory opening experience.
Materials Needed:
- Sturdy cardstock or handmade deckle-edge paper
- Sprigs of dried lavender, rosemary, thyme, or eucalyptus
- Metallic or neutral sealing wax
- Wax stamp and melting spoon
Step-by-Step Guide:
- Position the Herb: Place a small, flat sprig of dried herb on your letterhead, card, or on the back flap of your envelope.
- Melt and Pour: Melt your sealing wax and pour a pool of hot wax directly over the stem of the herb, securing it in place.
- Stamp Firmly: Press your brass stamp directly onto the hot wax, trapping the herb underneath.
- Set: Let the wax cool completely before lifting the stamp. The dried leaf or stem will remain beautifully embedded, peeking out from beneath the wax seal.


11. Origami Fold Secret Notes
Skip the envelope entirely with an origami-folded letter! This traditional craft turns your actual letter into its own secure, beautifully folded envelope that unfolds to reveal your handwritten message.
Materials Needed:
- Standard rectangular paper (lightweight paper works best for folding)
- A bone folder or ruler for crisp folds
- Decorative stickers to secure the final fold
Step-by-Step Guide:
- Write Your Message: Write your letter on one side of the paper, keeping a small margin around the borders.
- Fold in Half: Place the paper vertically on your table. Fold it in half lengthwise, then unfold it to leave a center crease.
- Create the Flaps: Fold the top right corner down to the center crease. Repeat with the bottom left corner, creating two opposite triangles.
- Fold the Long Edges: Fold the remaining top edge down to meet the edge of the triangle, and do the same for the bottom edge.
- Tuck and Secure: Fold both ends diagonally toward the center, tucking the points into the natural pockets created by the folds. Press flat with a bone folder and seal with a lovely sticker.
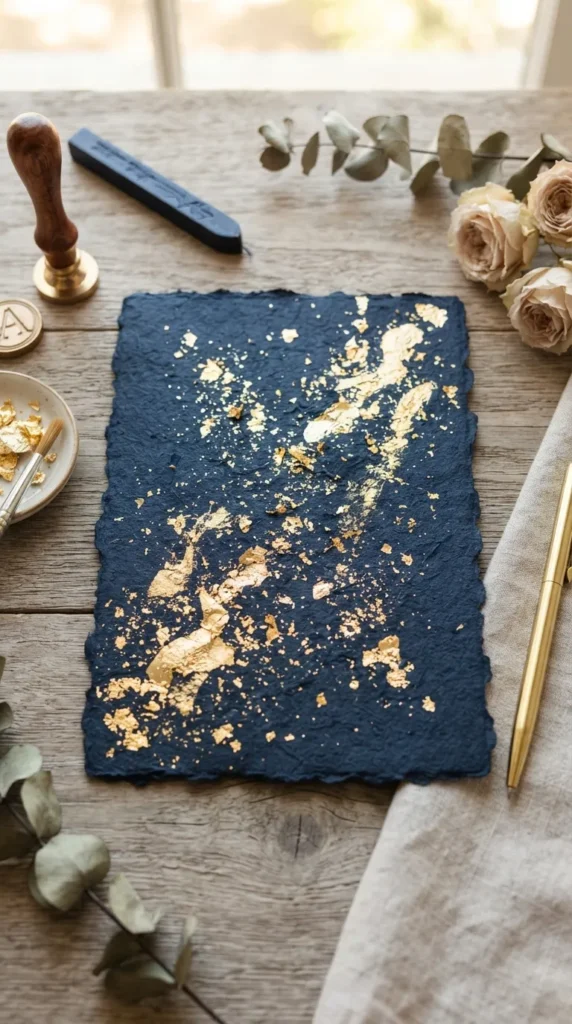
12. Gold Leaf Flecked Cardstock
Nothing says luxury like the shimmering texture of genuine gold leaf. This technique elevates plain, heavy cardstock into a high-end art piece that gleams beautifully in the light.
Materials Needed:
- Heavyweight cotton paper or thick dark-colored cardstock
- Gold leaf sheets or gold flakes
- Metal leaf adhesive (gilding size)
- Soft, dry watercolor brush and a stiff stencil brush
Step-by-Step Guide:
- Apply the Adhesive: Using a fine brush, apply small dots or thin, abstract streaks of gilding adhesive onto your paper.
- Wait for Tackiness: Let the adhesive sit for 5 to 10 minutes until it feels tacky but not wet.
- Apply the Gold Leaf: Gently lay a sheet of gold leaf or sprinkle gold flakes over the sticky areas. Press down lightly with a soft, clean brush.
- Brush Away Excess: Use your stiff stencil brush in circular motions to sweep away any excess loose gold leaf, leaving behind beautiful, irregular flecks of gold.
- Polish: Buff the gilded spots gently with a soft microfiber cloth to make them shine.
13. Embossed Border Postcards
Give your homemade postcards a stunning, three-dimensional tactile border using dry embossing techniques. It looks professional and feels wonderfully satisfying to hold.
Materials Needed:
- Blank watercolor or mixed media postcards (at least 140lb / 300gsm)
- An embossing stylus (or a ballpoint pen that has run out of ink)
- A sturdy plastic template or stencil (with borders or frames)
- A light table or a bright window
Step-by-Step Guide:
- Set Up Your Template: Tape your plastic stencil to a light table or a windowpane, then place your blank postcard directly on top of it.
- Locate the Lines: Turn on the light so the outlines of the stencil shine clearly through the thick cardstock.
- Trace and Press: Using your embossing stylus, trace along the inside lines of the stencil with firm, steady pressure.
- Flip Your Paper: Turn the card over. The pressed lines will have pushed the paper fibers out, creating a gorgeous, raised embossed frame on the front.
14. Vintage Postage Stamp Collage Letters
Instead of hiding vintage stamps away in albums, use them to curate themed collages on your envelopes. Grouping unused, lower-denomination vintage stamps adds instant historical charm.
Materials Needed:
- A collection of vintage, unused postage stamps
- Plain kraft or neutral-colored envelopes
- Glue stick (if the stamp adhesive has dried out over time)
- Fine-tip black pen for writing the address
Step-by-Step Guide:
- Choose a Color Palette: Select vintage stamps that share a cohesive color palette (such as warm terracottas, sage greens, or moody teals).
- Plan Your Stamps: Lay out several low-denomination stamps on your envelope. Ensure the total value of the vintage stamps meets current postal rates if you intend to mail them.
- Create the Collage: Arrange them in a beautiful, overlapping grid or column on the upper-right corner of your envelope.
- Adhere Carefully: Lightly moisten or glue each stamp down securely.
- Balance the Address: Write the recipient’s address in simple, clean ink to balance out the busy, artistic look of the stamp collage.
15. Ribbon-Bound Scroll Messages
Transform a simple letter into an ancient scroll, perfect for long-form love letters, poetry, or special announcements.
Materials Needed:
- Long sheets of parchment or cotton paper
- Hand-dyed silk, velvet, or chiffon ribbon in earthy shades
- Dried botanical sprigs
- Scissors and wax seal
Step-by-Step Guide:
- Write Your Scroll: Pen your letter horizontally on a long, narrow strip of paper.
- Roll the Scroll: Starting from the bottom, roll the paper up tightly.
- Tie with Ribbon: Wrap a length of soft, frayed silk ribbon around the center of the scroll twice.
- Tuck a Floral sprig: Slide a sprig of dried lavender or bunny tails beneath the ribbon knot.
- Seal with Wax: Pour a drop of wax over the ribbon ends on the scroll to lock the roll in place, creating a beautiful unrolling experience.


16. Hand-Drawn Minimalist Line Art Notes
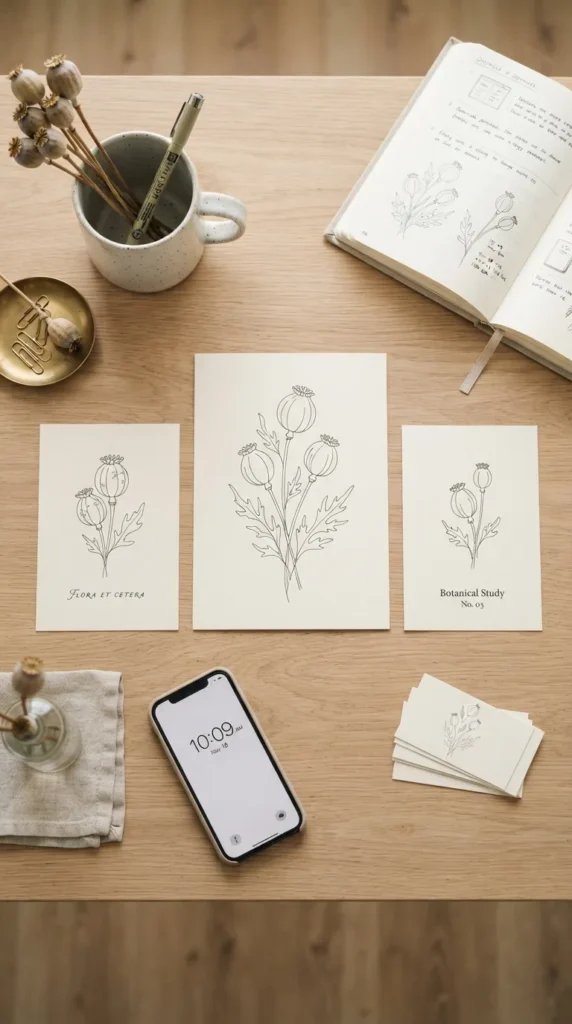
If you love clean, modern designs, minimalist line art is a wonderful way to personalize your cards. Simple, continuous-line drawings of faces, plants, or abstract shapes look highly editorial and chic.
Materials Needed:
- Smooth white or cream cards
- Fine-point pigment liners (black, dark brown, or forest green)
- Pencil and eraser
Step-by-Step Guide:
- Sketch the Design: Lightly sketch your line art with a pencil. Focus on simple, flowing silhouettes like monstera leaves, poppy pods, or abstract curves.
- Inking the Lines: Trace over your pencil lines with a high-quality pigment liner. Try to use a single, steady, continuous motion for a clean, flowing line.
- Let the Ink Cure: Wait at least 15 minutes to ensure the ink is completely dry and smear-proof.
- Clean the Sketch: Gently erase any remaining pencil lines.
17. Fabric-Lined Kraft Paper Envelopes
Add a surprising pop of color and texture inside your envelopes by lining them with floral, gingham, or linen fabric scraps. It creates a soft, luxurious feel when opened.
Materials Needed:
- Plain kraft envelopes
- Thin cotton fabric scraps
- Fabric scissors or rotary cutter
- Acid-free glue stick or fabric glue
- Envelope liner template
Step-by-Step Guide:
- Create the Template: Cut a piece of paper that fits perfectly inside your envelope, stopping just below the glue line on the flap.
- Cut the Fabric: Pin the template to your fabric scraps and cut out the liner shape using fabric scissors.
- Insert the Liner: Slide the fabric liner inside the envelope to make sure it fits and folds smoothly.
- Glue and Press: Apply a thin layer of glue stick to the top flap portion of the fabric, fold the envelope flap down, and press firmly to seal the fabric to the paper.
18. Splatter Paint Starry Night Stationery
Capture the mystery of a dark, starry night sky on your stationery. This stunning technique is ideal for writing cozy winter letters or late-night reflections.
Materials Needed:
- Navy blue, charcoal, or forest green cardstock
- Opaque white acrylic ink or white gouache paint
- Metallic gold paint
- An old toothbrush or stiff bristle brush
- Fine-tipped white gel pen
Step-by-Step Guide:
- Prep your Paints: Dilute a small amount of white ink or gouache with water until it reaches the consistency of milk.
- Splatter the Stars: Dip your toothbrush into the white paint, point the bristles down toward your dark paper, and run your thumb back over the bristles to spray a fine mist of white “stars.”
- Add Cosmic Gold: Repeat this process with a tiny bit of metallic gold paint to add warm, twinkling stardust layers.
- Paint Constellations: Once dry, use a fine gel pen to connect some of the dots into custom constellations.
- Write with Gel Ink: Use a pastel or metallic gel pen to write your message clearly on the dark background.
19. Lace-Stencil Airbrushed Borders
Create a soft, vintage lace pattern along the borders of your paper. This technique yields a delicate, romantic look that mimics expensive heirloom linen.
Materials Needed:
- Plain cardstock or envelopes
- Vintage lace trims, paper doilies, or lace fabric
- Spray ink bottles or a makeup sponge
- Acrylic or distress ink in soft shades (like sage, blush, or lavender)
Step-by-Step Guide:
- Position the Lace: Lay a flat piece of lace fabric or a paper doily over the edges of your cardstock. Use heavy washers or coins to hold the lace flat against the paper.
- Apply the Ink: Lightly spray the ink over the lace, or dab a damp makeup sponge loaded with ink over the gaps.
- Lift Carefully: Carefully lift the lace straight up to avoid smudging.
- Reveal the Pattern: Underneath, you will find a gorgeous, intricate stencil of the lace pattern framing your paper.
20. Pressed Fern Leaf Window Envelopes
Give your recipient a beautiful sneak peek of what’s inside. By creating a translucent window on your envelope, you can showcase beautiful pressed leaves or colorful illustrations nestled inside the letter.
Materials Needed:
- Plain envelopes with pre-cut windows (or cut your own using a craft knife)
- Pressed green fern leaves or eucalyptus leaves
- Clear acetate sheets or vellum paper
- Double-sided tape
Step-by-Step Guide:
- Prep the Window: If you’re cutting your own window, cut a clean rectangle out of the front center of your envelope.
- Glue the Clear Sheet: Tape a piece of clear acetate or translucent vellum to the inside of the envelope, covering the window opening.
- Mount the Botanical: Arrange a beautiful, flat pressed fern leaf against the window-side sheet of your letter insert.
- Insert the Letter: Slide the letter into the envelope so the pressed fern aligns perfectly with the clear window.
- Seal and Send: Seal the envelope. The recipient will instantly see a vivid, green fern leaf floating in the window of their mail.