There is a quiet power in minimalism. In a world saturated with constant visual noise, our homes should serve as sanctuaries of calm, clarity, and intentional design. One of the most effective ways to cultivate this serene atmosphere is through the art we choose to display on our walls.
You do not need to spend a fortune at high-end galleries to achieve a sophisticated, designer-approved aesthetic. In fact, some of the most captivating minimalist pieces are those created by hand, carrying a sense of texture, personal touch, and effortless elegance.
This comprehensive guide walks you through 20 unique, realistic, and budget-friendly DIY minimalist wall art projects. Whether you are drawn to the tactile warmth of textured plaster, the clean precision of geometric woodwork, or the organic beauty of pressed botanicals, these projects will help you transform empty walls into curated masterpieces.
The Philosophy of Minimalist Wall Decor
Before diving into the projects, it is essential to understand what makes minimalist art work so beautifully in modern interiors. It is not merely about “emptiness”; it is about intentionality, balance, texture, and scale.
1. The Role of Texture
When color is kept to a minimum, texture becomes the hero. Rough plaster, woven linen, matte paper, and raw wood catch the light in different ways throughout the day, creating subtle depth and movement without cluttering the visual field.
2. Mindful Color Palettes
Minimalism thrives on a cohesive, restrained color palette. Focus on:
- Warm Neutrals: Alabaster, oatmeal, soft beige, taupe, and warm terracotta.
- Cool Earth Tones: Sage green, slate gray, dusty blue, and charcoal.
- The Contrast Anchors: Soft charcoal, rich espresso, and deep matte black to ground the space.
3. Scale and Framing
An oversized, beautifully framed piece of art instantly makes a room feel larger and more luxurious. Investing in high-quality framing—or learning how to elevate affordable frames with custom mats—is the secret shortcut to making a DIY project look like an expensive gallery acquisition.
20 Minimalist DIY Wall Art Projects
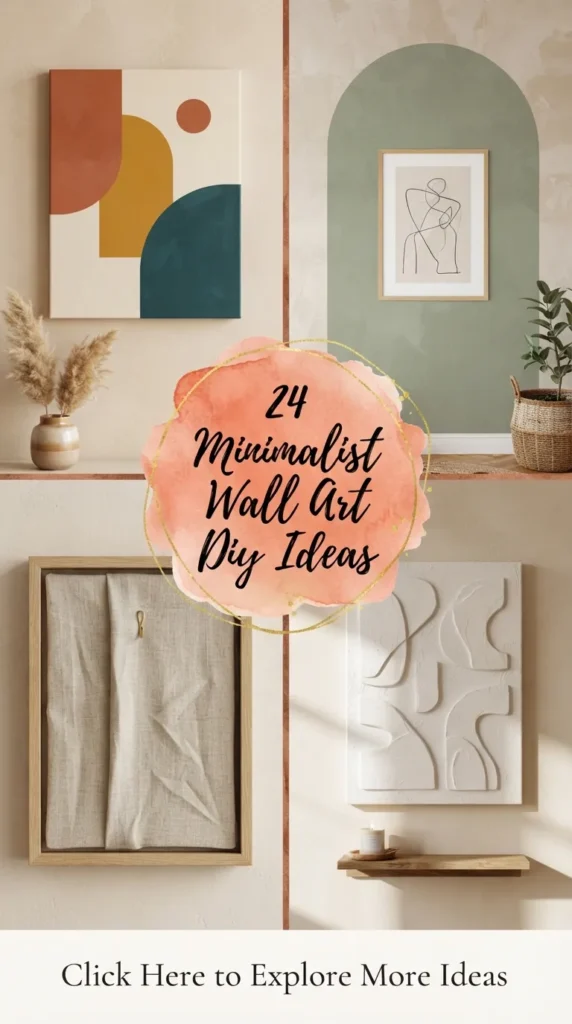
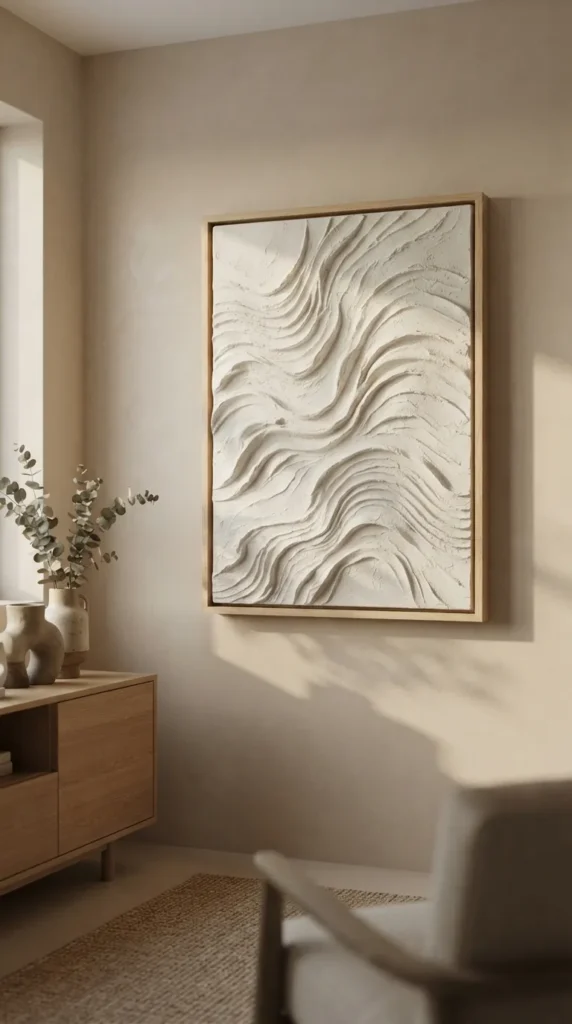
1. The Textured Plaster Canvas
Textured canvas art continues to dominate interior design trends, and for good reason. It adds an earthy, tactile element to clean, modern walls.
- Materials Needed: Stretched canvas (large scale works best), joint compound or lightweight plaster, a putty knife, a notched trowel, and matte neutral paint.
- Step-by-Step Guide:
- Lay your canvas flat on a protected surface.
- Scoop a generous amount of joint compound onto the center of the canvas.
- Use your putty knife to spread the plaster evenly, aiming for a thickness of about 1/4 inch.
- Drag a notched trowel or a coarse comb across the surface in sweeping arches or clean horizontal lines to create deep, organic grooves.
- Let it dry completely for 24 hours.
- Once dry, apply a thin coat of matte white, ivory, or warm beige chalk paint to seal the plaster and give it a luxurious, chalky finish.
- Styling Tip: Frame this piece in a thin, light oak floating frame to elevate its architectural appeal.
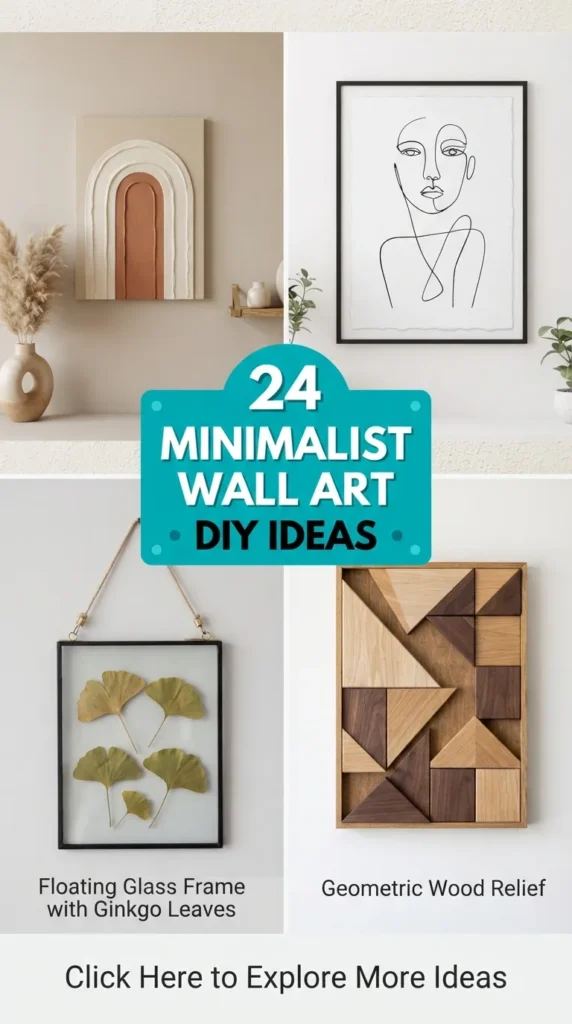
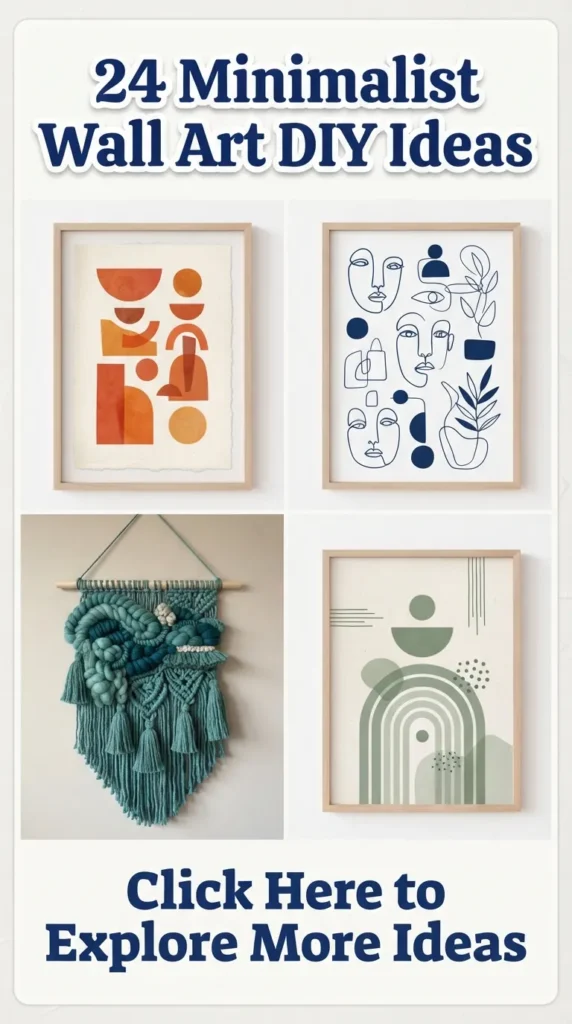
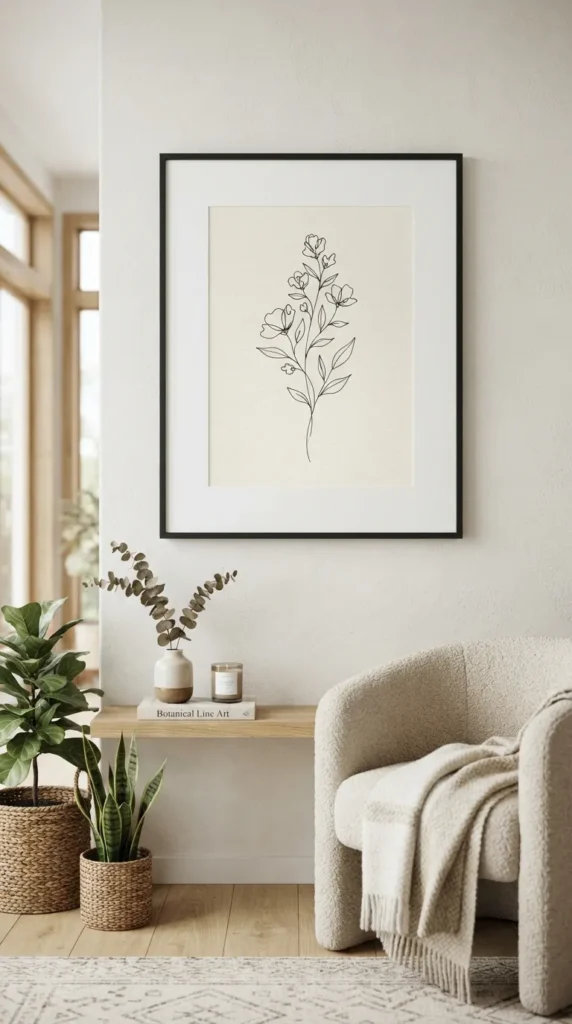
2. Abstract Single-Line Art
Single-line drawings celebrate the beauty of simplicity. By using one continuous line to depict a silhouette or abstract form, you create an elegant focal point.
- Materials Needed: Heavyweight watercolor paper, black acrylic paint or a thick archival ink pen, a fine-tip paintbrush, and a sleek black frame.
- Step-by-Step Guide:
- Practice your design on scratch paper first. Focus on continuous, fluid movements of your hand—abstract faces, botanical stems, or simple female silhouettes work beautifully.
- Lightly trace your chosen design onto your high-quality watercolor paper using a hard pencil (like a 2H) so the lines are barely visible.
- Steady your hand and trace over the line using your paintbrush or archival pen in one slow, deliberate motion.
- Allow the ink or paint to dry completely before erasing any stray pencil marks.
- Styling Tip: Use an extra-wide white mat board inside your frame to give the simple drawing plenty of breathing room.
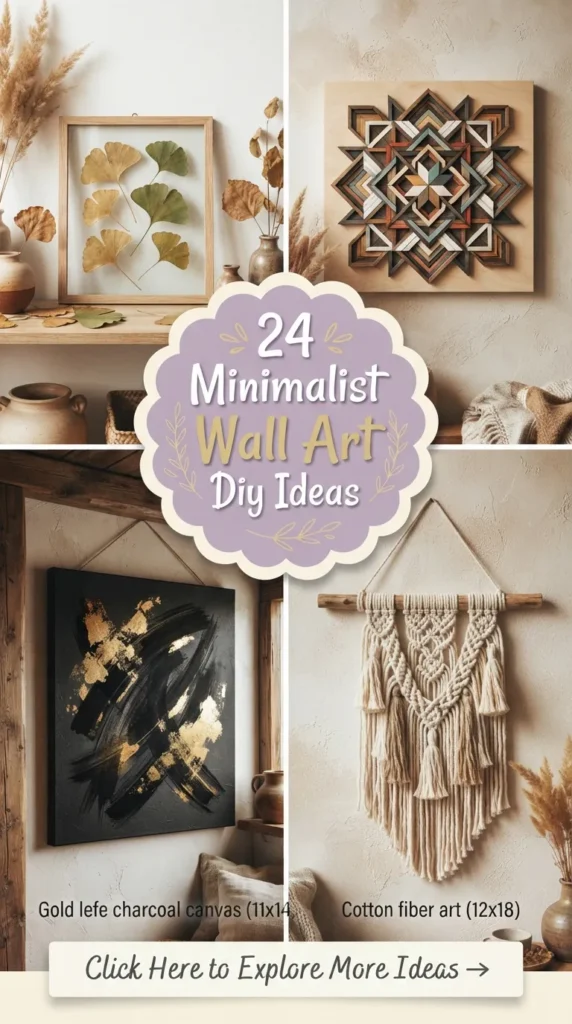
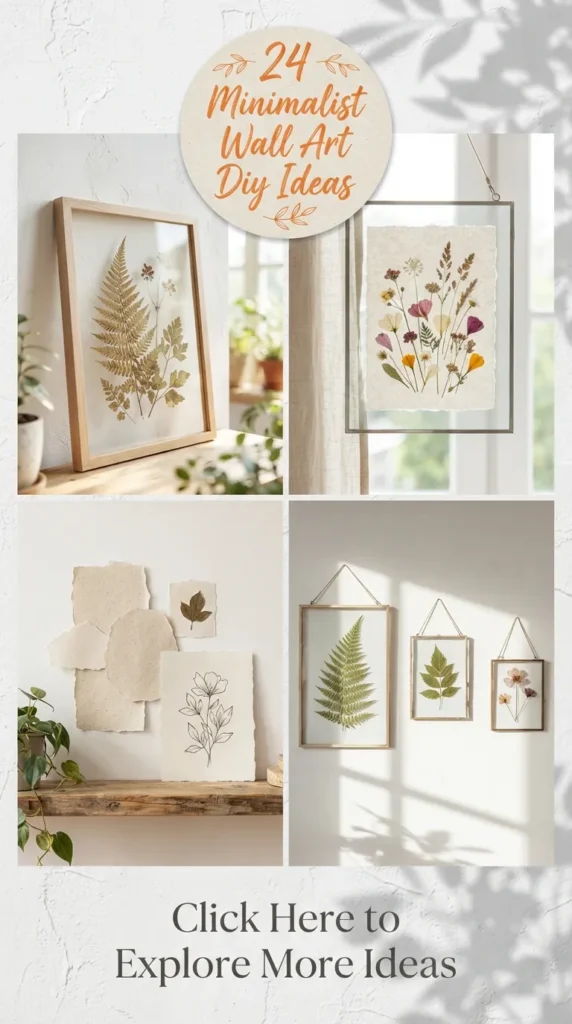
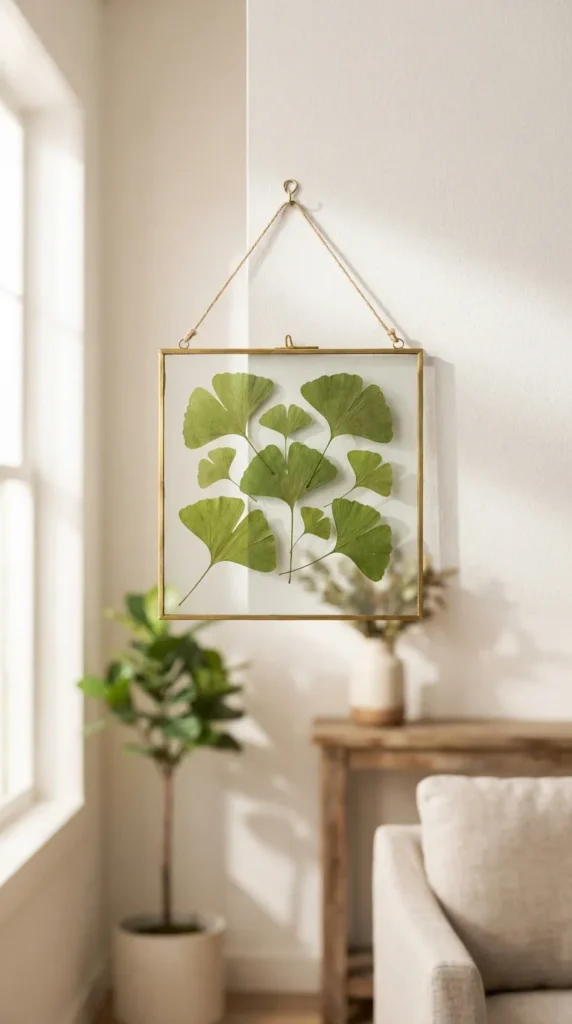
3. Pressed Botanical Glass Frames
Bringing nature indoors is a core tenet of biophilic minimalist design. Pressed botanicals offer a delicate, organic touch that feels both vintage and incredibly modern.
- Materials Needed: Double-glass floating frames, heavy books, parchment paper, and flat leaves or ferns (e.g., ginkgo leaves, monsteras, or delicate ferns).
- Step-by-Step Guide:
- Collect fresh, flat leaves with interesting silhouettes.
- Place the leaves between sheets of parchment paper and tuck them inside a heavy book. Stack more books on top to apply pressure.
- Leave them undisturbed for 1 to 2 weeks until they are completely dry and flat.
- Carefully open your floating glass frame, arrange the pressed leaves on the glass, and close the frame to seal them in place.
- Styling Tip: Hang a triptych (a set of three) of these frames horizontally above a dining sideboard or a bedroom headboard for a serene, cohesive look.
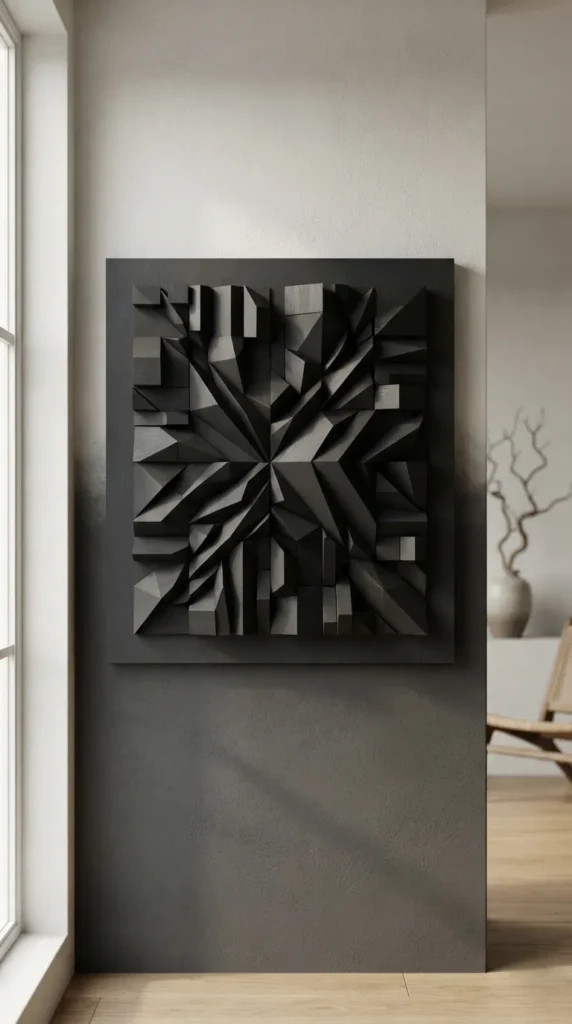
4. Wooden Block Geometric Art
This project plays with shadow and depth. By arranging painted wooden blocks on a wooden backboard, you create a 3D relief sculpture.
- Materials Needed: A sturdy plywood backing board, small square or rectangular wooden craft blocks, wood glue, and matte black or warm cream paint.
- Step-by-Step Guide:
- Plan your geometric layout on a table before gluing. Think clean grids, staggered running bonds, or abstract steps.
- Sand any rough edges of your wooden blocks and backing board.
- Paint all the pieces in a single, solid color. A matte charcoal or deep forest green gives a stunning, sculptural look.
- Once the paint is dry, apply wood glue to the back of each block and press them firmly onto the backing board according to your design.
- Let the glue cure completely overnight.
- Styling Tip: Mount this piece where it can catch natural side-light from a window. The shifting shadows throughout the day will change the look of the art constantly.
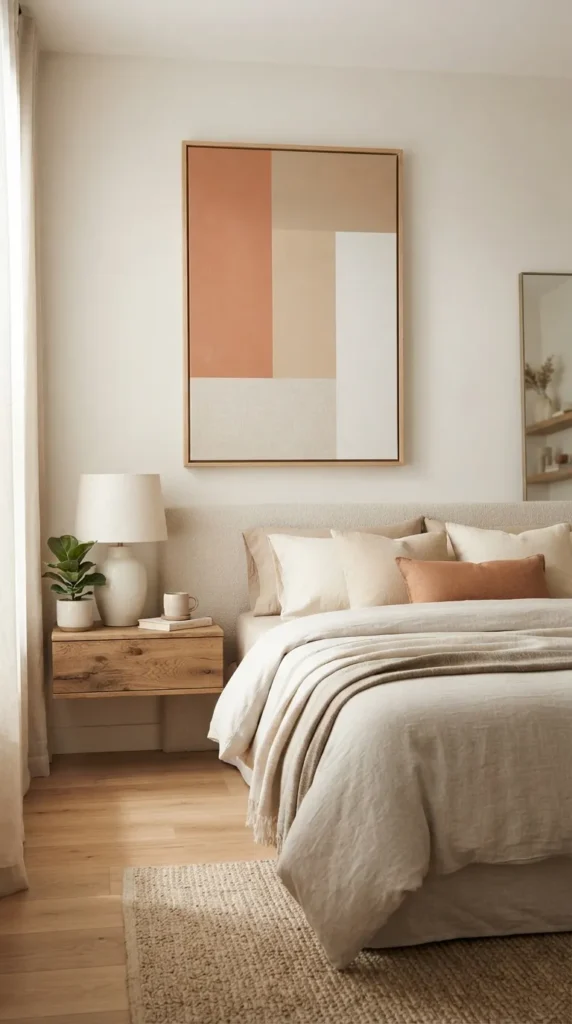
5. Neutral Color-Block Canvas
Color blocking doesn’t have to be loud. Using soft, tonal shades of the same color family creates a soothing, structured piece of art.
- Materials Needed: Stretched canvas, painter’s tape, a sponge brush, and two or three coordinating neutral paints (such as linen, sand, and soft terracotta).
- Step-by-Step Guide:
- Apply painter’s tape across your canvas to divide it into distinct geometric zones (diagonal cuts, simple halves, or off-center rectangles).
- Press down firmly along the tape edges to prevent paint bleed.
- Paint each section with a different neutral tone using clean, even strokes.
- While the paint is still slightly damp, carefully peel away the painter’s tape to reveal crisp, clean lines.
- Styling Tip: Pair this with minimalist wooden furniture and boucle fabrics to complement the warm, modern color palette.
6. Modern Arch Paint Wall Art
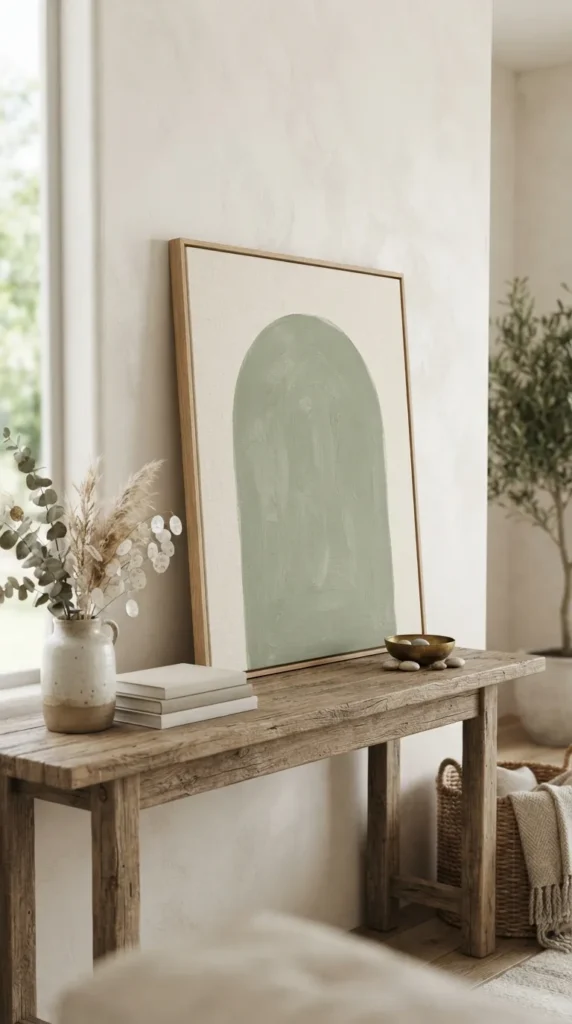
Arches bring architectural softness to rooms defined by hard, straight lines. This painted arch project works wonderfully as a large-scale statement piece.
- Materials Needed: Large canvas or a high-quality wood panel, a pencil, string, a thumbtack, and your favorite muted paint color (like sage green, dusty rose, or ochre).
- Step-by-Step Guide:
- To create a perfect arch, find the center point of your canvas near the bottom.
- Tie a pencil to one end of a piece of string and anchor the other end to the center point with a thumbtack.
- Keeping the string taut, draw a smooth semi-circle across the top half of the canvas.
- Draw straight vertical lines down from the ends of the semi-circle to the bottom edge of the canvas.
- Carefully fill in the arch outline with your chosen paint, using a steady hand for the edges and a roller for the interior.
- Styling Tip: Leave the rest of the canvas raw or paint it in a soft, contrasting cream to make the arch pop.
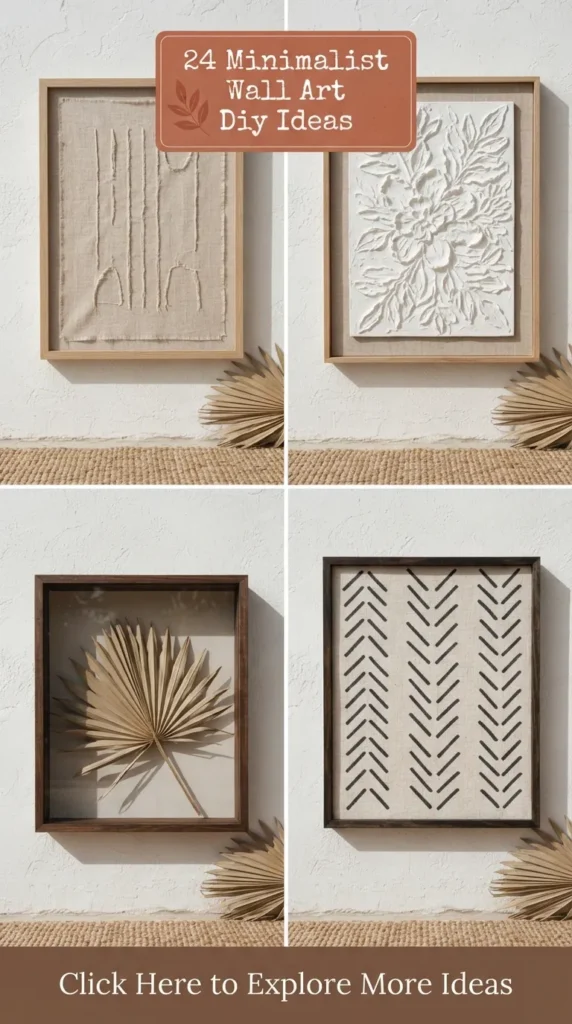
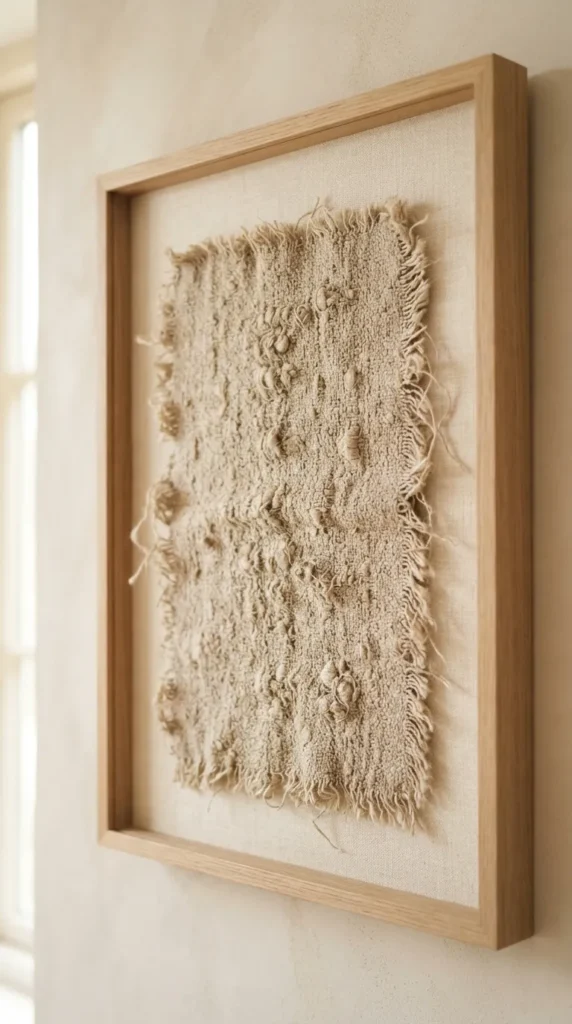
7. Framed Linen or Burlap Fabric
Sometimes, the material itself is the art. Raw, woven fabrics have beautiful, irregular textures that celebrate the beauty of imperfection.
- Materials Needed: A high-quality picture frame with the glass removed, a piece of raw Belgian linen, organic cotton, or loose-weave burlap, and fabric glue or a staple gun.
- Step-by-Step Guide:
- Cut your fabric so it is slightly larger than the backing board of your frame.
- Gently pull at the outer threads of the fabric to create a soft, frayed edge.
- Mount the fabric to the backing board using acid-free double-sided tape or light fabric glue, ensuring it is perfectly centered and straight.
- Reassemble the frame without the glass to allow the tactile quality of the fabric to shine through.
- Styling Tip: Look for fabrics with natural slubs (irregularities in the yarn) to maximize the organic, wabi-sabi feel.
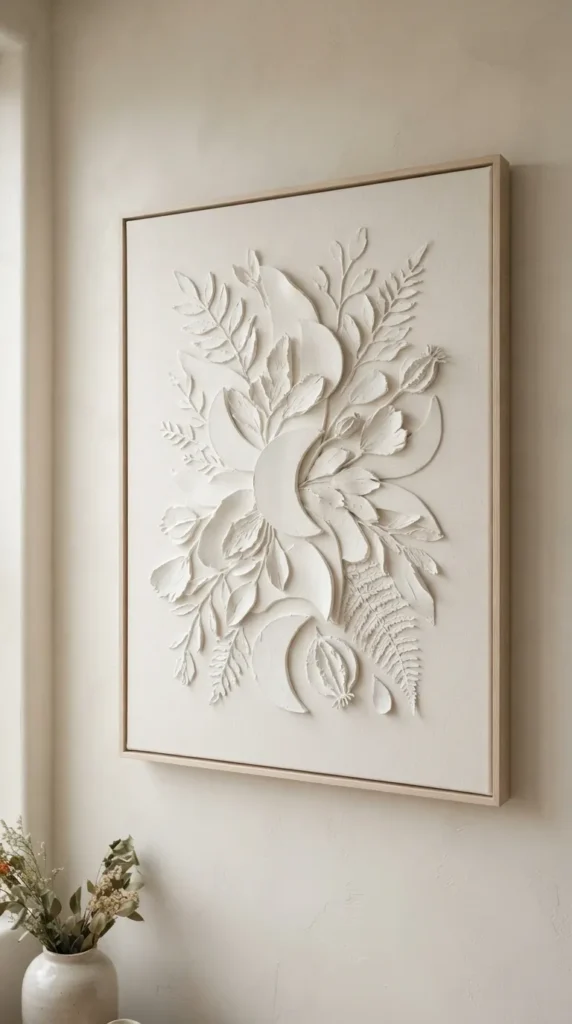
8. Paper Clay Bas-Relief Art
Paper clay is incredibly lightweight and easy to mold, making it the perfect medium for creating delicate, raised organic shapes on canvas.
- Materials Needed: Air-dry paper clay, a rolling pin, a canvas, craft glue, and matte white paint.
- Step-by-Step Guide:
- Roll out your paper clay to an even thickness of about 1/8 inch.
- Cut out simple, minimalist shapes—think half-moons, organic pebbles, or stylized botanical leaves.
- Arrange these shapes on your canvas to create a balanced, asymmetrical composition.
- Apply a thin layer of glue to the back of each clay shape and press them gently onto the canvas.
- Allow the clay to air-dry completely (this may take up to 48 hours).
- Paint the entire canvas—both the background and the raised clay shapes—in a single, uniform matte color to create a seamless, carved look.
- Styling Tip: This looks exceptionally high-end when painted in an ultra-matte chalky charcoal or pure alabaster white.
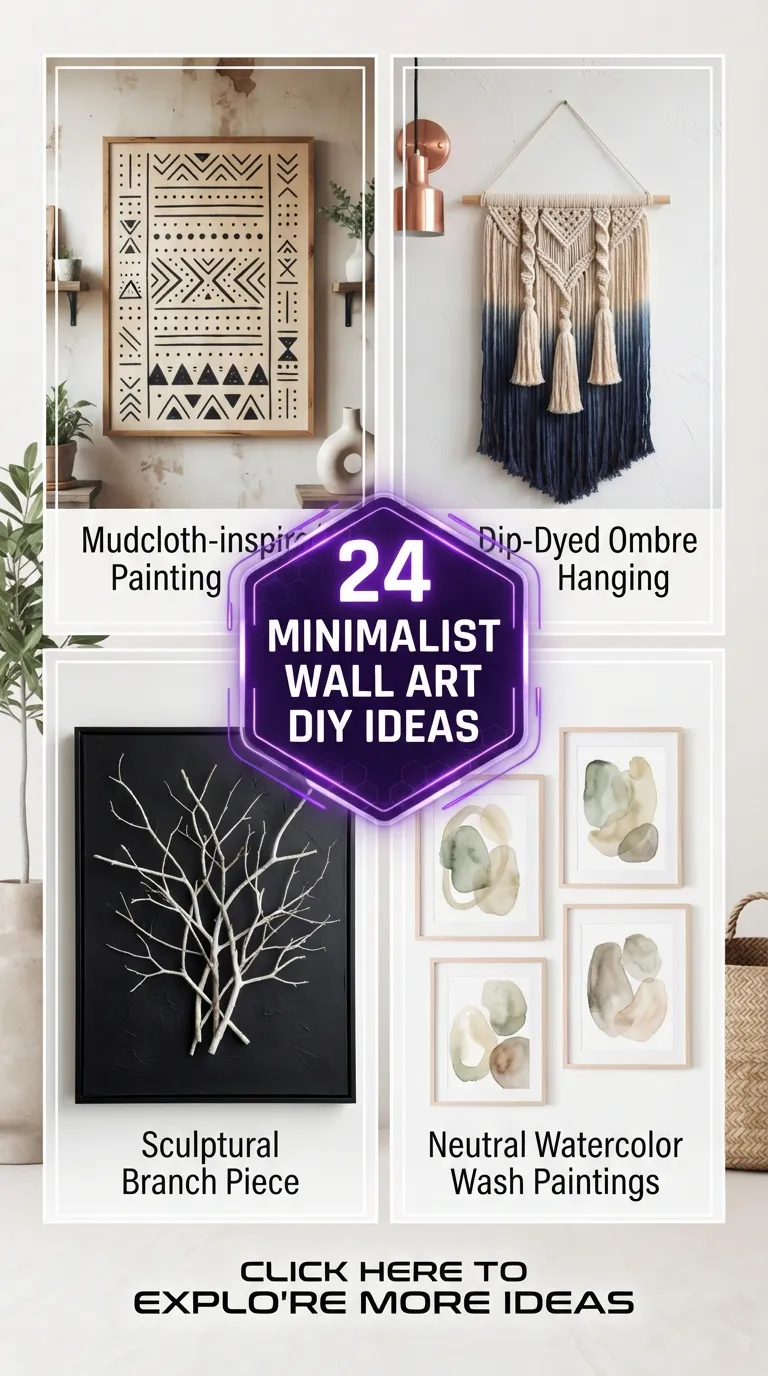
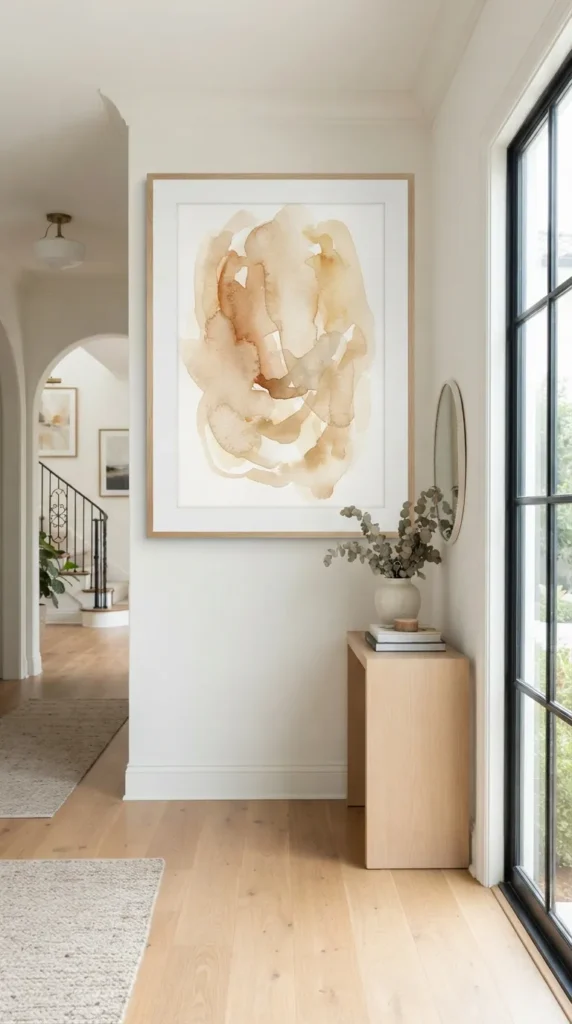
9. Oversized Neutral Watercolor Wash
Watercolor art can be beautifully minimalist when executed with a light touch and a restricted color palette.
- Materials Needed: Heavyweight, high-absorbency watercolor paper, a wide flat wash brush, water, and watercolor paint in an earthy tone (like burnt umber, raw sienna, or indigo).
- Step-by-Step Guide:
- Wet your watercolor paper slightly with a clean, damp sponge to prepare the surface.
- Mix your watercolor paint with plenty of water to create a soft, translucent pigment.
- Using your wide wash brush, paint a single, sweeping stroke across the paper, allowing the color to pool naturally and fade toward the edges.
- Let the paint dry flat to avoid warping.
- Styling Tip: Frame the dry piece in a sleek light wood frame with a crisp, wide white mat to give it an elegant, gallery-worthy presentation.
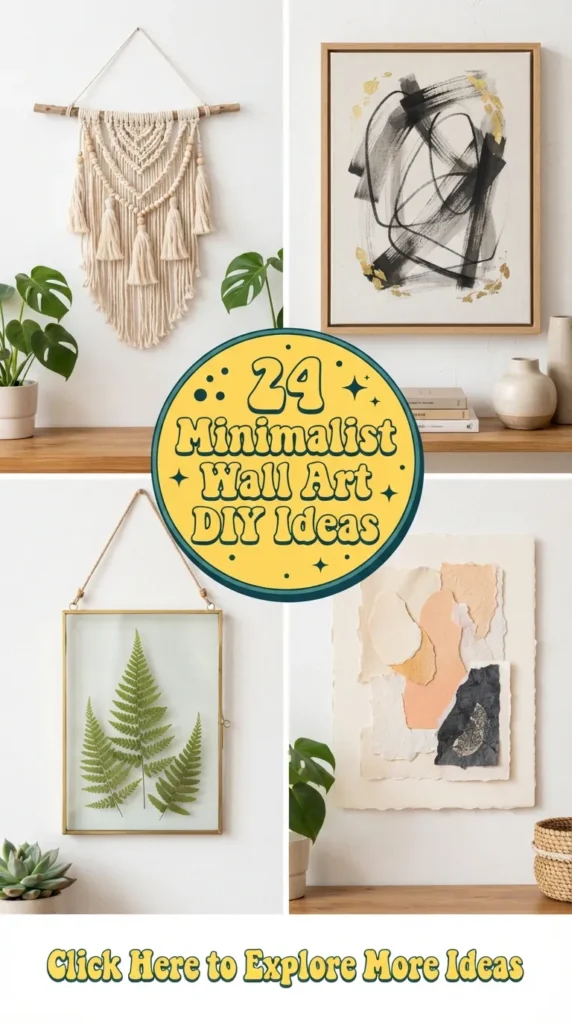
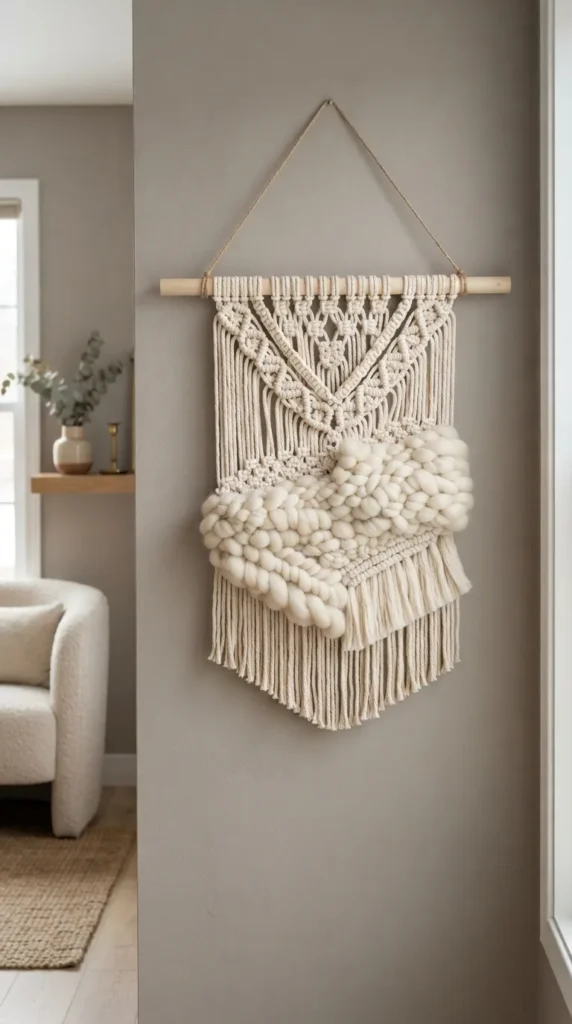
10. Minimalist Yarn or Thread Hanging
Add warmth and softness to your walls with a modern fiber art piece that focuses on clean lines and natural materials.
- Materials Needed: A smooth wooden dowel or a piece of driftwood, natural cotton string or thick wool yarn in neutral shades, and scissors.
- Step-by-Step Guide:
- Cut several dozen strands of yarn to equal lengths (about double the desired height of your finished piece).
- Attach each strand of yarn to the wooden dowel using a simple lark’s head knot.
- Once the dowel is fully covered, lay the piece flat on a table.
- Use sharp scissors to trim the bottom of the yarn into a clean, minimalist shape—such as a sharp diagonal line, a perfect V-shape, or a straight, blunt cut.
- Styling Tip: Hang this in a cozy reading nook or above a entryway bench to create an inviting, tactile touchpoint.
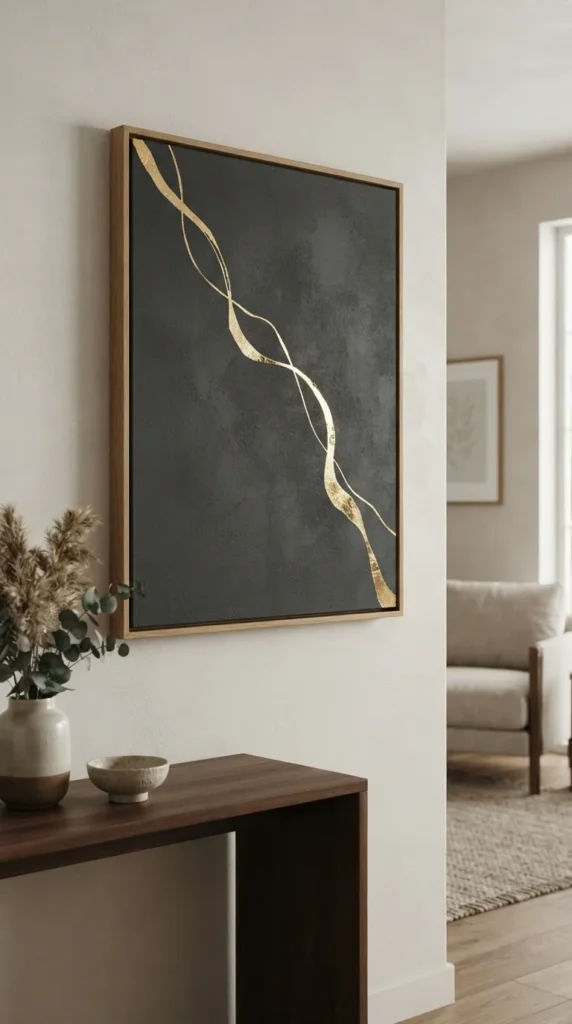
11. Metallic Foil Leaf Accent Art
A touch of gold, silver, or copper leaf can add a striking, elegant element to a simple minimalist painting, catching the light beautifully.
- Materials Needed: Canvas, matte acrylic paint (black, navy, or deep forest green work best), metal leaf adhesive (size), metal leaf sheets, and a soft dry brush.
- Step-by-Step Guide:
- Paint your entire canvas in a deep, solid matte color and let it dry.
- Using a fine paintbrush, lightly apply the metal leaf adhesive in a simple, abstract shape or a thin, delicate line across the canvas.
- Wait a few minutes until the adhesive becomes tacky.
- Carefully lay a sheet of gold or silver leaf over the tacky areas.
- Gently press the leaf down with a dry, soft brush, then sweep away the excess leaf to reveal your clean metallic design.
- Styling Tip: Keep the metallic elements minimal—a single gold line or a small off-center organic shape is far more powerful than an overly busy design.
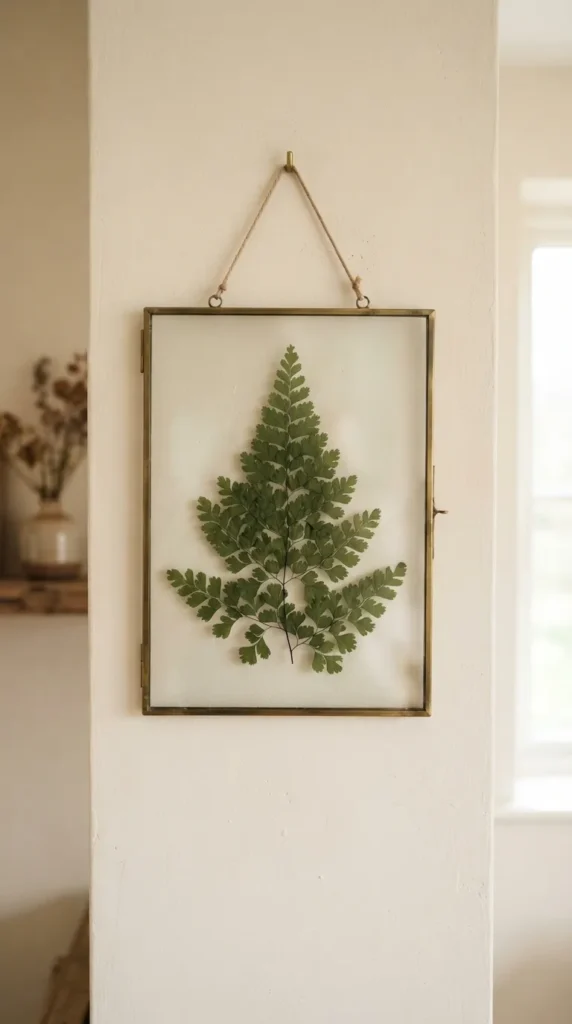
12. Floating Pressed Ferns
Ferns have some of the most intricate, beautiful, and naturally geometric structures in the plant kingdom, making them ideal subjects for minimalist art.
- Materials Needed: Double-glass floating frame, a large pressed fern frond, and double-sided clear adhesive.
- Step-by-Step Guide:
- Press your fern frond between heavy books for 2 weeks until completely dry.
- Clean both glass panes of your floating frame thoroughly to remove fingerprints.
- Place a tiny dot of clear double-sided adhesive on the back of the fern’s central stem to keep it from sliding.
- Carefully center the fern on the glass and close the frame, compressing the fern between the two glass layers.
- Styling Tip: Hang this against a light-colored wall so the wall color acts as the backing, creating a beautiful floating effect.
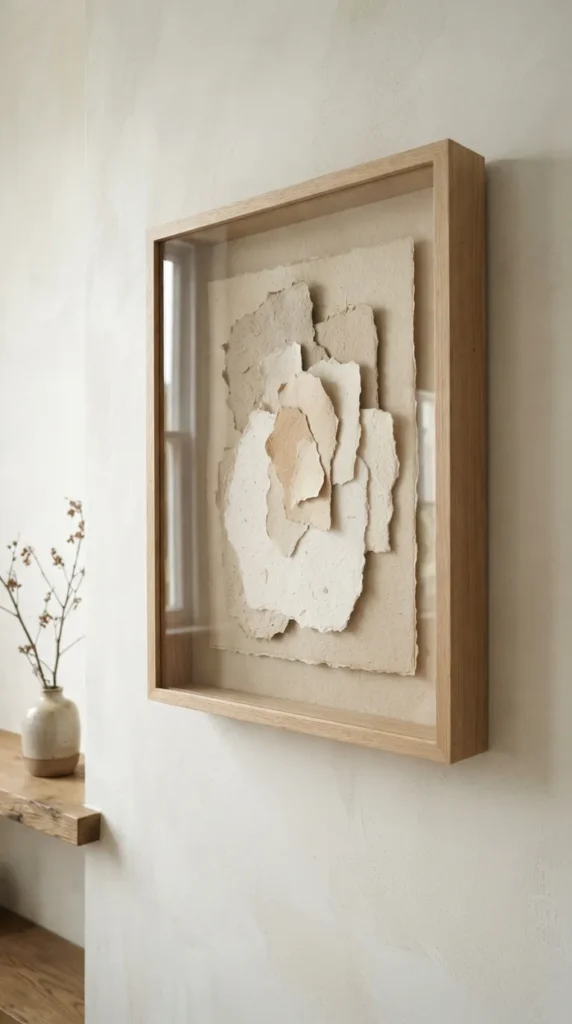
13. Wabi-Sabi Paper Collage
Embrace the beauty of imperfection with a minimalist paper collage that focuses on hand-torn edges, organic shapes, and a muted, earthy color palette.
- Materials Needed: A thick backing paper, various scraps of textured handmade paper (such as mulberry or cotton rag paper) in warm neutral tones, and archival glue.
- Step-by-Step Guide:
- Hand-tear your textured papers into simple, organic shapes instead of using scissors. The rough, deckled edges are key to the wabi-sabi aesthetic.
- Arrange the torn shapes on your backing paper, overlapping them slightly to create depth and a balanced composition.
- Once you are happy with the arrangement, apply a thin layer of glue to the back of each piece and press them down firmly.
- Allow the collage to dry completely under a light weight to prevent warping.
- Styling Tip: Frame this piece with a deep shadowbox frame to emphasize the beautiful, raised textures of the torn paper edges.
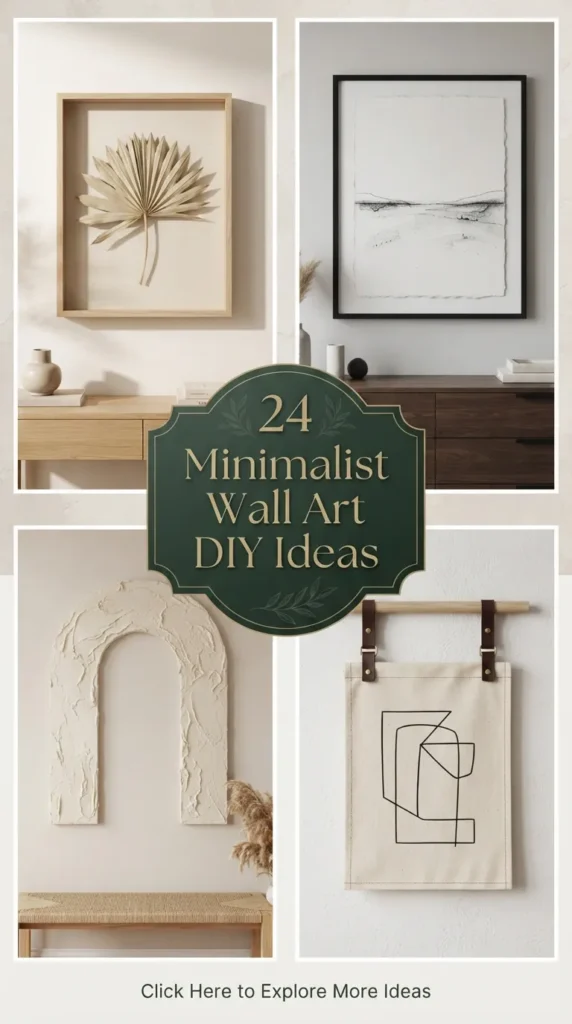
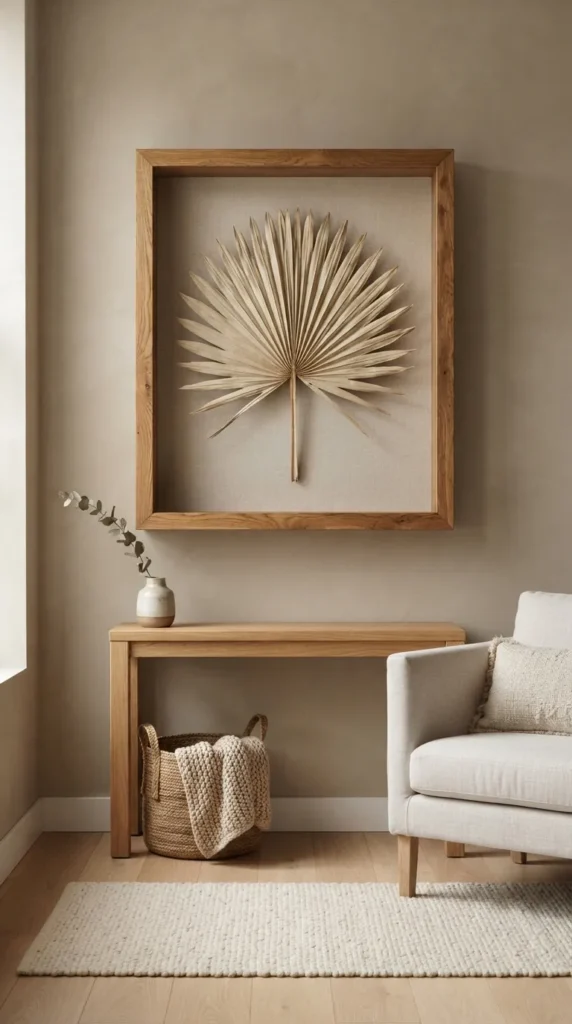
14. Dried Palm Leaf Shadowbox
Bohemian meets minimalist with this sculptural, warm-toned art piece that brings natural texture and structural dimension to your walls.
- Materials Needed: A deep shadowbox frame, a dried palm spear or sun palm, and hot glue or wire to secure the palm.
- Step-by-Step Guide:
- Select a dried palm leaf that fits comfortably within your shadowbox frame.
- If necessary, trim the stem of the palm to your desired length.
- Mount the palm leaf to the backing board of the shadowbox using a small amount of hot glue or by threading a thin wire through the back of the stem.
- Secure the backing board into the shadowbox frame, ensuring the glass does not crush the delicate dried leaves.
- Styling Tip: This piece looks incredible paired with natural wood tones, linen drapes, and earthenware pottery nearby.
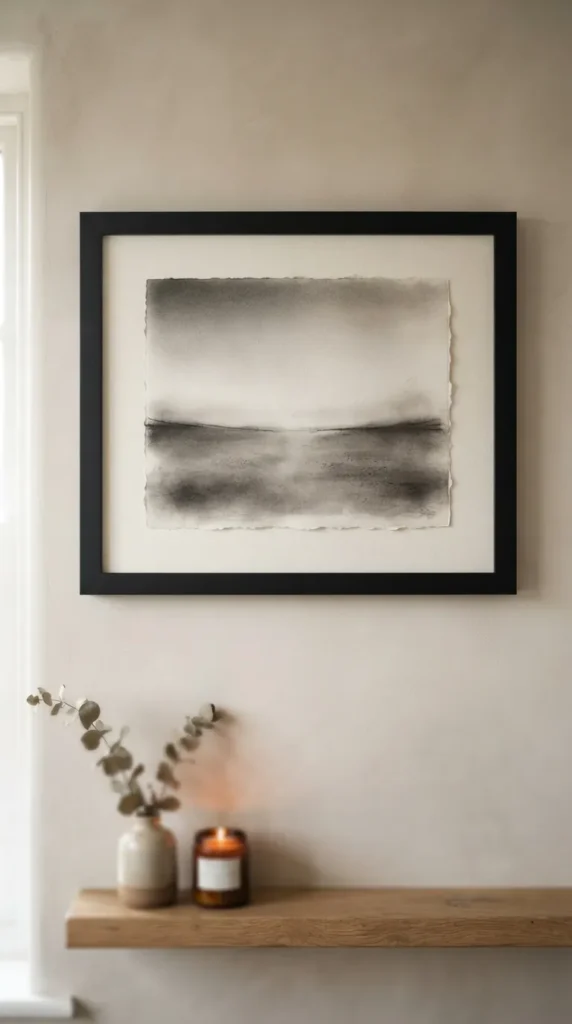
15. Minimalist Charcoal Sketch
Charcoal offers a raw, smoky texture that is perfect for creating soft, atmospheric minimalist art.
- Materials Needed: Textured sketch paper, a piece of soft willow charcoal, a blending stump or your fingers, and spray fixative.
- Step-by-Step Guide:
- Lightly sketch a very simple, soft horizon line or an abstract organic form on your paper.
- Use the side of the charcoal stick to deposit a small amount of pigment onto the page.
- Gently blend and smudge the charcoal outward using your fingers or a blending stump to create soft, ethereal gradients.
- Once you are satisfied with the soft, smoky look, spray the entire piece with a coat of artistic fixative to prevent smudging.
- Styling Tip: Frame this behind glass with an extra-deep mat board to protect the delicate charcoal surface.
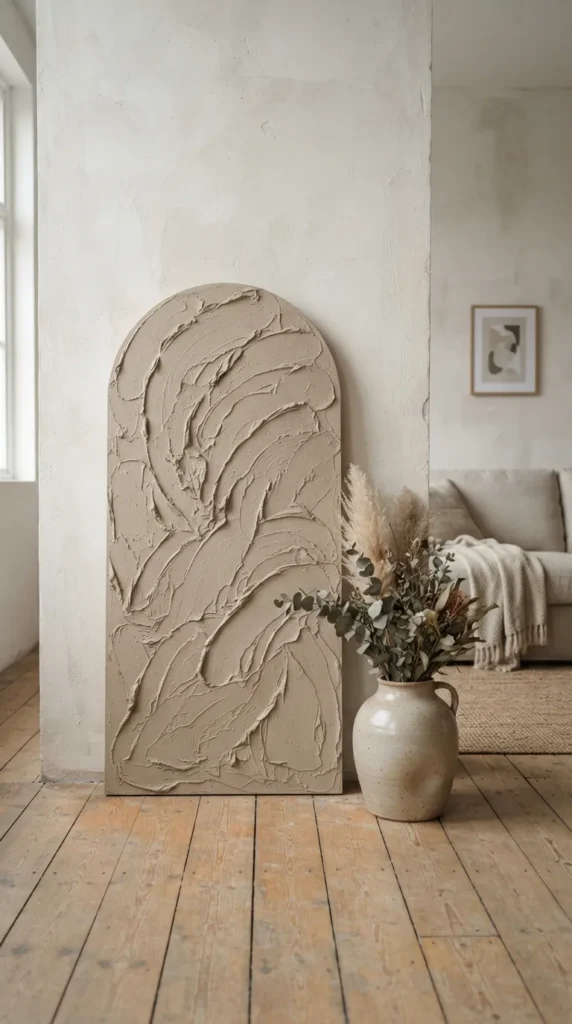
16. Textured Spackle Arch Panel
A variation of the textured canvas, this project uses wood panels and a curved arch template to create a clean, modern, and highly architectural relief piece.
- Materials Needed: An arch-cut wood panel, joint compound or spackle, a wide putty knife, and matte sand-colored paint.
- Step-by-Step Guide:
- Prep your arch-shaped wooden panel by wiping it clean of any dust.
- Apply a thick layer of joint compound across the entire arch using your putty knife.
- Use the knife to create textured, sweeping strokes that follow the natural curve of the arch.
- Let the plaster dry completely for 24 hours.
- Paint the entire panel in a soft, warm sand or oatmeal paint to create a solid, stone-like appearance.
- Styling Tip: Prop this up on a console table or mantel instead of hanging it to add a casual, layered look to your decor.
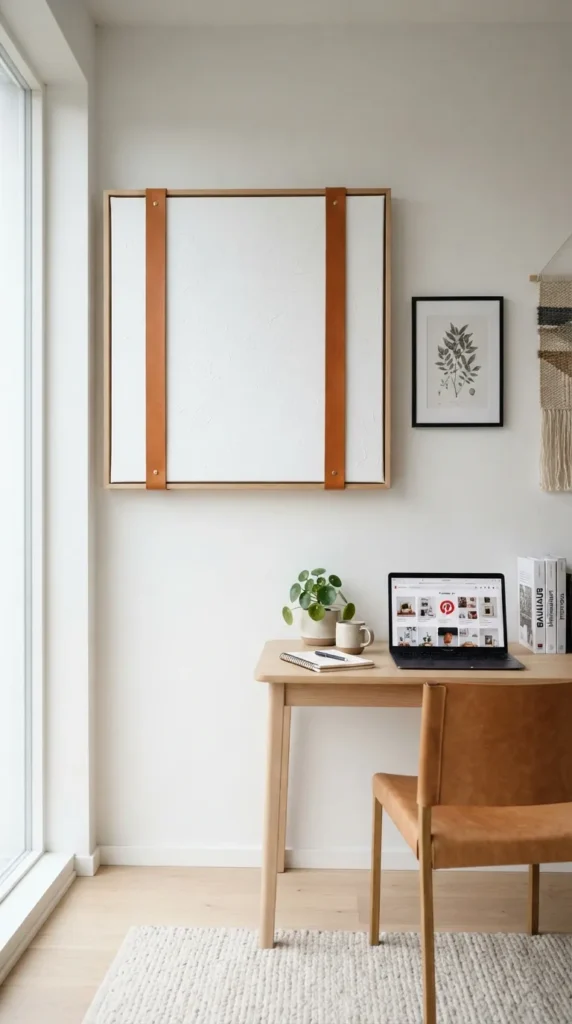
17. Wrapped Canvas Leather Accents
Incorporate warm, natural leather into your wall decor for an unexpected, high-end look that pairs beautifully with minimalist wood interiors.
- Materials Needed: Stretched canvas, matte white paint, strips of genuine or faux tan leather, and a heavy-duty staple gun.
- Step-by-Step Guide:
- Paint your entire canvas in a solid, textured matte white or light ivory.
- Cut your leather strips to the desired length (they should be long enough to wrap around the sides of the canvas).
- Arrange the leather strips across the canvas in simple vertical or horizontal lines.
- Wrap the ends of the leather strips around the edges of the canvas frame and secure them firmly at the back using a staple gun.
- Styling Tip: Keep the design asymmetrical—for example, two vertical leather strips placed off-center on the right side of the canvas.
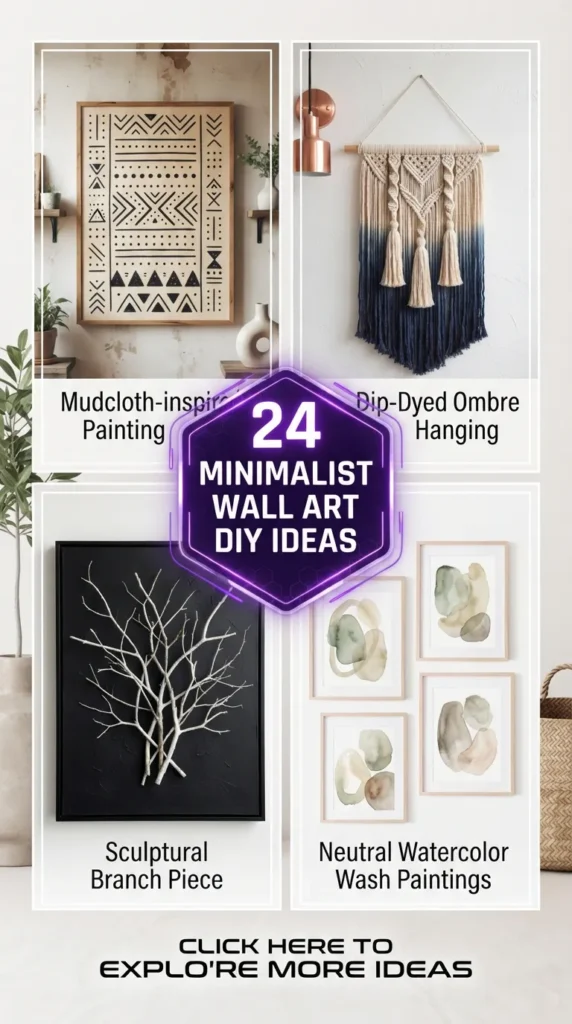
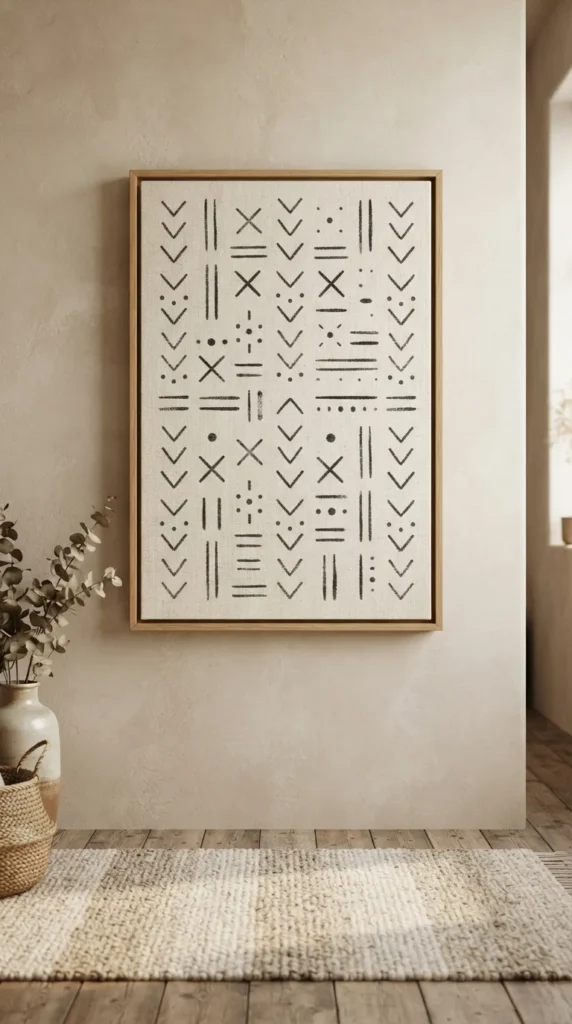
18. Mudcloth-Inspired Hand-Painted Canvas
Celebrate traditional artisanal patterns with a simplified, modern take on traditional mudcloth designs.
- Materials Needed: Stretched canvas, warm beige paint for the background, a fine-tip paintbrush, and matte black or dark charcoal acrylic paint.
- Step-by-Step Guide:
- Paint your entire canvas in a warm, earthy beige or oatmeal color and let it dry.
- Plan a simple, repeating pattern of lines, dots, and chevrons on scratch paper.
- Using a very fine paintbrush and your dark charcoal paint, carefully paint your minimalist pattern across the canvas.
- Keep the brush strokes slightly imperfect to maintain a hand-crafted, organic feel.
- Styling Tip: Hang this piece in a room with plenty of natural textiles, woven baskets, and green potted plants.
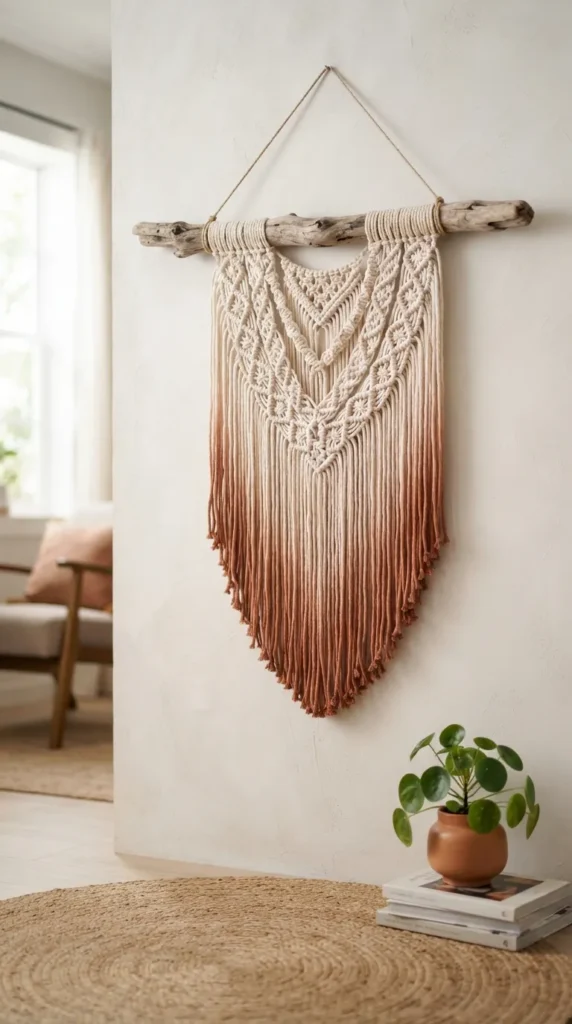
19. Dip-Dyed Cotton Macrame Cord
This project offers a striking, modern way to bring color and soft texture into your space without the complexity of traditional weaving.
- Materials Needed: A wooden dowel, thick cotton macrame cord, fabric dye in an earthy tone (like terracotta or olive green), and scissors.
- Step-by-Step Guide:
- Cut several dozen lengths of cotton cord and loop them over your wooden dowel using lark’s head knots.
- Trim the bottom of the cords to a clean, straight edge.
- Mix your fabric dye in a shallow container according to the package instructions.
- Carefully dip the bottom few inches of the hanging cords into the dye bath.
- Hold them in the dye for a few minutes, then slowly lift them out, leaving just the very tips submerged for a deeper color gradient.
- Hang the piece to dry completely, ensuring the wet, dyed ends do not touch your walls.
- Styling Tip: The natural ombre effect looks incredibly sophisticated when hung over a minimalist bed or sofa.
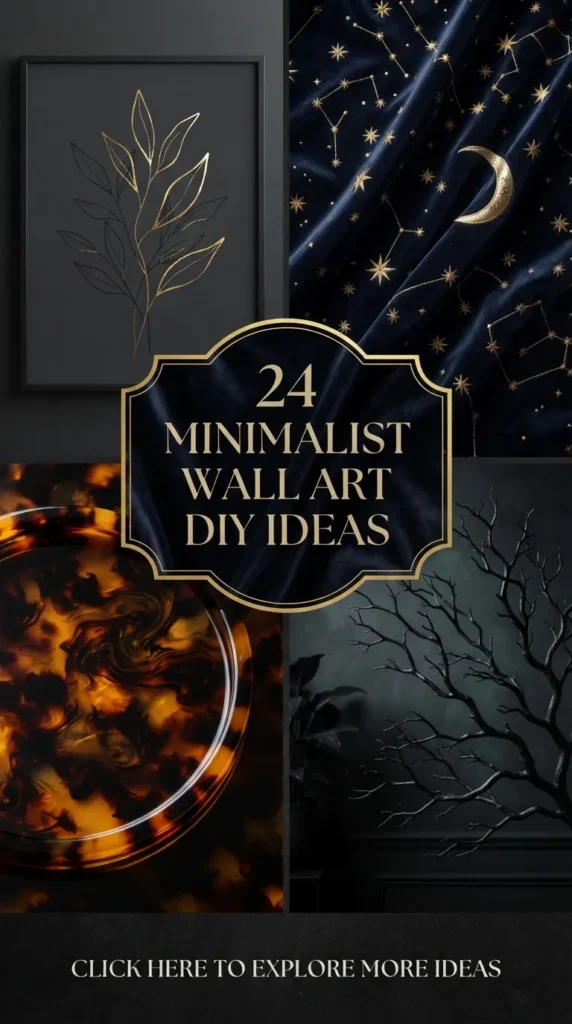
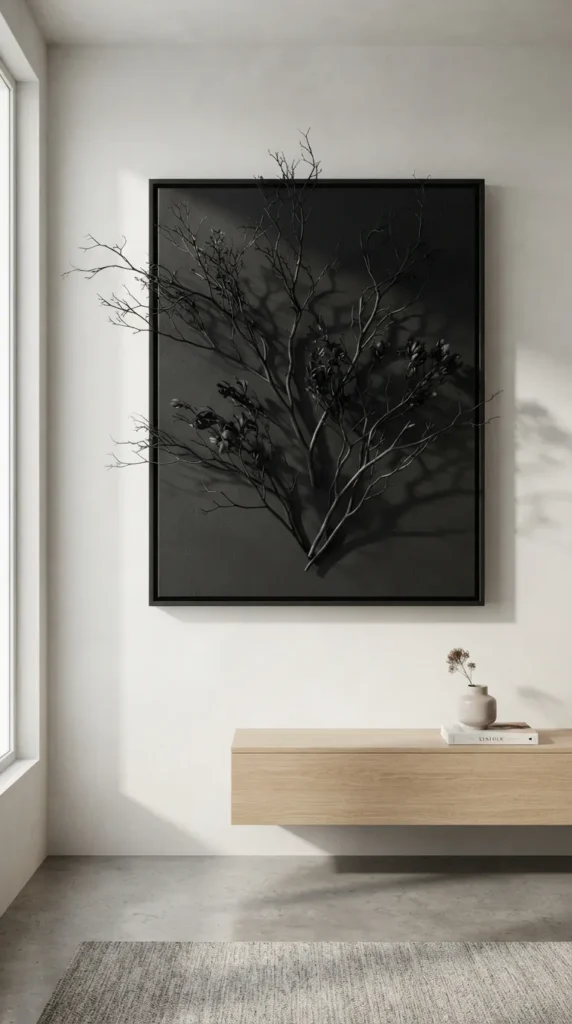
20. Monochromatic Matte-Painted Elements
Create an ultra-modern, sculptural art piece by mounting everyday organic elements onto a canvas and painting the entire assembly in a single, matte color.
- Materials Needed: Canvas, flat dried branches or lightweight wooden shapes, super glue, and high-quality matte black or white spray paint.
- Step-by-Step Guide:
- Arrange your dried branches or wooden shapes on the canvas in an elegant, balanced composition.
- Once you are happy with the layout, glue each element securely to the canvas.
- Let the glue dry completely.
- In a well-ventilated area, spray-paint the entire canvas—including the mounted elements—with several thin, even coats of matte spray paint.
- Styling Tip: Painting everything in a single, uniform color transforms simple, inexpensive objects into a cohesive, high-end architectural sculpture.
Elevating Your DIY Art: Professional Styling Secrets
Creating your art is only half the battle; how you present and style it determines whether it looks like a fun weekend project or a high-end designer piece. Keep these key styling tips in mind:
Focus on Frame Quality
Never underestimate the power of a good frame. If you are using budget-friendly frames, consider replacing the plastic fronts with real glass, or upgrading to a thick, custom-cut white mat board. A 2-inch to 3-inch mat border instantly makes any art look professional and elevated.
Mind the Hanging Height
The most common mistake when hanging art is hanging it too high. As a general rule, the center of your artwork should be at eye level—roughly 57 to 60 inches from the floor. If you are hanging art above a piece of furniture (like a sofa or console table), the bottom of the frame should sit about 6 to 8 inches above the furniture.
Create Balance, Not Symmetry
Minimalism relies on balance, which is often more interesting when it is asymmetrical. Instead of a perfectly symmetrical gallery wall, try hanging a single, massive statement piece off-center, or pairing a large framed piece with a smaller, textured element nearby.