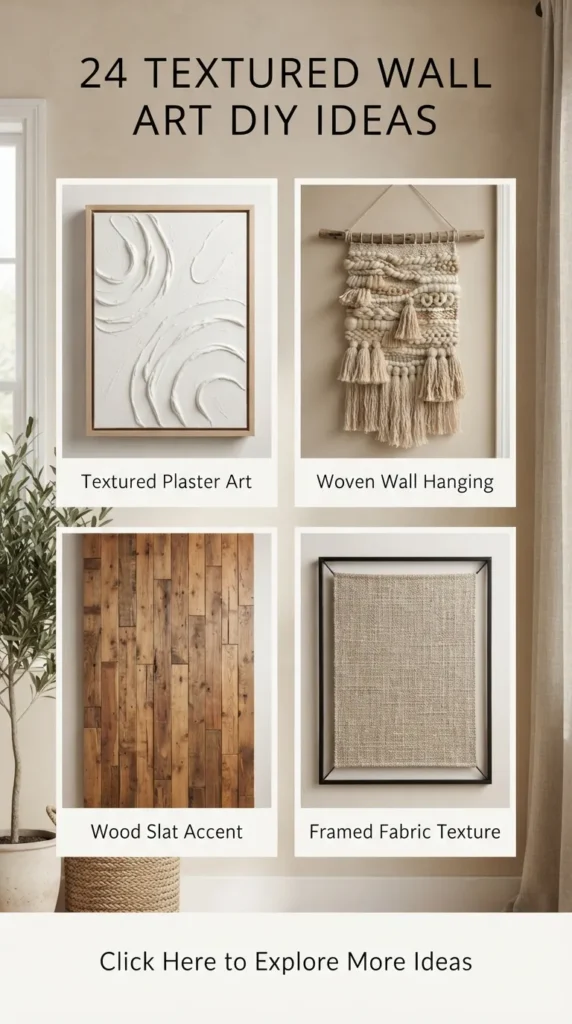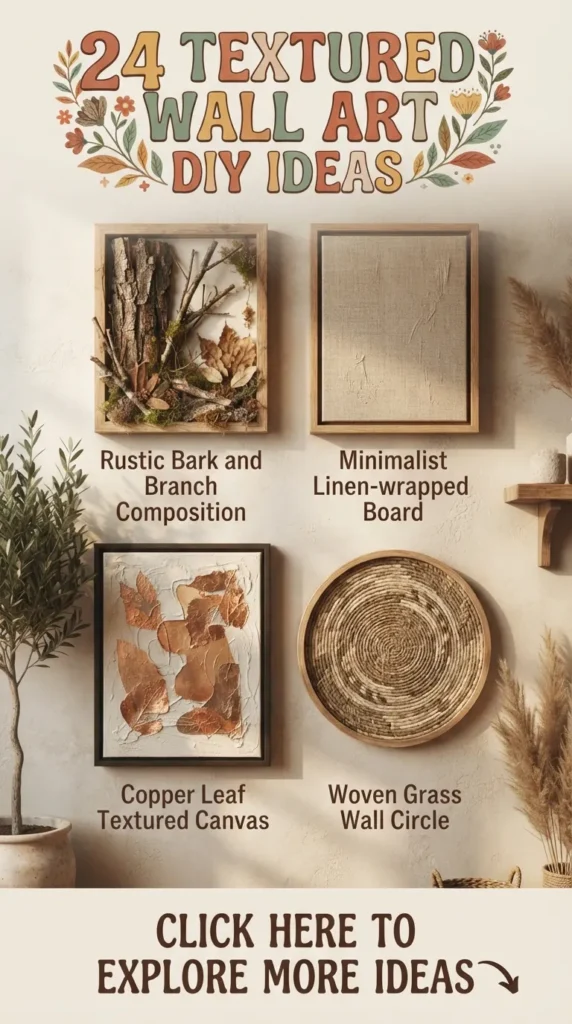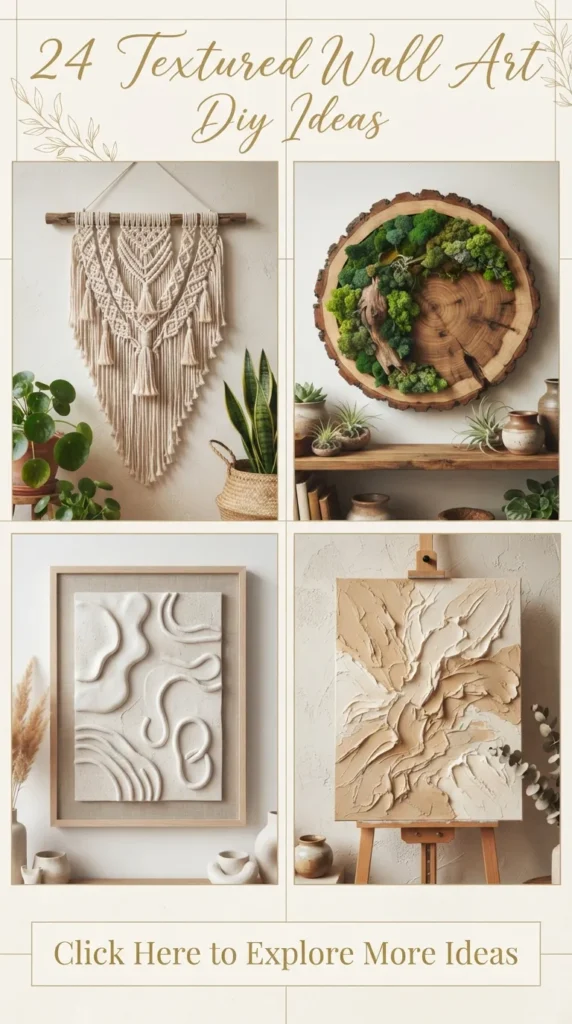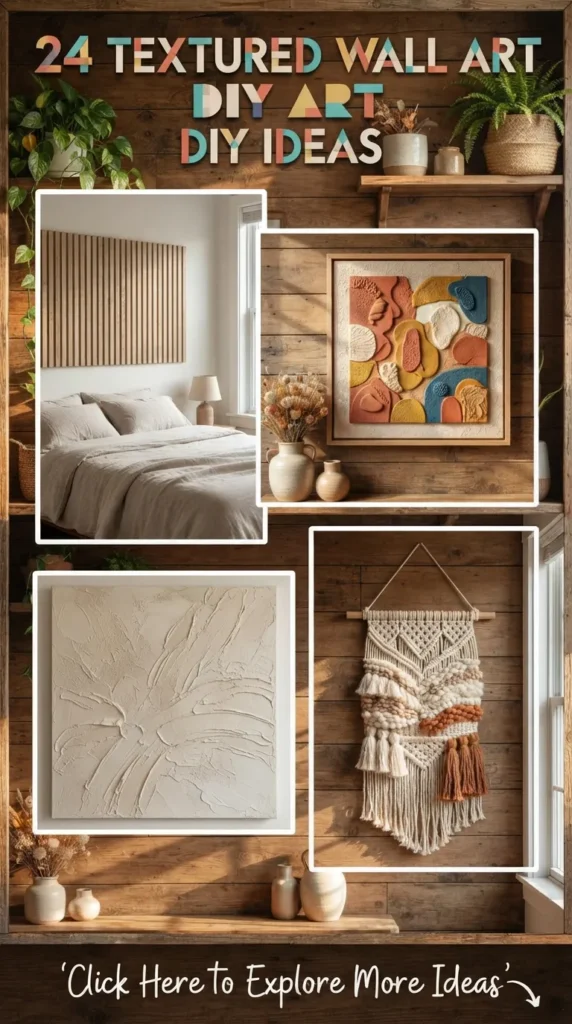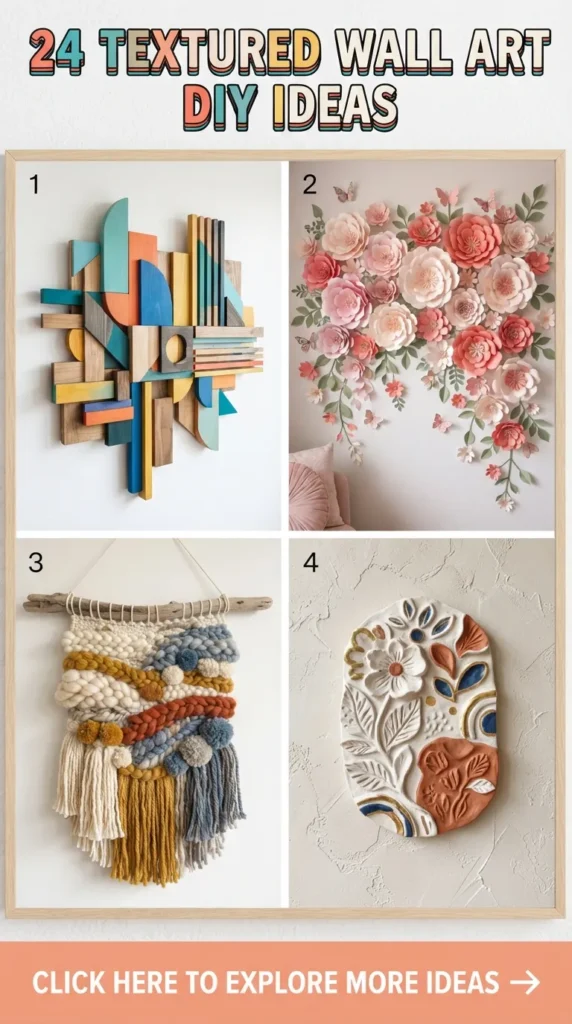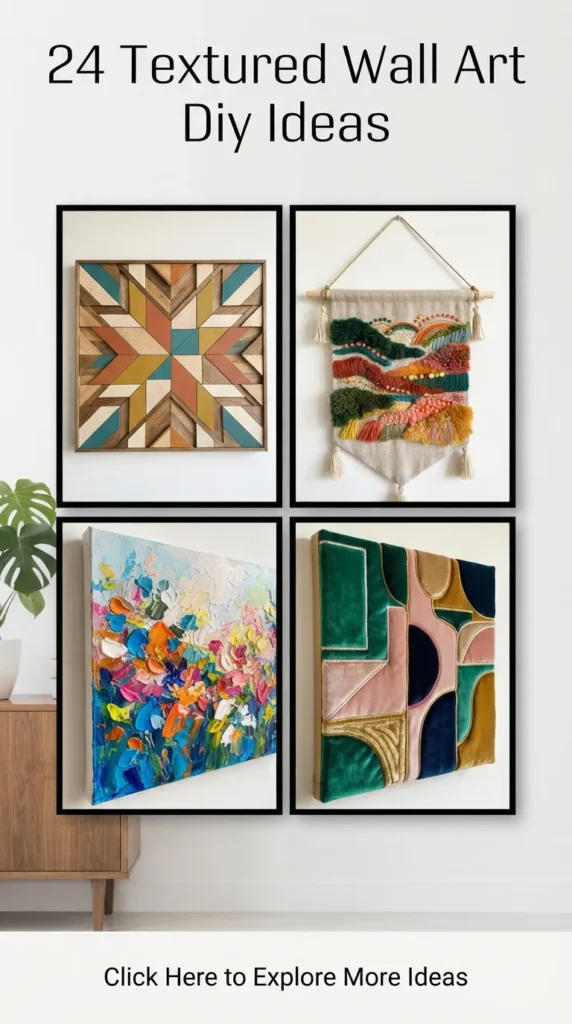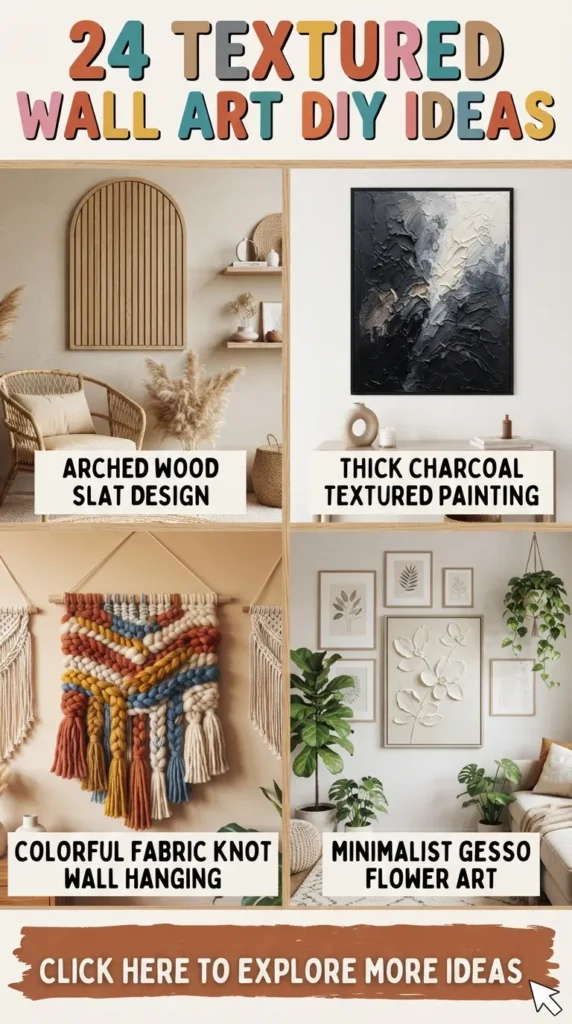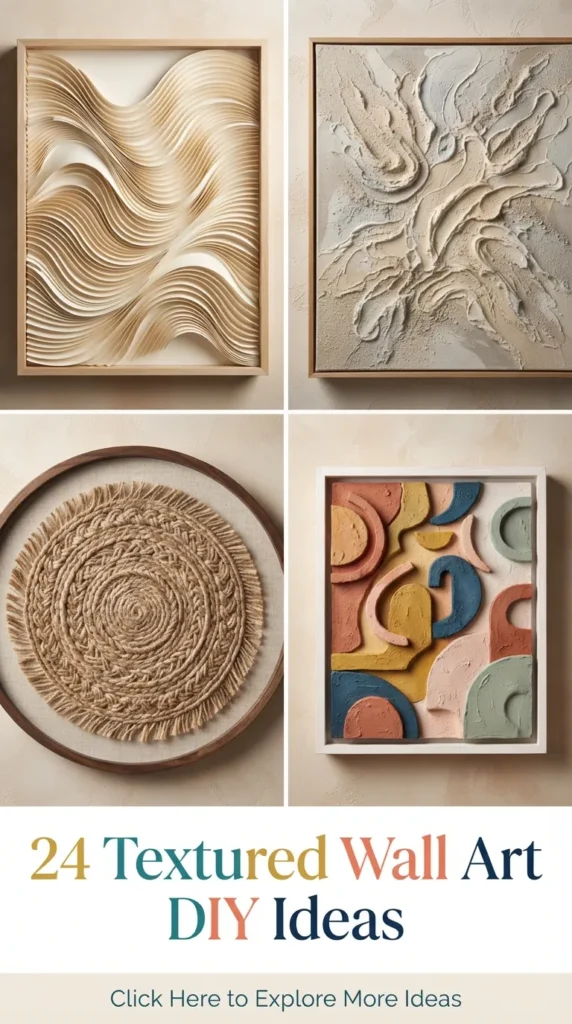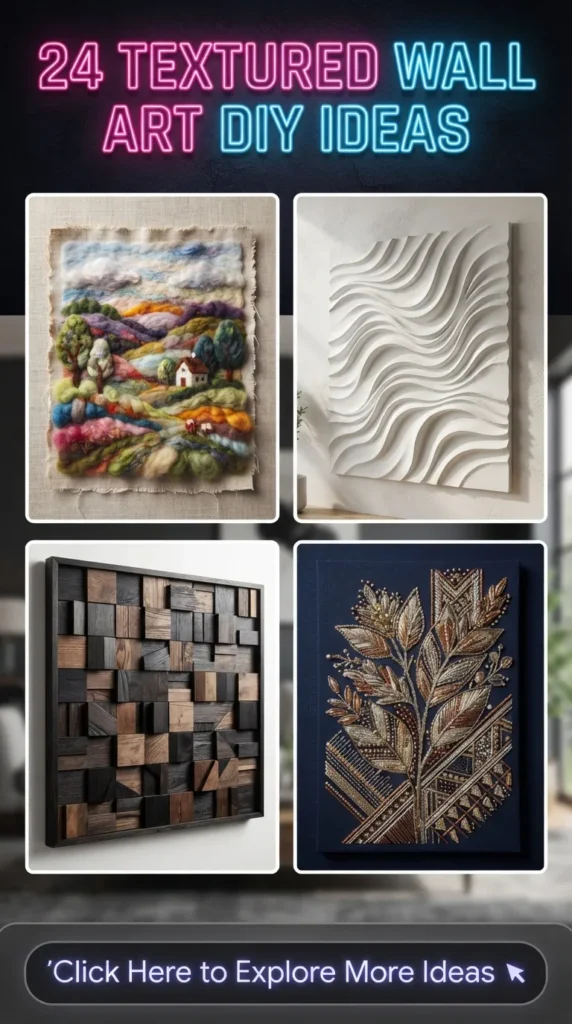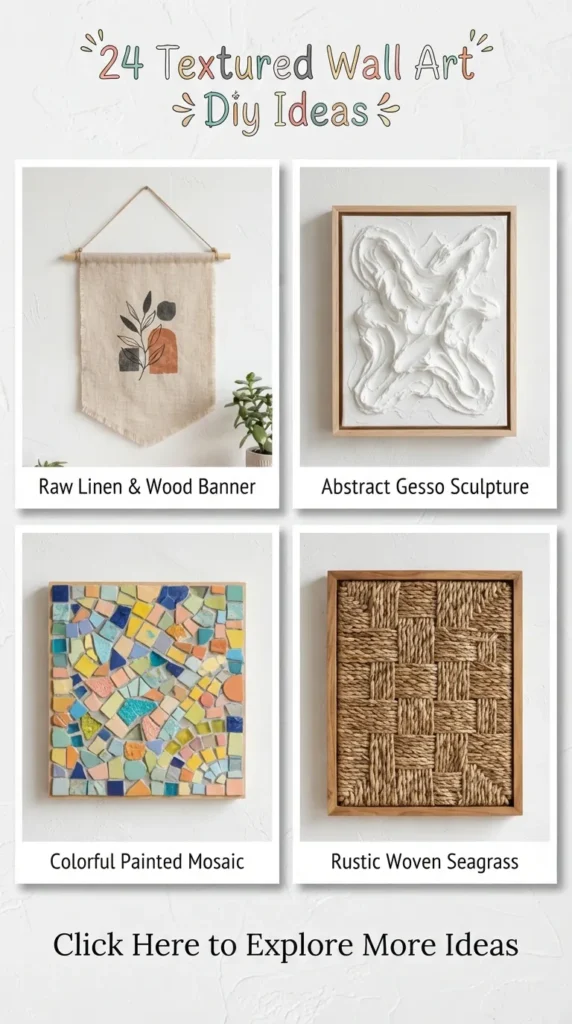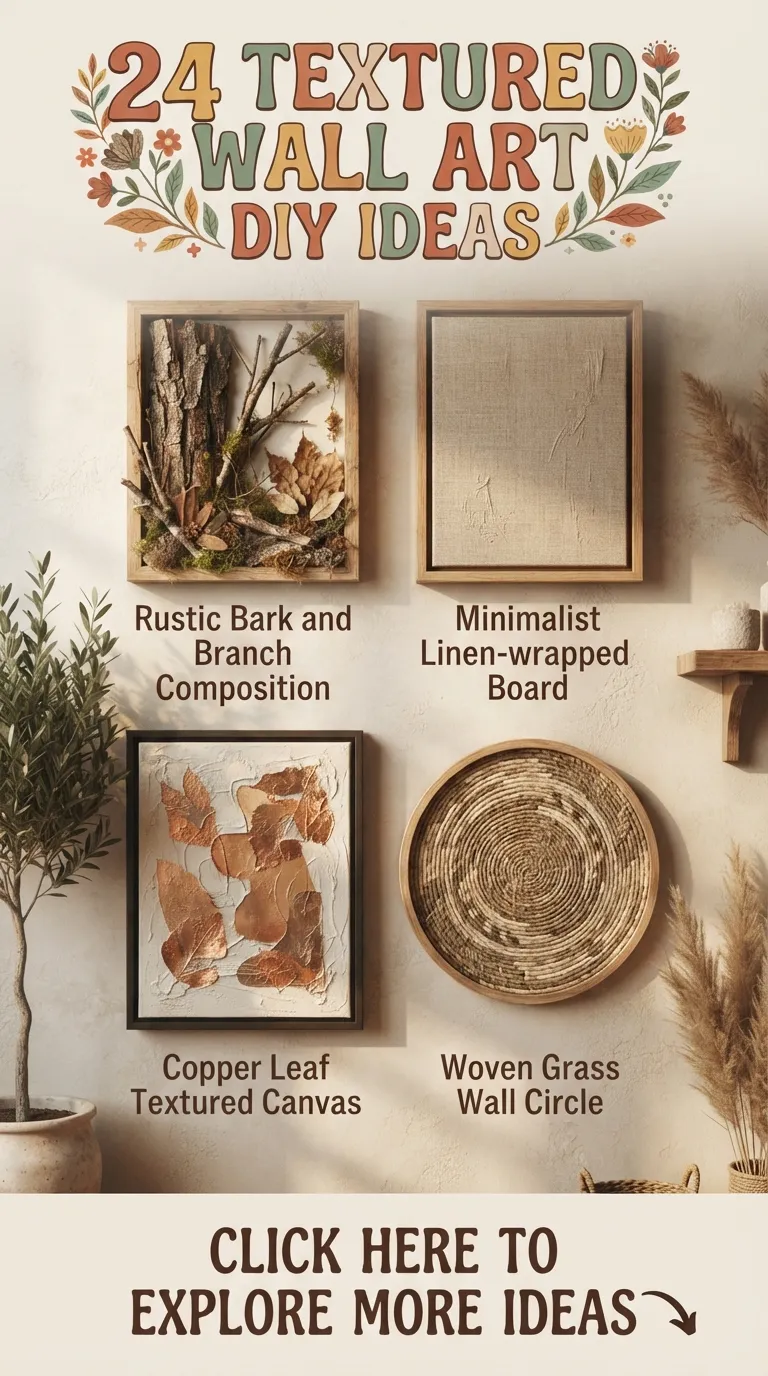
In the world of interior design, flat walls are taking a back seat. The modern design landscape is completely captivated by depth, dimension, and touchable elegance. If you have scrolled through Pinterest recently, you have undoubtedly seen beautiful, minimalist, and luxury spaces adorned with massive, tactile canvases. These textured wall art pieces bring a sophisticated, organic warmth to any room, bridging the gap between minimalist simplicity and cozy luxury.
While high-end galleries sell these dimensional masterpieces for thousands of dollars, the beautiful secret of textured wall art is that it is incredibly accessible to DIY enthusiasts. With a few simple construction materials like joint compound, plaster, or spackle, combined with basic tools like palette knives, combs, and sponges, you can create gallery-worthy art tailored perfectly to your home’s color palette and style.
In this ultimate, comprehensive guide, we are exploring 20 unique, realistic, and highly pin-worthy DIY textured wall art ideas. From organic Wabi-Sabi finishes to structured geometric patterns, these projects will inspire you to pick up a palette knife and transform your blank walls into tactile masterpieces.
The Essential DIY Textured Art Toolkit
Before diving into the specific projects, it is helpful to understand the basic materials that make these textured canvases possible. Having these essentials on hand will set you up for success across almost all the ideas listed below:
- Sturdy Canvases: Opt for heavy-duty wooden panels or stretched canvases with extra support braces, as wet plaster and joint compound can add significant weight and cause flimsy canvases to warp.
- Joint Compound vs. Plaster of Paris: Joint compound (drywall mud) dries slowly, giving you plenty of time to sculpt and refine your patterns. Plaster of Paris dries much faster and harder, which is ideal for structural or cast elements.
- Palette Knives and Spatulas: A variety of metal or plastic palette knives, putty knives, and kitchen spatulas will help you create different swoops, lines, and smooth surfaces.
- Texturing Tools: Wallpaper combs, notched tiling trowels, coarse sponges, natural bristle brushes, and even crumpled foil or plastic wrap can create incredible organic patterns.
- Acrylic Paints and Mediums: For adding color, blending washes, or mixing directly into your plaster for a solid-thru hue.
- Sealers: A matte spray sealer or clear acrylic varnish will protect your dried artwork from moisture, dust, and cracking over time.
Unique DIY Textured Wall Art Ideas
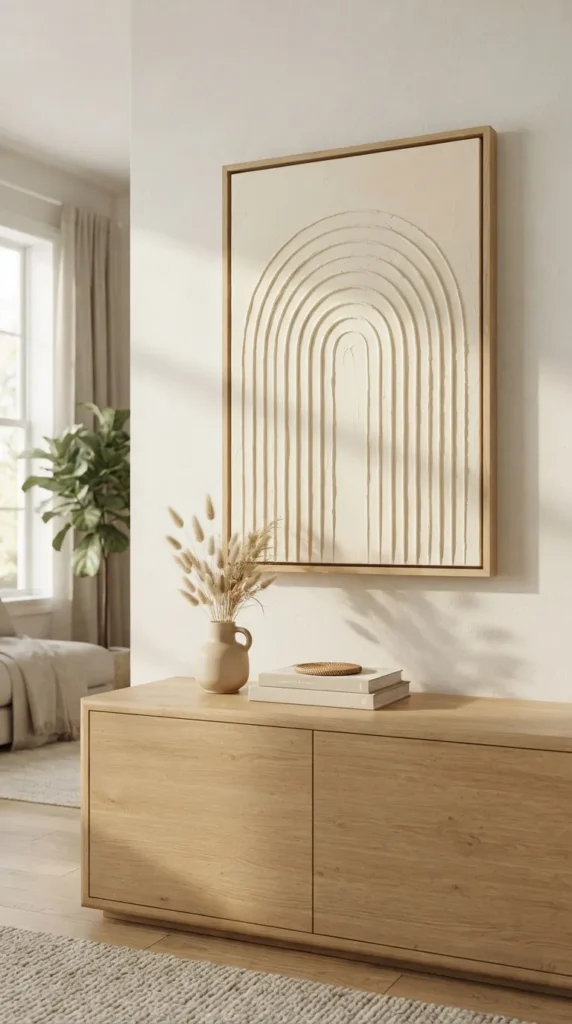
1. Minimalist Arched Joint Compound Canvas
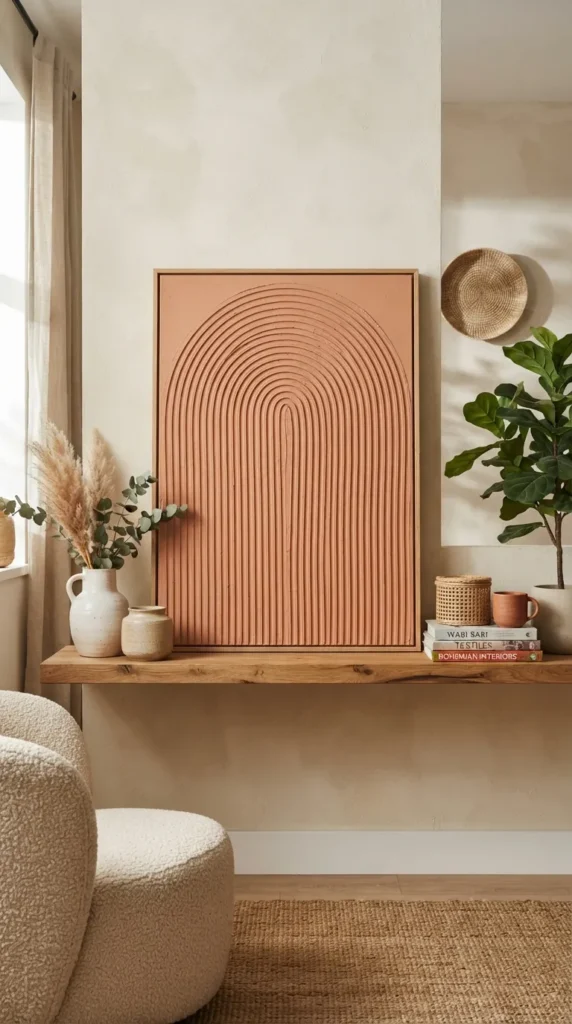
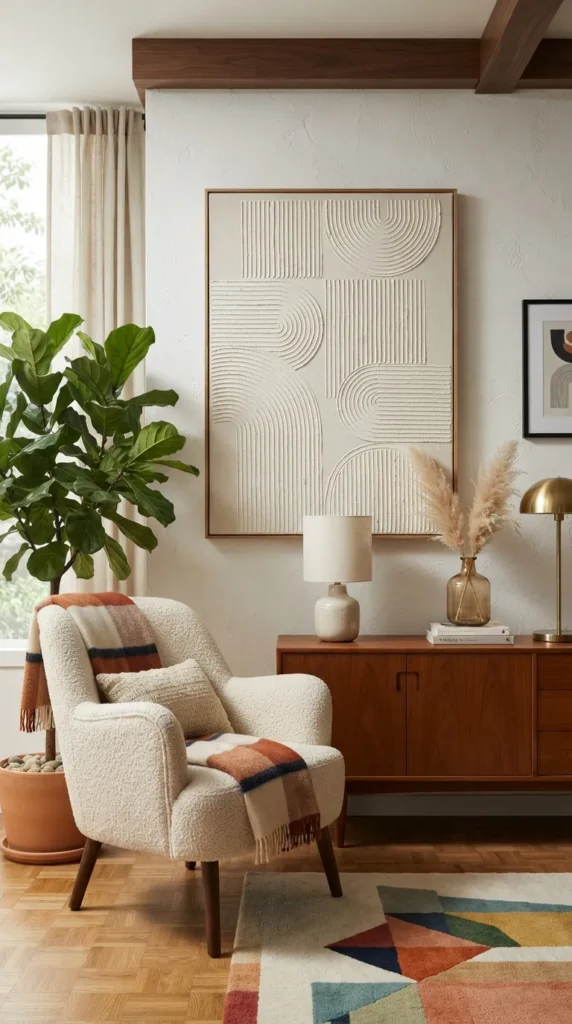
Arches are a timeless architectural motif that brings softness and fluid movement to modern interiors. This project uses pre-mixed joint compound applied generously to a large canvas. Using a custom-made cardboard arch template or a steady hand with a notched tiling trowel, you carve concentric semi-circles into the damp compound. The result is a clean, structured, yet deeply tactile piece that looks incredibly sophisticated in a neutral, monochromatic color scheme like warm ivory, beige, or soft cream.
2. Venetian Plaster Color-Blocked Panels
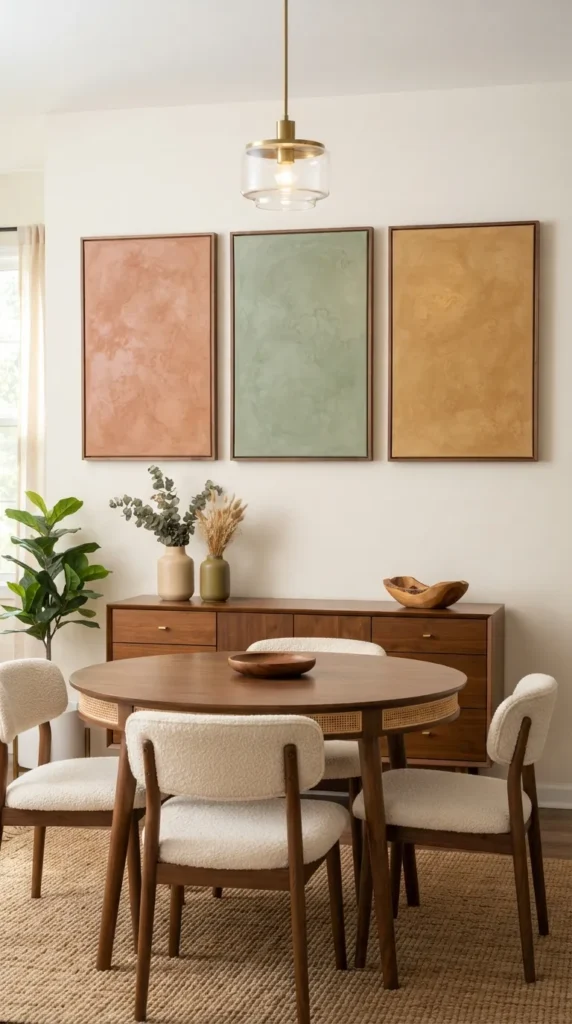
Venetian plaster is prized for its subtle sheen and marble-like depth. For this project, apply thin layers of tinted Venetian plaster onto three matching wooden panels to create a cohesive triptych. Use a steel trowel at a low angle to burnish the surface as it dries, which coaxes out a natural, polished luster. Color-blocking with muted, earthy tones like terracotta, sage green, and warm ochre creates a modern mid-century aesthetic that looks stunning in dining spaces.
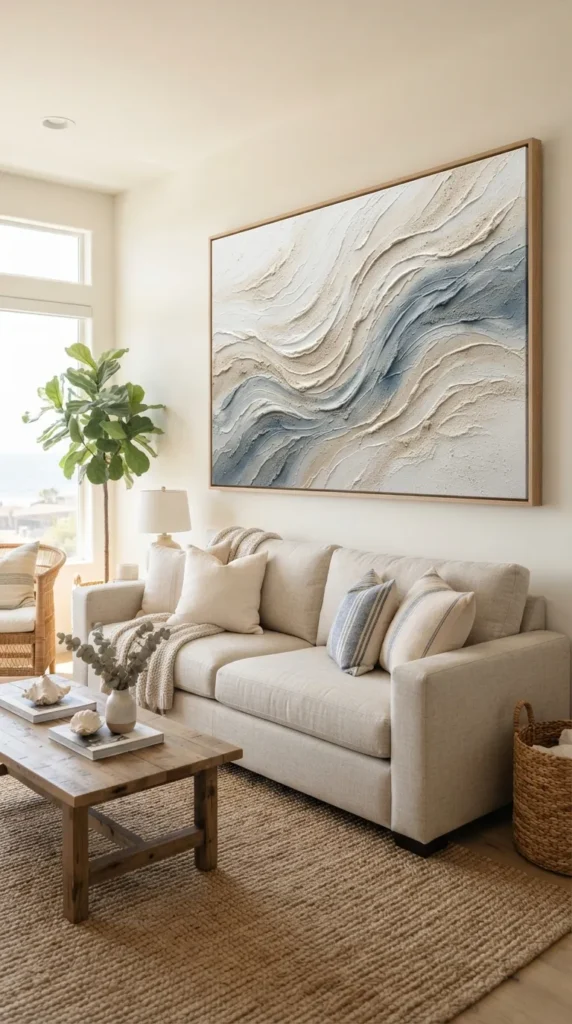
3. Sand & Acrylic Coastal Swirls
Bring the organic textures of the shoreline indoors by mixing fine art sand directly into heavy-body acrylic paint. This creates a gritty, stone-like paste that holds its shape beautifully. Using a wide, stiff-bristled brush, sweep the sand-acrylic mixture across the canvas in gentle, overlapping S-curves that mimic ocean currents, wind-blown dunes, or swirling waves. Keep the palette serene with soft whites, sand-beiges, and muted slate blues.
4. Boho Fringe & Textured Spackle Blend
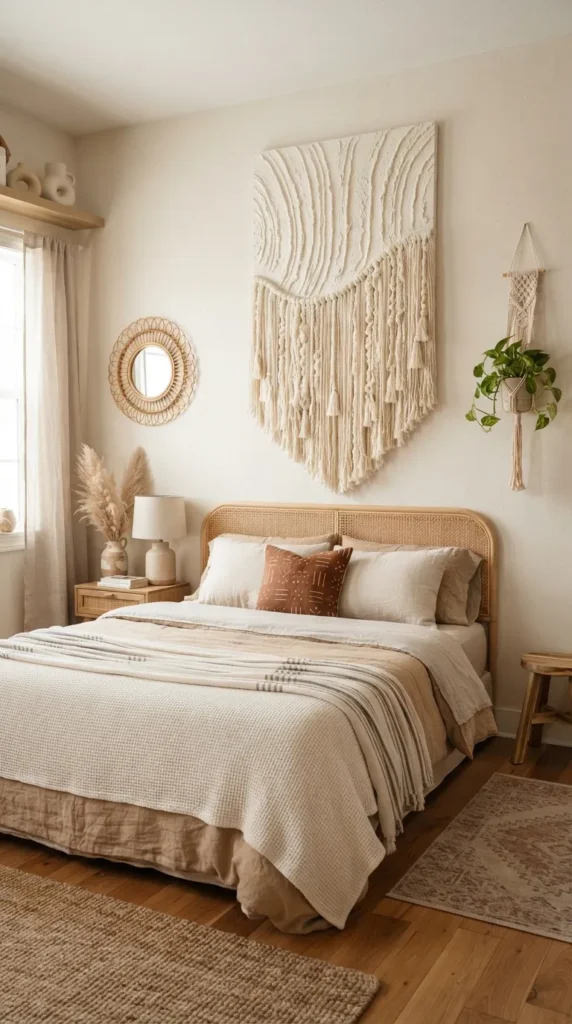
This hybrid piece combines the softness of textile art with the structure of plaster. Start by applying a thick, rough layer of lightweight spackle to the top three-quarters of your canvas, leaving the bottom quarter exposed. Use your fingers or a stiff brush to create vertical, rain-like grooves in the spackle. Before the spackle dries, press thick strands of organic cotton fringe or unraveled macrame cord into the bottom edge of the plaster, letting them drape down elegantly past the frame.
5. Sculptural Clay Floral Canvas
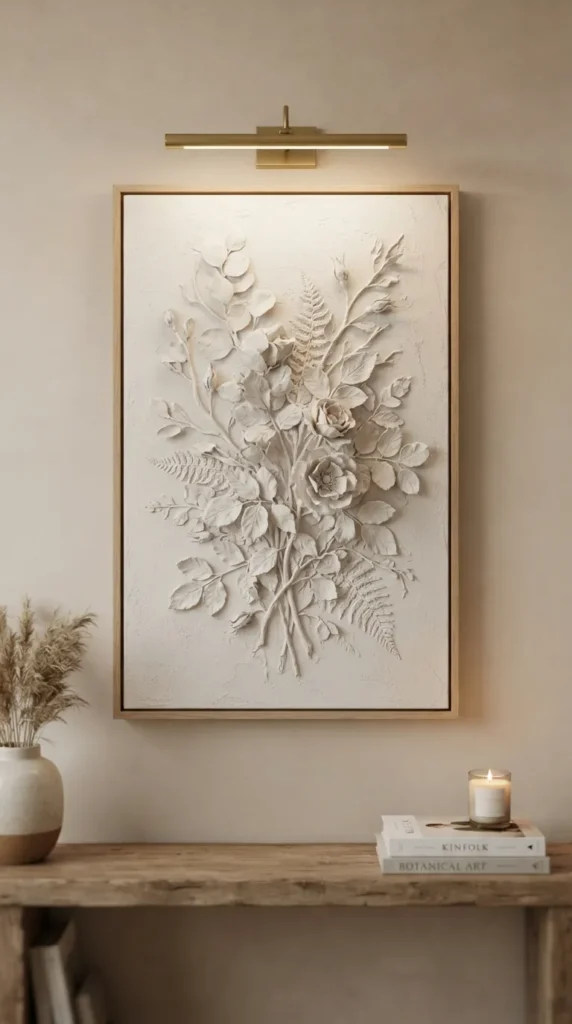
For a highly detailed, romantic, and feminine piece, use air-dry clay or lightweight molding paste to sculpt three-dimensional flower petals, leaves, and stems directly onto a pre-plastered canvas. You can mold delicate wild roses, modern eucalyptus branches, or abstract botanical shapes. Once the sculpted clay elements dry and bond securely to the canvas, coat the entire piece in a single, uniform matte color, such as a soft plaster-white or a dusty rose, to give it an elegant, hand-carved stone appearance.
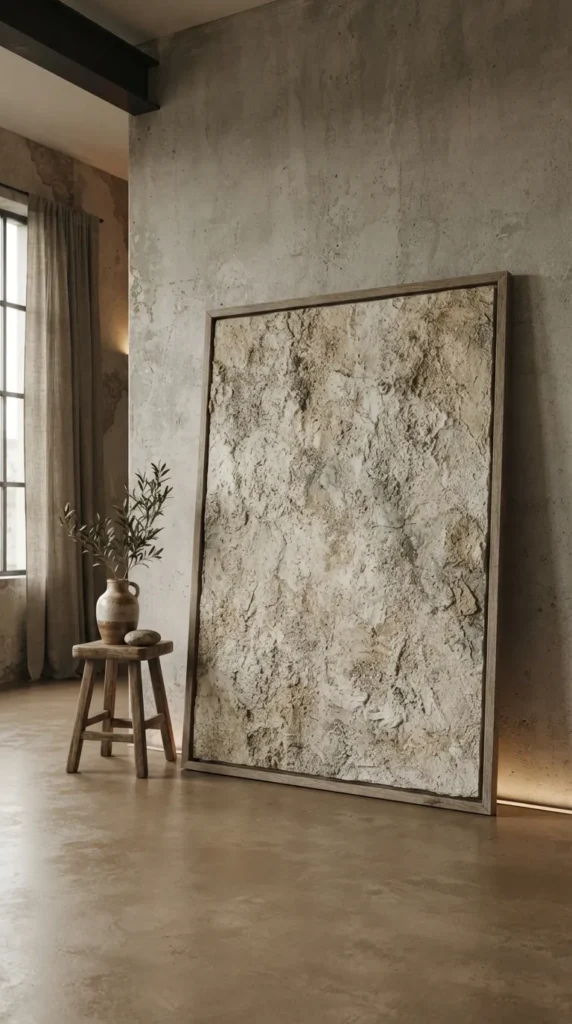
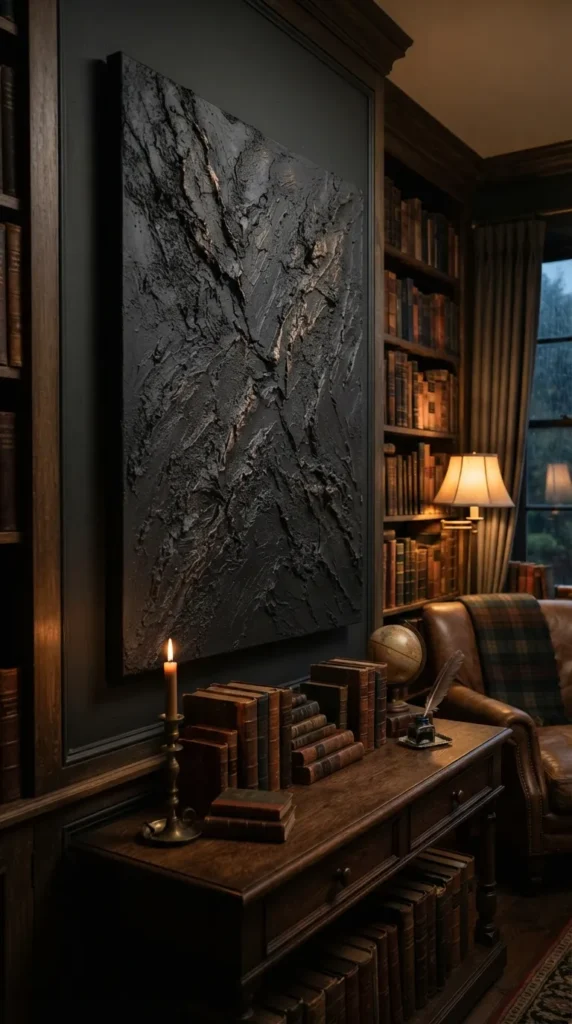
6. Moody Dark Academia Slate Textures
Textured art does not have to be white or beige. Embrace a moody, dramatic aesthetic by creating a deeply scarred, rugged texture using coarse pumice gel or thick joint compound. Apply the compound haphazardly with a palette knife, creating sharp ridges, deep fissures, and rough plateaus. Once fully dry, paint the canvas in a deep, matte charcoal, forest green, or obsidian black. Lightly dry-brush a metallic bronze or charcoal wax over the raised ridges to capture the light beautifully.
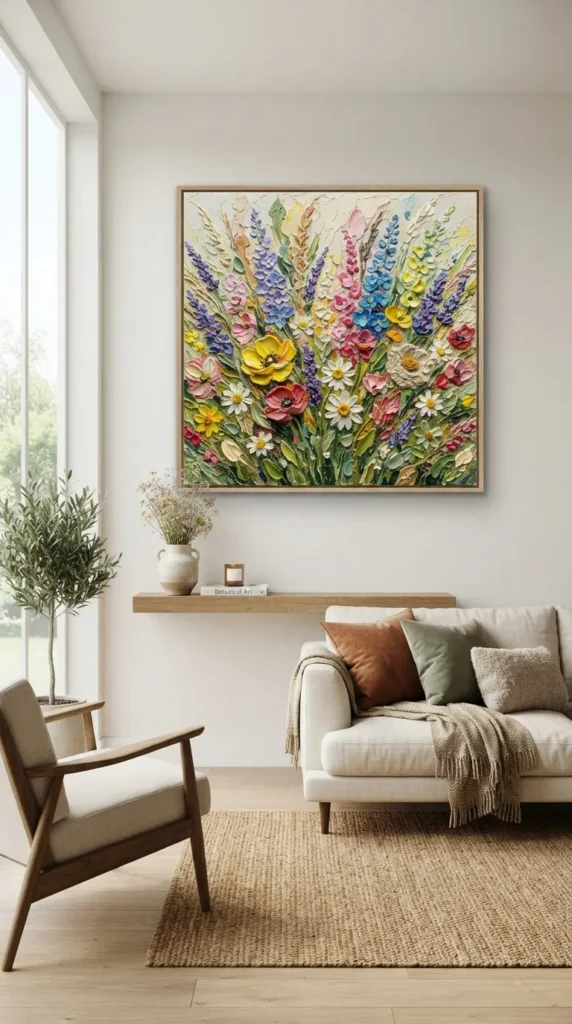
7. Textured Palette Knife Meadow Flowers
Using heavy-body acrylic paint or paint mixed with impasto medium, you can create a vibrant, tactile meadow on canvas. Dip a teardrop-shaped palette knife into your paint mixture and press it flat against the canvas, lifting it quickly to create raised, three-dimensional petals. Repeat this process to form clusters of thick, expressive blossoms. The thick, buttery texture of the paint gives the floral scene incredible movement and life, catching the eye from every angle in a living room or bedroom.
8. Geometric Fluted Wood & Plaster Board
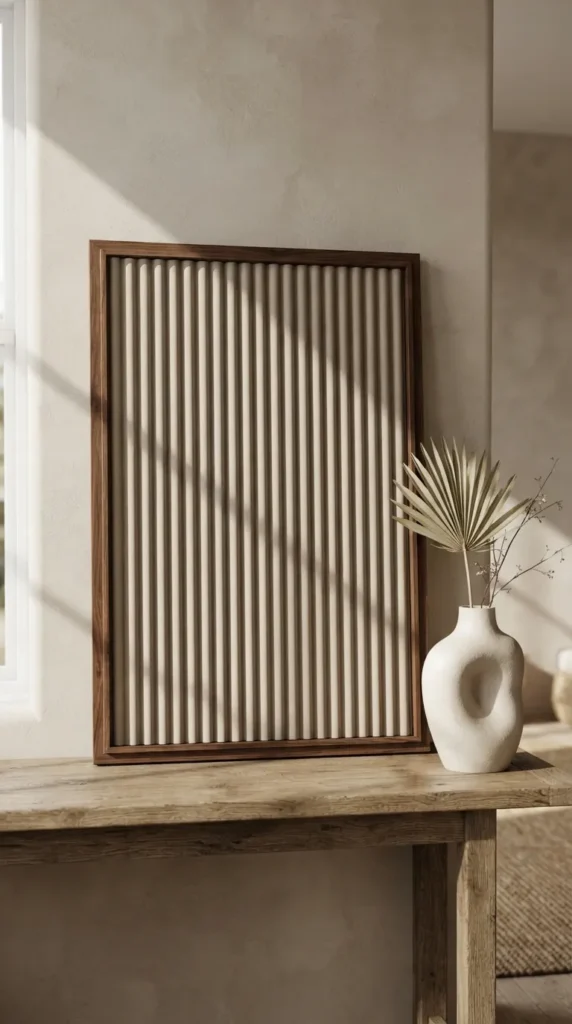
Fluted surfaces are a massive trend in contemporary interior design. To achieve this look on a budget, glue half-round wooden dowels vertically across a wooden board, leaving a small gap between each dowel. Next, coat the entire structure in a thin layer of plaster or joint compound to soften the edges and create a seamless, stone-wrapped appearance. Once dry, paint it in a soft, matte sand color. The interplay of light and shadow across the curved, fluted ridges creates a striking minimalist statement.
9. Tissue Paper & Mod Podge Crumpled Organic Canvas
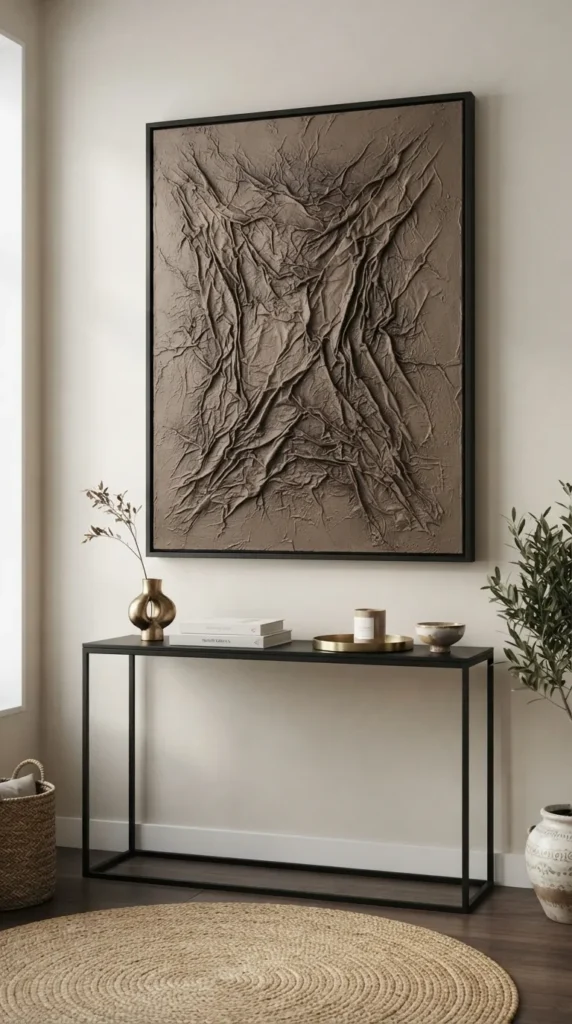
If you want deep, organic, leather-like texture without the weight of heavy plaster, this tissue paper method is an excellent alternative. Generously coat a canvas in Mod Podge or watered-down school glue, then lay crumpled tissue paper, wrapping paper, or butcher paper over the wet adhesive. Gently nudge and pinch the paper to create intricate, organic ridges, veins, and wrinkles. Once dry, seal it with another layer of glue, paint it in your desired shade, and apply a dark glaze wash to sit in the crevices for enhanced depth.
10. Mid-Century Modern Arch & Line Embossed Art
Capture a retro-modern vibe by carving crisp, geometric shapes into wet plaster. Apply a smooth, even layer of joint compound about a quarter-inch thick across your canvas. Using a combination of custom circular stencils, rulers, and clay-carving tools, etch precise geometric lines, overlapping circles, and intersecting arches into the compound. This creates a clean, embossed effect that balances organic texture with sharp, mid-century architectural precision.
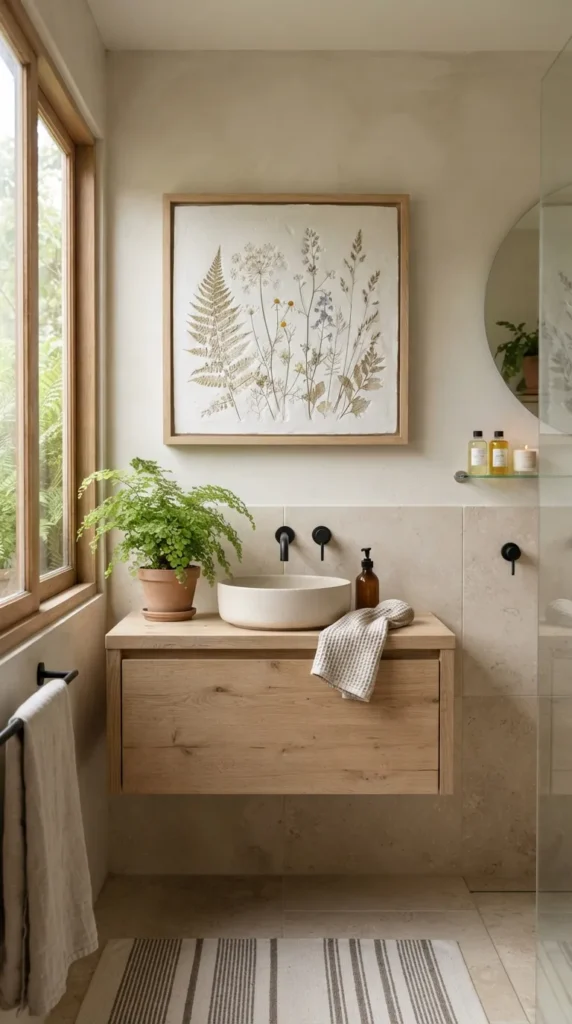
11. Dried Botanicals & Plaster Casting
Preserve the beauty of nature by embedding real dried botanicals into plaster. Arrange dried fern fronds, eucalyptus leaves, lavender, or pressed wildflowers on a flat wooden panel. Pour a thin layer of plaster of Paris over the botanicals, or lightly brush a thick layer of joint compound over them, securing them in place while partially shrouding them in a ghostly, elegant veil. The organic silhouettes of the plants subtly emerge from the plaster, creating a serene, natural relic.
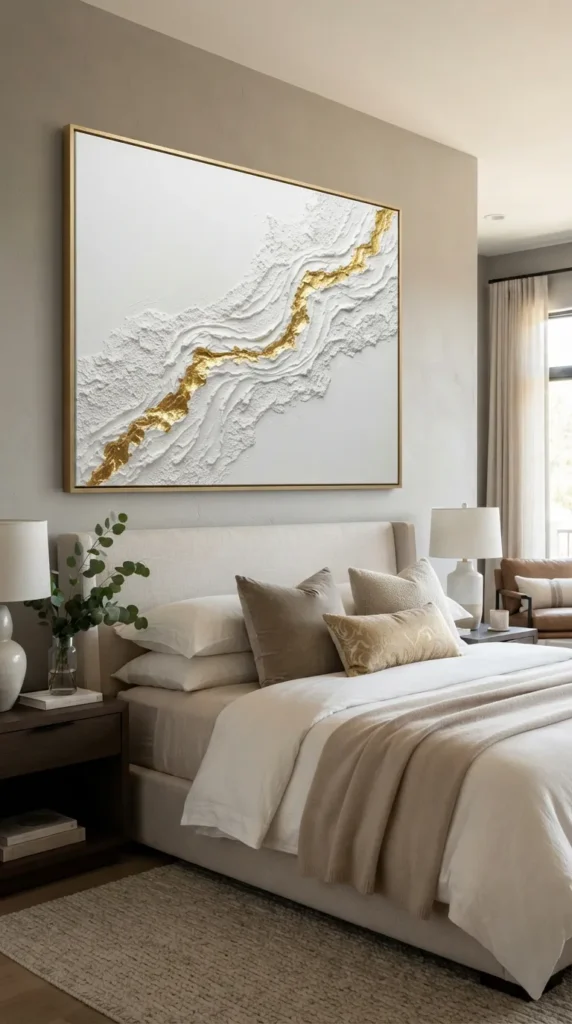
12. Metallic Gold Leaf & Coarse Pumice Swirls
Introduce a touch of modern glam by contrasting rugged texture with shimmering metallic elements. Use coarse pumice paste or a sand-plaster mix to create a bold, diagonal wave of rough texture across the canvas, leaving the rest of the canvas relatively smooth. Once dry, paint the entire canvas a matte stark white. Finally, apply gold leaf or metallic gold paint precisely along the deep ridges of the textured wave, making it look like a shimmering vein of gold running through natural stone.
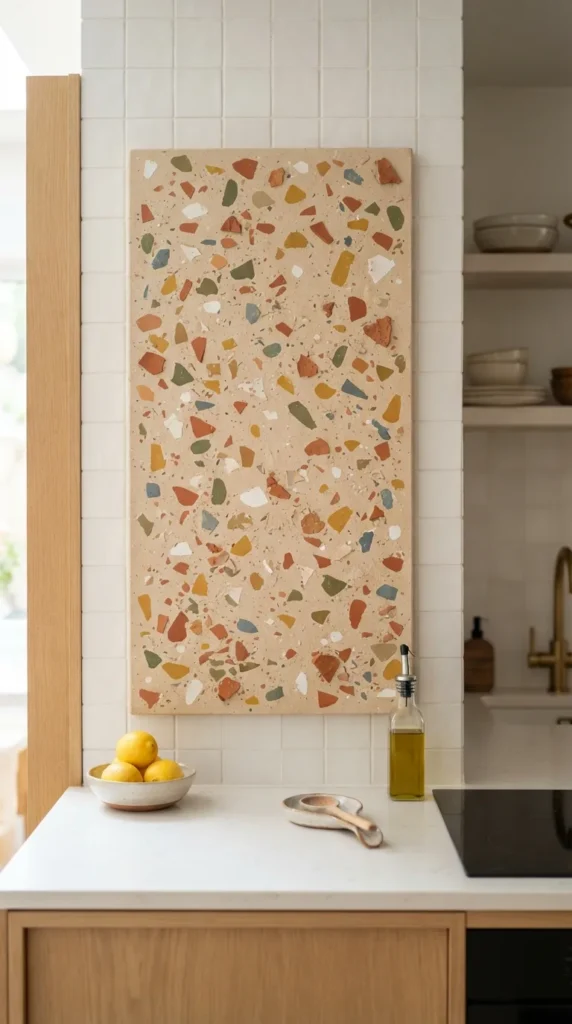
13. Earthy Terrazzo-Style Textured Plaster
Terrazzo is beloved for its playful, mosaic-like appearance. You can create a textured, modern version by applying a base layer of smooth plaster to your canvas. While wet, gently press small, flat, colorful pieces of dried, painted plaster flakes, sea glass, or crushed terracotta into the surface. Once cured, lightly sand the surface to reveal the beautiful, flat faces of the embedded fragments flush with the plaster, creating a stunning, tactile mosaic of earthy tones.
14. Wabi-Sabi Crushed Stone & Gesso Minimalism
Embrace the beauty of imperfection with a true Wabi-Sabi-inspired piece. Mix coarse granite dust, tiny pebbles, or crushed stone with a thick, high-quality white gesso or plaster. Apply the mixture to a large canvas using only your hands (wearing gloves) or a rough wooden block, leaving natural cracks, uneven patches, and raw, unfinished edges. Keep the final piece unpainted, allowing the natural color variations of the stone and plaster to provide organic, grounding visual interest.
15. Abstract Ribbed Rainbow/Arch Panel
Using a square notched tiling trowel, you can create a perfect, highly structured ribbed pattern that looks incredibly chic. Apply an even layer of joint compound across your canvas. Place your trowel at one corner and pull it across the canvas in a perfect, sweeping arch or a continuous wave pattern. The notched teeth of the trowel will leave perfectly uniform, raised ribs. Once dry, paint the canvas in a single monochromatic shade like warm terracotta, olive green, or soft beige.
16. Distressed Concrete-Look Triptych
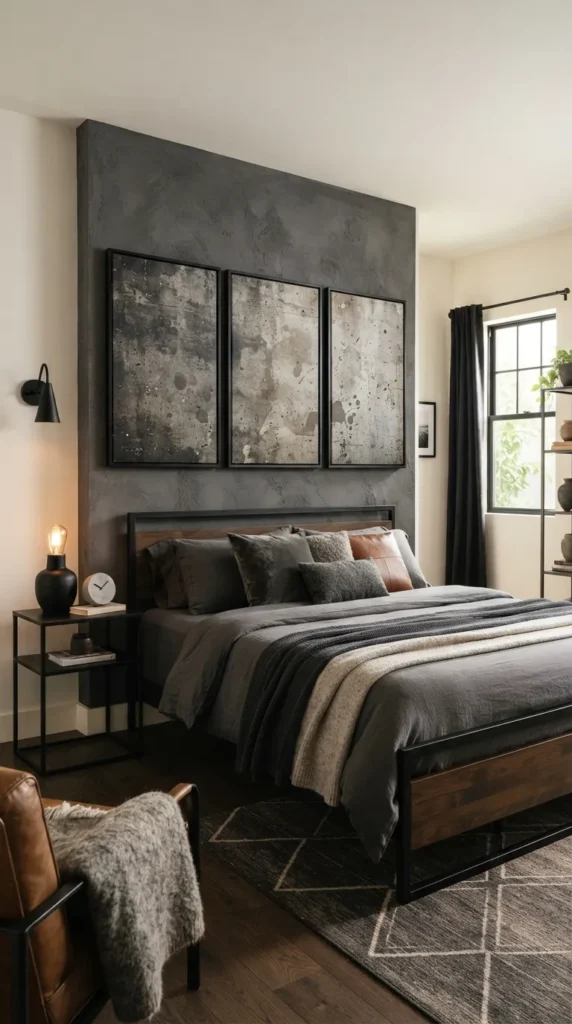
Achieve an industrial, loft-style look by mimicking the raw texture of distressed concrete. Mix grey acrylic paint directly into a gritty joint compound mix. Apply it to three matching canvases using a flat trowel, building up layers unevenly. Once dry, use a damp sea sponge to dab on dilute washes of charcoal, white, and raw umber paint, blending them to create the natural color variations, water spots, and weathering typical of architectural concrete.
17. Lace-Imprinted Textured Canvas
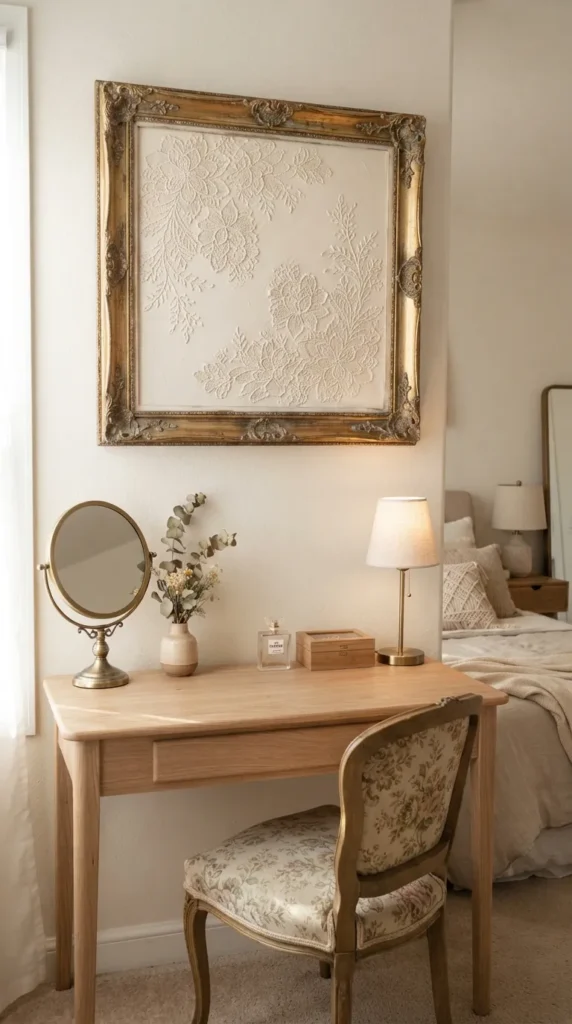
For an elegant, vintage-inspired piece, use lace fabric to transfer intricate patterns into wet plaster. Apply a smooth, thick layer of joint compound over your canvas. While still wet, gently lay a piece of heavy lace fabric over the compound, pressing it down lightly with a rolling pin or flat trowel to transfer the pattern. Carefully peel the lace away to reveal an incredibly detailed, delicate lace imprint. Paint the dried piece in a soft cream or dusty sage.
18. Chunky Yarn Weave & Plaster Fusion
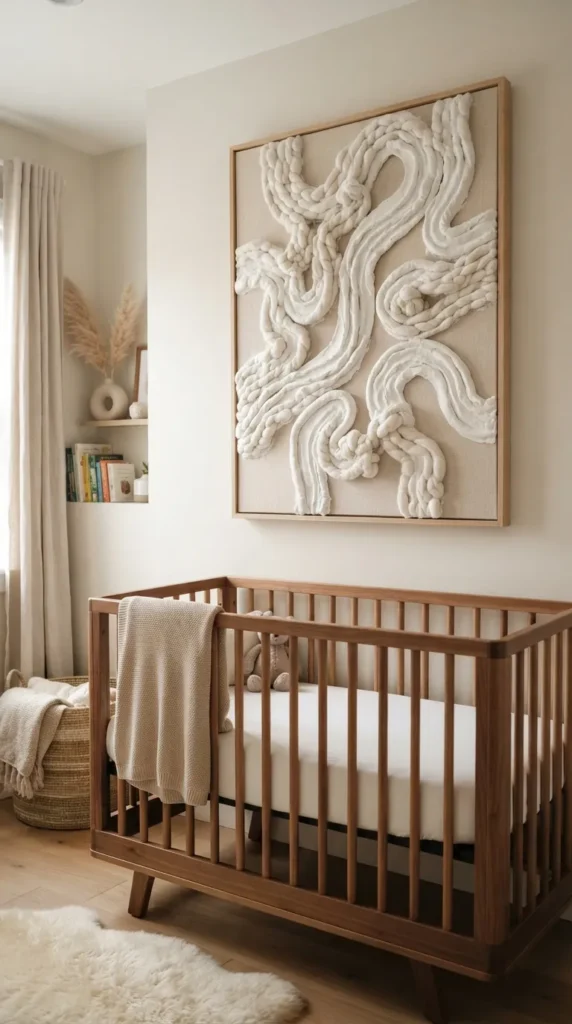
This unique mixed-media project merges the cozy, tactile appeal of yarn with the structure of plaster. Loop and drape thick, chunky merino wool yarn across your canvas in abstract, flowing lines, securing the ends with hot glue. Next, paint a layer of plaster or gesso over both the canvas and the yarn. The plaster stiffens the yarn and unifies the textures, creating a continuous, sculptural, and incredibly cozy wall feature that looks gorgeous in bedrooms.
19. Ocean Wave Textured Resin & Sand Art
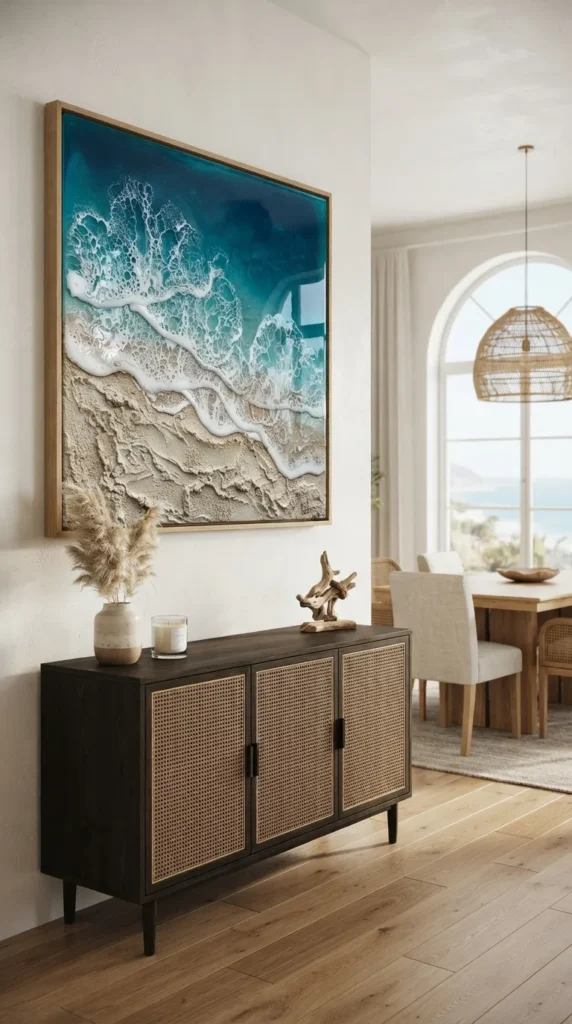
Capture the dynamic energy of the ocean by combining textured sand with glossy resin. Cover the bottom half of your canvas in a thick mixture of sand and plaster, sculpting it into rugged underwater topography. On the top half, apply layers of blue and turquoise acrylic paint. Pour clear epoxy resin over the transition zone, using a heat gun to blow white-tinted resin over the sandy shoreline, creating realistic, lacy sea foam that looks frozen in time.
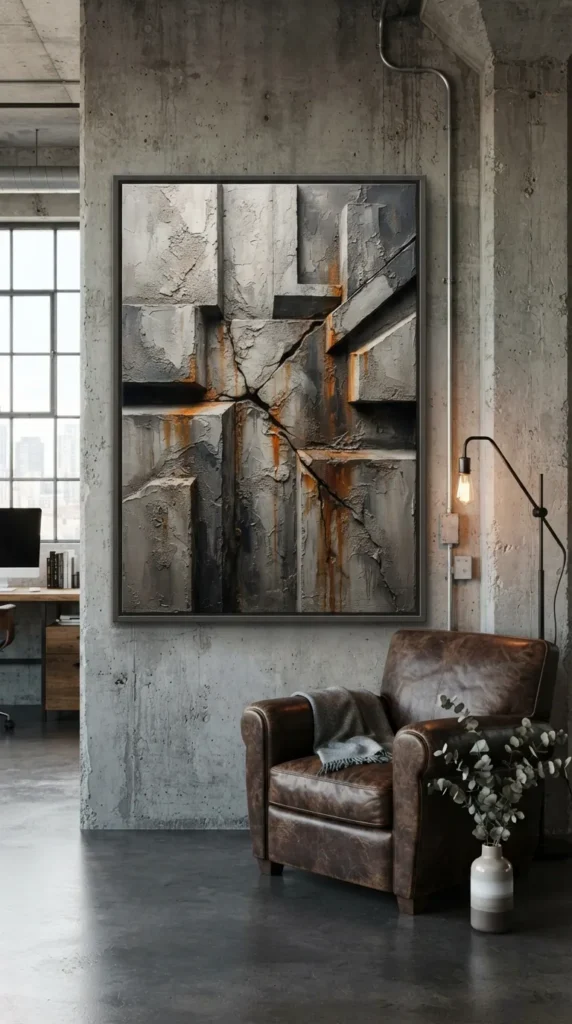
20. Brutalist Oxidized Iron & Coarse Sand Plaster
For a bold, masculine, or industrial statement, create a piece inspired by Brutalist architecture. Mix coarse sand and joint compound, applying it with a heavy hand to create sharp, geometric blocks and deep crevices. Once dry, paint the piece with iron-reactive paint, then spray it with an activating acid solution. Over several hours, real rust and oxidation will bloom across the textured surface, creating an incredibly rich, organic, and dramatic industrial masterpiece.
Styling and Caring for Your DIY Textured Wall Art
To make your DIY textured wall art look like a high-end gallery purchase, pay close attention to how you style and care for it: