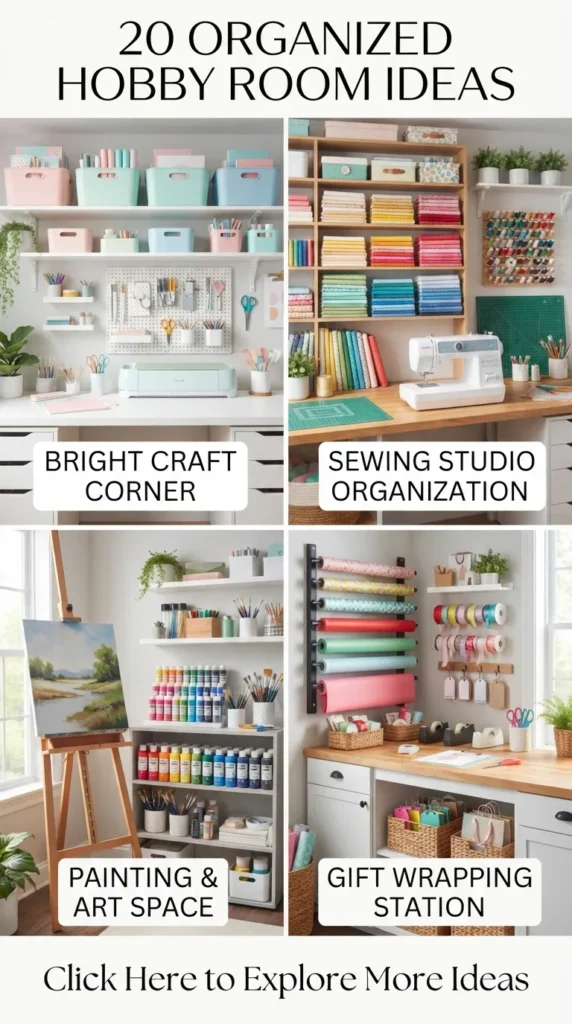
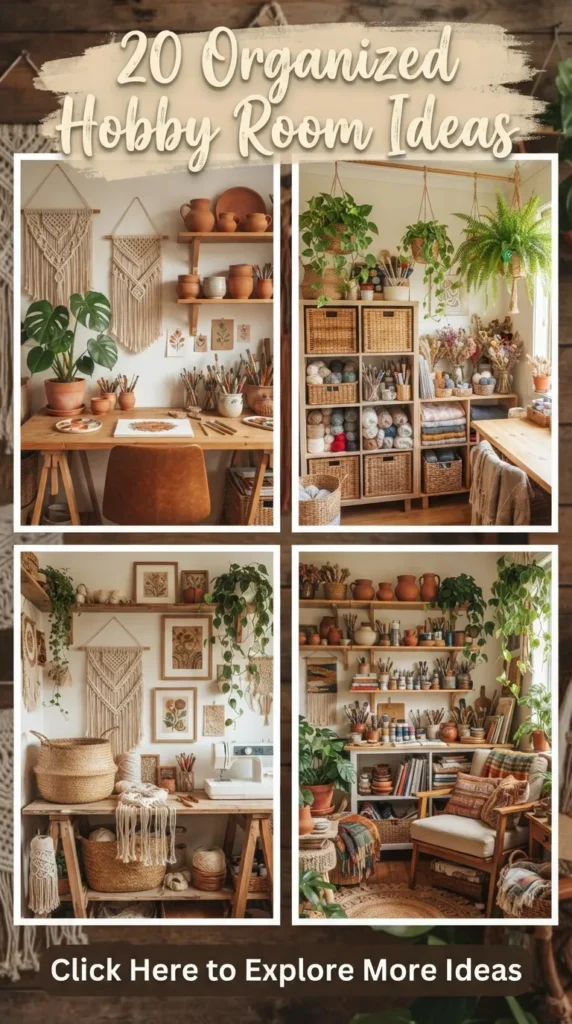
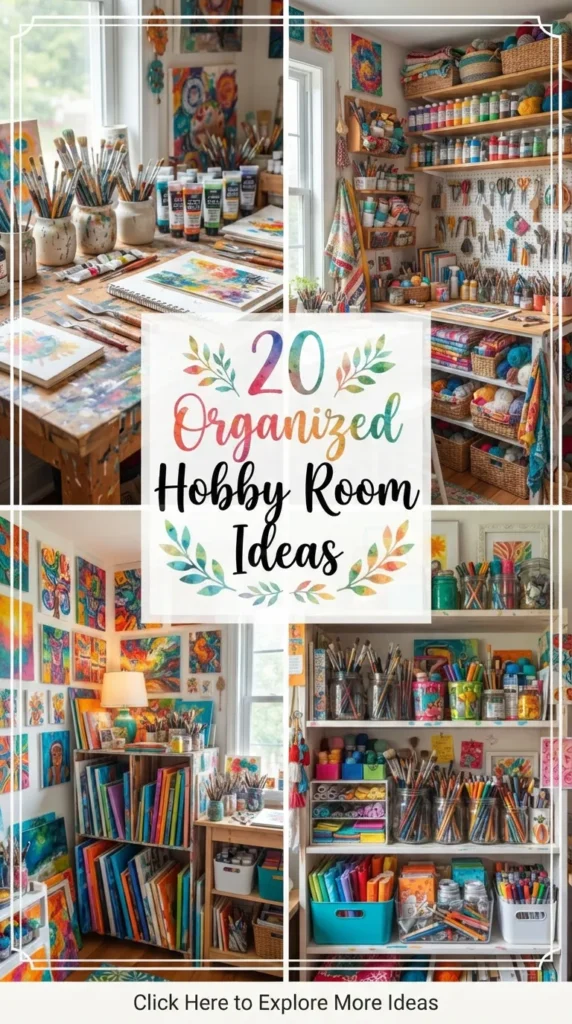
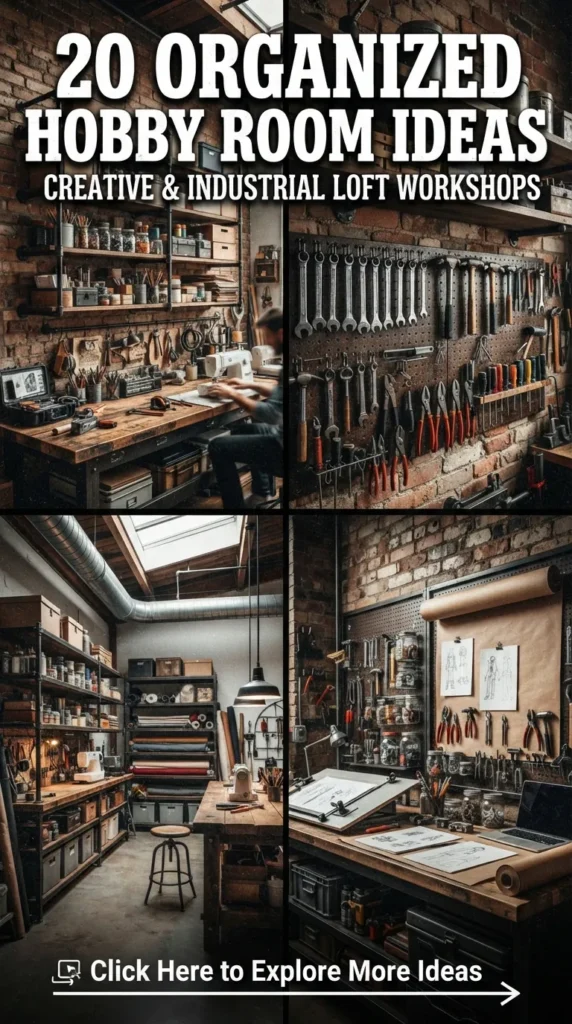
Creating a dedicated space for your passions isn’t just about storage—it is about designing an inspiring environment where creativity flows without clutter getting in the way. Whether you are an painter, a leather crafter, a gamer, or a collector, having an organized hobby room changes everything. Below are 20 curated hobby room concepts structured to help you build, refine, and maintain your personal creative sanctuary.

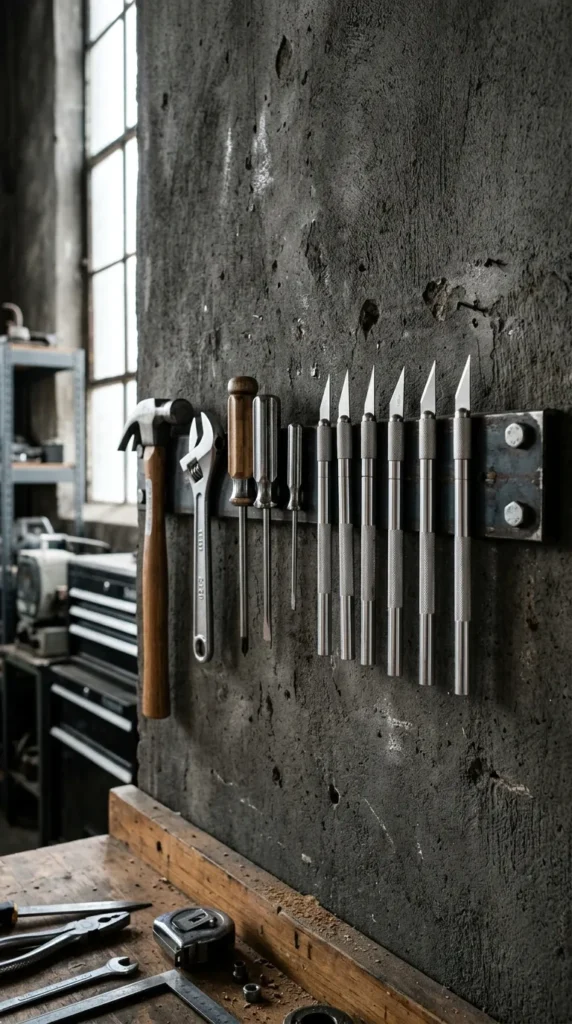


1. Modular Pegboard Wall Systems
What This Idea Means
A modular pegboard system transforms unused vertical wall space into an adaptable storage canvas. Instead of fixed shelves, a pegboard allows you to reconfigure hooks, shelves, and bins as your tool collection grows.
How to Make It
Mount heavy-duty metal or thick wooden pegboard panels securely into wall studs using spacer blocks. Coat the board in a neutral shade or a vibrant hue to complement your room. Install an array of steel peg hooks, wooden dowel rods, and hanging wire baskets.
Tips and Variations
- Use magnetic pegboard strips for small metal tools like precision screwdrivers or scissors.
- Paint color-coded outline silhouettes behind tools to instantly spot missing items.
- Variation: Construct a floor-to-ceiling wooden slatwall system for heavier power tools or gear.
Things to Avoid: Avoid overloading individual pegboard hooks beyond their weight rating, which can warp the board or tear anchors from drywall. Don’t crowd tools too closely together; leave ample breathing room so items can be removed easily with one hand.
2. Dual-Height Craft Workstations
What This Idea Means
Different hobbies require different postures. A dual-height workstation combines a standard sitting desk with a counter-height standing surface, allowing you to switch between detailed fine work and broad assembly tasks comfortably.
How to Make It
Combine an adjustable sit-stand desk frame with a custom L-shaped wooden countertop, or place two distinct tables side-by-side—one at standard desk height (29–30 inches) and the other at standing height (36–42 inches). Add an ergonomic stool with a footring for the higher station.
Tips and Variations
- Install under-desk cable management trays to keep cords away from your feet.
- Add a soft anti-fatigue mat in front of the standing workstation area.
- Variation: Use a motorized dual-motor desk frame that smoothly transitions from sitting to standing with preset height buttons.
Things to Avoid: Avoid neglecting ergonomics; sitting or standing at improper angles for hours leads to fatigue. Never compromise on structural stability—ensure the taller surface is weighted properly or anchored so it won’t wobble during heavy projects.
3. Clear-Sight Storage Towers
What This Idea Means
Clear-sight storage utilizes transparent acrylic bins, glass-front cabinetry, and open shelving to keep supplies visible at a glance. It reduces time spent searching through closed boxes and doubles as an inspiring display.
How to Make It
Assemble high column shelving units. Outfit them with stackable heavy-duty clear acrylic drawers and glass jars. Group materials by color, texture, or project type within each transparent container.
Tips and Variations
- Place labels on the sides of drawers using a clean minimalist label printer.
- Store small items like buttons, beads, or screws in uniform clear glass apothecary jars.
- Variation: Use frosted containers for less aesthetic essentials while keeping primary tools in clear view.
Things to Avoid: Avoid exposed glass or clear bins in direct sunlight, as UV rays can fade colorful yarns, papers, and paints over time. Avoid mixing unrelated items in a single bin, which creates visual chaos inside clear containers.
4. Rolling Mobile Island Carts
What This Idea Means
A mobile island brings storage directly to where you work. Built on heavy-duty caster wheels, these utility carts serve as flexible supply hubs that roll away into a corner when extra floor space is needed.
How to Make It
Adapt a multi-tier steel rolling utility cart or convert a compact kitchen island by adding locking swivel casters to the legs. Install side baskets, paper towel holders, and hanging side hooks to maximize external storage.
Tips and Variations
- Dedicate individual carts to specific sub-hobbies (e.g., one cart for gift wrapping, another for watercolor painting).
- Add a custom butcher-block top to create a durable, portable cutting or prep surface.
- Variation: Use a foldable rolling cart if your room requires dynamic space adjustments.
Things to Avoid: Avoid purchasing carts with low-quality plastic casters that catch or scuff floor surfaces. Never forget to engage wheel locks when working on top of the cart to prevent unexpected movement.
5. Architectural Map Drawers for Paper & Art Prints
What This Idea Means
Flat file cabinets—originally designed for architectural blueprints—provide wide, shallow drawers perfect for laying large artwork, paper stock, posters, and fabrics completely flat without creasing.
How to Make It
Source a vintage steel or oak flat file cabinet. Sand down and refinish wood models, or spray-paint vintage metal units with a modern matte finish. Divide the shallow drawers internally using low-profile foam dividers or acid-free folder inserts.
Tips and Variations
- Line drawers with acid-free tissue paper to protect precious artwork and archival papers.
- Mount large flat files on low platform bases to make cleaning beneath them easier.
- Variation: Construct custom wide shallow wooden drawers beneath a main work table to replicate flat file function on a budget.
Things to Avoid: Avoid storing wet or partially dry artworks inside flat drawers where humidity can get trapped and warp materials. Avoid overloading drawers to the point where top edges snag on the frame above when pulled open.



6. Recessed Wall Nooks & Inset Shelving
What This Idea Means
Recessed wall storage utilizes the empty space between interior wall studs. By carving out shallow insets, you gain valuable storage without taking up an inch of actual floor space.
How to Make It
Locate non-load-bearing interior walls using a stud finder. Cut out sections of drywall between studs, frame the interior opening with wood trim, and install inset shelves flush with the wall surface. Finish with paint or wallpaper backings.
Tips and Variations
- Add micro LED tape lighting along the inner frame to highlight featured items.
- Install slim cabinet doors over lower sections to hide utility supplies.
- Variation: Create shallow picture ledges inside recessed areas for rotating art and mood boards.
Things to Avoid: Avoid cutting into walls without verifying electrical, plumbing, or HVAC lines running behind the drywall. Never cut load-bearing wall studs without proper structural support modifications.
7. Custom Thread & Spool Display Panels
What This Idea Means
For sewing, embroidery, and fiber arts, dedicated thread wall displays organize spools systematically by color family while keeping threads detangled and immediately accessible.
How to Make It
Build a thin wooden frame backed with a sturdy plywood sheet. Insert evenly spaced wooden dowel pegs angled slightly upward at a 15-degree angle. Paint the panel a bright white or soft neutral to let thread colors pop.
Tips and Variations
- Arrange spools strictly following the visual spectrum (ROYGBIV) for an aesthetically pleasing wall installation.
- Add low-profile dust covers or acrylic cabinet fronts to keep thread free of lint.
- Variation: Mount small magnetic strips along the frame bottom to hold needles, pins, and thread snips.
Things to Avoid: Avoid hanging thread panels directly opposite unshaded windows; prolonged sunlight degrades thread strength and causes color fading. Avoid overcrowding dowels so spools rub together and tangle.
8. Under-Desk Slide-Out Trays & Trashing Bin Drawers
What This Idea Means
Keeping active workspaces clear requires immediate, hidden receptacles for scraps, trash, and quick-access tools. Slide-out under-desk attachments keep the tabletop free from clutter.
How to Make It
Attach heavy-duty ball-bearing drawer slides to the underside of your main tabletop. Mount shallow wooden trays for tools or larger drop-in bins for scrap paper, fabric, and waste material.
Tips and Variations
- Install a dual-bin slide-out tray to separate recyclable materials from general trash immediately.
- Add built-in cutouts in the tabletop directly above the slide-out trash bin for sweeping debris right off the edge.
- Variation: Mount heavy-duty sliding keyboard trays repurposing them for holding flat palettes, cutting mats, or midi controllers.
Things to Avoid: Avoid using flimsy drawer glides that sag when pulled out completely. Do not leave food scraps or liquid waste in under-desk bins where they can create odors close to your seating area.
9. Task Lighting Network with Articulating Arms
What This Idea Means
Proper lighting is essential for hobby precision and reducing eye strain. A task lighting network combines overhead ambient fill with flexible, adjustable spotlighting right over work zones.
How to Make It
Mount clamp-style articulating LED desk lamps or wall-mounted swing-arm sconces at key station positions. Choose high CRI (Color Rendering Index, 95+) LED bulbs that simulate true daylight for accurate color matching.
Tips and Variations
- Install dimmable controls to adjust light levels depending on the time of day and activity.
- Use magnifying lamps on articulating arms for intricate tasks like miniature painting or jewelry making.
- Variation: Install under-cabinet diffusion LED strips directly above main countertops for shadowless workspace illumination.
Things to Avoid: Avoid relying solely on overhead room fixtures, which cast shadows over your hands and workspace. Avoid low-CRI warm bulbs that distort true color perception in art, photography, and textiles.
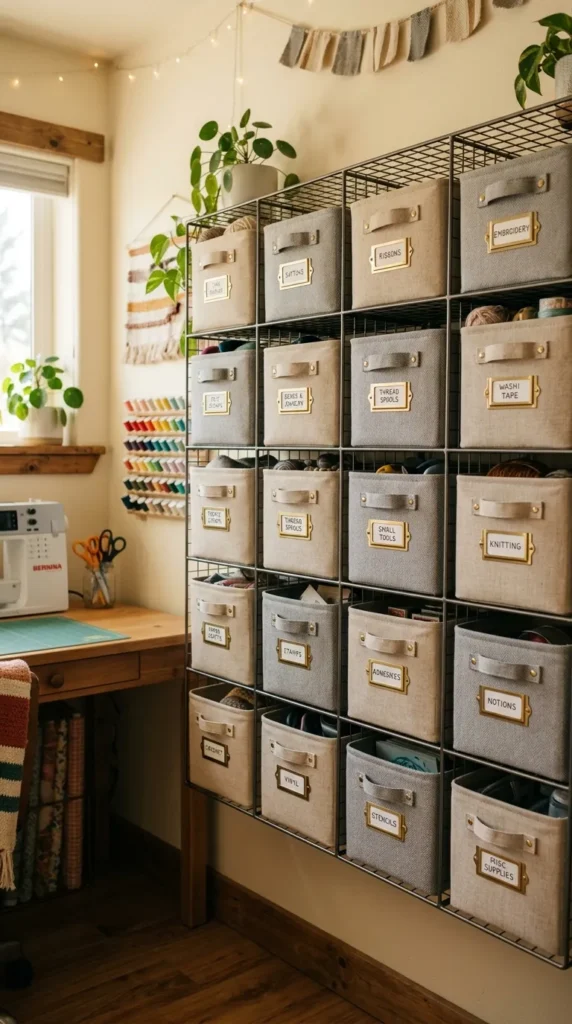
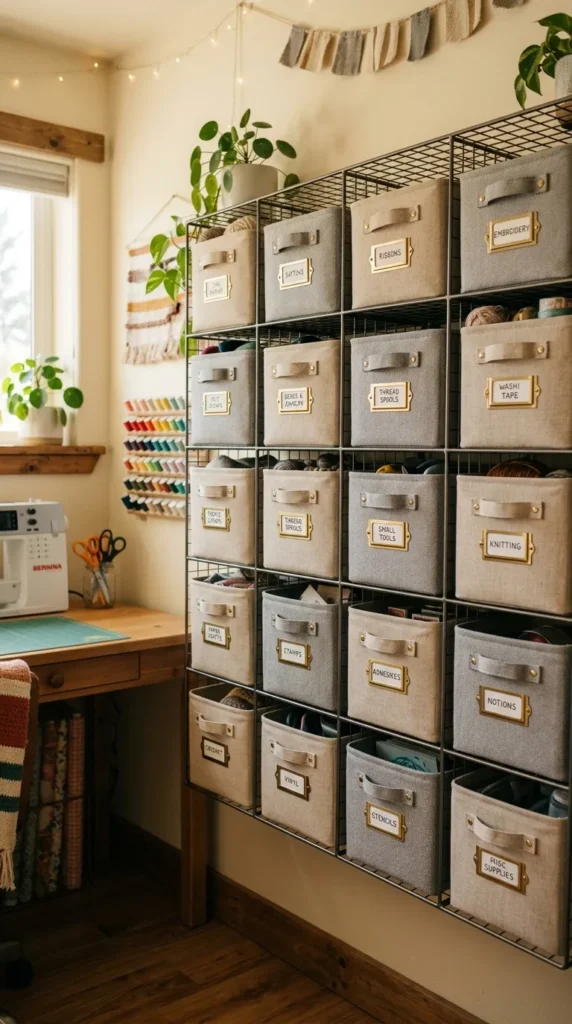
10. Pull-Out Fabric Bin Cubbies
What This Idea Means
Fabric bin cubby walls offer soft-textured, high-density storage ideal for hiding bulky supplies, yarn skeins, polyfill, or seasonal craft projects while adding warmth to the room’s interior design.
How to Make It
Build or assemble a grid-style cube bookcase. Select structured fabric bins or woven canvas baskets that fit tightly into each opening. Add brass metal label pull handles to the front face of each bin.
Tips and Variations
- Mix open display cubes (for books and art pieces) with closed fabric bin cubes to break up visual monotony.
- Choose washable canvas bins for easy maintenance and cleaning.
- Variation: Use natural seagrass or wicker baskets to introduce organic texture to a contemporary space.
Things to Avoid: Avoid using weak cloth bins that sag, fold, or lose their structure when packed full. Do not pack heavy metal tools into fabric bins, which can tear the seams and deform the fabric over time.



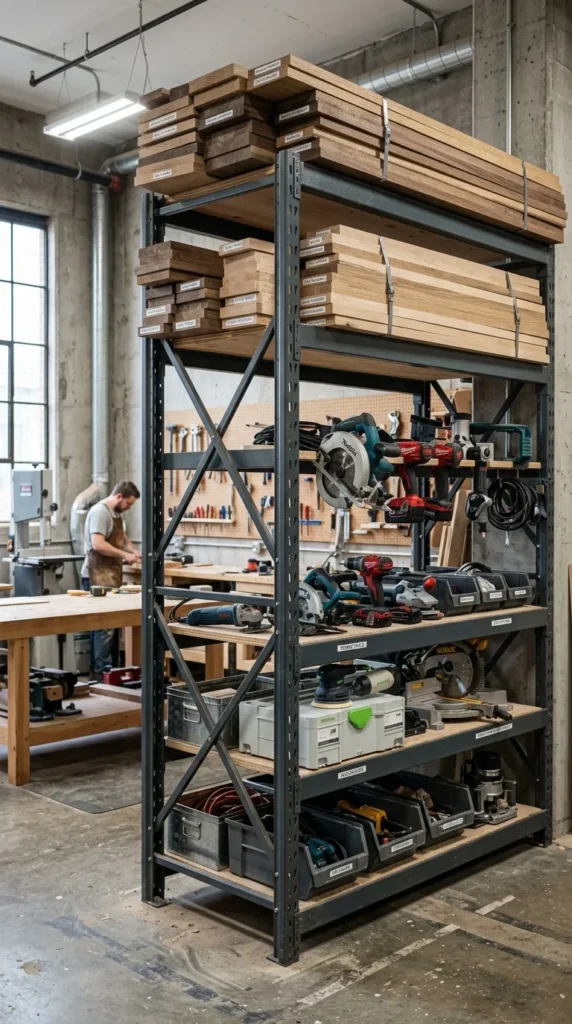
11. Heavy-Duty Metal Racking for Raw Materials
What This Idea Means
For heavy-duty hobbies like woodworking, resin casting, leatherworking, or 3D printing, industrial metal racking provides the weight capacity and durability required for heavy materials and machinery.
How to Make It
Install powder-coated industrial steel wire or solid shelf racking units. Anchor top corners to wall studs for maximum safety. Seal wooden shelf inserts to prevent oil or chemical spills from soaking into raw wood.
Tips and Variations
- Place heavy power tools and raw lumber stocks on the bottom shelves to maintain a low center of gravity.
- Attach power strips directly to metal frame uprights for easy tool plugging.
- Variation: Cover industrial steel shelves with tailored canvas curtains to hide heavy hardware when not in use.
Things to Avoid: Avoid placing heavy metal units unanchored on uneven flooring. Avoid leaving raw steel surfaces unpainted or unsealed in humid environments where rust can develop.
12. Vertical Ribbon & Tape Dispensing Stations
What This Idea Means
Spools of ribbon, painter’s tape, washi tape, and trim easily become an entangled mess. A vertical dispensing station keeps all rolls untangled, visible, and ready to pull and cut.
How to Make It
Build a narrow wall cabinet or wooden frame. Install removable metal or wooden dowels horizontally across the frame. Thread spools onto dowels and attach a serrated tear bar along the bottom shelf edge for quick cuts.
Tips and Variations
- Arrange spools by width or color spectrum for a visually organized look.
- Add a measuring ruler tape along the bottom edge of the frame for instant measuring before cutting.
- Variation: Convert a shallow picture ledge into a tape dispenser by mounting horizontal tension rods within the frame.
Things to Avoid: Avoid fixing dowel rods permanently; make sure they drop into slots or lift out easily so replacing empty spools is simple. Avoid placing tapes near heat sources that melt adhesives.
13. Ceiling-Mounted Hanging Rack Systems
What This Idea Means
When floor and wall space are fully utilized, overhead ceiling racks unlock unused storage overhead—ideal for seasonal gear, large cutting mats, background rolls, or lightweight materials.
How to Make It
Secure ceiling-mounted metal storage racks or wooden pulley ladder systems directly into ceiling joists with heavy-duty lag bolts. Ensure total suspended weight remains well within structural safety thresholds.
Tips and Variations
- Install a manual crank or motorized rope pulley system to lower ceiling racks to working height effortlessly.
- Hang lightweight photography backdrops, seamless paper rolls, or drying racks overhead.
- Variation: Construct a hanging wooden ceiling grid using hooks and carabiners to suspend drying craft projects.
Things to Avoid: Avoid anchoring ceiling racks into drywall or plaster without securing directly into structural ceiling joists. Avoid hanging items low enough to present head hazards.
14. Dedicated Media & Streaming Corner
What This Idea Means
Modern hobbies often involve sharing progress online, recording tutorials, or streaming content. A dedicated media corner integrates lighting, cameras, and audio equipment permanently into your room layout.
How to Make It
Set up a clean backdrop area with neutral wall finishes. Mount overhead camera boom arms, desktop key lights, and microphone arms to the desk frame to keep floor area clutter-free. Run all connections through a hidden cable management hub.
Tips and Variations
- Add sound-absorbing acoustic foam panels or decorative felt wall tiles to reduce echo and improve audio quality.
- Install a flip-down green screen or backdrop paper roll directly behind your primary chair.
- Variation: Build a compact standing pod desk strictly dedicated to video editing, streaming controllers, and audio mixing.
Things to Avoid: Avoid leaving loose microphone or power cables draped across floors where they create trip hazards. Avoid placement directly in front of unshaded windows that cause harsh backlighting on camera.
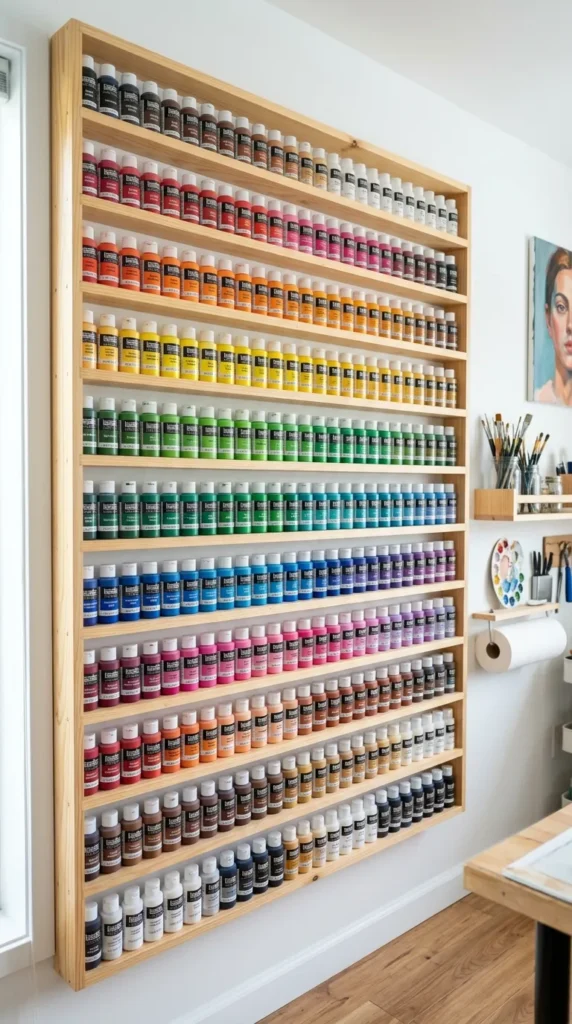
15. Wall-Mounted Paint & Solvent Galleries
What This Idea Means
For painters, model makers, and miniature hobbyists, paint bottles and tubes easily clutter work surfaces. A wall-mounted shallow gallery rack stores paints flat or angled, keeping every color visible.
How to Make It
Build shallow wooden ledges with lip retainers spaced 2–4 inches apart vertically. Mount the assembly securely to the wall directly at eye level behind or adjacent to your main painting workstation.
Tips and Variations
- Angle shelves back slightly (10 to 15 degrees) so paint jars lean naturally against the backboard without slipping off.
- Organize paint bottles strictly by color hue and finish type (matte, gloss, metallic).
- Variation: Use nail polish wall racks made of clear acrylic for small acrylic paint pots and dropper bottles.
Things to Avoid: Avoid storing toxic solvents or flammable thinners in open, hot wall areas; keep them sealed in approved containers inside cool cabinets. Don’t build shelves too deep, which forces paint bottles into double rows where back colors get hidden.



16. Magnetic Tool Strips & Metal Backsplashes
What This Idea Means
Magnetic storage provides instant access to metal tools without occupying surface space. Mounting strong magnetic bars creates a clean, industrial look while keeping daily tools right at your fingertips.
How to Make It
Install heavy-duty neodymium magnetic tool bars or mount a sheet of stainless steel backsplash paneling onto the wall. Affix magnetic dish bins and hooks directly to the metallic surface.
Tips and Variations
- Use magnetic strips on the edge of your desk to anchor metal rulers, craft knives, and precision tweezers.
- Layer wooden veneer over neodymium magnets for a warm, natural aesthetic.
- Variation: Mount small magnetic pots for holding paperclips, metal pins, and small hardware onto a steel panel.
Things to Avoid: Avoid using weak decorative magnetic strips that drop heavy tools. Avoid placing magnetic strips near sensitive electronics, computer hard drives, or magnetic media storage.
17. Fold-Down Wall Desks & Hideaway Tables
What This Idea Means
For small rooms or multi-purpose spaces, a fold-down wall desk provides a full-sized work surface that tucks flat against the wall when not in use.
How to Make It
Mount a thick wooden desktop panel to heavy-duty folding wall brackets rated for high loads. Install a shallow cabinet frame behind the panel to hold tools that remain mounted while the desk folds up.
Tips and Variations
- Paint the underside of the folding desk with chalkboard paint or add a framed print so it looks decorative when stowed away.
- Install safety latch pins to lock the desk securely in both open and folded positions.
- Variation: Construct a drop-leaf cabinet where the outer door swings open to support a flip-down table top.
Things to Avoid: Avoid mounting fold-down brackets into simple drywall anchors; always lag into studs. Avoid leaving heavy, unanchored items on the desk surface when attempting to fold it away.
18. Color-Coded Material Sorting Systems
What This Idea Means
Color-coded sorting systems organize supplies—like yarn, paper, fabric, or beads—visually by color spectrum. This visual arrangement makes finding materials fast and elevates the room’s look.
How to Make It
Group all raw materials strictly by hue using open cubbies, clear drawers, or glass jars. Arrange items following the rainbow spectrum across an entire wall or shelf unit.
Tips and Variations
- Add neutral zones (white, grey, black, brown) at the ends of the spectrum wall for clean contrast.
- Use swatch cards or reference samples tagged with precise color codes for exact project matches.
- Variation: Organize books, reference binders, and project files by color-spine covers for an aesthetic library wall.
Things to Avoid: Avoid mixing multi-colored scraps into single-color bins, which breaks the visual organization. Don’t prioritize visual appearance over logical grouping—keep similar material types together within their respective color groups.
19. Dust-Free Glass Display Cabinet Modules
What This Idea Means
Finished projects, delicate collectables, and sensitive instruments require protection from airborne dust, pets, and accidental bumps. Glass-front display modules protect these items while showing them off.
How to Make It
Install tall glass-door display cabinets or mount individual glass wall cases. Add slim rubber or silicone dust-seal strips along door edges to seal out airborne particles completely.
Tips and Variations
- Install soft micro LED spot lighting at the top and bottom of cabinet shelves to showcase completed projects.
- Use adjustable glass shelves to accommodate models and sculptures of varying heights.
- Variation: Install mirrored backings inside the cabinet to reflect light and show off the back of detailed pieces.
Things to Avoid: Avoid overloading glass shelves past their weight limits. Avoid using harsh chemical glass cleaners on internal acrylic components; use dedicated micro-fiber cloths instead.
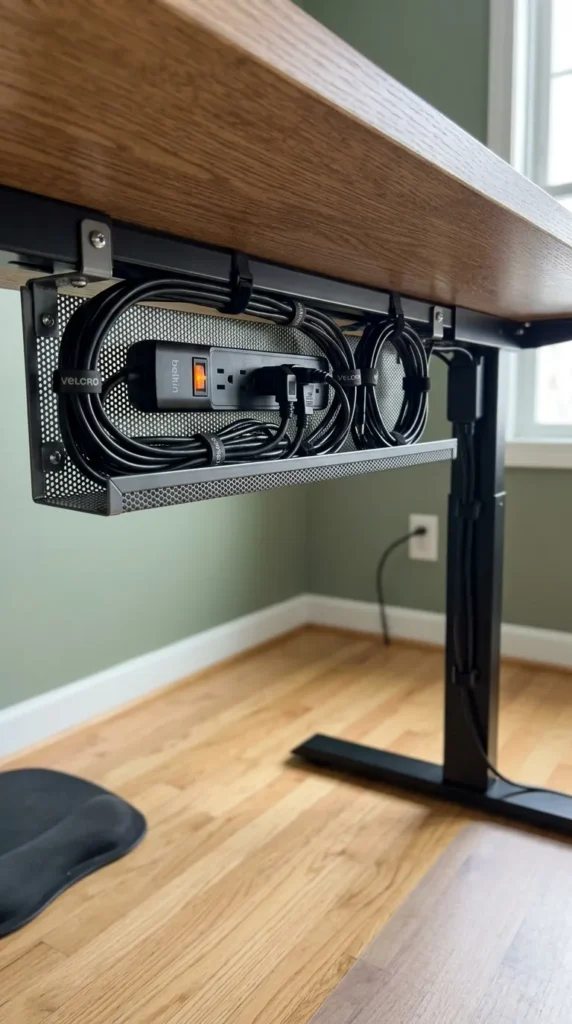
20. Centralized Power & Cord Management Hubs
What This Idea Means
Hobby rooms rely heavily on power tools, hot glue guns, irons, computers, and chargers. A centralized power management hub keeps cords organized, out of sight, and trip-free.
How to Make It
Mount heavy-duty surge-protected power strips beneath desks or inside dedicated charging drawers. Route power cords through desk grommets into raceway trays mounted under desktops.
Tips and Variations
- Label both ends of every power cord with cable tags so you know which device to unplug instantly.
- Install pop-up power grommets directly into the desktop surface featuring both AC outlets and USB fast-charge ports.
- Variation: Build a dedicated lockable charging drawer with integrated power strips for cordless power tool batteries.
Things to Avoid: Avoid daisy-chaining multiple extension cords or surge protectors, which creates serious electrical fire hazards. Avoid leaving tangled cord bundles loose across floor pathways.