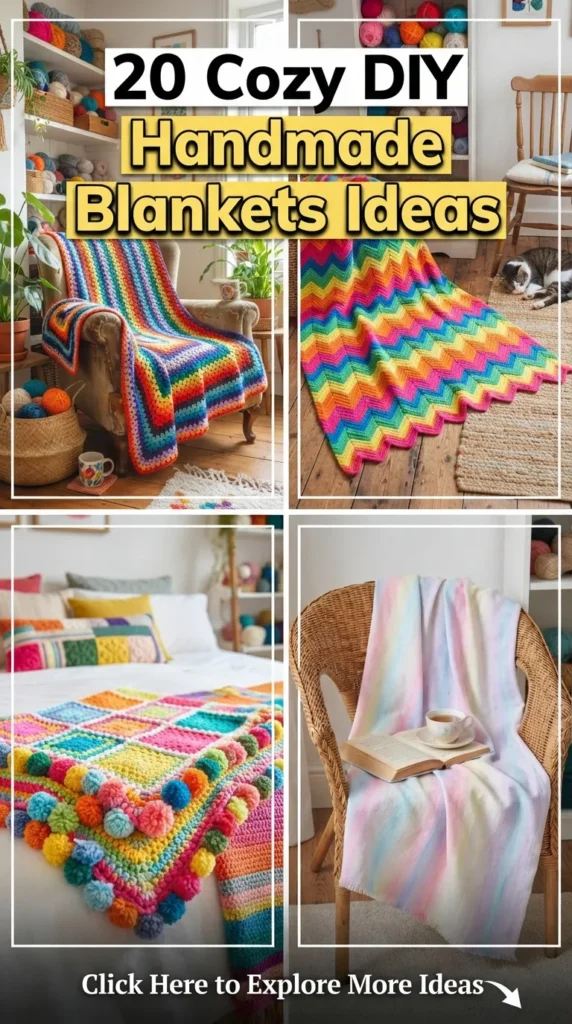
Nothing transforms a space quite like a plush, handmade throw blanket. Whether you are aiming to create a warm sanctuary during chilly evenings or simply looking to add a layer of rich texture to your sofa, crafting your own blanket is one of the most rewarding home projects you can undertake.
From quick no-sew fleece wraps to dramatic arm-knitted oversized throws, this guide walks you through 20 detailed, realistic DIY blanket concepts designed for every skill level.



1. The Ultra-Plush Arm-Knitted Chenille Throw
What This Idea Means
Arm knitting uses giant plush yarn and your own forearms instead of traditional knitting needles. The result is a dramatically thick, lofted blanket with massive, soft loops that create an instant focal point in modern or bohemian living rooms.
How to Make It
- Prepare your space: Clear a large, flat table or clean floor space to keep your loops even.
- Cast on: Create a slipknot, place it over your wrist, and pull through loops to cast on approximately 18–22 stitches depending on desired width.
- Build the rows: Reach through the first loop, grab the working yarn, and pull through a new loop. Transfer it to your other arm, working back and forth across rows.
- Bind off: Once you reach your desired length, pull the first loop over the second down the row until one loop remains, then tie off and weave the tail into the stitches.
What You Need
- 6 to 8 skeins of Jumbo Chenille Yarn (Size 7 or higher)
- Scissors
- A flat surface (table or clean floor)
Tips and Variations
- Keep your tension loose; pulling loops too tight makes the stitches look uneven.
- Variation: Alternate two complementary pastel colors every two rows to create a subtle ombre stripe effect.
Things to Avoid: Avoid working on textured carpet, as loose fibers from the rug can intertwine with your jumbo yarn during the casting process. Do not pull the stitches excessively tight, or your blanket will curl up instead of laying flat.
2. Chunky Waffle Stitch Crochet Blanket
What This Idea Means
The waffle stitch uses alternating front-post double crochet stitches to create a deep, grid-like texture resembling a cozy breakfast waffle. It traps heat efficiently while creating a structured, tactile weight.
How to Make It
- Foundation: Chain a multiple of 3 + 2 using a bulky yarn and a large crochet hook.
- Row 1: Work double crochets into each chain across.
- Row 2: Work 1 double crochet, then 1 front-post double crochet followed by 2 regular double crochets. Repeat from * to end.
- Row 3: Work 1 double crochet, then 2 front-post double crochets followed by 1 regular double crochet. Repeat across.
- Repeat Rows 2 and 3 until your blanket reaches the ideal throw size, then weave in ends.
What You Need
- 8–10 skeins of Chunky Acrylic or Wool-Blend Yarn
- Size K (6.5mm) or L (8.0mm) Crochet Hook
- Tapestry Needle
- Scissors
Tips and Variations
- Count your stitches at the end of every third row; waffle stitch makes it easy to accidentally drop border stitches.
- Variation: Use a solid neutral tone like soft cream, warm beige, or sage green to emphasize the deep shadow lines of the geometric grid.
Things to Avoid: Avoid using extremely thin lace-weight or light yarns, as the waffle texture relies on yarn thickness to pop. Avoid skipping post-stitches, as this breaks the continuous grid pattern immediately.
3. Classic No-Sew Braided Fleece Layer
What This Idea Means
A budget-friendly and accessible project, this blanket fuses two layers of warm fleece using a clean braided knot border instead of raw ties or machine stitching.
How to Make It
- Layering: Lay two contrasting fleece panels flat on top of each other, right sides facing out. Trim edges so both sheets match perfectly.
- Cutting: Cut out a 4×4-inch square from all four corners. Cut 1-inch wide by 4-inch deep strips all along the perimeter.
- Braiding: Cut a small vertical slit near the top of each strip pair. Slip the end of the bottom strip through the slit of the top strip to create a clean braided border.
What You Need
- 2 yards of Printed Fleece Fabric
- 2 yards of Matching Solid Fleece Fabric
- Fabric Scissors or Rotary Cutter
- Acrylic Ruler
Tips and Variations
- Rotary cutters yield much cleaner edges on fleece than standard household scissors.
- Variation: Pick a plaid pattern for the top layer and a fleece lining in a solid rich tone for rustic cabin vibes.
Things to Avoid: Avoid making fringe cuts too deep, as this weakens the edges and causes tears over time. Do not tug strips too hard while looping, which creates puckered, wavy edges.
4. Vintage Granny Square Heirloom Blanket
What This Idea Means
A timeless classic made by crocheting individual small square motifs—often using up leftover scrap yarn—and stitching them together to create a colorful, vintage-inspired patchwork throw.
How to Make It
- Square Construction: Start with a magic ring. Work rounds of 3-double-crochet clusters separated by chain spaces, working outward for 4–5 rounds per square.
- Quantity: Make approximately 50 to 80 individual squares depending on size preferences.
- Assembly: Block all finished squares with steam or water to ensure uniform sizes. Join them using a mattress stitch needle method or slip-stitch crochet join. Add a 3-round sc border around the outer perimeter.
What You Need
- Assorted Worsted Weight Yarns (Scraps or Coordinated Palette)
- Size H (5.0mm) Crochet Hook
- Tapestry Needle
- Blocking Board and Pins
Tips and Variations
- Keep the final outer round of every square in the exact same color to create visual cohesion across mismatched square centers.
- Variation: Try a sunburst or sunflower center within each square for a cottagecore look.
Things to Avoid: Avoid skipping the blocking process; unblocked squares will lead to uneven seams and distorted corners. Avoid leaving yarn tails unworked—weave them in as you complete each square to prevent massive end-of-project burnout.
5. Modern Herringbone Hand-Knitted Throw
What This Idea Means
The herringbone stitch produces a dense, woven texture that looks like fine tailored fabric. It offers high insulation and a high-end designer store aesthetic.
How to Make It
- Cast On: Cast on an even number of stitches using large knitting needles.
- Row 1 (Right Side): Knit 2 together through the back loop, drop only the first stitch off the left needle. Repeat across until 1 stitch remains, knit 1.
- Row 2 (Wrong Side): Purl 2 together, drop only the first stitch off the left needle. Repeat across until 1 stitch remains, purl 1.
- Continue pattern until desired length is reached, then bind off loosely.
What You Need
- 1000–1200 yards of Bulky Wool-Blend Yarn
- Size 15 (10mm) Circular Knitting Needles (36-inch cable)
- Yarn Needle
Tips and Variations
- Go up two needle sizes larger than recommended on your yarn label; herringbone naturally pulls stitches very tight.
- Variation: Add thick, 6-inch yarn tassels onto the four corners for a relaxed boho finish.
Things to Avoid: Avoid using stiff cotton yarn; wool or acrylic blends are essential to maintain drape. Do not cast off tightly, as the herringbone fabric lacks horizontal give and needs flexible edges.



6. Upcycled Flannel Patchwork Blanket
What This Idea Means
This project reclaims worn-out flannel button-up shirts or scrap fabrics, piecing them into a nostalgic, eco-friendly patchwork blanket lined with cozy sherpa fabric.
How to Make It
- Prep: Deconstruct flannel shirts by cutting along seams. Cut matching 8×8-inch squares using a quilting ruler.
- Piecing: Sew squares together in rows with a 1/4-inch seam allowance. Press seams flat with an iron. Sew rows together to form the blanket top.
- Assembly: Place top fabric and sherpa backing right sides together, pin thoroughly, and sew around the perimeter leaving a 6-inch opening. Turn right-side out, press edges, and topstitch the gap shut.
What You Need
- 8 to 12 thrifted Flannel Shirts (or equivalent flannel scrap yards)
- 2 yards of Plush Sherpa or Fleece Backing
- Quilting Ruler & Rotary Cutter
- Sewing Machine & Thread
Tips and Variations
- Pre-wash all thrifted flannel fabrics to prevent uneven shrinking later on.
- Variation: Sew diagonal cross-hatching stitches across the entire blanket surface to give it an authentic quilted feel.
Things to Avoid: Avoid mixing stretchy knit fabrics with non-stretch flannel without using stabilizer. Avoid skipping the pressing stage with your iron, as crisp flat seams make joining grid corners drastically easier.
7. Soft Finger-Loop Yarn Blanket
What This Idea Means
Finger loop yarn features pre-formed loops along the strand, allowing you to create beautiful knitted patterns using only your hands—no needles, hooks, or knitting knowledge required.
How to Make It
- Count Foundation: Lay out a straight line of pre-formed loops (typically 50–60 loops wide).
- Row 1: Take the working strand (coming from the ball) and pull the next loop from behind through the first loop of your foundation row. Repeat for each loop along the row.
- Continuing: Work back and forth, weaving left-to-right then right-to-left without turning the work over.
- Binding Off: Starting from the side opposite your working yarn, pull the second loop through the first loop, the third through the second, all the way across. Thread the remaining tail through the last loop and tie off.
What You Need
- 6–8 skeins of Loop Yarn (e.g., Bernat Alize Blanket EZ)
- Scissors
Tips and Variations
- Check every row carefully before starting the next to make sure no pre-formed loop was accidentally skipped behind your work.
- Variation: Cross loops over one another prior to pulling working yarn through to create a woven criss-cross texture.
Things to Avoid: Avoid twisting the base loops during the first row, which causes buckling along your starter edge. Avoid cutting open individual pre-made loops unless you are securing knots at yarn ball transitions.
8. Elegant Finger-Knitted Chunky Cable Blanket
What This Idea Means
This method mimics high-end cable knit throws by manually crossing groups of stitches over one another without needles, producing dramatic twisted ropes down the length of the blanket.
How to Make It
- Foundation: Cast on 30–40 loops using hand-knitting techniques on a flat surface.
- Cable Rows: Knit 4 background stitches. For a 4-stitch cable, cross stitch 3 over stitch 4, and stitch 1 over stitch 2. Work loops through this new crossed orientation. Knit 4 background stitches between cables.
- Work 4 standard rows between cable twist rows to create repeating rope patterns down the blanket length.
What You Need
- 8–10 skeins of Super Jumbo Tubular Cotton or Plush Chenille Yarn
- Large flat work table
Tips and Variations
- Use stitch markers or safety pins to mark your twist rows so your cables line up uniformly across the entire project.
- Variation: Craft cables only along the outer left and right margins, leaving the center worked in clean stockinette stitch.
Things to Avoid: Avoid pulling loops to different heights while working cables; uneven loop sizing creates gaps along the twisted rope sections.
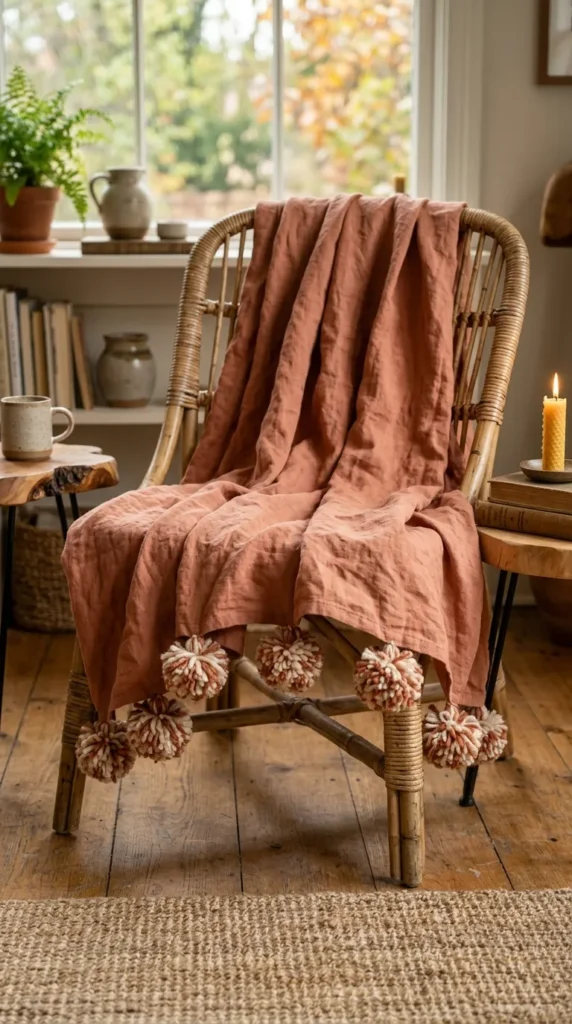
9. Giant Pom-Pom Framed Linen Throw
What This Idea Means
A airy linen throw elevated with homemade yarn pom-poms stitched around the border. It provides lightweight coverage perfect for transitional seasons while keeping a whimsical design edge.
How to Make It
- Base Prep: Cut raw linen fabric to desired throw dimensions (e.g., 50×60 inches). Double-fold the edges by 1/2 inch, press flat, and topstitch to form clean hemmed borders.
- Pom-Poms: Use a pom-pom maker or cardboard rings to wind yarn into dense 3-inch pom-poms. Trim them until completely round, leaving long tail strings.
- Attachment: Space pom-poms approximately 3 inches apart along the short ends of the linen throw. Thread tail strings through the hemmed border using a needle and knot securely.
What You Need
- 2 yards of Washed Washed Linen or Cotton Gauze Fabric
- 2–3 skeins of Medium Weight Yarn (for pom-poms)
- Large Pom-Pom Maker Tool
- Sewing Machine & Thread
- Needle & Scissors
Tips and Variations
- Steam the linen prior to stitching to handle natural fabric shrinkage before applying trim.
- Variation: Combine two colors of yarn in your pom-pom maker for a speckled, confetti appearance.
Things to Avoid: Avoid tying pom-poms loosely; if central tie knots aren’t pulled tight, individual yarn strands will shed whenever the blanket is washed.
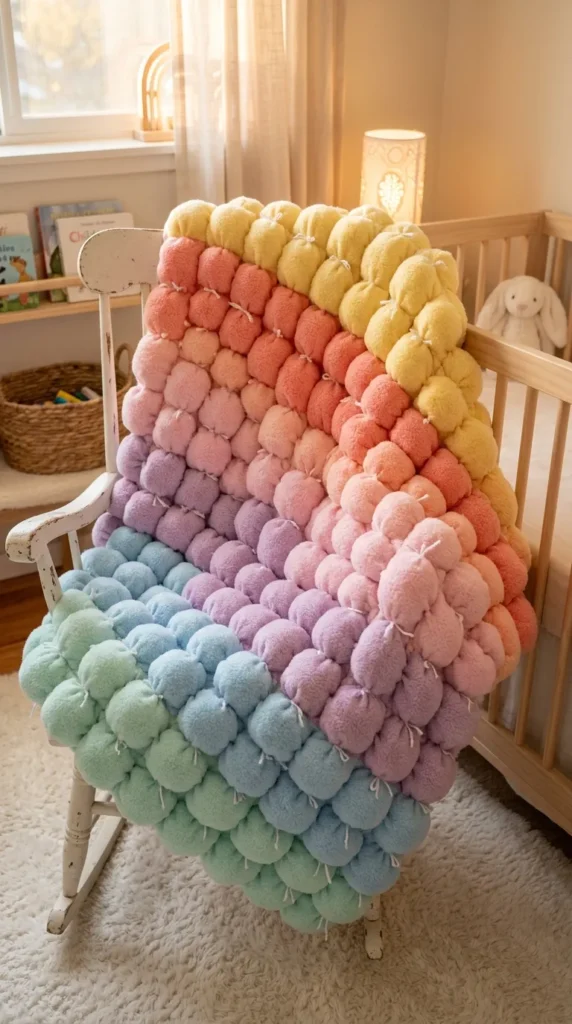
10. Hand-Tied Chunky Fleece Puff Blanket
What This Idea Means
Also known as a bubble or biscuit blanket, this craft involves sewing individual stuffed fabric pockets into a grid, resulting in a cloud-like blanket composed of soft stuffed cushions.
How to Make It
- Prep: Cut top fabric squares (6×6 inches) and bottom lining squares (5×5 inches).
- Pocket Creation: Pleat top squares to match the smaller bottom squares, sewing three sides together.
- Grid Assembly: Sew pockets together into long rows, then join rows to build the full blanket sheet.
- Stuffing: Fill each open pocket with polyester fiberfill stuffing, then sew the remaining open seams shut.
- Topstitch a plush backing fabric across the back to hide raw pocket seams.
What You Need
- 2 yards of Minky or Soft Cotton Fabric (Top)
- 2 yards of Muslin Fabric (Inner Base)
- 1 Bag of Polyester Fiberfill Stuffing
- Sewing Machine, Pins, & Thread
Tips and Variations
- Do not overstuff the individual bubbles; they should remain squishy so the blanket drapes naturally over furniture.
- Variation: Arrange fabric squares by color family to form a soft pastel gradient across the bubbles.
Things to Avoid: Avoid using stiff fabrics like heavy denim or heavy canvas, which prevent the bubbles from puffing softly and feel rigid against the body.


11. Minimalist Bavarian Crochet Blanket
What This Idea Means
Bavarian crochet relies on working diamond-like shell patterns in continuous rounds, producing a dense texture with intricate relief work that catches light beautifully.
How to Make It
- Center Start: Chain 5, join into a ring. Work sets of treble-crochet clusters separated by corner chains to form a base square.
- Relief Rounds: Work back-post treble crochets around previous stitches to form raised ridge outlines.
- Expanding: Alternate shell rows with back-post foundational rows, changing yarn colors every two rounds to highlight relief lines.
What You Need
- 6–8 skeins of DK or Worsted Weight Soft Acrylic/Wool Yarn
- Size G/6 (4.0mm) or H/8 (5.0mm) Crochet Hook
- Scissors & Tapestry Needle
Tips and Variations
- Use high-contrast yarn color changes every 2 rounds to make the geometric diamond shapes stand out clearly.
- Variation: Finish with a deep picot edge border for a modern heirloom charm.
Things to Avoid: Avoid inconsistent tension when pulling up long loops for treble stitches; loose loops lead to saggy center shells.
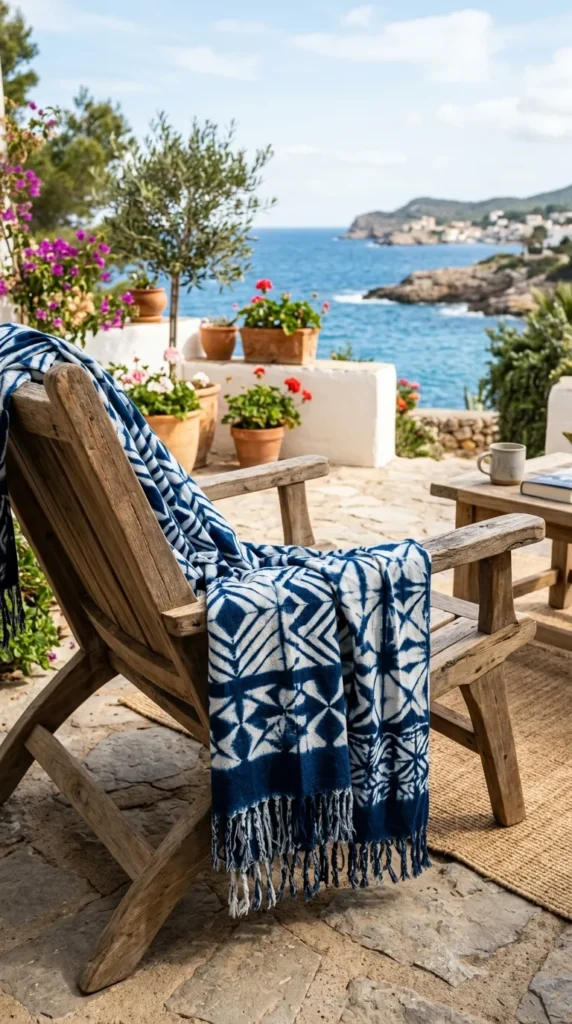
12. Modern Shibori Indigo-Dyed Cotton Throw
What This Idea Means
Combining textile art with DIY crafting, this involves taking a plain white woven cotton throw and using Japanese Shibori fold-and-resist techniques combined with natural indigo dye to form geometric blue-and-white patterns.
How to Make It
- Folding: Accordion-fold a white woven cotton throw into long strips, then fold again into triangles or squares.
- Resist Clamping: Place wooden blocks on both sides of the folded fabric triangle and secure tightly with thick rubber bands or clamps.
- Dyeing: Prepare an indigo vat. Submerge the folded fabric into the dye for 10–15 minutes, remove to let oxidize (watch it turn from green to deep blue), and repeat 2–3 times.
- Rinse: Remove clamps, unfold, and rinse thoroughly until water runs clear, then wash on a cold delicate cycle.
What You Need
- 1 100% Cotton Woven Fringe Blanket (White or Cream)
- Indigo Dye Kit (Indigo powder, soda ash, sodium hydrosulfite)
- Wooden blocks, acrylic shapes, or rubber bands
- 5-gallon bucket & protective gloves
Tips and Variations
- Ensure your base blanket is 100% natural fiber (cotton, linen, or bamboo); synthetic fabrics like polyester will not absorb natural indigo dye.
- Variation: Use circular wooden discs to make round tie-dye concentric circles instead of sharp geometric lines.
Things to Avoid: Avoid exposing your indigo dye vat to excessive splashing or oxidation while mixing, which weakens the dye’s effectiveness.
13. Chunky Corner-to-Corner (C2C) Moss Stitch Blanket
What This Idea Means
Worked diagonally from one single corner outward to the maximum width, then decreased down to the opposite corner. Using the moss stitch (linen stitch) gives it a flexible, modern drape.
How to Make It
- Increase Phase: Start with a small chain loop. Work [1 single crochet, chain 1] into the space. Increase at the beginning and end of each row to build a triangle.
- Maintain/Decrease: Once your side edge reaches desired blanket width, begin decreasing 1 stitch at row edges until you return to a single corner stitch.
- Weave in yarn ends and steam-block edges.
What You Need
- 6 skeins of Chunky Weight Yarn
- Size K (6.5mm) Crochet Hook
- Stitch Markers
Tips and Variations
- Corner-to-corner designs are great for using up striping yarn cakes, as diagonal stripes naturally balance design composition.
- Variation: Add thick tassels on all four corners to weigh down light corners.
Things to Avoid: Avoid dropping your chain-1 spaces between single crochets; missing a chain space alters your row count immediately.
14. Soft Quilted Muslin Swaddle Layer Throw
What This Idea Means
Inspired by delicate organic baby blankets, this adult-sized version uses multiple layers of breathable cotton gauze (muslin) quilted together with simple straight lines for airy, cloud-like softness.
How to Make It
- Layering: Smooth out 4 to 6 layers of double-gauze cotton fabric on top of one another.
- Basting: Safety-pin all layers together every 4 inches across the entire surface to avoid shift during sewing.
- Quilting: Sew straight parallel grid lines across the blanket spaced 2 inches apart.
- Binding: Wrap matching cotton binding tape around raw outer edges and topstitch down. Wash and dry to allow fabric to crinkle into signature muslin texture.
What You Need
- 8–10 yards of Double Gauze Cotton Fabric
- 1 Roll of Pre-Folded Bias Binding Tape
- Quilting Pins or Curved Safety Pins
- Sewing Machine & Walking Foot Attachment
Tips and Variations
- Always use a sewing machine walking foot to ensure all top and bottom gauze layers feed through at the exact same speed.
- Variation: Hand-stitch decorative running stitches using sashiko embroidery thread instead of machine grid lines.
Things to Avoid: Avoid pulling or stretching double-gauze fabric while feeding it through your sewing machine, which creates wavy, puckered borders.
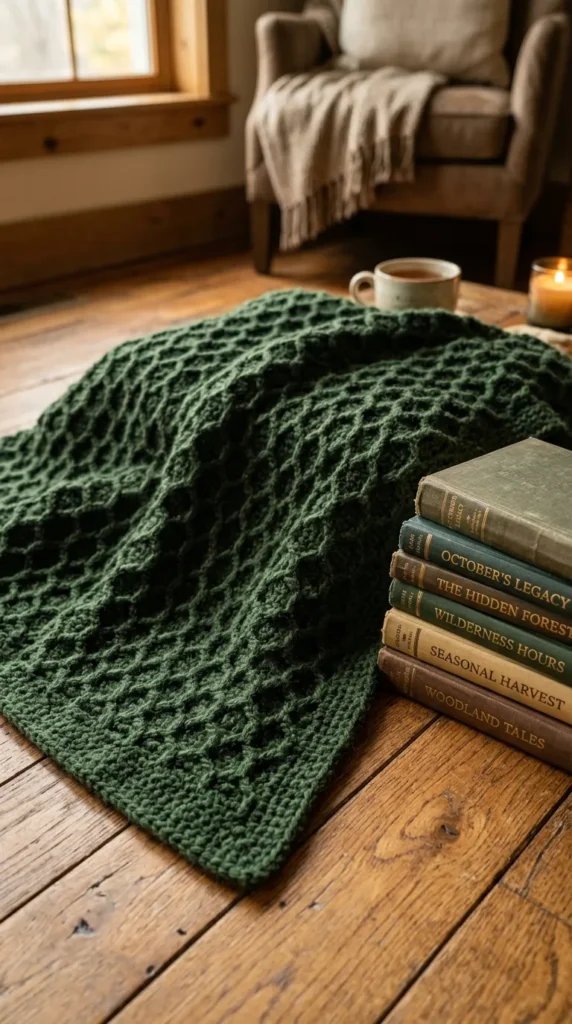
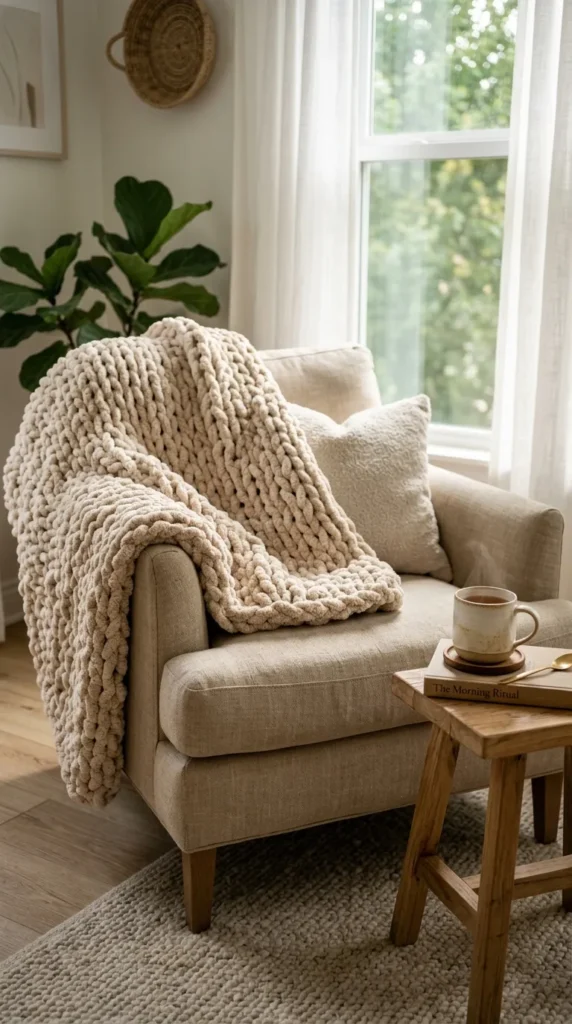
15. Tunisian Crochet Honeycomb Throw
What This Idea Means
Tunisian crochet bridges knitting and standard crochet using a long hook to hold loops on the needle. The honeycomb stitch alternates simple and purl stitches to form a thick, non-curling fabric with a woven look.
How to Make It
- Cast On: Chain desired width, pick up loops along the chain, and keep them on your long Tunisian hook. Work a standard return pass.
- Honeycomb Row 1: Tunisian Simple Stitch (TSS), Tunisian Purl Stitch (TPS). Repeat across. Return pass.
- Honeycomb Row 2: TPS, TSS. Repeat across (alternating over previous row stitches). Return pass.
- Alternate Rows 1 and 2 until desired height is reached, then bind off with slip stitches.
What You Need
- 8–10 Skeins of Aran Weight Yarn
- 14-inch Tunisian Crochet Hook with Cable (Size I/9 or J/10)
- Tapestry Needle
Tips and Variations
- Tunisian crochet fabric tends to pull dense; select a hook size 1.5 to 2 sizes larger than suggested on the yarn label.
- Variation: Use a contrasting color yarn specifically for return passes to emphasize stitch depth.
Things to Avoid: Avoid using standard short crochet hooks; holding multiple loops requires a dedicated extended cable hook to preserve uniform gauge.


16. Upcycled Sweater Patchwork Blanket
What This Idea Means
A charming winter project where old, shrink-washed wool or acrylic thrifted knit sweaters are cut into rectangles and pieced together into a cozy cabin-style patchwork quilt.
How to Make It
- Felting (If Wool): Wash 100% wool sweaters in hot water and dry on high heat to felt the fibers, preventing edges from unraveling when cut.
- Cutting: Cut uniform 10×10-inch or 8×12-inch blocks from the sweater fronts, backs, and sleeves.
- Assembly: Pin pieces together, using a ballpoint needle and zig-zag stitch on your sewing machine to join blocks into rows.
- Lay sweater top over fleece backing and sew outer perimeter, then tie yarn knots at corners to hold layers together.
What You Need
- 6 to 10 Thrifted Knit Sweaters
- 2 yards of Fleece or Flannel Backing Fabric
- Ballpoint Sewing Machine Needles
- Rotary Cutter & Mat
- Sewing Machine & Polyester Thread
Tips and Variations
- Preserve knit features like ribbing trim or cable accents from original sweater fronts to place in center patchwork panels.
- Variation: Back the blanket with fleece in a bold red-and-black buffalo check for a rustic lodge look.
Things to Avoid: Avoid skipping the felting step on pure wool sweaters; un-felted wool knitted fabrics will unravel completely once cut.
17. Finger-Woven Chevron Lap Blanket
What This Idea Means
Using loop yarn or thick roving strand techniques, this method weaves yarn through a simple cardboard frame or flat surface to create dramatic V-shaped geometric chevron waves.
How to Make It
- Color Setup: Select three coordinating yarn shades (e.g., Cream, Taupe, Terracotta).
- Chevron Path: Work finger stitches diagonally downward for 10 stitches, then reverse direction diagonally upward for 10 stitches to form a sharp ‘V’ peak.
- Continue across the row to establish 3 to 4 complete chevron peaks.
- Repeat row pathways, swapping color strands every 6 rows to form wide chevron stripes down the length.
What You Need
- 6–8 Skeins of Loop or Jumbo Craft Yarn in 3 complementary colors
- Scissors & Tape Measure
Tips and Variations
- Count stitches on both sides of every chevron peak to make sure your points stay aligned across rows.
- Variation: Work in single-color yarn for a subtle, dimensional chevron texture.
Things to Avoid: Avoid changing stitch direction mid-row without a clear turning stitch, which flattens out chevron points into wavy lines.
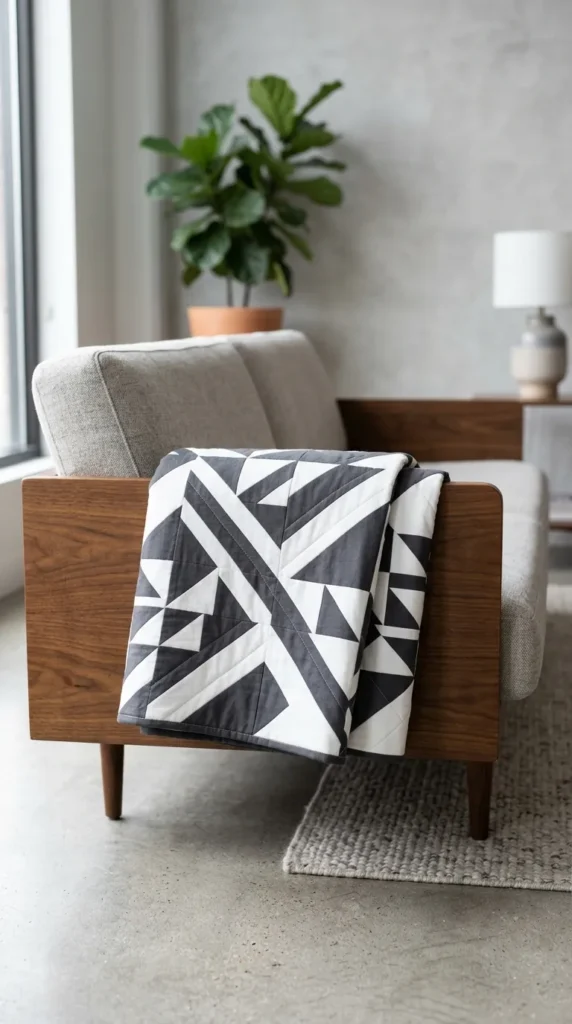
18. Modern Geometric Half-Square Triangle Quilted Blanket
What This Idea Means
A contemporary take on traditional quilting using bold contrast fabrics cut into half-square triangles (HSTs) to build striking geometric patterns like diamonds, zigzags, or pinwheels.
How to Make It
- HST Creation: Place two contrasting 10×10-inch fabric squares right sides together. Draw a diagonal line, sew 1/4 inch on both sides of the line, and cut along drawn line to create two HST blocks.
- Layout: Trim all HST blocks precisely. Arrange them on a flat floor surface to create your chosen geometric pattern.
- Piecing: Sew blocks into rows, press seams in alternating directions, then sew rows together to form the quilt top.
- Sandwich with batting and backing fabric, quilt straight lines, and attach binding.
What You Need
- Assorted Solids Cotton Fabrics (3–4 yards total)
- Low-Loft Cotton Batting Sheet
- Quilting Ruler, Rotary Cutter, & Mat
- Sewing Machine
Tips and Variations
- Iron every seam flat right after sewing; crisp seams are key to alignment in geometric quilting.
- Variation: Use high-contrast monochrome tones like charcoal gray and bright ivory for a sleek mid-century modern aesthetic.
Things to Avoid: Avoid stretching fabric along bias cut edges (diagonal cuts), as stretched triangles won’t line up neatly.
19. Chunky Hand-Knitted Ribbed Border Blanket
What This Idea Means
A plush throw featuring a smooth stockinette center frame bounded by a substantial 1×1 rib stitch (knit one, purl one) border that prevents curling and adds structure.
How to Make It
- Border Start: Using giant needles or forearms, cast on 35 stitches. Work 4 rows in Rib Stitch (Knit 1, Purl 1 across).
- Body Pattern: Work 4 border stitches in Rib Stitch at the start of every row, switch to Stockinette Stitch (Knit right side, Purl wrong side) across the middle, and finish with 4 Rib stitches.
- Border Finish: End with 4 complete rows of Rib Stitch across all stitches, then bind off loosely.
What You Need
- 8 Skeins of Super Bulky Merino Wool or Chenille Yarn
- Size 19 (15mm) Knitting Needles or Circulars
- Large Tapestry Needle
Tips and Variations
- Circular needles with long cables make managing heavy blanket weight much easier on your hands and wrists than straight needles.
- Variation: Work the border in a contrasting color for a framed canvas look.
Things to Avoid: Avoid pulling purl stitches tighter than knit stitches, which causes uneven ridges along your border transition.
20. Plush Sherpa-Lined Hand-Tied Quilt
What This Idea Means
A traditional hand-tied quilt construction that combines a decorative top panel with a thick, faux-sherpa lining. Instead of machine quilting lines, yarn knots are tied by hand at key grid intersections to hold layers together.
How to Make It
- Layering: Lay faux-sherpa backing fuzzy side down on a clean floor. Place finished pieced or whole-cloth top fabric right side up over top. Baste edges.
- Marking: Mark grid points every 5 inches across the blanket surface using chalk.
- Tying: Thread embroidery floss or yarn onto a sharp tapestry needle. Pass through all layers at a marked point, bring back up 1/4 inch away, and tie a secure double square knot on top. Trim tails to 1/2 inch.
- Hem or bind edges around perimeter.
What You Need
- 2 yards of Printed Cotton/Linen Top Fabric
- 2 yards of Heavyweight Faux Sherpa Backing Fabric
- Skein of Embroidery Floss or Yarn
- Sharp Tapestry Needle & Scissors
Tips and Variations
- Leave yarn knot tails about 1/2 inch to 3/4 inch long; short tails can slip open during machine washing.
- Variation: Use wooden beads strung onto tie tails before knotting for a decorative touch.
Things to Avoid: Avoid pulling hand-tied knots so tight that they pucker the backing fabric underneath. Keep tension flat and relaxed across all tie points.