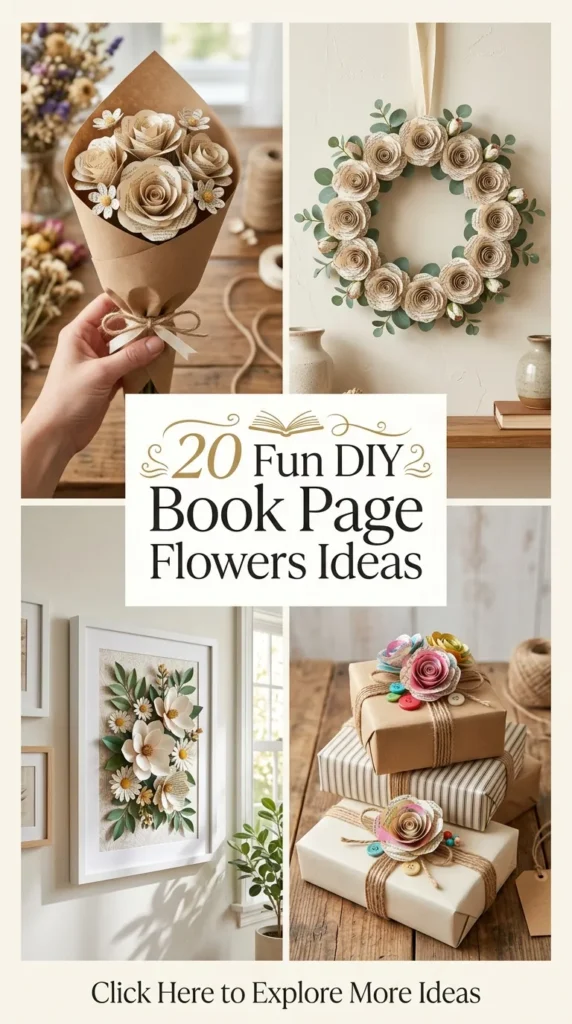
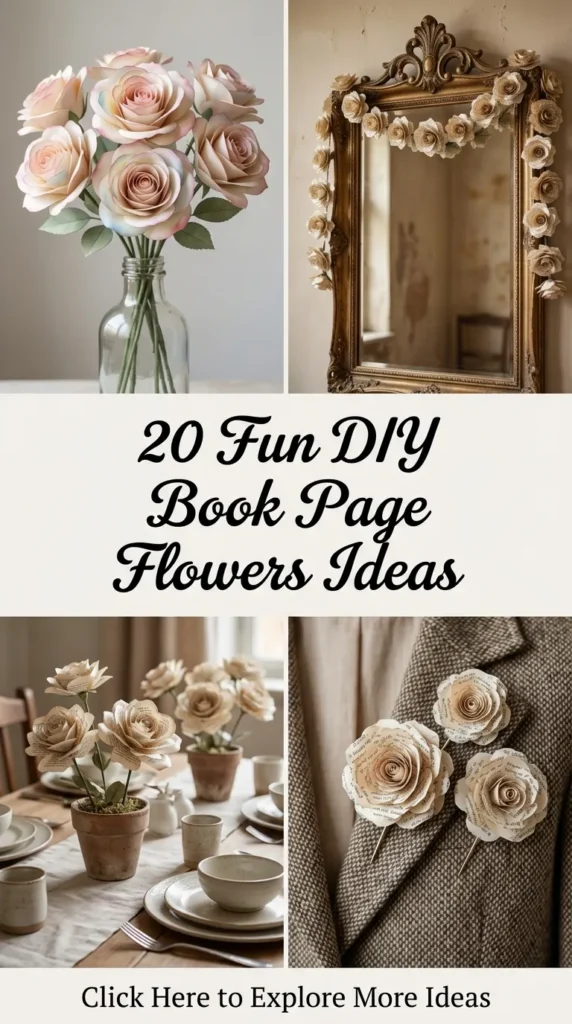
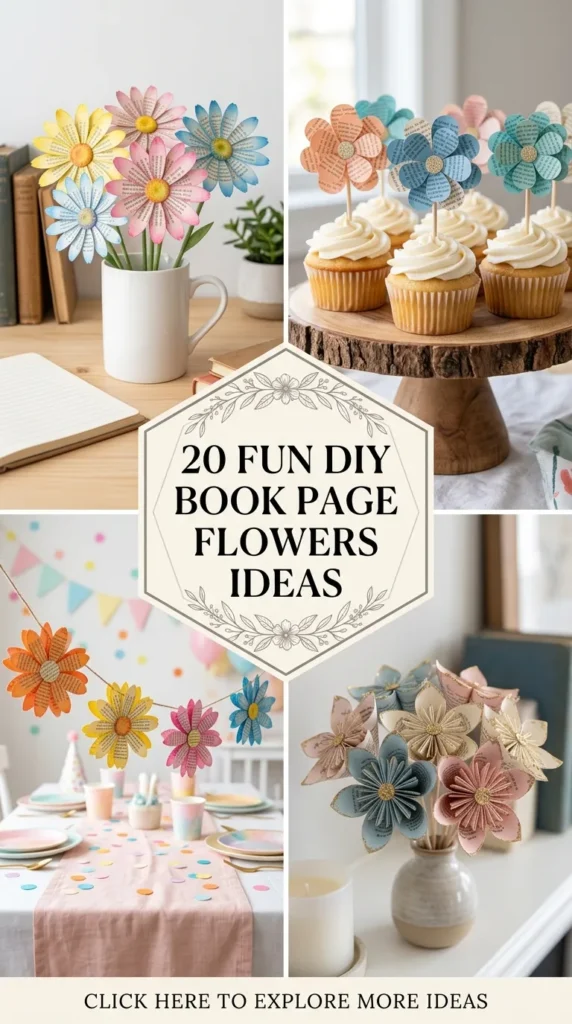
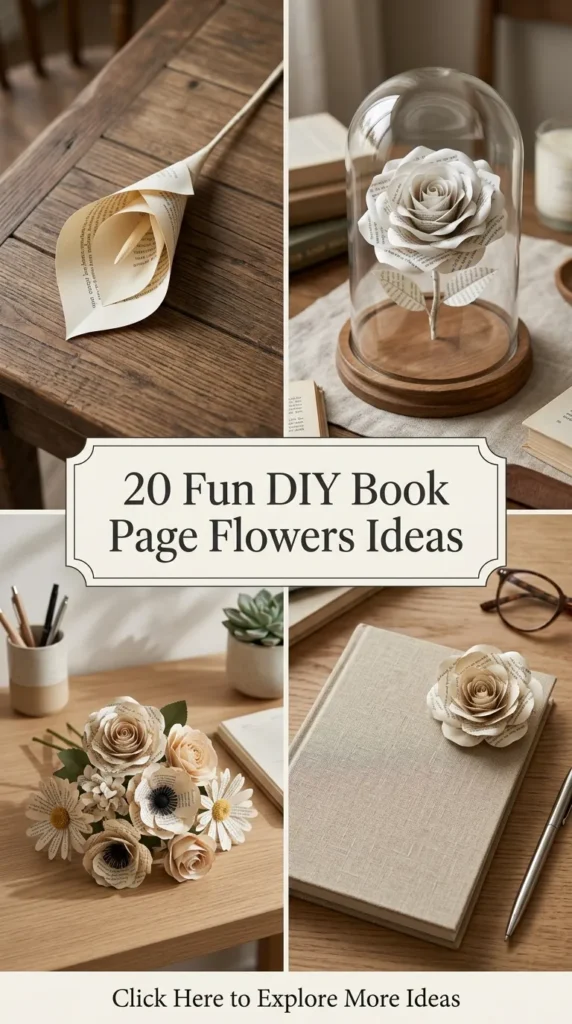
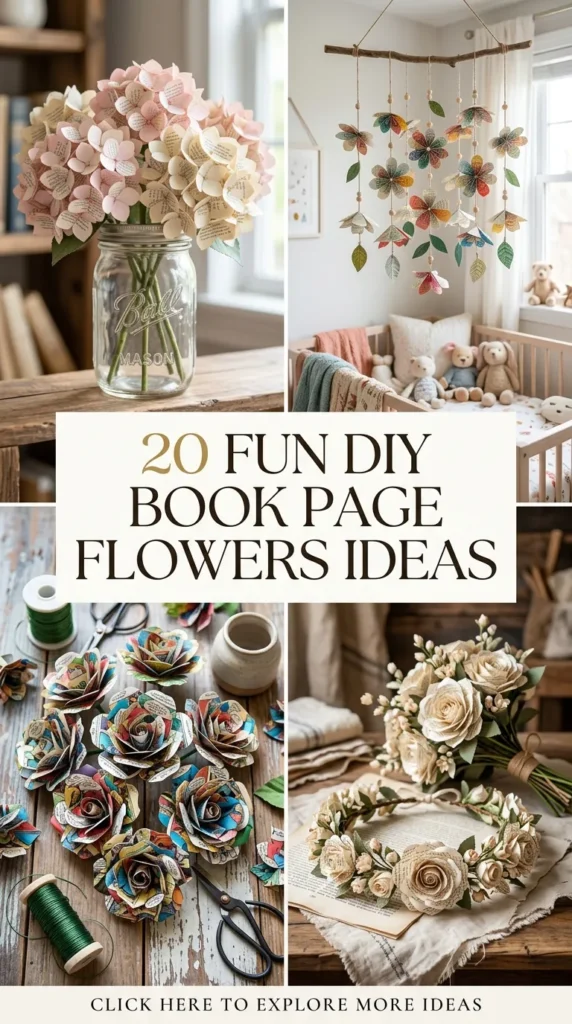
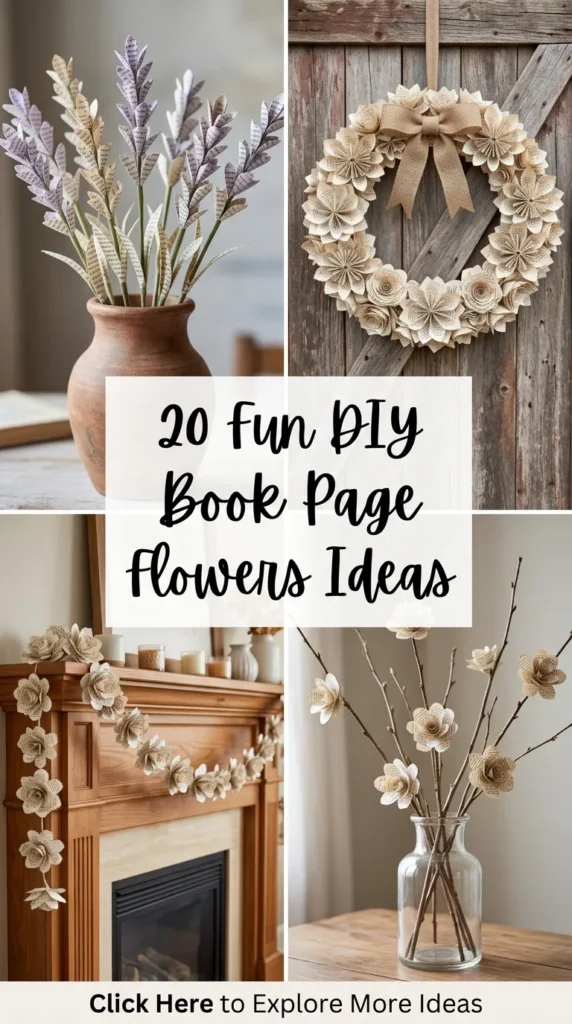
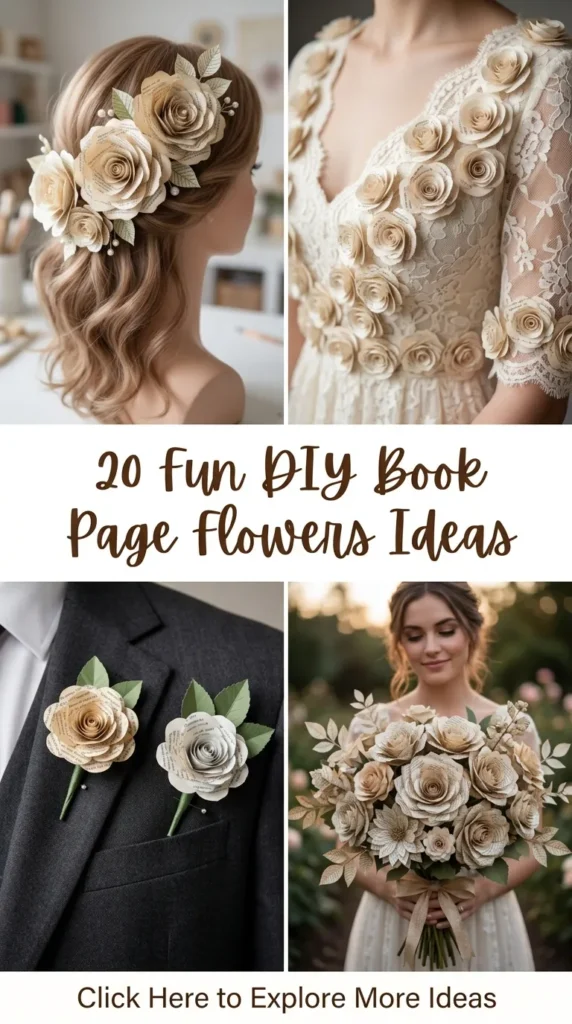
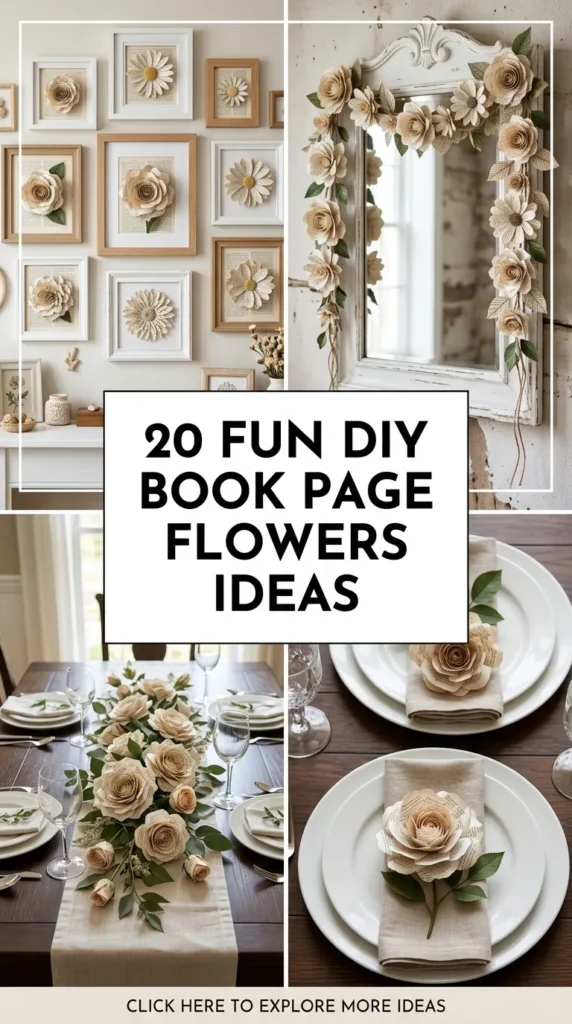
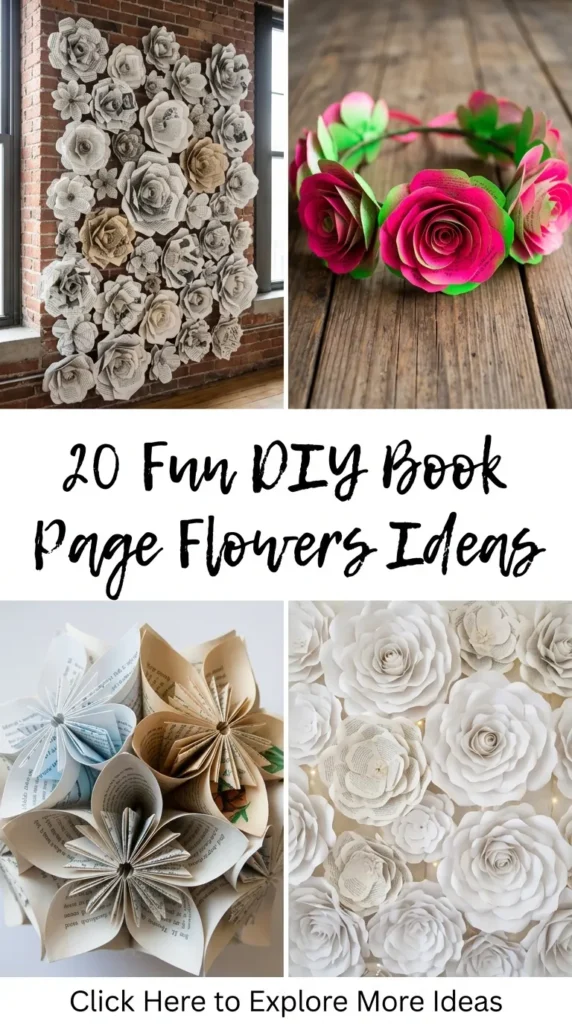
Transforming yellowed, vintage pages or discarded paperbacks into elegant floral arrangements is one of the most rewarding ways to blend eco-friendly crafting with timeless home decor. Paper blooms made from old book pages carry a unique aesthetic charm, filling vase arrangements, wedding centerpieces, and gift toppers with rustic elegance. Below are 20 distinctive DIY book page flower ideas complete with step-by-step instructions, practical crafting tips, and critical mistakes to avoid for each project.
1. Classic Layered Rose Bloom
Idea Overview
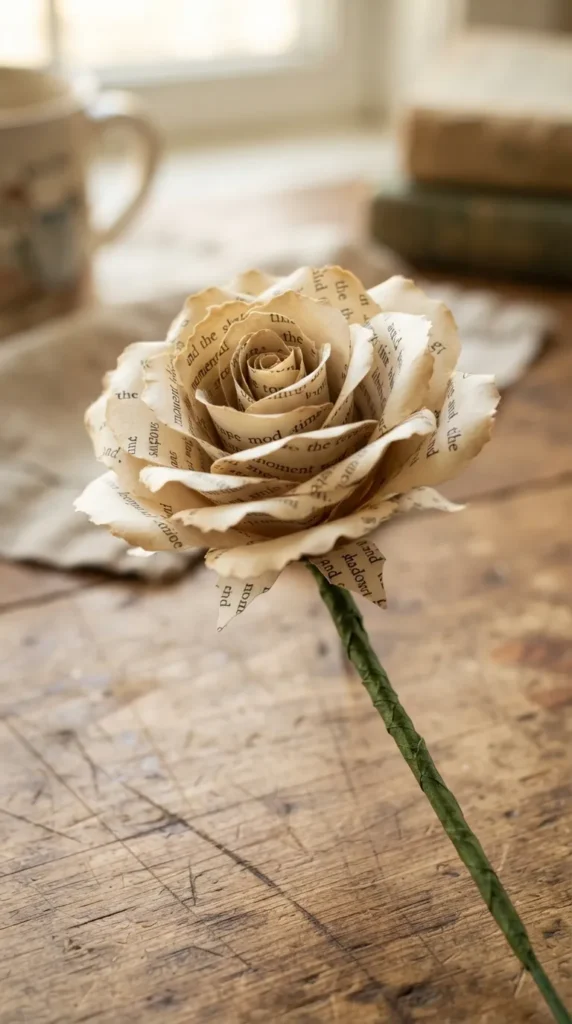
The Classic Layered Rose replicates the delicate, concentric petals of a garden rose using vintage book pages. Softly curled edges and gradual layering create a lush, full flower head that works beautifully on stem wires or as flat-backed decorative accents.
Materials Needed
- Vintage book pages (medium weight)
- Hot glue gun and glue sticks
- Petal template (3–4 differing sizes)
- Wooden skewer or pencil (for curling)
- 18-gauge floral wire
- Floral tape
How to Make It
- Cut out 15 to 20 individual petals across small, medium, and large sizes using your templates.
- Roll a narrow strip of book page tightly to form the central bud core and glue it securely to the top of your floral wire.
- Using the wooden skewer, gently roll the top edge of each petal outward to create realistic, curved edges.
- Glue the smallest petals around the core first, overlapping each petal slightly by half.
- Continue building outward with medium petals, finishing with the largest petals on the outer layer until the rose achieves full volume.
- Wrap floral tape around the base of the petals and down the length of the wire stem.
Tips and Variations
- Ink Distressing: Lightly dab the petal edges with brown ink or tea staining before curling for an antiqued look.
- Scented Blooms: Spray a subtle dash of rose oil on the paper after the glue has fully dried.
Common Mistakes to Avoid
Avoid using paper that is overly brittle, as it will snap or crease harshly when you try to curl the petal edges. Do not apply excessive hot glue close to the outer tips, as visible glue blobs destroy the softness of the flower layers.
2. Spiraled Rolled Rosette
Idea Overview
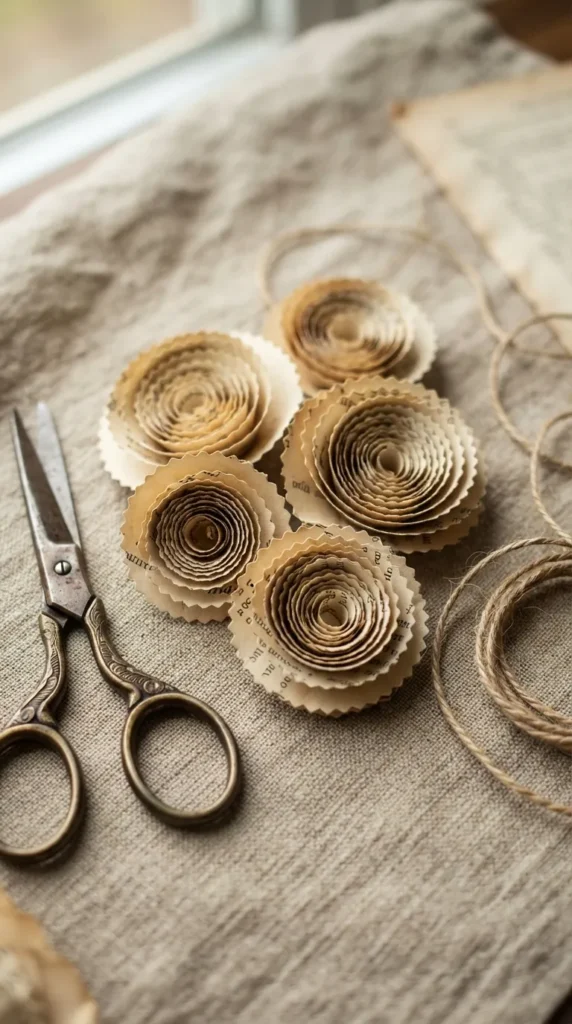
Quick to assemble and strikingly graphic, spiraled rosettes are made by cutting a continuous spiral into a circle of paper and rolling it from the outside edge inward. These flat-bottomed rosettes excel as embellishments on wreaths, photo frames, and wrapped gifts.
Materials Needed
- Book pages
- Craft scissors or pinking shears
- Tacky craft glue or hot glue
- Pencil
How to Make It
- Trace a circle roughly 4 to 6 inches in diameter onto a book page and cut it out.
- Starting from the outer edge, cut a continuous spiral line moving toward the center, leaving a round base circle at the very core.
- Lightly distress or curl the edges of the spiral strip if desired.
- Begin rolling the paper strip tightly starting from the outer tail, keeping the bottom edge aligned as you roll toward the center.
- Once fully rolled, allow the rosette to loosen slightly in your hand until it reaches the desired size.
- Apply a generous dab of hot glue onto the center base tab and press the rolled layers firmly onto it until set.
Tips and Variations
- Textured Edges: Use pinking shears to cut the spiral line for decorative scalloped or serrated petal tips.
- Music Paper Hybrid: Pair book text rosettes with sheet music rosettes on the same project for visual variety.
Common Mistakes to Avoid
Avoid wrapping the spiral too tightly without letting it relax before gluing, or the rosette will look like a narrow paper cone rather than an open bloom. Ensure the center tab is securely glued, otherwise the entire coil will unravel.
3. Frilled Carnation Ball
Idea Overview
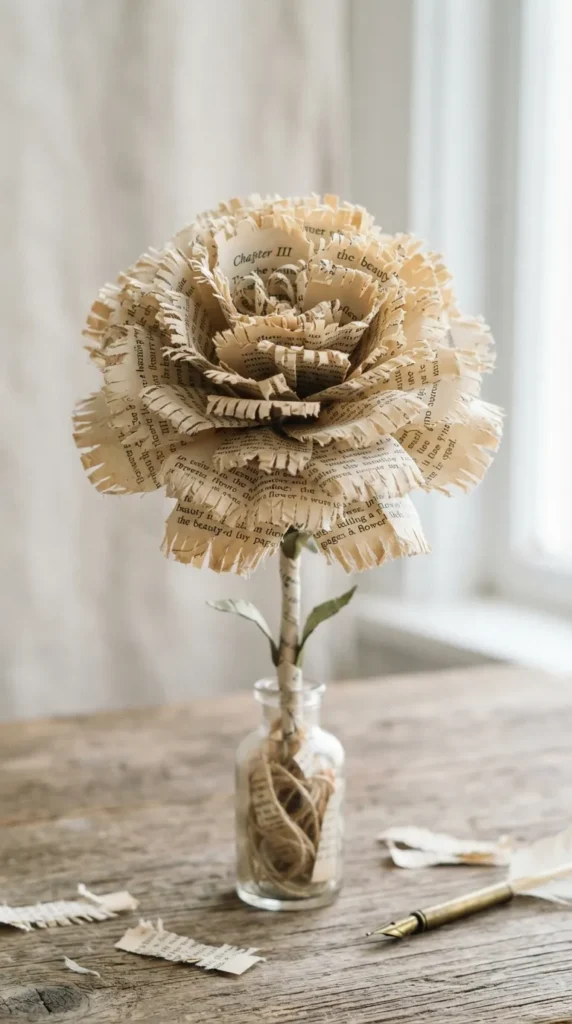
Featuring textured, feathery petals, the frilled carnation mimics the high-density petal structure of real carnations. By accordion-folding multiple layers of book pages and fringing the ends, you can create dense, pillowy globes of vintage print.
Materials Needed
- 6–8 book pages cut into equal squares (approx. 4×4 inches)
- Craft wire or chenille stems
- Precision craft scissors
- Floral tape
How to Make It
- Stack 6 to 8 identical squares of book pages directly on top of one another.
- Fold the entire stack into an accordion or fan shape with 1/2-inch pleats.
- Round off the folded ends using scissors, or cut deep fringe notches along the edges.
- Tightly wrap a piece of craft wire around the exact center of the folded accordion strip.
- Gently separate each layer of paper, pulling them upward toward the center one by one.
- Fluff and manipulate the delicate layers until a full, spherical carnation shape is achieved.
Tips and Variations
- Color Dip: Briefly dip the fringed edges into watercolors or liquid ink prior to separating the layers for a tipped-petal look.
- Stemmed Bouquet: Bind several carnations together on thicker stem wires using green floral tape for a dense bouquet.
Common Mistakes to Avoid
Do not pull the individual paper layers too forcefully during separation, as book pages tear easily along the accordion folds. Avoid using heavyweight cardstock pages; thinner paper yields much fluffier carnations.
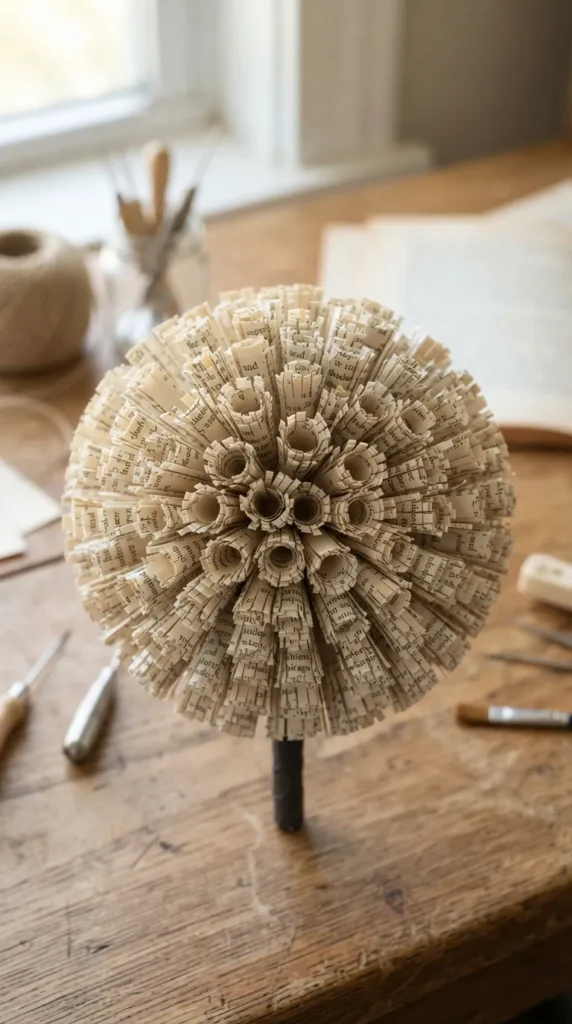
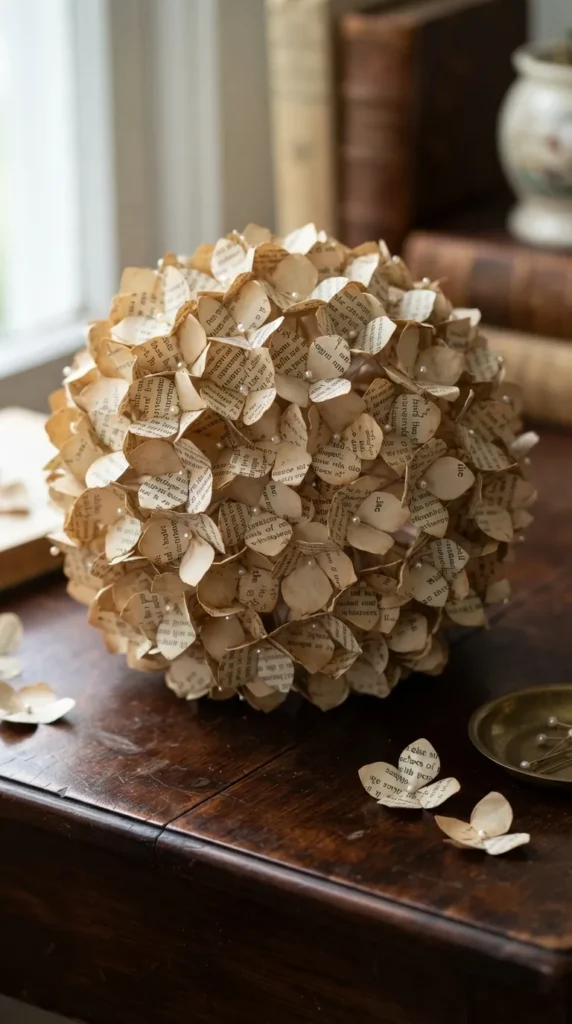
4. Vintage Hydrangea Cluster
Idea Overview
Hydrangeas are known for their dense clusters of tiny four-petaled florets. Creating a book page hydrangea involves punching out multiple small flowers and securing them across a central dome base, yielding a sophisticated, textural masterpiece.
Materials Needed
- Book pages
- 4-petal flower craft punch (1 to 1.5 inches wide)
- Styrofoam or paper-mache ball (cut in half)
- Pearl-headed straight pins or short wire stems
- Craft glue
How to Make It
- Punch out 60 to 100 small four-petal flowers from old book pages.
- Cup each tiny petal inward by pressing the center of each cutout against the palm of your hand using the blunt end of a paintbrush.
- Push a pearl-headed pin directly through the center of two stacked paper florets.
- Insert the pin stem into the styrofoam base sphere, securing the florets.
- Repeat this process, placing florets closely together so the base sphere is completely hidden beneath the paper petals.
Tips and Variations
- Multi-tone Effect: Mix pages from books with varying degrees of yellowing to create dimensional shading across the cluster.
- Potted Accent: Mount the completed hydrangea globe on a wooden dowel fixed inside a mini terracotta pot.
Common Mistakes to Avoid
Avoid leaving gaps between the pinned florets; visible styrofoam ruins the illusion of a lush flower head. Do not skip cupping the petals, as flat paper punchouts will lack depth and dimension.
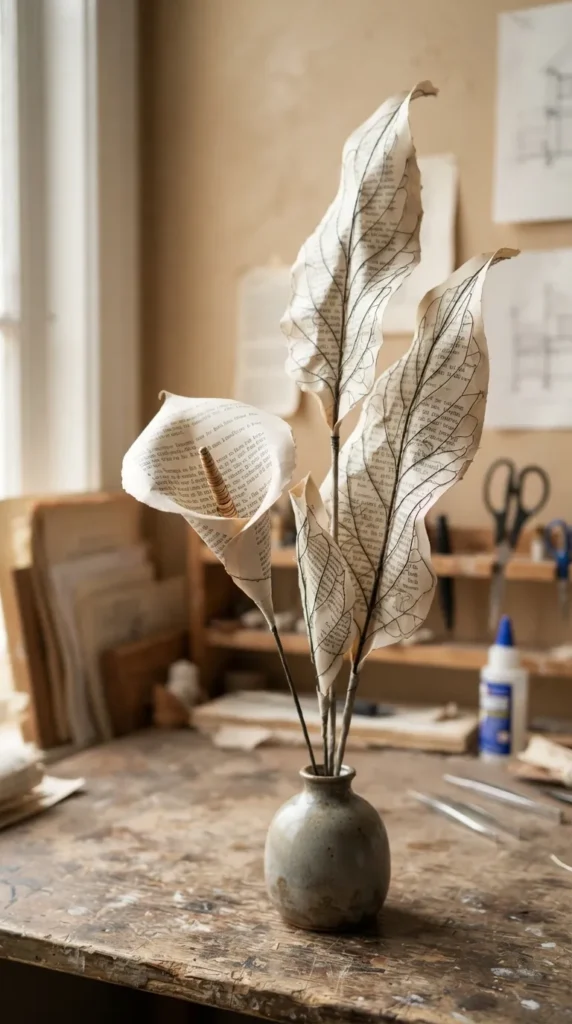
5. Architectural Geometric Calla Lily
Idea Overview
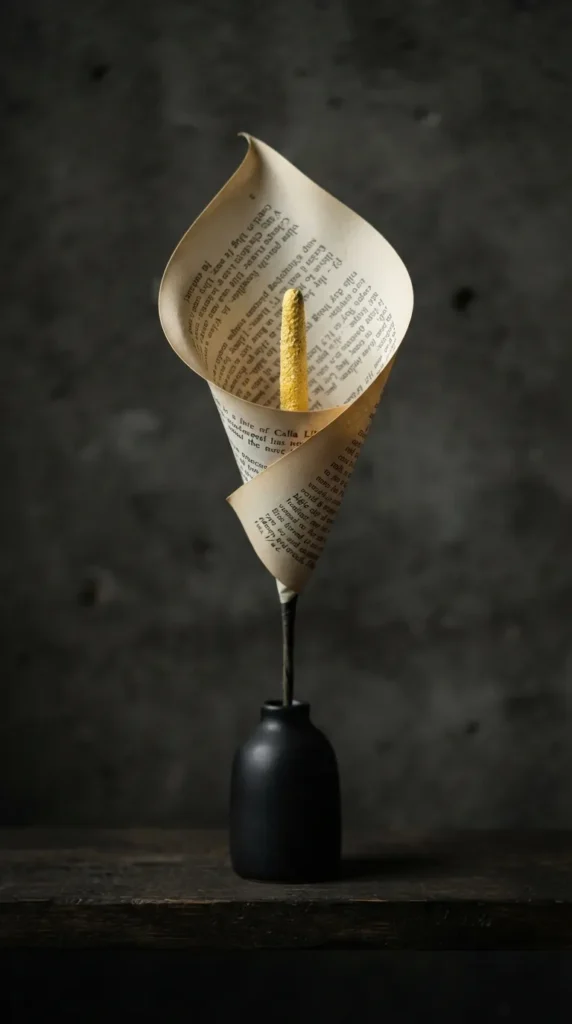
The book page Calla Lily relies on clean lines, sweeping curves, and minimalist design. A single broad petal curls around a prominent central stamen, creating an elegant, sleek floral structure suitable for modern or vintage decor.
Materials Needed
- Book pages
- Yellow craft pipe cleaners or rolled paper strips (for stamens)
- Floral wire stems
- Hot glue gun
- Heart-shaped template
How to Make It
- Cut a teardrop or wide heart shape out of a sturdy book page.
- Create the central stamen by wrapping yellow pipe cleaner around the top of your floral wire stem, or roll a strip of page tightly and dye it yellow.
- Position the stamen inside the bottom crease of the heart shape.
- Wrap one side of the heart shape around the stem, followed by the opposing side, overlapping them slightly at the base while leaving the top flared wide open.
- Secure the overlapped bottom edges with a seam of hot glue.
- Gently curl the top point of the petal outward to give it a lifelike curve.
Tips and Variations
- Text Highlight: Orient the cuts so that specific intriguing words or chapter titles land visibly on the front fold of the lily.
- Colored Stamen: Dust the stamen with real yellow spice (like turmeric) or pollen-colored craft powder for extra realism.
Common Mistakes to Avoid
Avoid making the outer petal too small or stiff, which prevents it from sweeping gracefully around the center stamen. Do not glue too far up the seam, as this restricts the characteristic open flare of the Calla Lily.
6. Whimsical Book Page Daisy
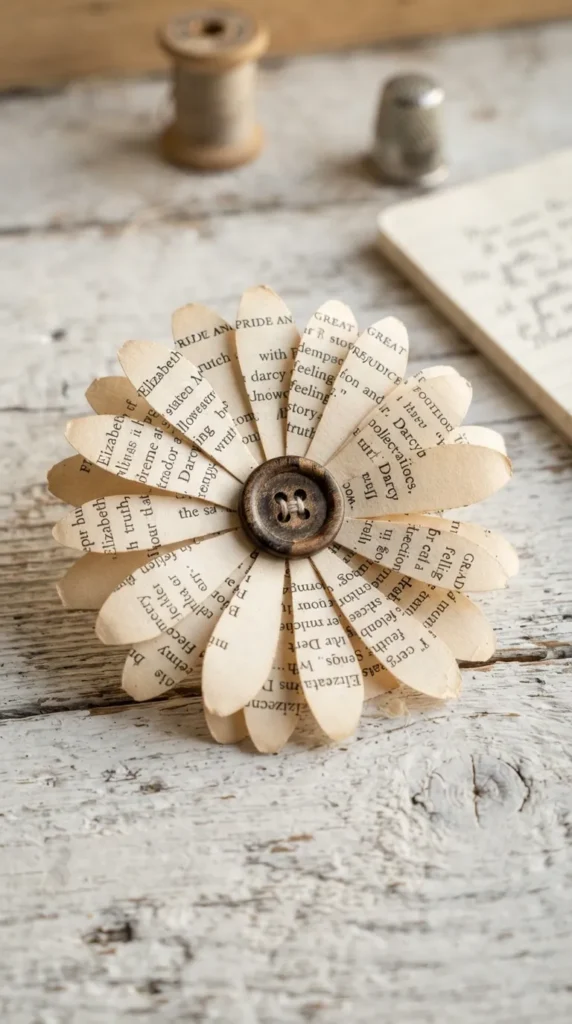
Idea Overview
Daisies bring a cheerful, rustic touch to paper crafts. This design features simple slender petals radiating from a textured center button, creating a clean, recognizable silhouette that pairs well with greenery.
Materials Needed
- Book pages
- Yellow or brown felt/buttons (for center)
- Scissors
- Floral wire and green tape
- Craft glue
How to Make It
- Cut 12 to 16 thin, uniform tear-shaped petals from book pages.
- Cut a circular base out of lightweight cardboard (about 1.5 inches in diameter).
- Glue the rounded bases of the petals around the circular base in an even radial pattern.
- Add a second layer of petals offset slightly behind the first layer to fill in any gaps.
- Glue a decorative vintage button or a fringe-rolled strip of paper in the center to cover the petal ends.
- Attach a wire stem to the cardboard base back and secure with floral tape.
Tips and Variations
- Layering Text: Combine book text petals with solid-colored paper underneath to make the printed text pop.
- Distressed Petals: Lightly crimp or fold each petal down the middle to give it a natural 3D crease.
Common Mistakes to Avoid
Avoid irregular spacing of the first petal layer, which can make the daisy look lopsided. Do not use an overly heavy center button that causes the lightweight paper head to droop on its stem.
7. Feathered Chrysanthemum
Idea Overview
The Chrysanthemum is defined by dozens of long, narrow petals that flare out into a dramatic sphere. By fringing long strips of book pages and rolling them around a stem, you build a complex, feather-like bloom.
Materials Needed
- Book pages cut into long 3-inch wide strips
- Scissors or fringe scissors
- Floral wire stem
- Hot glue gun
How to Make It
- Fold a 3-inch wide book page strip in half lengthwise.
- Cut fine, closely spaced slits along the folded edge, making sure not to cut all the way through the bottom raw edge.
- Apply a bead of glue along the uncut bottom border of the fringed strip.
- Tightly roll the fringed strip around the tip of your floral stem wire.
- Continue adding additional fringed strips end-to-end until the chrysanthemum reaches your desired thickness.
- Spread and fan out the fringe loops outward from the center with your fingers.
Tips and Variations
- Uncut vs Cut Loops: Cut the loops at the tips for a sharp, spiky mum look, or leave them looped for a soft dahlia effect.
- Gradient Tinting: Lightly ink-pad the folded edges before cutting to give the petal tips a subtle contrast color.
Common Mistakes to Avoid
Avoid cutting through the base border when making the fringe cuts. Do not roll the strip loosely, as the center will sink or separate from the wire stem.
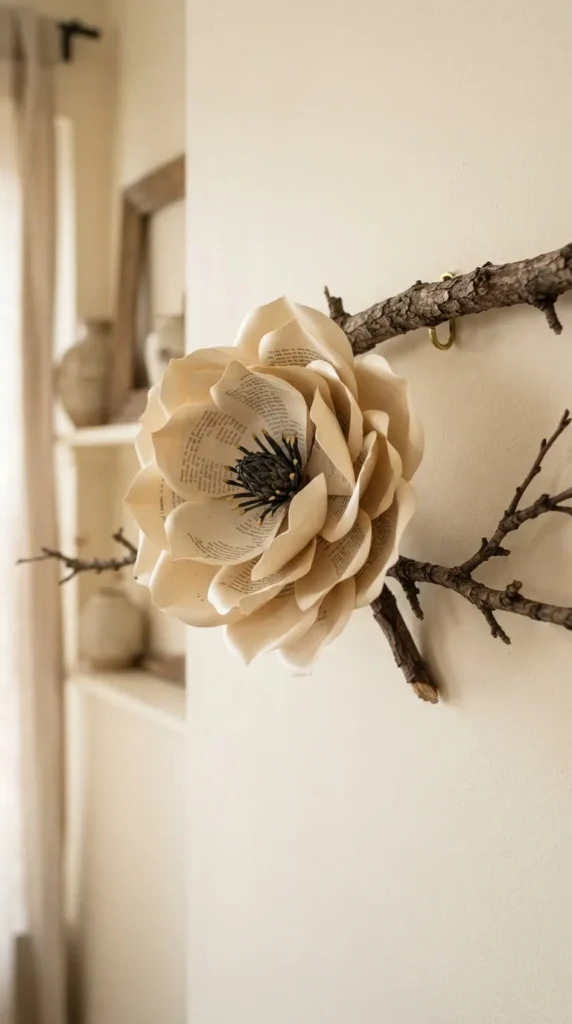
8. Sculpted Magnolia Blossom
Idea Overview
Magnolias possess thick, waxy petals with graceful curves. Recreating this flower using book pages demands structured petal shaping and substantial layering around a realistic central seed pod.
Materials Needed
- Heavyweight book pages or paper backed with light cardstock
- Floral tape and thick 16-gauge floral wire
- Embossing tool or rounded stylus
- Hot glue gun
How to Make It
- Cut 6 large oval petals and 6 medium oval petals from book pages.
- Cup each petal shape by rubbing an embossing stylus in circular motions across the center of each paper petal on a soft mat.
- Construct a cone-shaped center pod from a small scrap of book page wrapped in floral tape.
- Attach the 6 medium petals around the pod base in overlapping groups of three.
- Attach the 6 outer large petals underneath the first layer, staggering their positions.
- Finish the stem connection with thick green floral tape wrapped smoothly around the base sepals.
Tips and Variations
- Mod Podge Finish: Brush a coat of matte Mod Podge onto the petals to add structure and a realistic waxy sheen.
- Branch Mounting: Glue finished paper magnolias directly onto real dried tree branches for striking home decor.
Common Mistakes to Avoid
Avoid using delicate thin paper without reinforcement, as magnolia petals need to hold a firm cupped shape. Avoid placing petals at right angles; maintain a gentle upward angle for natural realism.
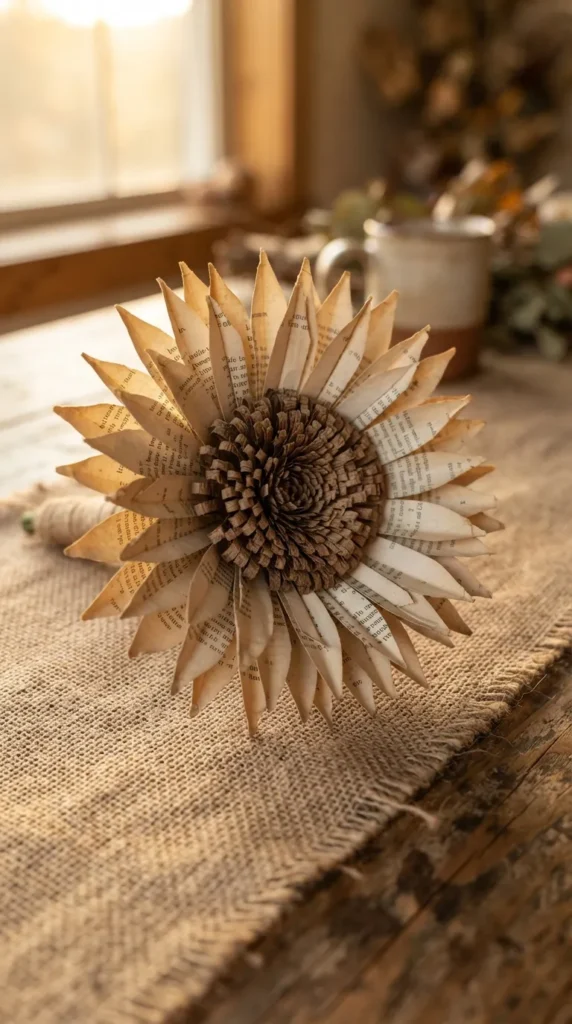
9. Rustic Book Page Sunflower
Idea Overview
Capturing the warm energy of sunflowers, this idea pairs a bold, dark-textured center (like coffee-dyed paper or fringed strips) with pointed book page petals. It brings rustic, farmhouse charm to fall wreaths and displays.
Materials Needed
- Book pages
- Brown craft paper or coffee-stained book pages
- Cardboard base disk
- Hot glue gun
- Scissors
How to Make It
- Cut a 3-inch cardboard disk to serve as the sturdy foundation.
- Cut 20 to 30 long, pointed flame-shaped petals from book pages.
- Create the dark sunflower center by making a long fringe strip out of brown paper, rolling it tightly, and flattening the top.
- Glue the fringed brown center to the middle of the cardboard disk.
- Glue the book page petals in overlapping concentric rings starting from the outer edge of the disk working inward toward the brown center.
- Gently curl the tips of the petals slightly forward and backward for dynamic movement.
Tips and Variations
- Burlap Accents: Intersperse a few burlap leaf shapes behind the outer paper petals for extra rustic texture.
- Mini Sunflowers: Scale down the cuts to make mini sunflowers for table scatter or napkin rings.
Common Mistakes to Avoid
Avoid making the central brown disk too small relative to the petal lengths, which disrupts natural sunflower proportions. Do not use flimsy paper backing for large flowers, or the outer petals will flop.
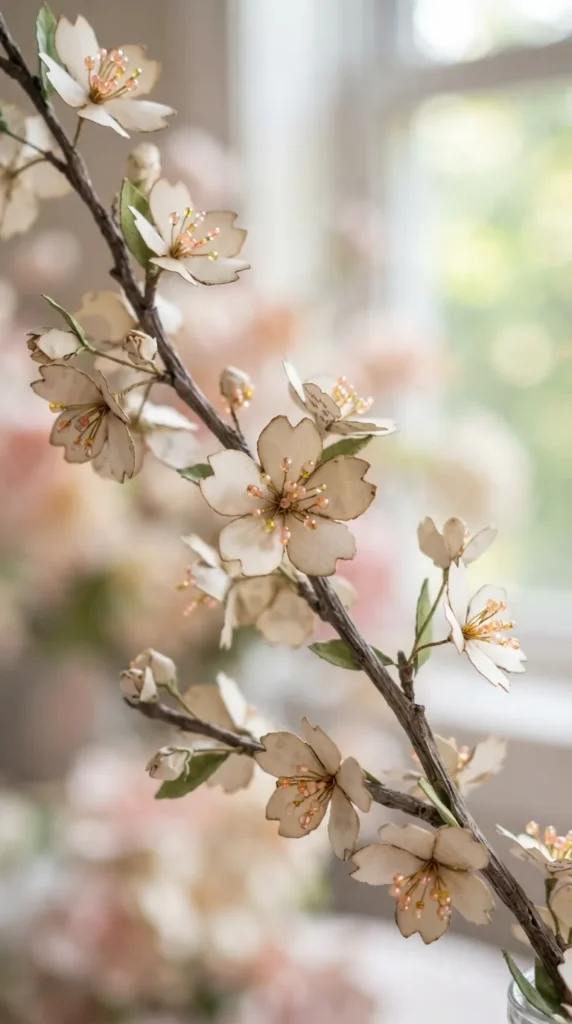
10. Delicate Book Page Cherry Blossom
Idea Overview
Inspired by Japanese sakura blossoms, these small, five-petaled delicate flowers feature notched petal tips and fine wire stamens. Arranged on bare twigs, they make subtle, poetic seasonal decorations.
Materials Needed
- Light book pages
- Fine wire and mini seed beads (or floral stamens)
- Scissors
- Twigs or branches
- Hot glue gun
How to Make It
- Cut 5 small heart-shaped petals or a single 5-petal continuous flower outline per bloom.
- Cut a small V-shaped notch into the outer tip of each petal to match cherry blossom anatomy.
- Thread a seed bead onto fine craft wire, twist the wire under the bead to form 3–5 tiny stamens, and bind them together.
- Pierce the center of the paper flower and insert the stamen cluster through the hole, gluing it on the underside.
- Pinch the base of the petals gently inward to give the flower a cup shape.
- Hot glue finished blossoms in clusters along a real dried branch.
Tips and Variations
- Soft Blush Tint: Lightly dust the petal centers with pink chalk or blush makeup using a soft brush.
- Mix Text Types: Mix foreign language text pages with standard print for subtle visual interest across the branch.
Common Mistakes to Avoid
Avoid making the flowers too large; cherry blossoms lose their delicate appeal if oversized. Do not overload branches with too many blossoms—leave empty spaces for natural elegance.
11. Cascading Book Page Wisteria
Idea Overview
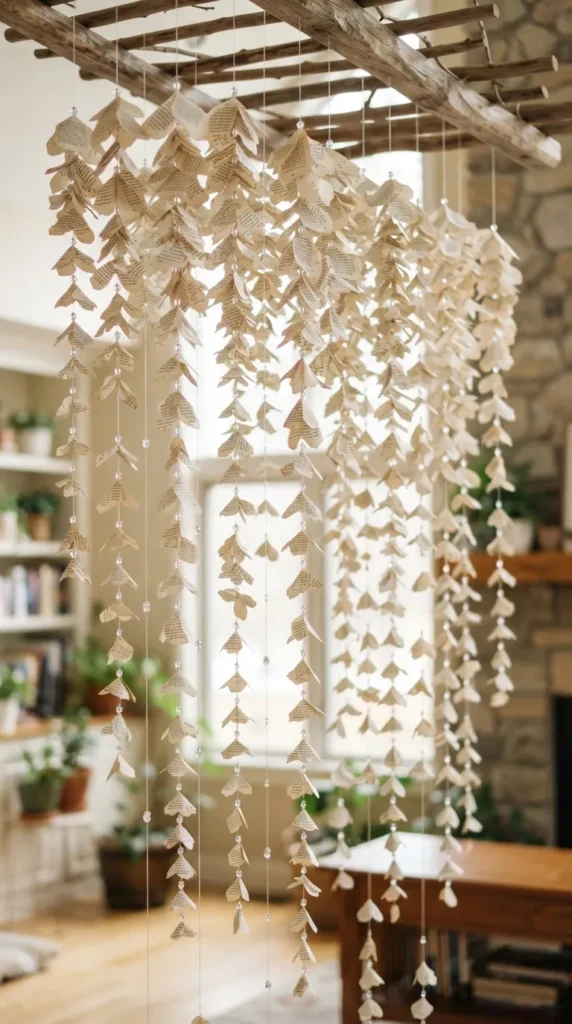
Wisteria features dramatic hanging vines made of dozens of small, graduated blossoms. This book page version uses strands of strung paper petals to create breathtaking floral cascades perfect for arches or hanging displays.
Materials Needed
- Book pages
- Clear fishing line or thin thread
- Needle
- Seed beads (used as spacers)
- Scissors
How to Make It
- Cut numerous small petals in 3 distinct sizes (small, medium, large).
- Pinch each petal at its base to create a three-dimensional curved fold.
- Thread a needle with fishing line and anchor a bead at the bottom.
- String petals onto the line, placing a small glass spacer bead between each paper petal to create breathing space.
- Arrange petals on the string in graduated order: small petals at the very bottom, medium in the middle, and large petals near the top.
- Attach multiple finished strands to a main floral stem or suspension ring.
Tips and Variations
- Ombre Staining: Dip-dye the lower third of each hanging strand into dilute watercolor ink for a gentle gradient effect.
- Greenery Top: Crown the top attachment point with paper leaves or artificial eucalyptus for contrast.
Common Mistakes to Avoid
Avoid skipping spacer beads, as the petals will compress flat into an unrecognizable mass. Do not use heavy thread that drags down the delicate suspension of the petals.
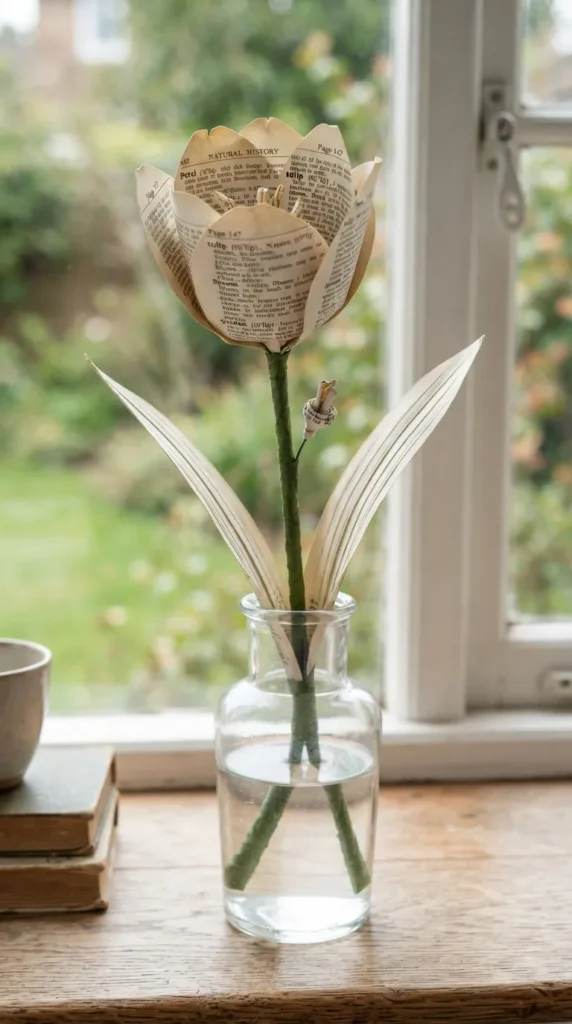
12. Vintage Tulip Cup
Idea Overview
With their distinct cup shape and clean petal forms, book page tulips offer a vintage botanical look. Constructed with six interlocking curved petals around a central stem, they sit elegantly in tall glass vases.
Materials Needed
- Book pages
- 18-gauge floral wire
- Floral tape and green craft paper (for leaves)
- Styrofoam egg or paper core shape
- Craft glue
How to Make It
- Cut 6 identical wide petal shapes from sturdy book pages.
- Lightly moisten the paper with a mist of water and mold each petal around a round object (like a marble or spoon) to dry into a curved cup shape.
- Secure a small foam bead or coiled paper core onto the end of your stem wire.
- Glue 3 inner petals directly to the core, overlapping their side edges.
- Glue the 3 outer petals over the inner layer, covering the seams between the first petals.
- Wrap the stem in green floral tape and attach long, slender paper tulip leaves along the stem.
Tips and Variations
- Poetic Text: Select pages containing descriptive poetry or romance literature for a romantic, symbolic touch.
- Closed vs Open Blooms: Adjust outer petal positioning to depict either tight spring buds or wide, open blooms.
Common Mistakes to Avoid
Avoid assembling petals while they are still wet from molding, which leads to tearing and warping. Do not omit the internal core, as hollow tulips collapse easily when handled.
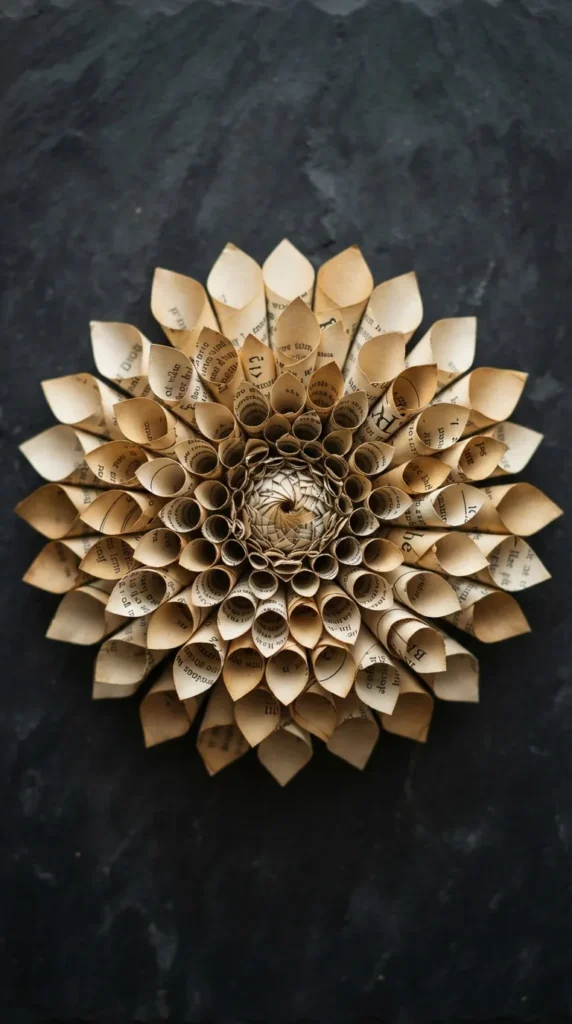
13. Layered Dahlia Starburst
Idea Overview
The starburst dahlia relies on geometric symmetry and repetitive cone shapes. Constructed by gluing dozens of rolled paper cones onto a flat backing, it creates a striking, spiky focal piece for walls or frames.
Materials Needed
- Book pages cut into small squares (e.g., 3×3 inches and 2×2 inches)
- Heavy cardboard circle (6–8 inches diameter)
- Hot glue gun
How to Make It
- Roll each paper square into a cone shape, securing the outer edge with a tiny dab of hot glue. Make roughly 50 to 80 cones.
- Take the heavy cardboard disk and draw concentric guidelines on it.
- Glue the first row of large cones along the outermost edge of the cardboard disk, points facing the center.
- Glue the second row of cones slightly further in, placing them in the gaps between the outer cones.
- Continue adding concentric rings of smaller cones, moving inward toward the middle.
- Seal the small center hole with a small folded rosette or decorative button.
Tips and Variations
- Page Tone Contrast: Alternate rings between lighter yellowed pages and brighter cream pages for a dramatic starburst pattern.
- Wall Hanging: Attach a ribbon loop to the cardboard back to transform the dahlia into an instant wall sculpture.
Common Mistakes to Avoid
Avoid rolling cones unevenly in size; varied cone openings ruin the geometric pattern of the dahlia. Do not apply glue too close to the wide cone tips, which causes unsightly squeeze-out.
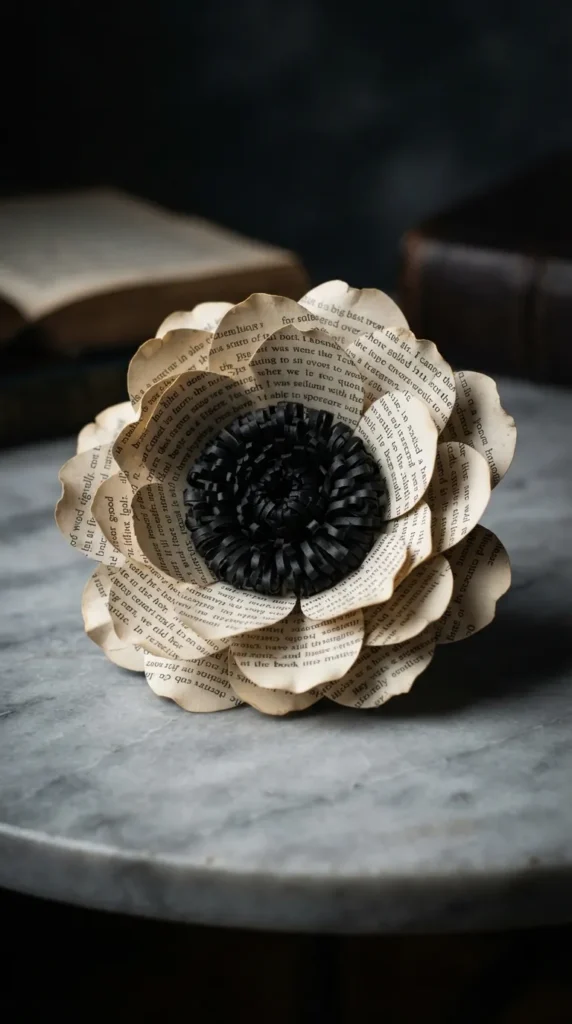
14. Dramatic Book Page Anemone
Idea Overview
Anemones are defined by their stark contrast: soft, delicate outer petals encircling a bold, dark center ring of stamens. This book page variation relies on dark ink or black paper accents to make the vintage print pop.
Materials Needed
- Book pages
- Black cardstock or black ink
- Precision craft scissors
- Floral stem wire and tape
- Hot glue
How to Make It
- Cut 6 to 8 broad, rounded petals from book pages.
- Cut a strip of black paper and fringe it finely, or dip-dye book page fringe into black ink to make the central stamen ring.
- Roll a small ball of black paper onto your stem wire to serve as the central anemone button.
- Wrap the dark fringed strip around the central button and fan the fringes outward.
- Glue the book page petals around the base of the dark center ring in a single or slightly overlapped double layer.
- Wrap the base and stem neatly with floral tape.
Tips and Variations
- Ink-Edged Petals: Smudge black or charcoal ink softly along the bottom bases of the white text petals to draw eyes to the dark core.
- Bridal Arrangements: Group these with real dark berries or dried foliage for striking vintage wedding bouquets.
Common Mistakes to Avoid
Avoid making the black center too small; the bold center is the anemone’s defining feature. Do not over-layer the petals, as anemones have a flatter, simpler structure than roses.
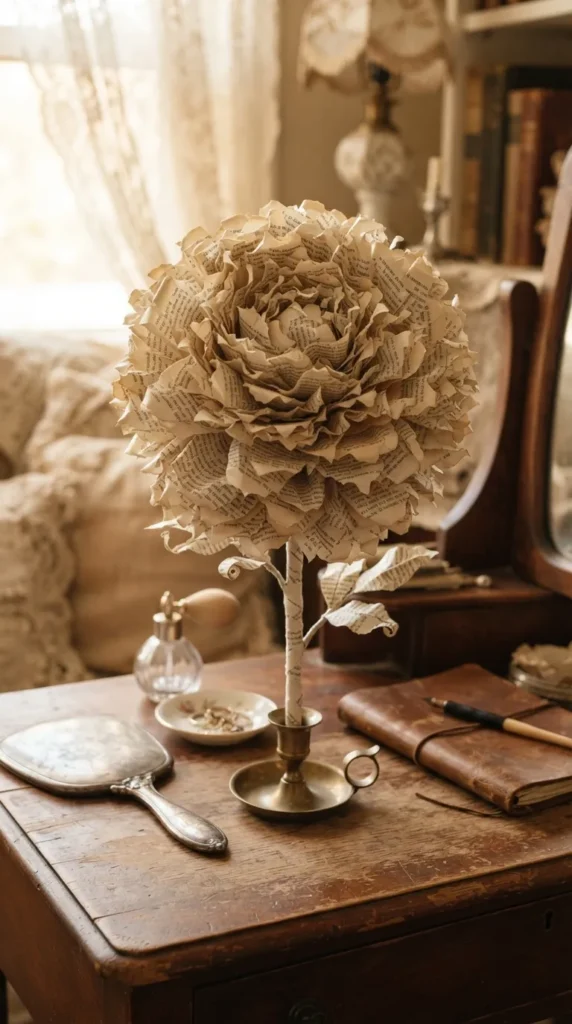
15. Tiered Peony Globe
Idea Overview
Peonies are lush, opulent, and densely packed with ruffled, inner-curving petals. By cupping and ruffling dozens of book page layers, you can build a grand, luxurious bloom that serves as a show-stopping tabletop centerpiece.
Materials Needed
- Book pages
- Petal templates in 5 expanding sizes
- Wooden ball or shaping tool
- Hot glue gun
- Floral stem
How to Make It
- Cut 5 to 8 petals of each size from book pages (totaling 30–40 petals).
- Scruff, crumple, and smooth out each petal individually to build soft tissue-like texture into the paper.
- Cup the petal centers deeply using a round shaping tool.
- Build a dense, enclosed ball of small ruffled petals around the top of your stem to form the tight inner heart.
- Layer medium petals outward, orienting them cupped inward toward the center.
- Glue the largest outer petals so they flare slightly outward at the base of the flower head.
Tips and Variations
- Vintage Book Edge Tinting: Apply metallic gold ink to the ruffled tips of the inner petals for subtle shimmer.
- Scent Infusion: Lightly mist pages with a subtle peony or floral spray prior to shaping.
Common Mistakes to Avoid
Do not skip crumpling the paper; un-crimped book pages look too rigid and fail to give the peony its characteristic ruffled soft look. Avoid sparse layering—peonies require high petal density.
16. Sculpted Calla Lily Leaf & Calla Hybrid
Idea Overview
Combining dramatic leaf forms with structural flowers creates a self-contained paper arrangement. This design incorporates sculpted book page foliage alongside graceful focal flowers for a complete botanical display.
Materials Needed
- Book pages
- Thin gauge craft wire (for leaf veins)
- Scissors and craft knife
- Floral tape and stems
- Craft glue
How to Make It
- Cut large elongated heart/arrowhead shapes for leaves and classic lily petals from book pages.
- Glue a long piece of fine craft wire down the center spine of each paper leaf.
- Once dry, gently bend the center wire to give the leaf realistic 3D arching and folds.
- Construct the lily blossom as outlined in Idea 5.
- Bind the wire leaf stems to the main flower stem using green floral tape, positioning the leaves lower than the bloom.
Tips and Variations
- Vein Detailing: Draw subtle leaf veins over the printed text using light green or brown colored pencils.
- Gloss Finish: Apply a satin varnish over the leaves to differentiate their texture from the soft flower petals.
Common Mistakes to Avoid
Avoid using wire that is too heavy on the leaves, which causes paper to wrinkle or pull awkwardly. Do not attach leaves too high on the stem, as they will crowd the main bloom.
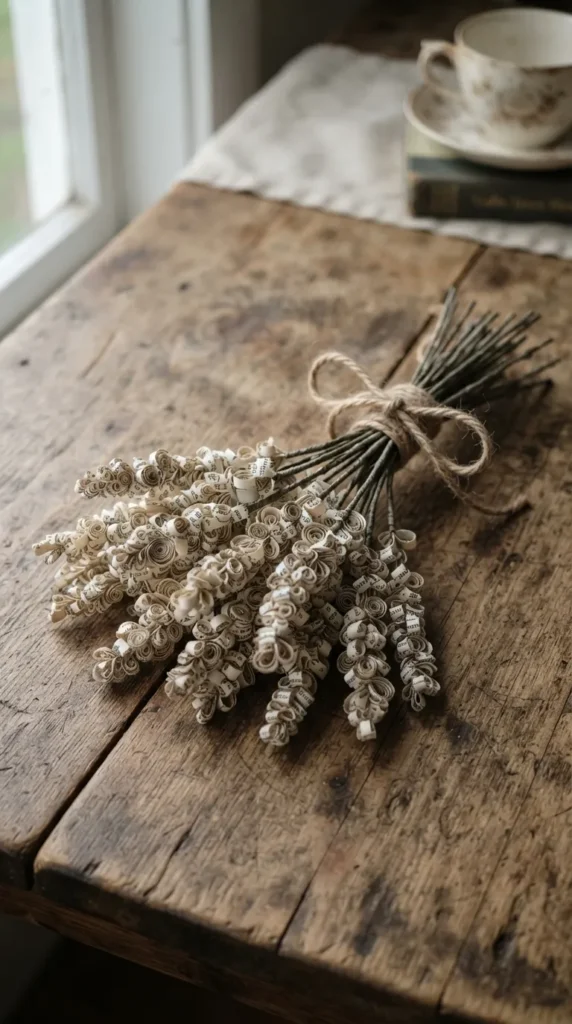
17. Wild Book Page Lavender Sprigs
Idea Overview
Mimicking slender lavender stalks, this idea uses small, clustered paper loops arranged along a stem. They add tall, vertical structure to paper floral arrangements and look charming bound with twine.
Materials Needed
- Book pages cut into 2×8 inch strips
- Fine scissors
- Floral wire stems
- Floral tape (preferably light green or purple tint)
- Glue stick or hot glue
How to Make It
- Fold a book page strip in half lengthwise.
- Cut tiny, close loop-cuts along the entire length of the folded edge, creating fine loops.
- Apply glue along the bottom edge of the strip.
- Wrap the strip spirally down the top 3–4 inches of a floral wire stem, creating a vertical column of paper loops.
- Repeat with a second strip directly below the first if a longer spike is desired.
- Wrap the remaining exposed wire stem with floral tape.
Tips and Variations
- Lavender Ink Wash: Lightly brush purple watercolor over the folded loops before cutting for a lavender tint.
- Mass Bundles: Tie a dozen paper lavender stalks together with burlap ribbon for a rustic windowsill accent.
Common Mistakes to Avoid
Avoid cutting the loops too wide; wide loops look like fringed mums rather than delicate lavender buds. Do not wrap the spiral too loosely, or the stem will show through the loops.
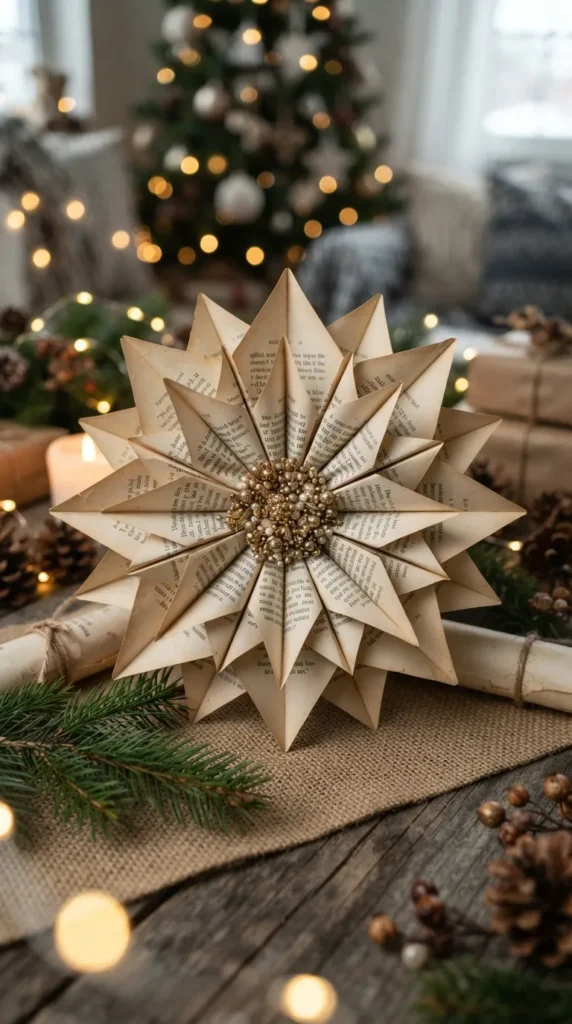
18. Modern Geometric Poinsettia
Idea Overview
Characterized by pointed, angular bracts radiating from a central core, the book page poinsettia brings vintage literature style to holiday decor, wreaths, and gift packages.
Materials Needed
- Book pages
- Red ink/chalk (optional)
- Cardboard center disk
- Gold beads or small berries
- Hot glue gun
How to Make It
- Cut pointed, leaf-shaped bracts in 3 sizes (small, medium, large) from book pages.
- Score each petal down the middle and fold sharply in half to create a crisp central ridge.
- Glue a ring of large bracts around the outer edge of a circular cardboard disk.
- Layer medium bracts inside, staggering them between the outer petals.
- Glue the smallest bracts near the center.
- Hot glue a small cluster of gold beads or rolled yellow paper dots in the very center to represent the cyathia.
Tips and Variations
- Holiday Edging: Lightly brush the petal edges with liquid gold leaf or glitter glue for seasonal sparkle.
- Bilingual Pages: Use pages from holiday storybooks or carols for festive thematic touches.
Common Mistakes to Avoid
Do not leave the petals flat; without the central scored crease, the poinsettia loses its iconic angular structure. Avoid sparse layering that exposes the cardboard base.
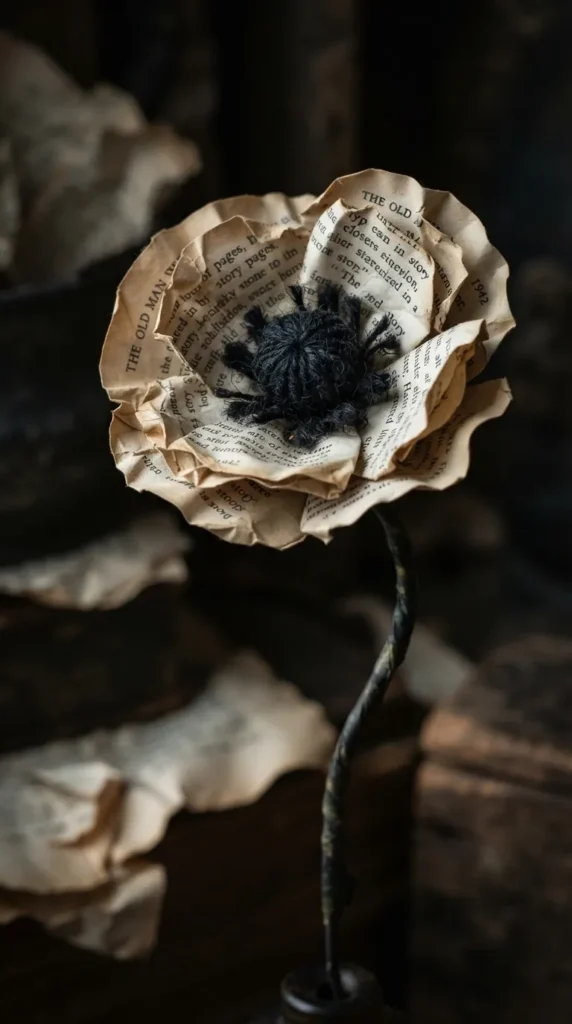
19. Intricate Book Page Poppy
Idea Overview
The poppy features papery, delicate petals with crinkled textures surrounding a dramatic, cross-hatched seed pod. The contrast between vintage print and the iconic black center makes it an artistic standout.
Materials Needed
- Light book pages
- Black yarn or black embroidery floss
- Green floral tape and stem wire
- Scissors
- Hot glue
How to Make It
- Cut 4 to 6 large, cupped, shell-shaped petals from book pages.
- Crumple each petal tightly into a tiny ball, then carefully unroll and flatten it to create a heavily crinkled texture.
- Build a small green button center out of floral tape attached to your stem wire.
- Wrap black yarn around the base of the green center button, looping it repeatedly and trimming the ends to create a fuzzy stamen ring.
- Glue the crinkled petals tightly around the center base, overlapping them in pairs.
Tips and Variations
- Center Staining: Apply a light smudge of black watercolor around the inner base of each petal where it meets the core.
- Stem Bending: Bend the wire stem slightly near the neck to mimic the natural, nodding tilt of real poppies.
Common Mistakes to Avoid
Avoid over-gluing the papery petals; excessive glue dampens the delicate, crinkled texture of the poppy petals. Do not leave the yarn loops uncut, as poppies feature individual fuzzy stamen tips.
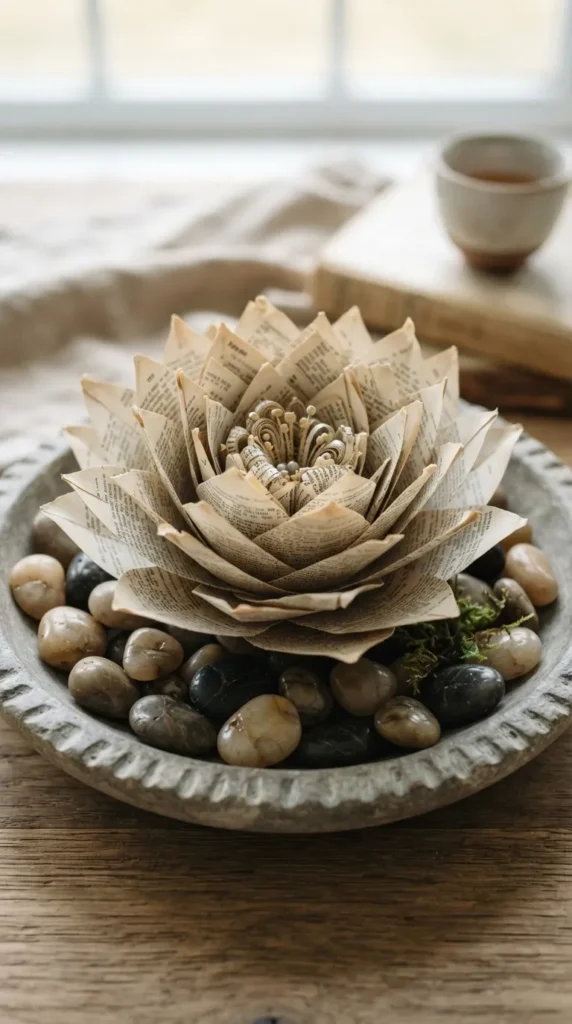
20. Layered Lotus Flower
Idea Overview
The lotus features symmetrical, pointed petals unfolding gracefully upward and outward from a flat central vessel. Perfect as a bowl filler, table scatter, or floating water-lily decor (on non-water surfaces).
Materials Needed
- Book pages
- Bone folder or creasing tool
- Flat round base (cardstock)
- Hot glue gun
How to Make It
- Cut 20 lotus petal shapes with pointed tips and slightly narrowed bases.
- Use a bone folder to create a slight upward curve along the sides of each petal.
- Glue the first outer row of 8 petals along the perimeter of the circular base, angling them slightly upward.
- Attach the second row of 6 petals offset slightly inward and held at a steeper angle.
- Glue the inner row of 6 small petals angled almost vertically toward the center.
- Insert a small rolled fringe of paper into the center to represent the lotus seed head.
Tips and Variations
- Book Page Dish Display: Place completed lotuses inside a decorative glass bowl filled with polished river rocks.
- Tea Stain Finish: Tea-stain the paper beforehand to yield a warm, antiqued lotus sculpture.
Common Mistakes to Avoid
Avoid laying the inner petals too flat, which destroys the characteristic cup shape of an opening lotus. Do not use heavy board for petals, as lotus blooms require visual lightness.
More Ideas to Come
This collection highlights just a few of the creative ways discarded literature can be transformed into lasting floral art. Future additions to this guide will explore intricate origami blooms, mixed-media botanical sculptures, and seasonal paper floral crafts.