In an era where sustainability is no longer just a trend but a lifestyle, finding creative ways to reduce waste has become a beautiful art form. Upcycling—the process of transforming byproducts, waste materials, or unwanted products into new materials or products of better quality and environmental value—is the ultimate way to personalize your living space while keeping items out of landfills.
Pinterest is filled with inspiration, but the best DIY projects are those that look effortlessly elegant, expensive, and intentional. You don’t need to be a master craftsman to achieve a high-end look. With a little imagination, some basic tools, and a weekend afternoon, you can turn everyday discarded items into stunning, functional decor.
Here are 20 realistic, sophisticated, and eco-friendly upcycled DIY ideas that will elevate your home aesthetic and tread lightly on the planet.
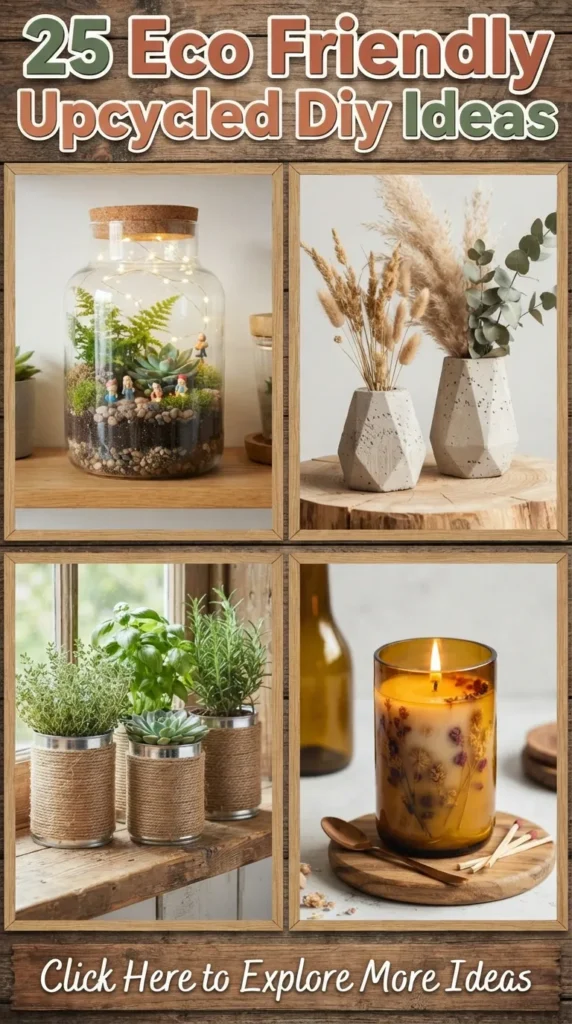
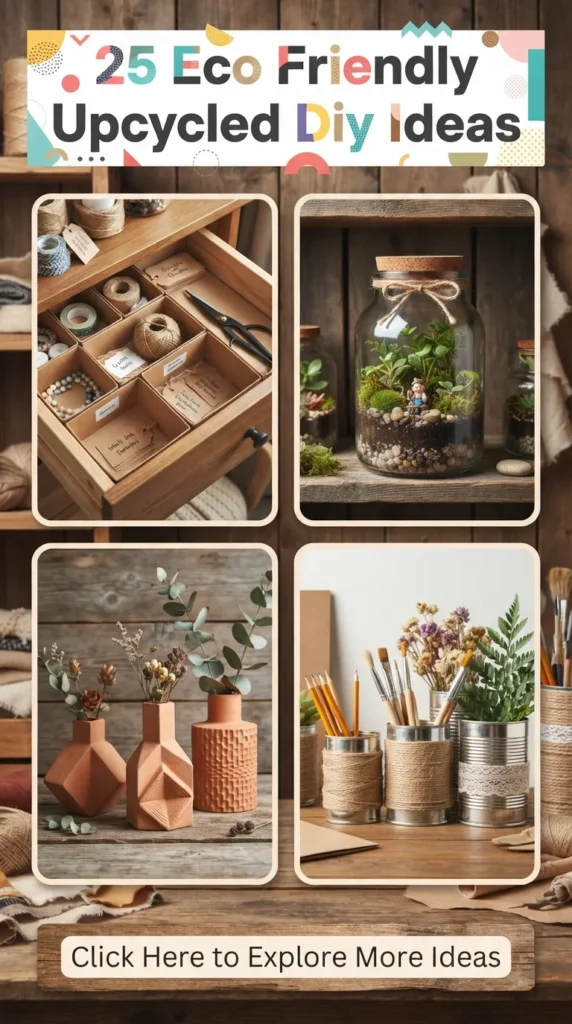
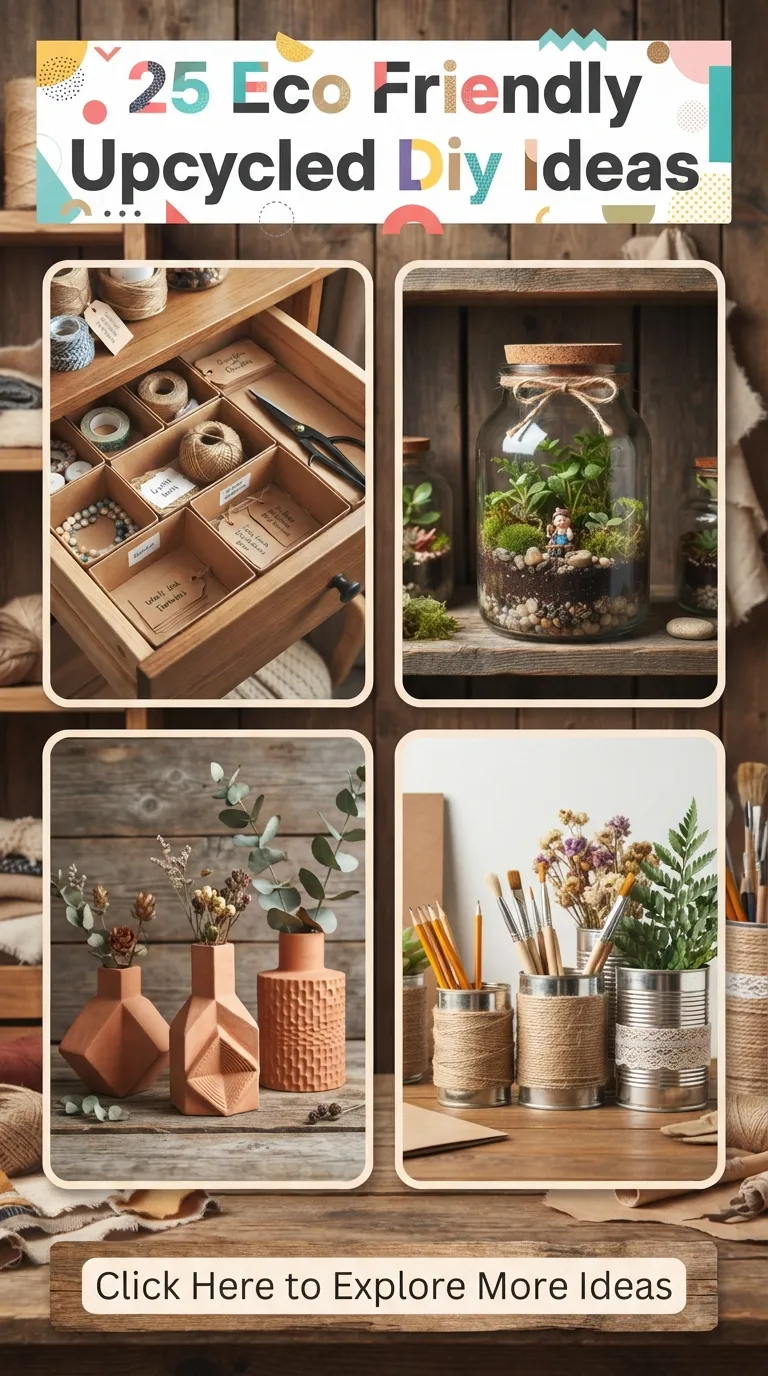
1. The Luxury Terrarium from Old Glass Jars
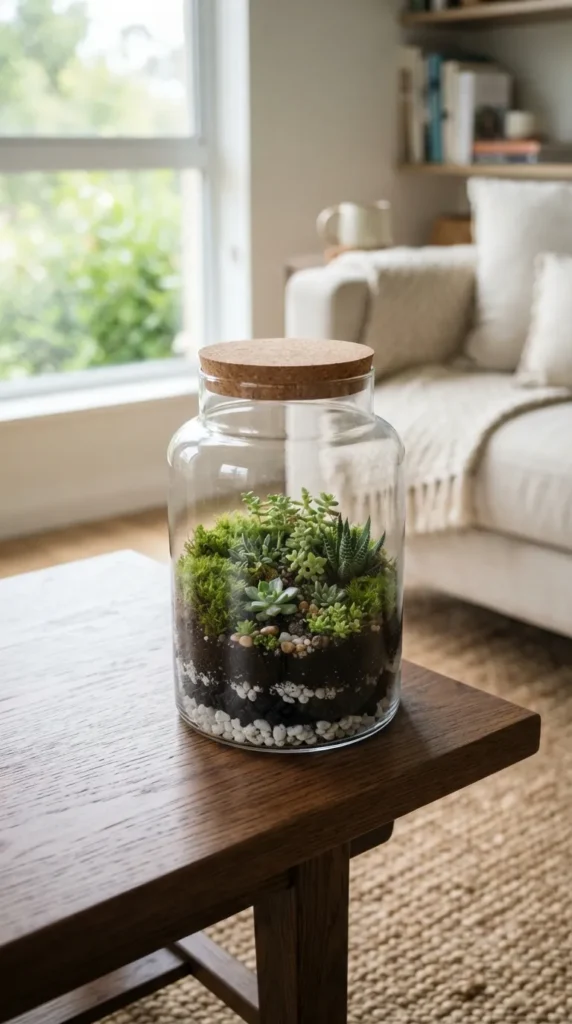
Pasta sauce jars, pickle containers, and old glass bottles often end up in the recycling bin. However, with a thorough cleaning and a little styling, they can become stunning, self-sustaining ecosystems.
To create a high-end terrarium, look for jars with unique shapes or interesting lids. Clean them completely, removing all adhesive residue. Layer the bottom with small pebbles for drainage, followed by a thin layer of activated charcoal to keep the water fresh and prevent mold. Add high-quality potting soil, and use tweezers to carefully plant small succulents, moss, or fittonias (nerve plants).
Pro Tip: Paint the jar lid a matte metallic shade like brushed brass or soft copper to give it an instant luxury boutique look. Place a cluster of three different-sized jars on your coffee table for a beautiful, living centerpiece.
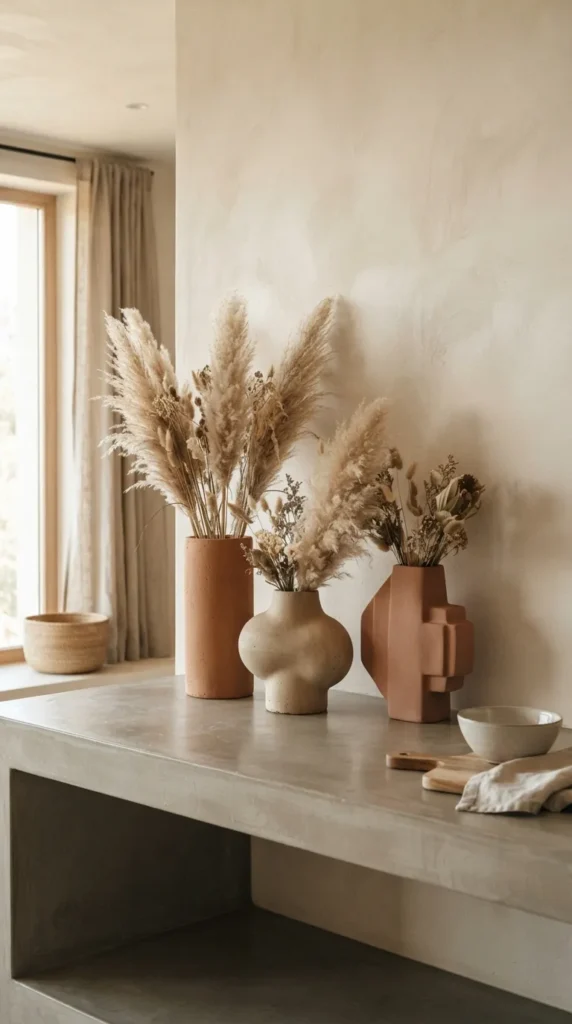
2. Chic Concrete-Look Vases from Plastic Bottles
Single-use plastic bottles are an environmental nightmare, but their varied shapes make excellent molds or bases for modern structural vases. Instead of throwing them away, you can use a simple baking soda and paint technique to give them a high-end, textured, ceramic-or-concrete finish.
Cut the tops off plastic juice or water bottles if you want a wider opening, or leave them as they are for single-stem bud vases. Mix matte acrylic paint (in earthy tones like terracotta, beige, or charcoal) with a generous spoonful of baking soda. The mixture will puff up and create a thick, gritty texture. Brush it onto the plastic in organic, uneven strokes. Once dry, it looks exactly like heavy stone or artisanal pottery.
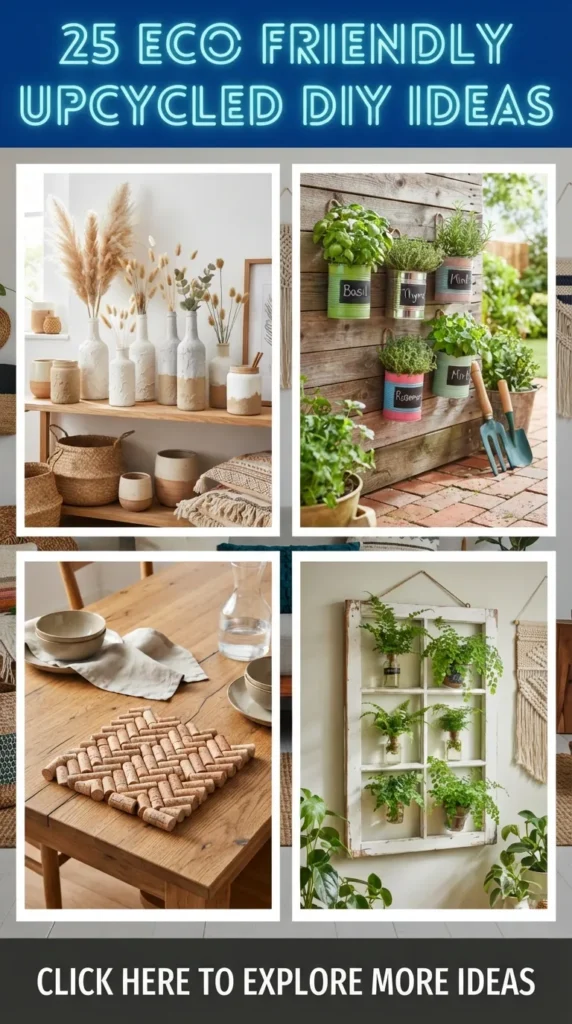
3. Tin Can Herb Planters with Textured Twine
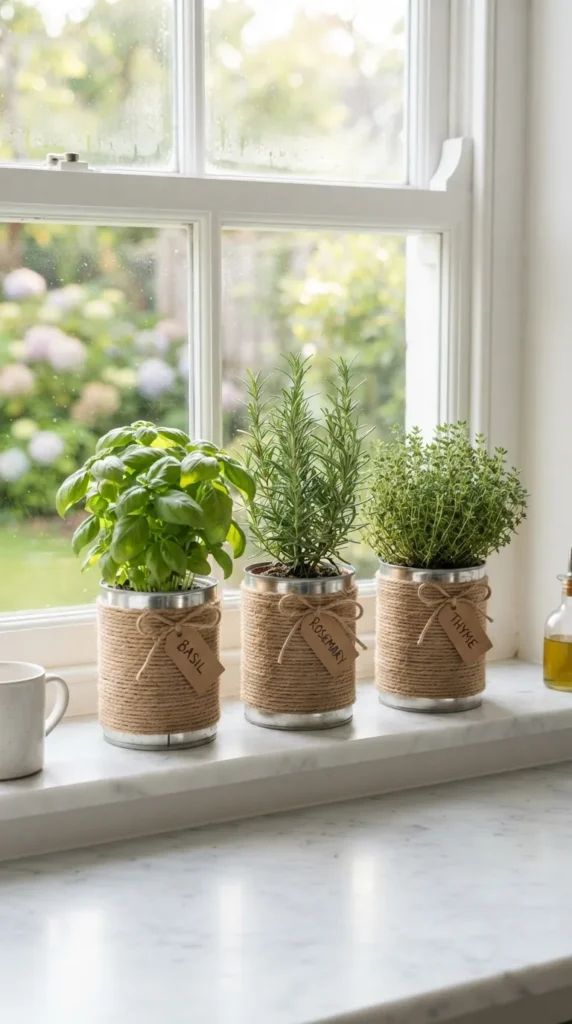
Empty soup and vegetable cans are incredibly durable. Instead of letting them rust in a landfill, turn them into a cohesive kitchen herb garden.
First, ensure there are no sharp edges by using a smooth-edge can opener. Drill a few drainage holes in the bottom. Next, wrap the entirety of the can in natural jute twine, securing it with hot glue as you go. For a more modern, Scandinavian look, you can paint the cans with a chalk-finish paint in soft pastel or muted sage tones, leaving a clean metallic rim at the top. Pop in your favorite fresh herbs like basil, rosemary, and thyme, and line them up on your kitchen windowsill.
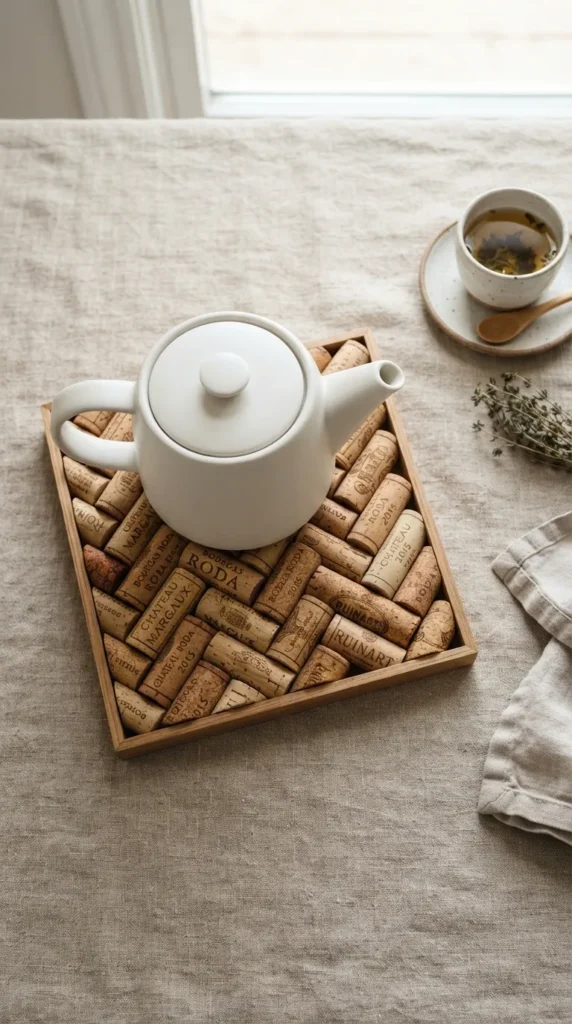
4. Wine Cork Minimalist Trivets
If you are a wine lover, saving your corks can lead to a beautiful, functional addition to your dining table. Natural cork is inherently heat-resistant and water-resistant, making it the perfect material for a hot pad or trivet.
Gather around 30 to 40 corks of equal height. You can arrange them vertically in a circular pattern, binding them tightly together with a sleek metal hose clamp or a strip of vegan leather secured with upholstery tacks. Alternatively, slice the corks in half lengthwise and glue them in a herringbone pattern onto a piece of salvaged cardboard or thin plywood backing. It’s a gorgeous, organic conversation piece for your next dinner party.
5. Designer Candle Holders from Empty Wine Bottles
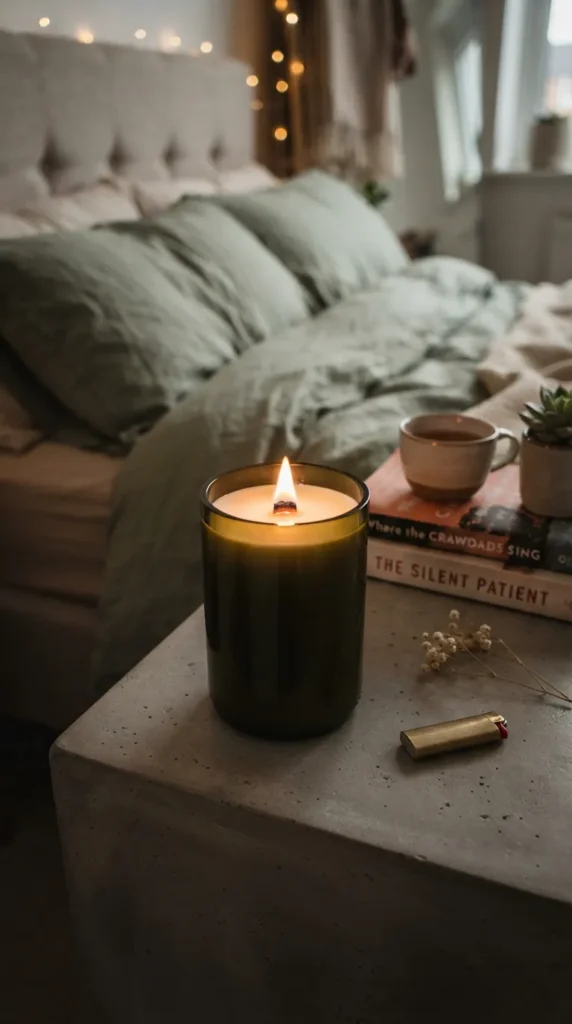
Don’t throw away beautiful green, amber, or clear wine bottles. With a simple glass cutter tool (which is inexpensive and highly reusable), you can safely cut the tops off wine bottles to create stunning, minimalist candle vessels.
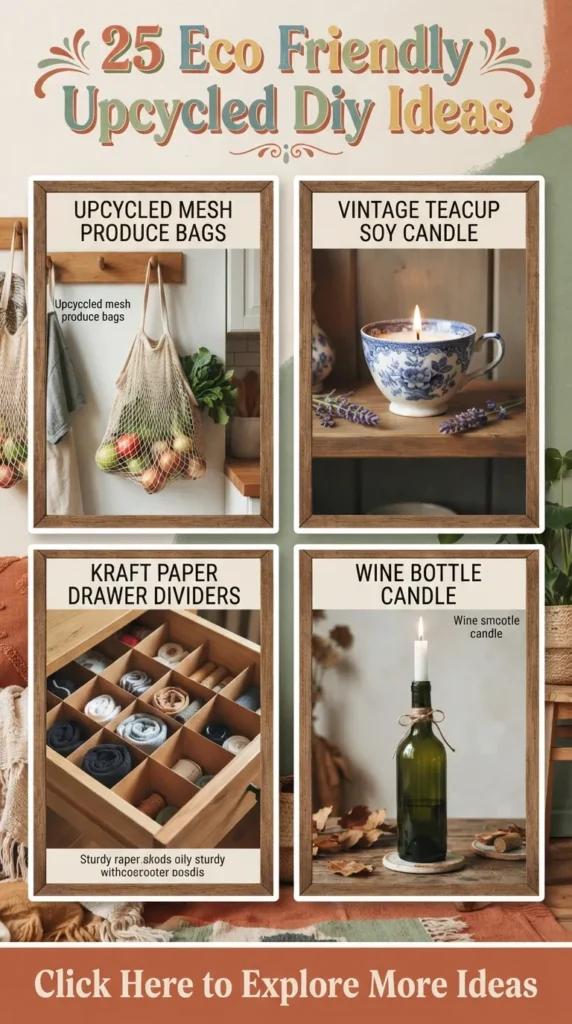
Smooth down the cut edges using wet sandpaper to ensure they are completely safe to touch. You can then pour your own eco-friendly soy wax and essential oil blend into the bottom half, complete with a crackling wooden wick. Alternatively, keep the bottle intact, drop a classic white tapered candle into the neck, and let the wax beautifully drip down the sides over time for a romantic, vintage bistro vibe.
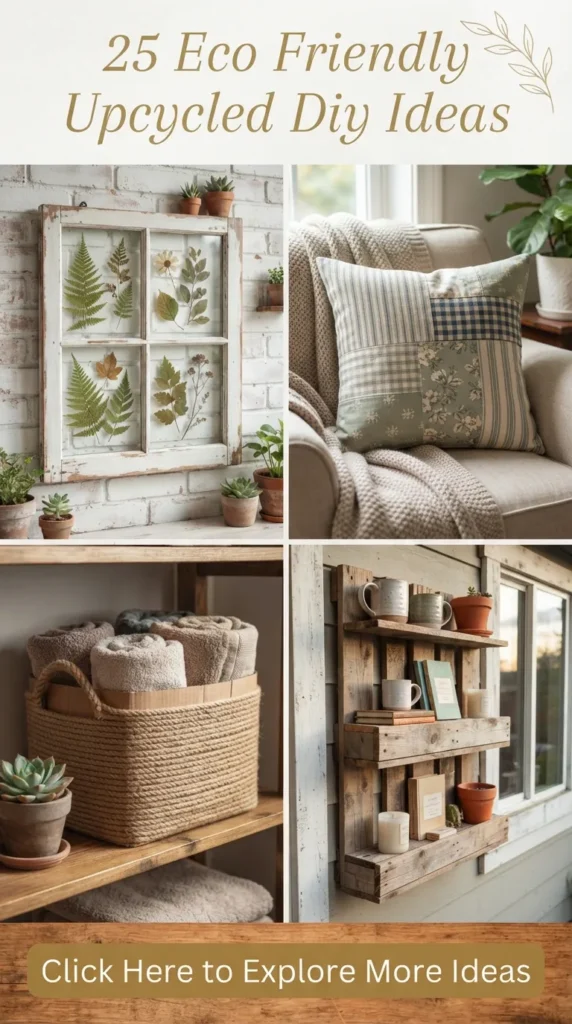
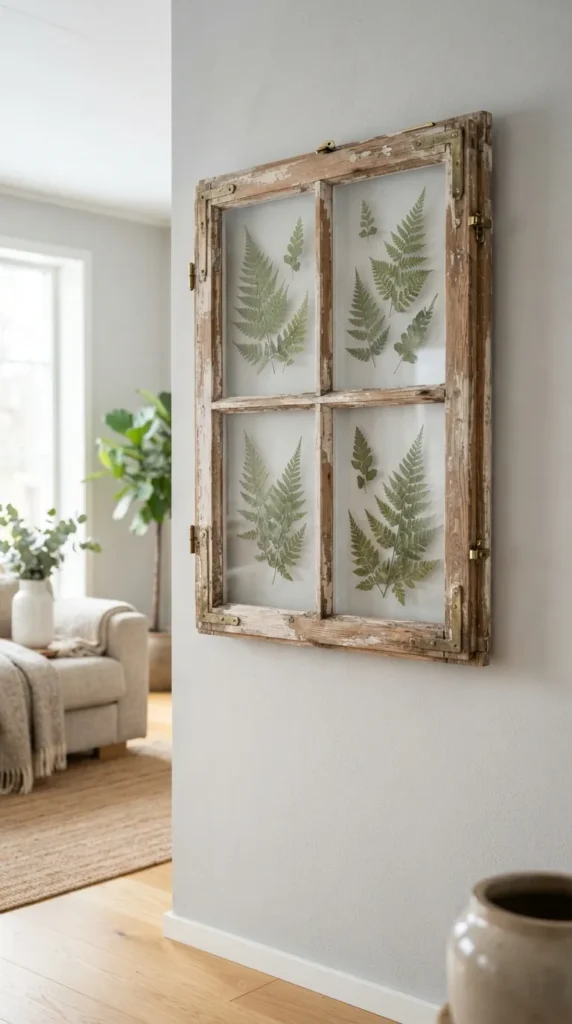
6. Pressed Botanical Art in Upcycled Window Frames
Old wooden window frames with single or multiple panes are full of character, but they are often discarded during home renovations. You can salvage these architectural gems and turn them into breathtaking statement artwork.
Clean the glass thoroughly and leave the wood with its natural, weathered patina (or give it a light sanding and a coat of clear wax). Gather local ferns, wildflowers, or autumn leaves, and press them between heavy books for a couple of weeks. Once dried, use a tiny drop of clear craft glue to secure the botanicals directly to the glass pane, then seal it with a second piece of glass or leave it open-faced against a contrasting wall. The result is a gorgeous, transparent floating frame effect that looks like an expensive antique find.
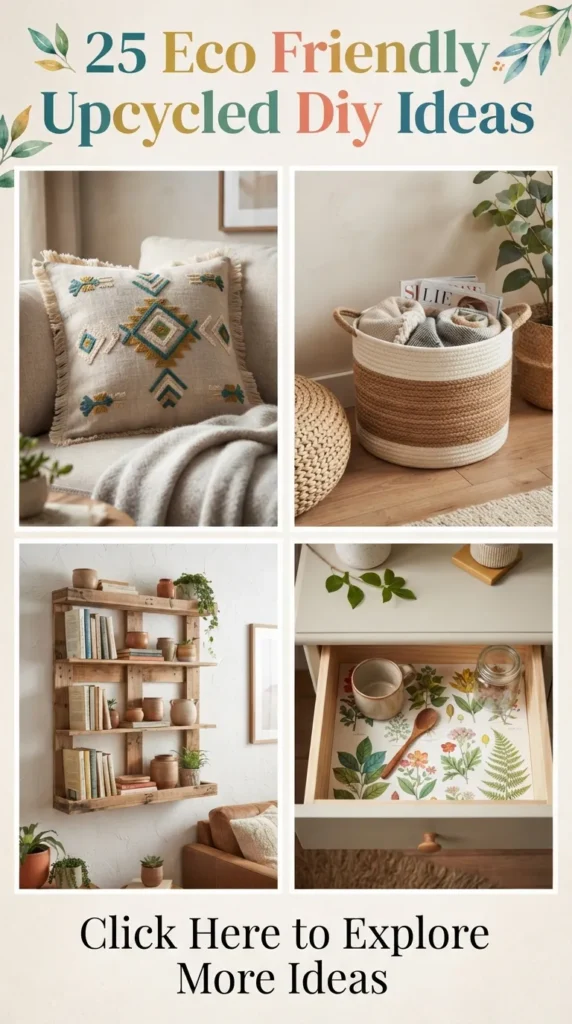
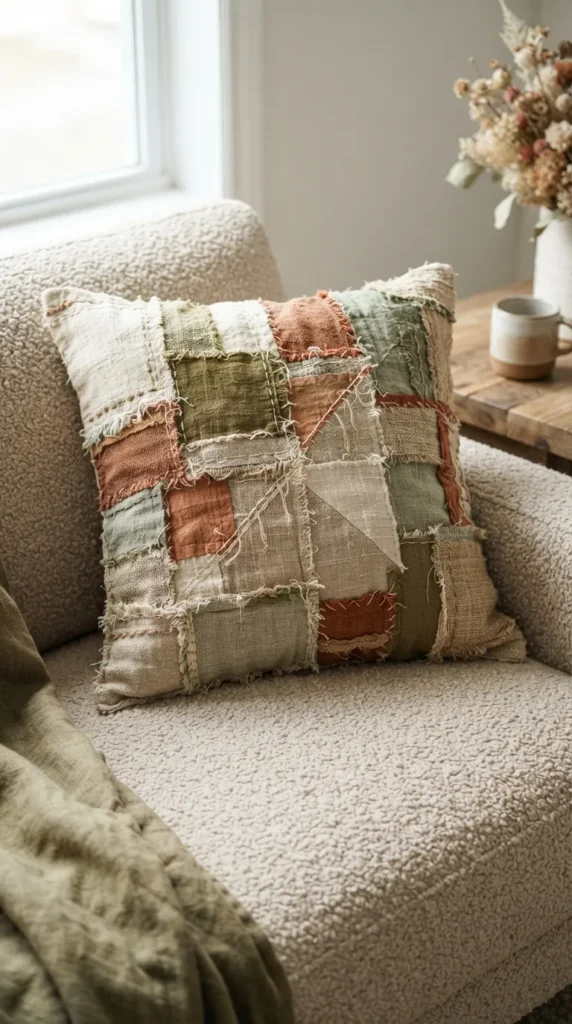
7. Fabric Scrap Boho Throw Pillows
If you have a collection of old clothes, worn-out linens, or leftover fabric scraps from past craft projects, do not toss them. Textile waste is a massive environmental issue, and upcycling fabric is deeply satisfying.
Cut the usable portions of your old fabrics into uniform squares or organic, abstract shapes. Sew them together using a patchwork or quilting technique to create a unique, textured textile layout. If you don’t have a sewing machine, you can use iron-on fusible bonding tape for a completely no-sew project. Stuff the pillow with shredded fabric remnants (instead of buying new polyester poly-fill) for a heavy, high-quality, sustainable weight.
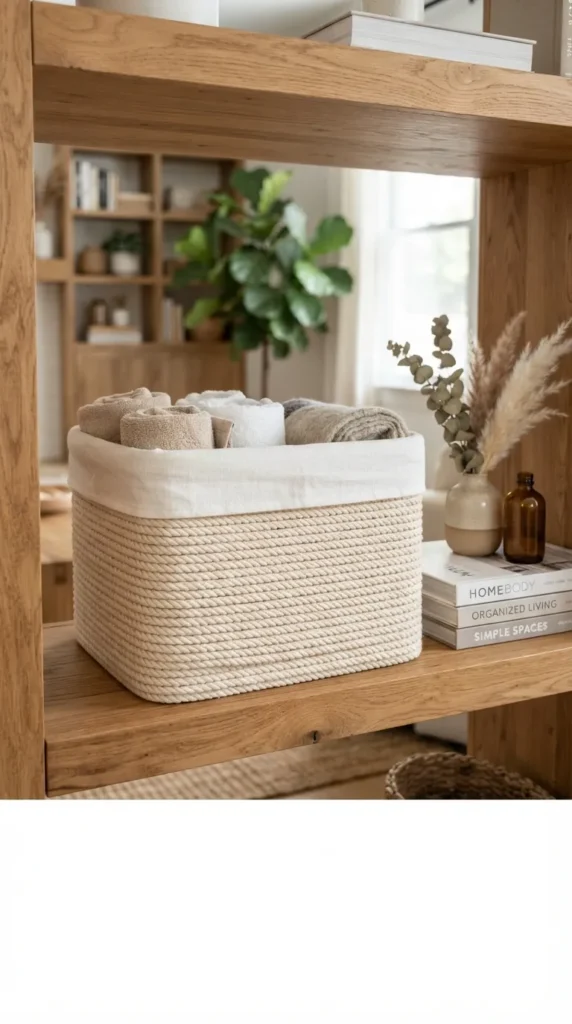
8. Cardboard Box Woven Storage Baskets
We all accumulate cardboard delivery boxes. Instead of constantly breaking them down for the recycling bin, turn them into beautiful, sturdy storage baskets that hide away clutter on your bookshelves or wardrobes.
Find a sturdy box and cut off the top flaps. Take a roll of thick cotton rope, jute twine, or even strips of upcycled fabric from old t-shirts. Start at the bottom of the box and wrap the rope tightly around the exterior, securing it with hot glue at regular intervals. Line the inside of the box with an old white pillowcase or a piece of linen fabric, folding it neatly over the top edge to create a clean, finished cuff.
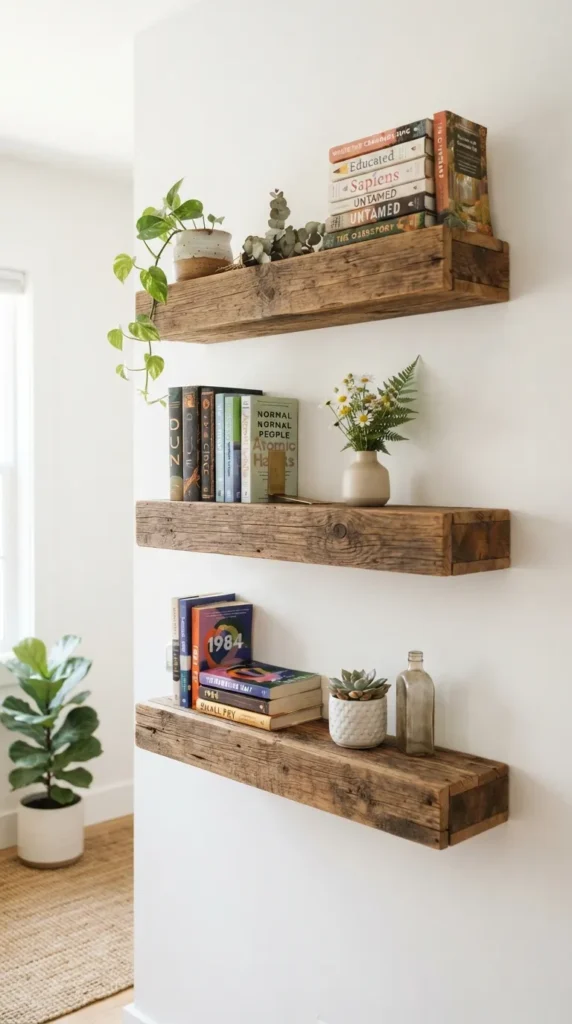
9. Pallet Wood Rustic Floating Shelves
Wooden pallets are frequently left behind businesses, completely free for the taking. While the wood might look rough initially, it is often beautiful, solid timber waiting to be restored.
Carefully disassemble a pallet using a crowbar and remove any old nails. Sand the wood down thoroughly to reveal the gorgeous natural grain hidden beneath the weathered exterior. Cut the planks to your desired length and assemble them into simple, clean-lined floating box shelves or L-shaped brackets. Stain them with a natural eco-friendly stain (like a mix of coffee grounds and vinegar) or leave them raw and sealed with beeswax.
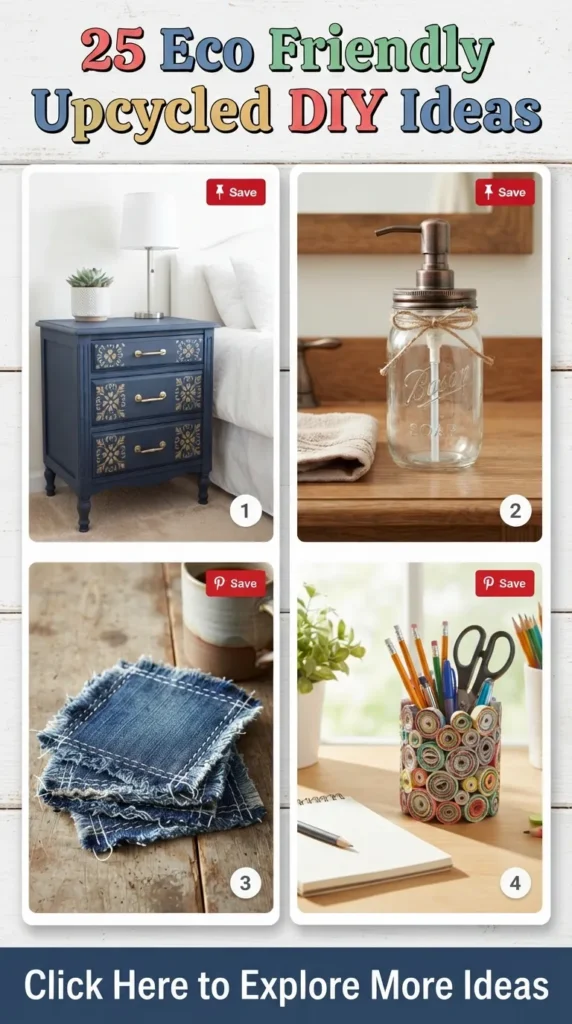
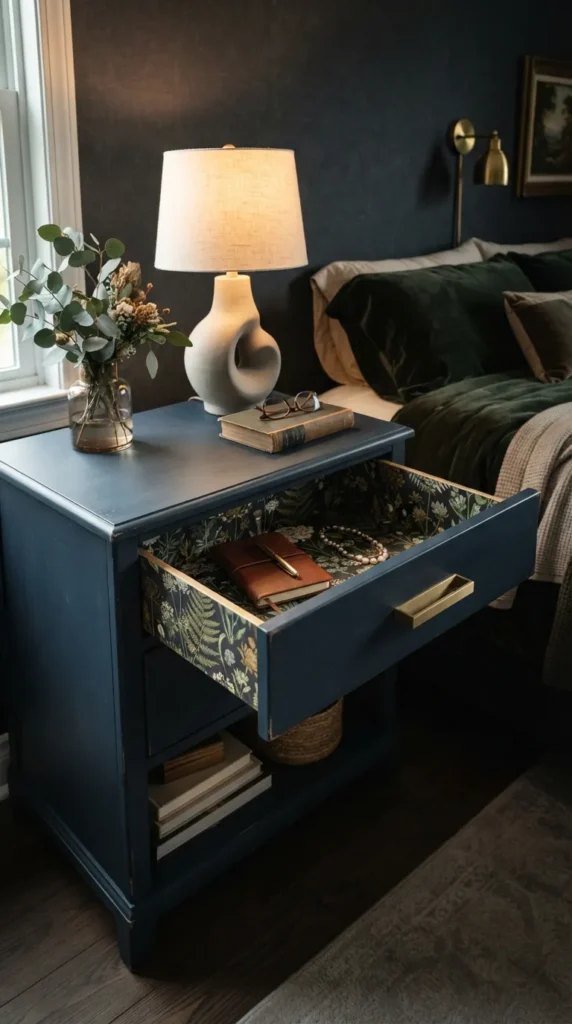
10. Thrifted Bedside Table Makeover with Leftover Wallpaper
Sometimes upcycling means taking a piece of outdated furniture that someone else discarded and giving it a fresh, modern personality. A worn-out, scratched wooden bedside table is the perfect candidate.
Sand down the exterior surfaces to remove old, peeling varnish. Paint the main body of the nightstand in a moody, elegant chalk paint color like midnight blue, forest green, or soft charcoal. For a surprising designer touch, take a leftover scrap piece of peel-and-stick wallpaper or beautiful gift wrap and line the inside of the drawers or the back panel of an open shelf. Swap out the old plastic handles for sleek, matte black metal hardware.
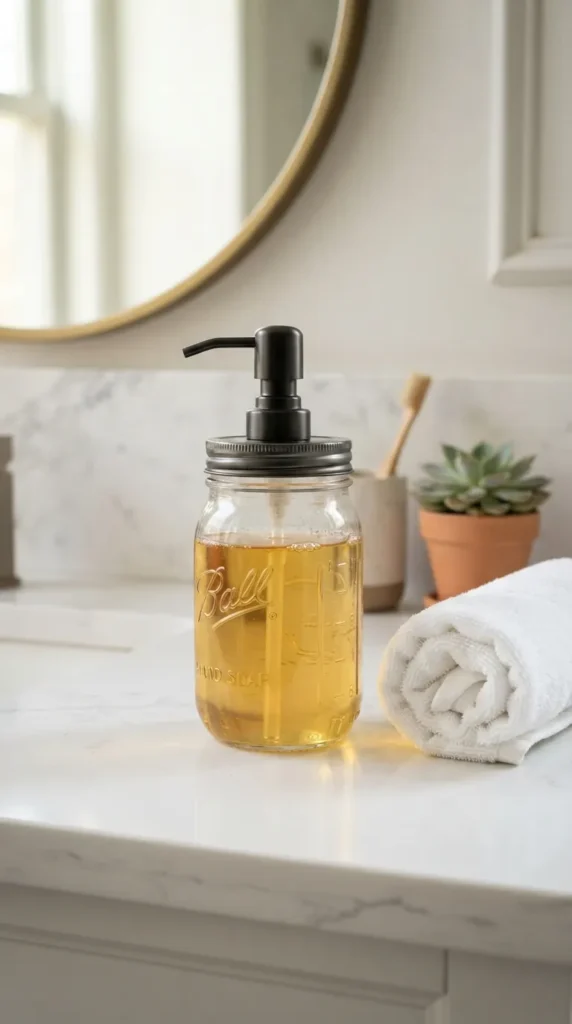
11. Mason Jar Soap Dispensers
Mason jars and vintage glass jars from jams or preserves make excellent bathroom accessories. Instead of buying cheap plastic soap pumps over and over, you can make a permanent, refillable dispenser.
Purchase a high-quality stainless steel or matte black pump mechanism (or salvage one from an old commercial bottle). Drill a hole through the center of the metal mason jar lid using a step drill bit. Insert the pump and secure it tightly with waterproof silicone or a nut on the underside. Fill it with your favorite eco-friendly bulk hand soap. It instantly grounds your bathroom sink area with a clean, farmhouse-chic aesthetic.
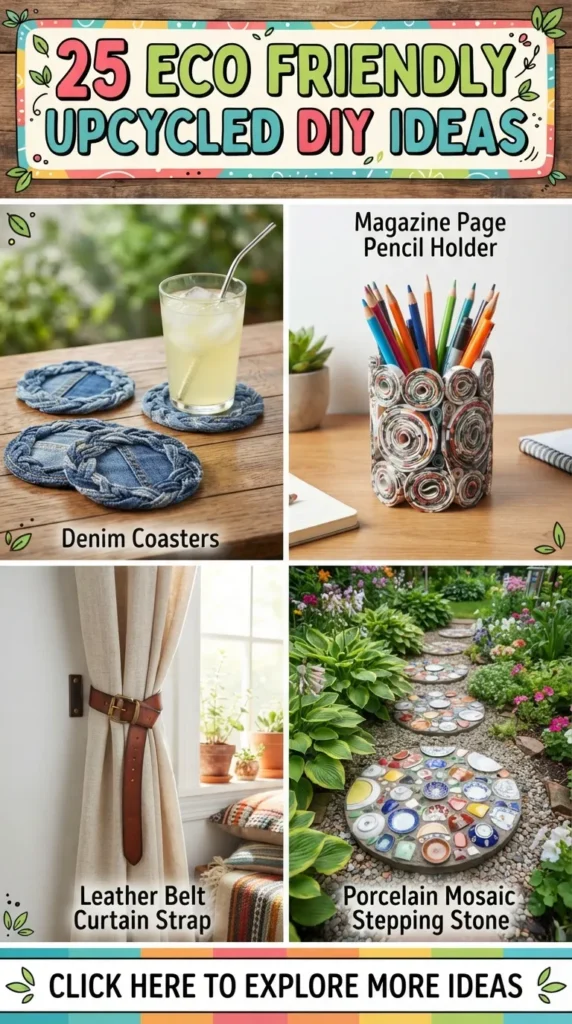
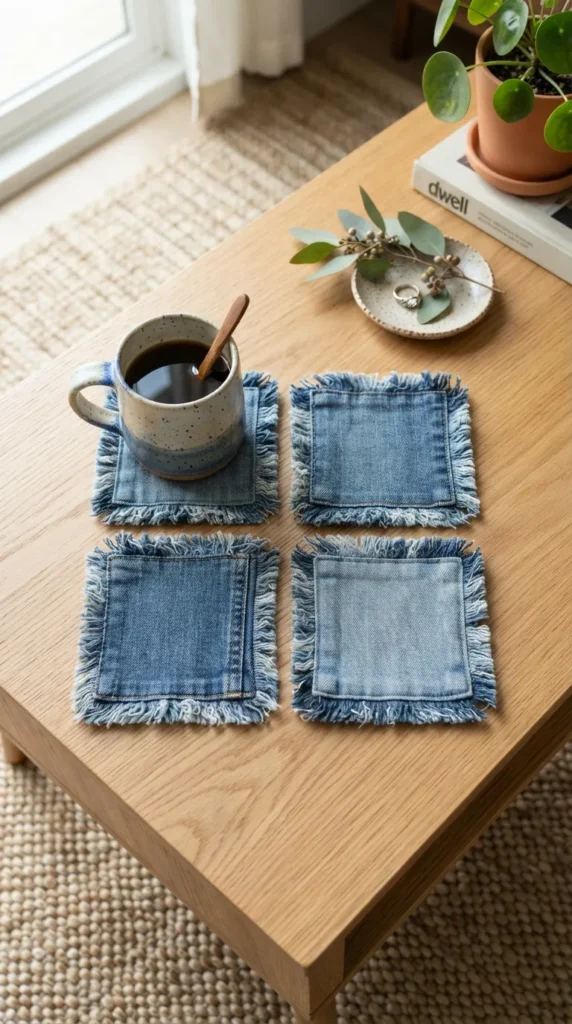
12. Denim Scrape Coasters with Fringe Edges
Denim is one of the most durable fabrics in the world, making old, ripped jeans the absolute perfect material for household coasters that need to absorb condensation and withstand heat.
Cut the legs of old jeans into perfect 4×4 inch squares. You can layer two or three squares together and sew a simple crisscross pattern across the top to join them together and add structural stability. Pull apart the threads along the outer edges to create a stylish, frayed fringe border. Mix and match different washes of denim—from light acid wash to deep indigo—for a cool, casual, coastal-modern look.
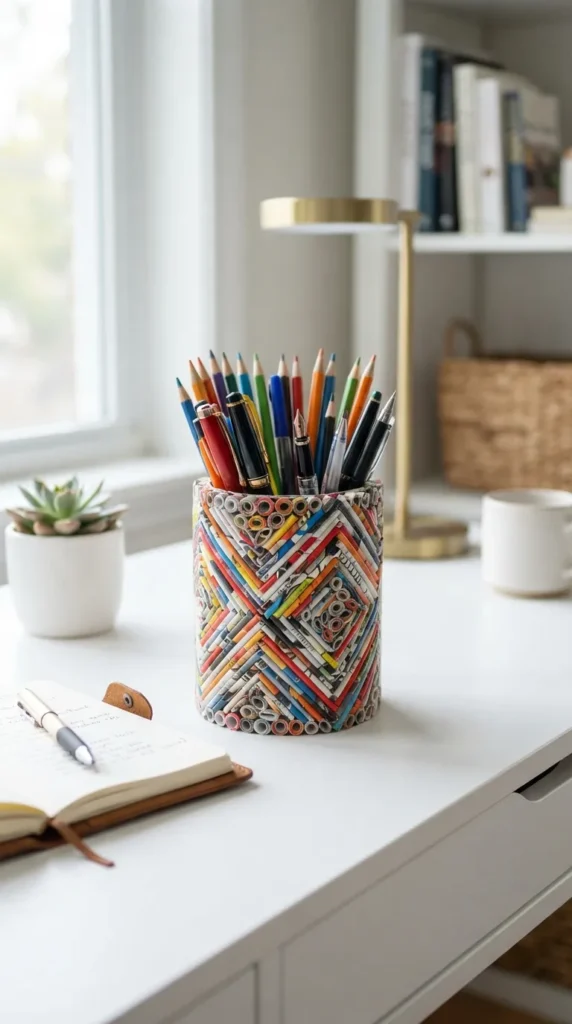
13. Magazine or Newspaper Rolled Pencil Holders
If you still have physical magazine subscriptions or old newspapers lying around, their colorful pages can be transformed into structural, geometric desk organizers.
Tightly roll individual pages of colorful magazines diagonally around a thin wooden skewer or pencil to form rigid, uniform paper tubes. Secure the ends with a dab of eco-friendly glue. Cut these tubes to an equal height (around 4 to 5 inches). Take an empty, clean tin can or cardboard tube and glue the paper rolls vertically all the way around its perimeter. The cross-sections of the rolled pages create a striking, kaleidoscopic pattern that turns a desk accessory into a piece of contemporary art.
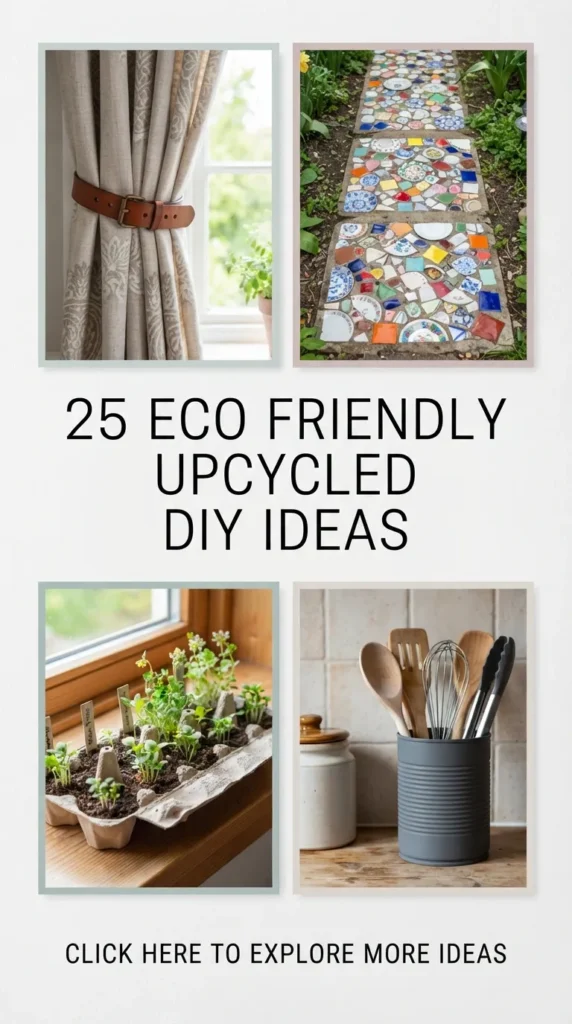
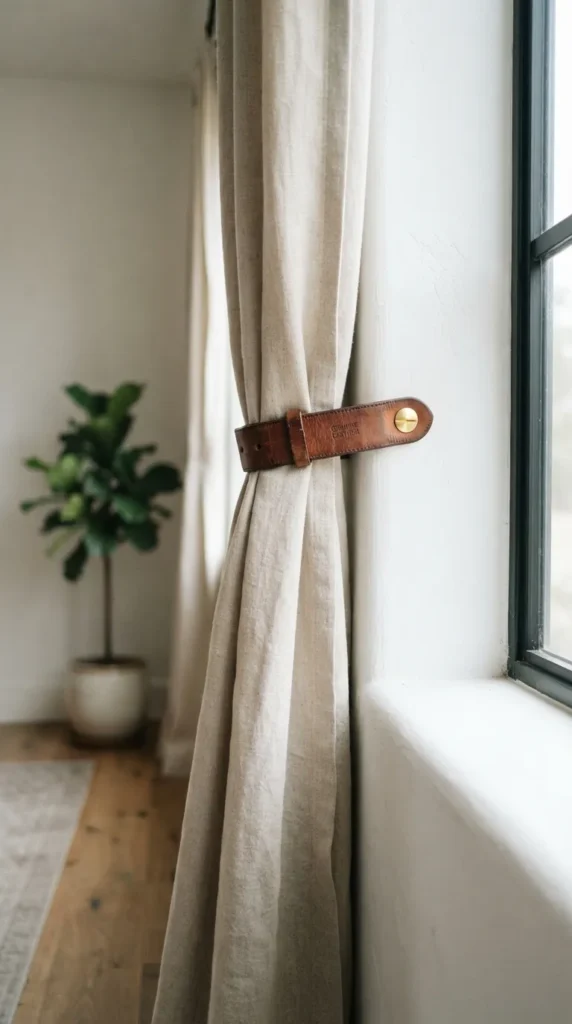
14. Leather Belt Curtain Tie-Backs
Old, worn-out leather belts that no longer fit or have scuffed edges can be repurposed into high-end, mid-century modern home hardware.
Cut the leather belt into clean, equal strips of about 6 to 8 inches, retaining the sections with beautiful grain or stitching details. Fold the strip in half to form a loop, and punch a hole through both ends using a leather hole punch or a sharp nail. Secure the loop directly into your wall next to your window using a beautiful brass screw and drywall anchor. Loop your linen or cotton curtains through the leather strap for an effortlessly tailored, upscale look.
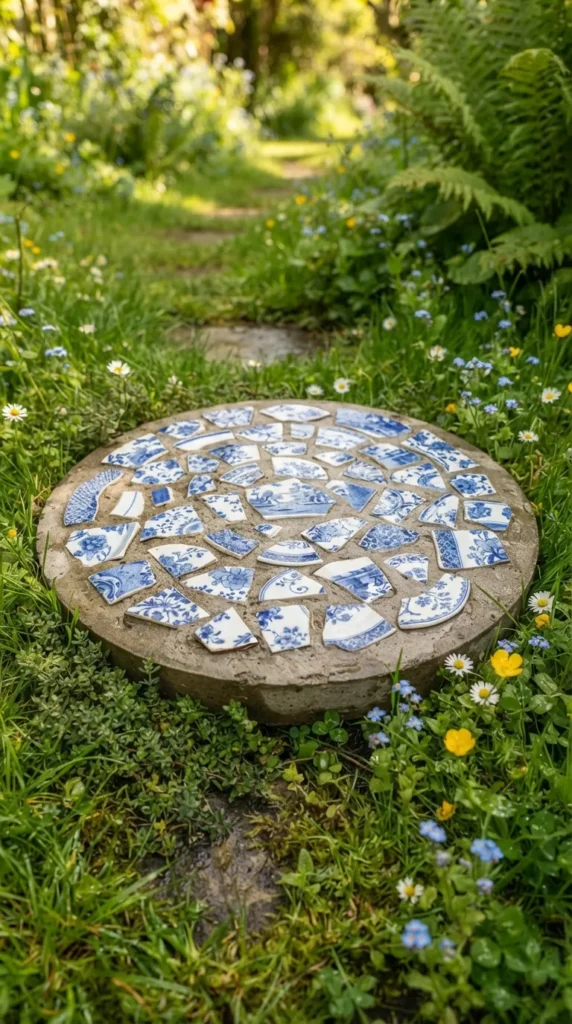
15. Broken Ceramic Mosaic Stepping Stones
Accidents happen, and beautiful ceramic plates, mugs, or terracotta pots occasionally shatter. Instead of throwing the beautiful shards into the trash, save them in a bucket to create artistic mosaic stepping stones for your garden path.
Take an old shallow cake tin or a plastic plant saucer to use as your mold. Line it with a plastic bag or coat it with non-stick cooking spray. Mix a batch of quick-dry concrete or mortar and pour it into the mold. While it is still wet, carefully press your broken ceramic pieces into the surface, smooth side up, arranging them in a beautiful abstract layout or geometric pattern. Let it cure completely, pop it out of the mold, and place it in your garden.
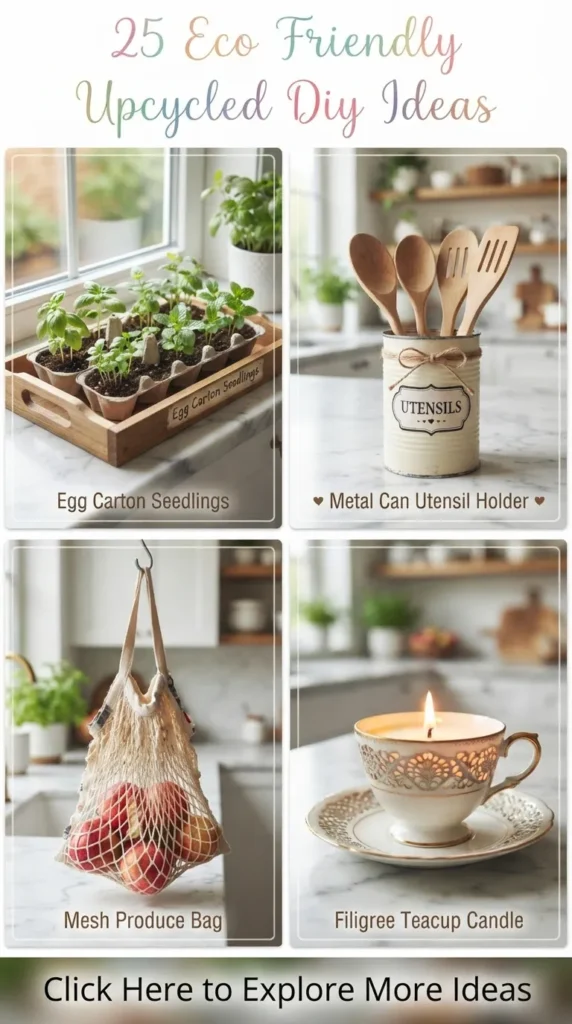
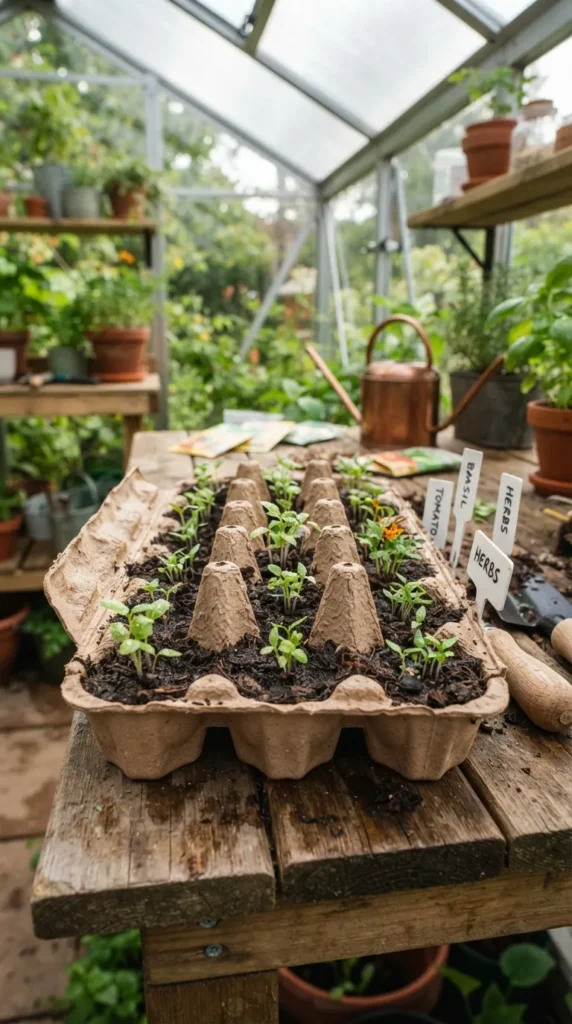
16. Egg Carton Seedling Starters
When spring rolls around, you don’t need to purchase plastic seed trays to start your garden. Cardboard egg cartons are perfectly engineered by nature to hold soil and protect delicate new roots.
Simply fill each individual cup of a paper egg carton with high-quality organic seed-starting potting mix. Plant your seeds and water them gently. The cardboard naturally breathes and absorbs excess moisture, preventing root rot. The best part? When the seedlings are large enough to be transplanted outdoors, you don’t have to pull them out. Simply cut the cardboard cups apart and plant the entire cup directly into the ground—the cardboard will naturally compost and biodegrade into the soil without shocking the plant’s roots.
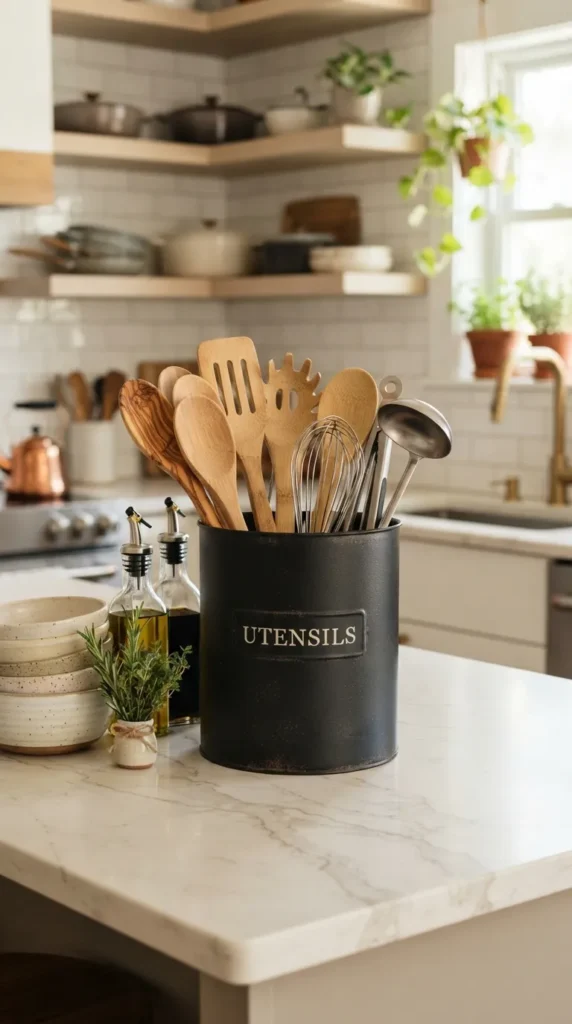
17. Coffee Can Elegant Kitchen Utensil Holder
Large tin cans from bulk coffee or powdered formula are structural, spacious, and perfect for organizing large kitchen tools like spatulas, whisks, and rolling pins.
Give the large can a thorough cleaning. Spray paint the exterior with a high-end matte textured spray paint, such as a faux-stone or cast-iron finish. If you prefer a warmer look, wrap the center of the can in a wide strip of natural burlap fabric or a piece of fluted wood trim (made from glued wooden dowels cut to size). It clears up drawer clutter while making your kitchen countertop look like a designer showroom.
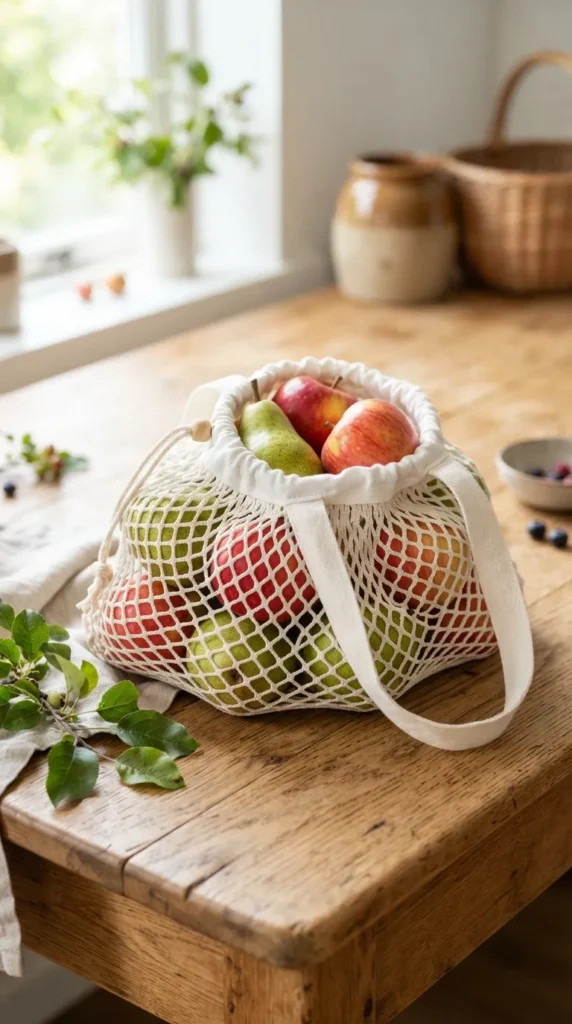
18. Tee-Shirt Market Produce Bag
Old cotton t-shirts that are stained or stretched out can be given a second life as reusable, stretchy, washable market bags for grocery shopping.
Cut the sleeves off the t-shirt and deepen the neckline to create the main handles of the bag. Turn the shirt inside out and sew a straight, heavy-duty line across the very bottom hem to close the bag. To give it that classic market tote stretch, fold the shirt vertically and make small, staggered 1-inch horizontal slits all over the body of the fabric using fabric shears. When you pull the bag open, it expands into a beautiful, flexible mesh netting perfect for holding fresh fruits and vegetables.
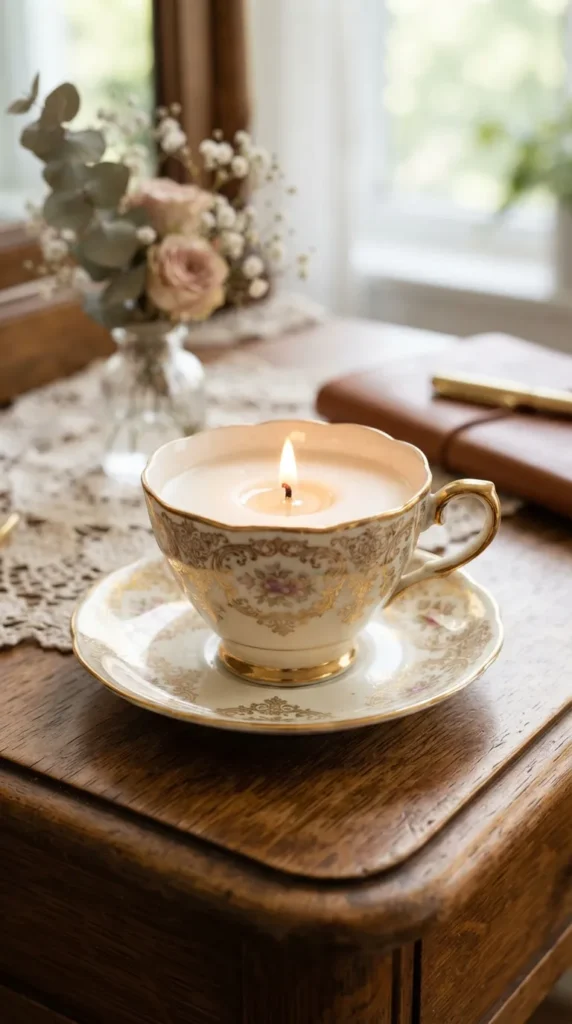
19. Teacup Soy Wax Vintage Candles
Vintage teacups with delicate floral patterns and gold rims are abundant in thrift stores and often sit forgotten in grandma’s china cabinet. You can easily turn them into gorgeous, whimsical candles.
Clean the teacup thoroughly. Secure a cotton or wooden wick to the bottom center of the cup using a tiny drop of hot glue. Melt eco-friendly flake soy wax in a double boiler, and stir in a few drops of natural lavender, vanilla, or sandalwood essential oil. Carefully pour the melted wax into the teacup, leaving a half-inch of space at the top. Use a clothespin or pencil resting across the rim to keep the wick centered as the wax cools and hardens. These make wonderful, heartfelt gifts.
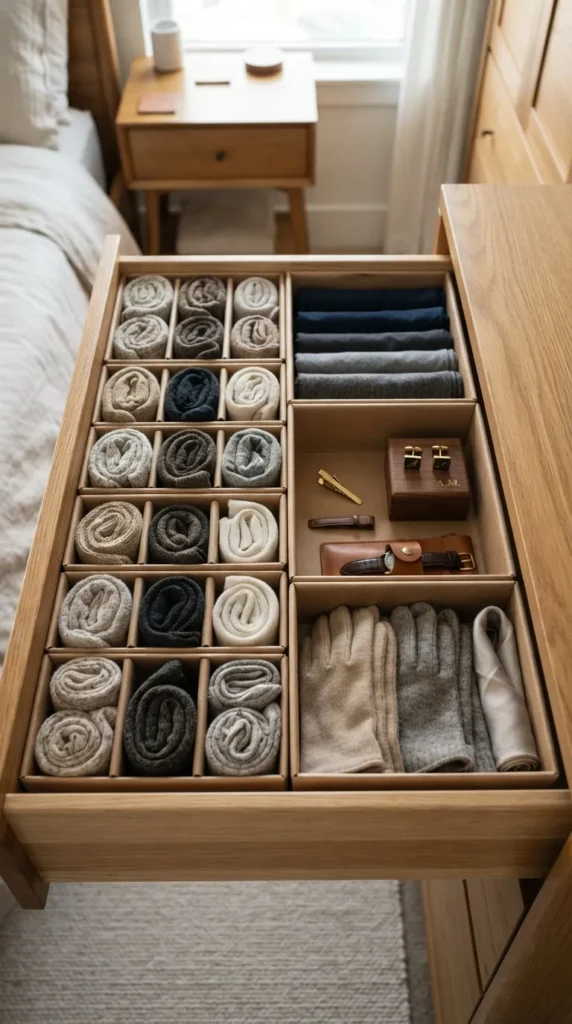
20. Drawer Divider Organizers from Cereal Boxes
Keeping drawers organized can be an expensive endeavor if you buy acrylic or bamboo dividers. Fortunately, empty cereal boxes, cracker boxes, and shoe boxes are the perfect size for standard dresser and kitchen drawers.
Measure the depth of your drawer. Cut your empty cardboard boxes down to that exact height. To make them look beautiful instead of messy, wrap the boxes inside and out with left-over neutral wrapping paper, brown kraft paper, or linen fabric scraps, using a simple glue stick to hold the paper smooth. Arrange the customized boxes inside your drawer like a puzzle. You now have a completely free, customized, aesthetic grid system for organizing socks, jewelry, makeup, or office supplies.
The Upcycling Mindset: Tips for Success
Before you dive into your first project, keep these core principles in mind to ensure your upcycled creations always look elevated and professional:
- Prep Work is Everything: Never skip the cleaning, sanding, or priming phases. Taking the time to properly remove sticky label goo or sand down rough wood grains is the exact boundary line between a project that looks like “trash” and one that looks like “treasure.”
- Invest in Quality Hardware: When transforming furniture or functional items, spending a few dollars on high-quality metal handles, solid brass screws, or premium natural finishes instantly elevates the entire piece.
- Embrace Imperfection: Upcycling celebrates the history of an object. A small scratch in wood grain or a slight wave in vintage glass adds soul and story to your home that mass-produced items simply cannot replicate.
By choosing to create instead of consume, you reduce demand on manufacturing systems, divert usable materials from landfills, and curate a home environment that is entirely unique, beautiful, and deeply kind to our planet.
more ideas to come