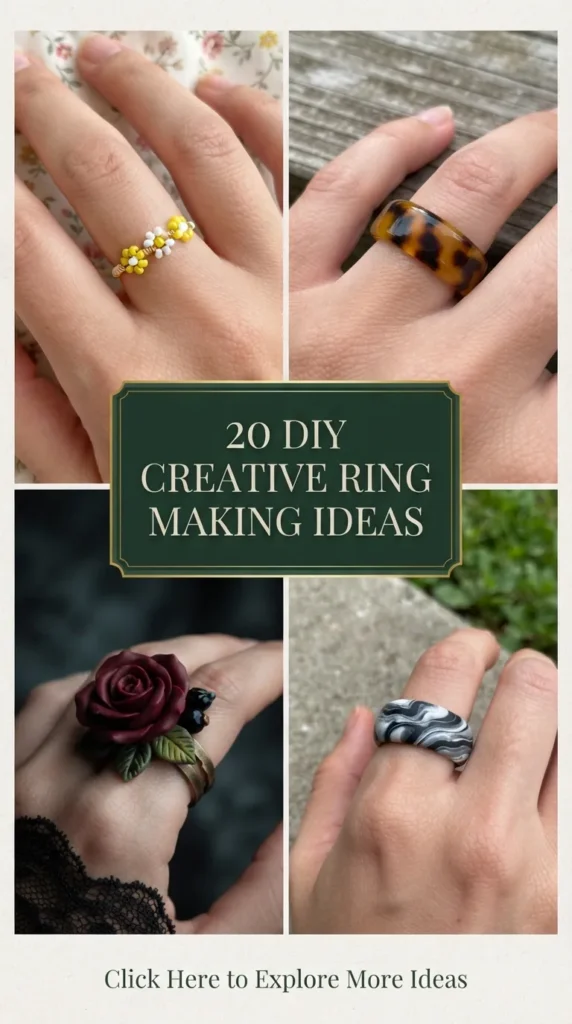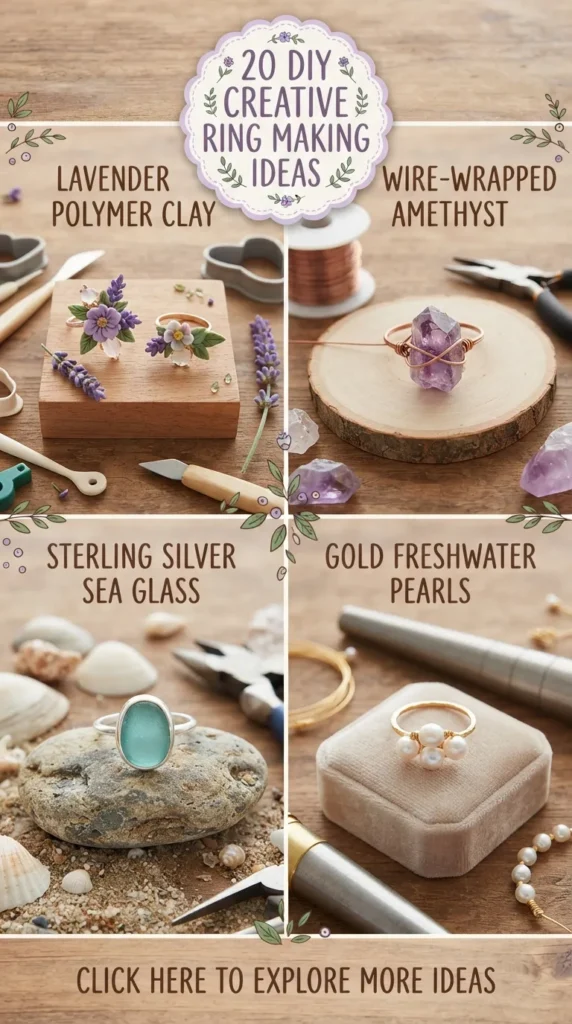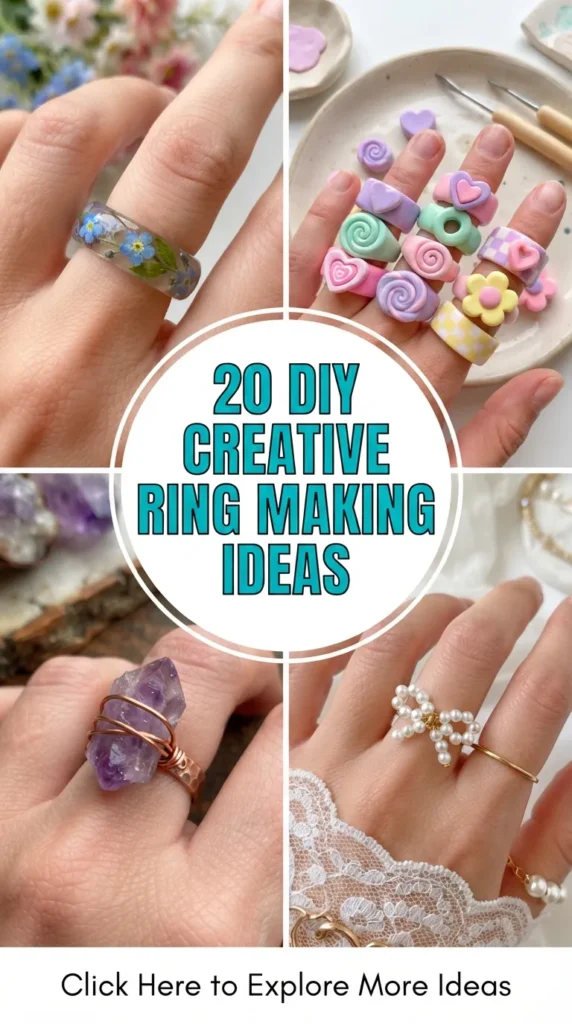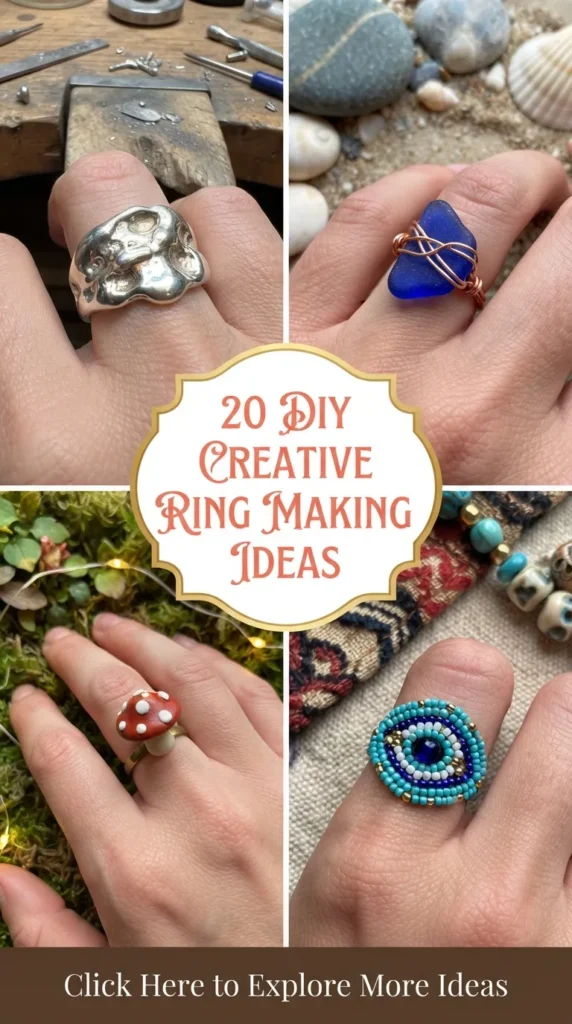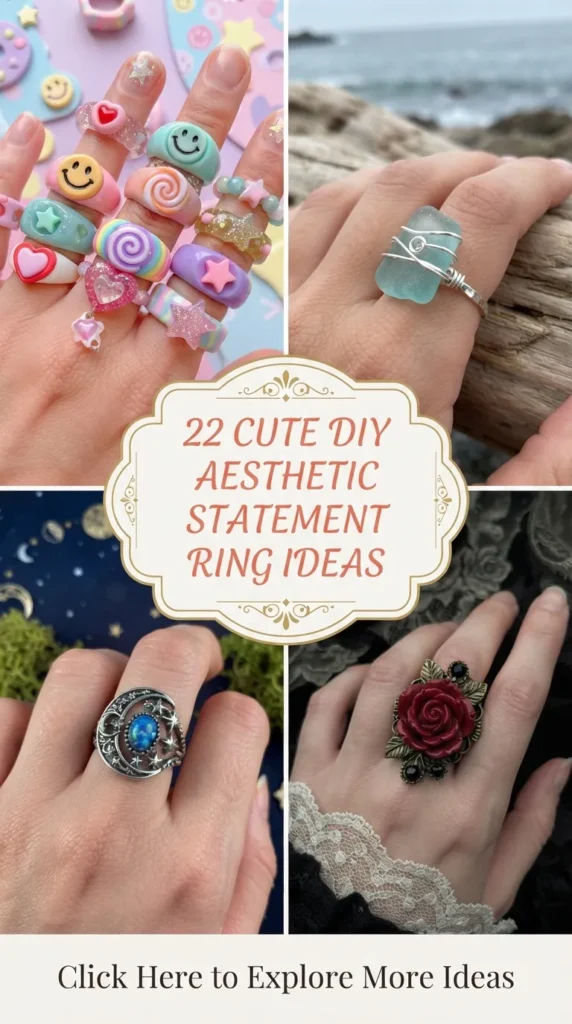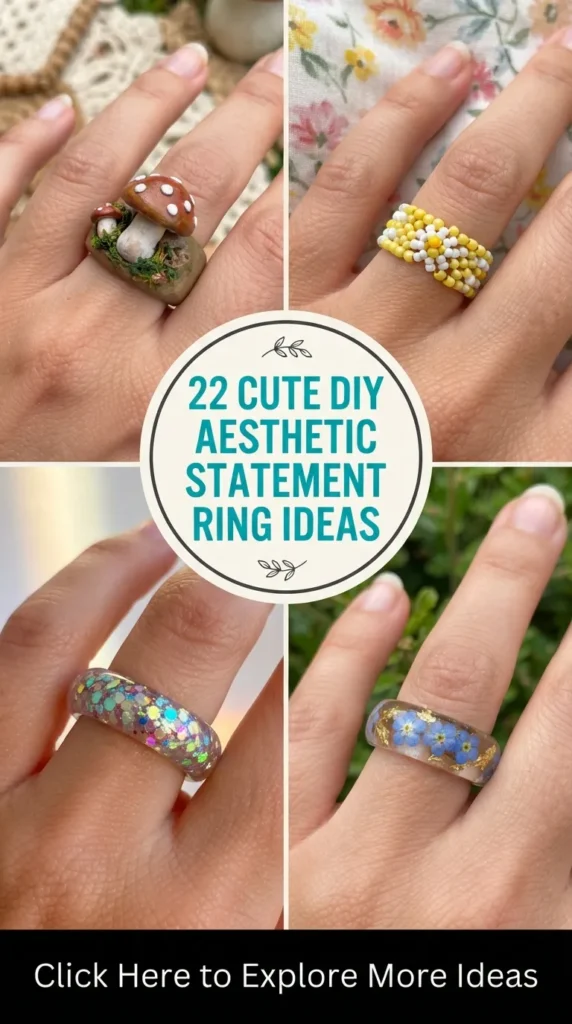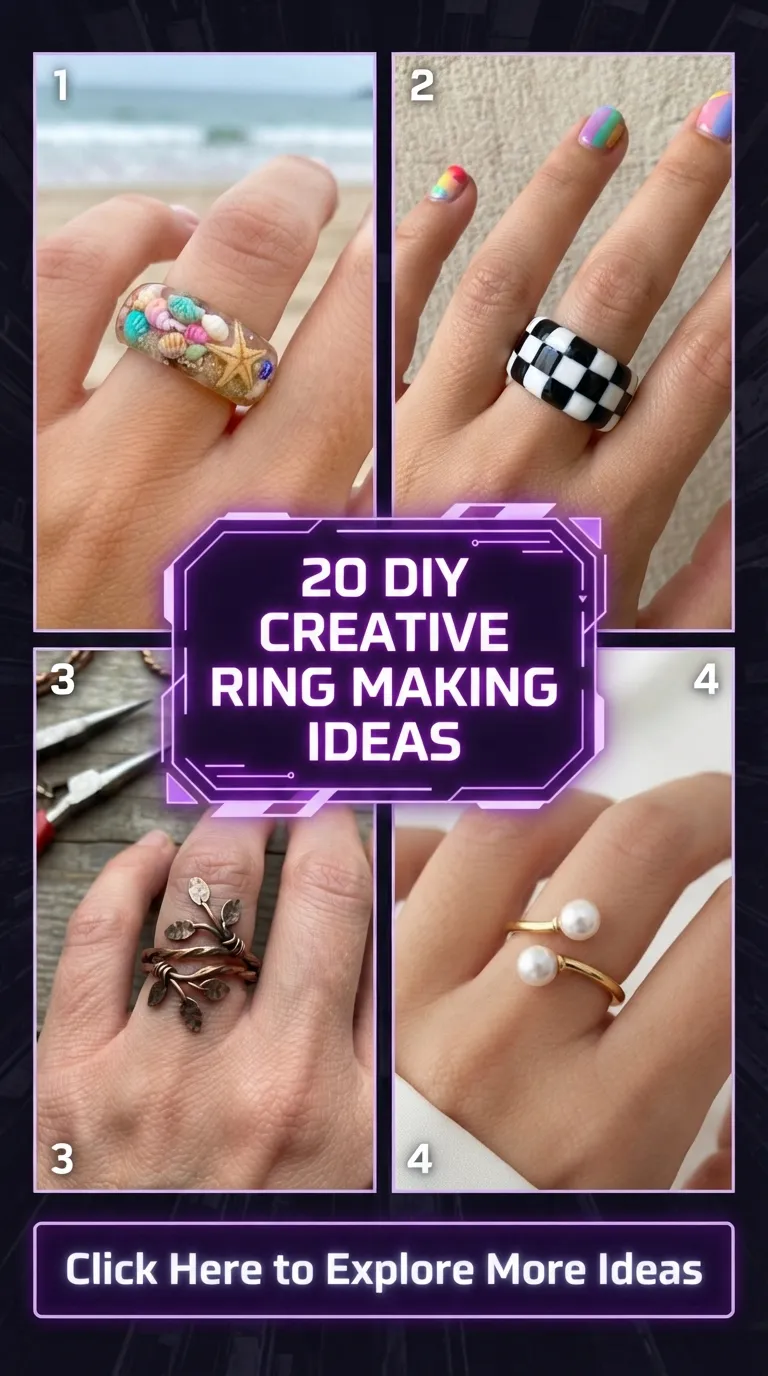
There is something incredibly magical about looking down at your hands and seeing a collection of unique, hand-crafted rings that perfectly match your personal vibe. Whether your style leans toward the whimsical romanticism of Cottagecore, the bold nostalgia of Y2K, the sleek lines of the Clean Girl aesthetic, or the moody depths of Whimsigoth, statement rings are the ultimate way to express yourself.
Instead of spending a fortune at boutique shops, making your own jewelry is satisfying, highly customizable, and surprisingly easy.
In this ultimate guide, we are diving deep into 20 cute, DIY aesthetic statement ring ideas that you can recreate at home. Grab your pliers, warm up your polymer clay, prep your resin, and let’s turn your jewelry dish into an aesthetic dream.
The DIY Ring-Making Toolkit: What You’ll Need
Before we jump into the designs, here is a quick look at the essential supplies that will make your DIY journey seamless. Having these on hand will allow you to conquer almost any project on this list:
| Tool/Material | Best Used For | Why You Need It |
| Polymer Clay | Chunky, retro, and sculpted rings | Highly durable, endless color mixing, easy to bake at home. |
| Jewelry Wire (20G & 24G) | Wire-wrapping crystals, pearls, and sea glass | Dead-soft brass or silver-filled wire holds shapes beautifully. |
| UV Resin & UV Lamp | Clear, glass-like rings with embedded florals or gold leaf | Cures in minutes under UV light, eliminating long drying times. |
| Jewelry Pliers Set | Bending, cutting, and shaping wire | Round-nose, chain-nose, and wire cutters are non-negotiable. |
| Ring Mandrel | Getting the perfect ring size | Essential for shaping wire and clay bands to fit your fingers perfectly. |
| E6000 Jewelry Glue | Securing cabochons, crystals, and buttons | Industrial-strength adhesive that ensures your creations stay intact. |
DIY Aesthetic Statement Ring Ideas
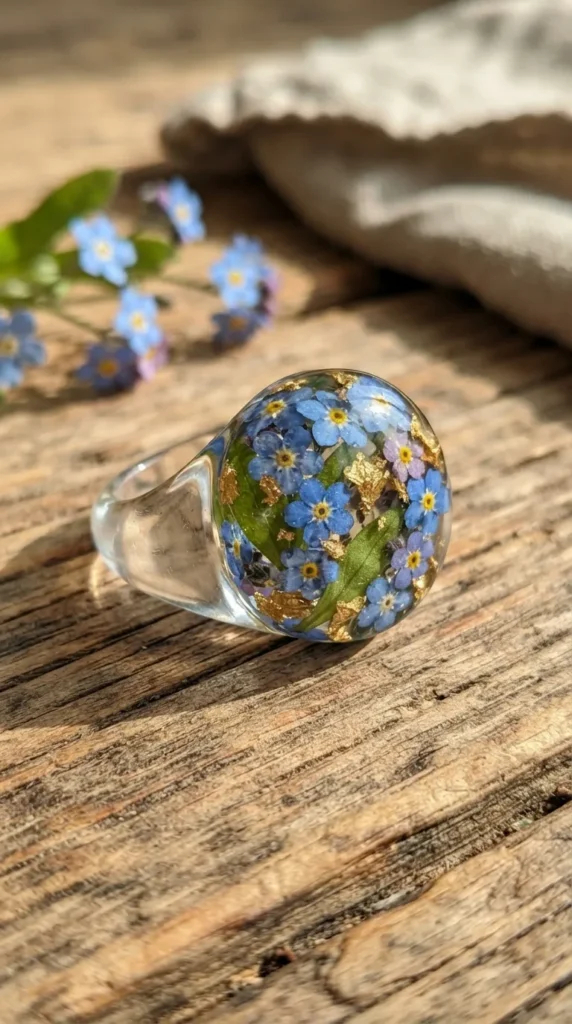
1. The Pressed Flower Resin Ring
The Aesthetic: Cottagecore / Soft Girl Romantic
There is nothing quite like holding a tiny piece of preserved spring on your finger. This crystal-clear resin ring features real pressed botanicals suspended in time, perfect for romantic souls.
- Materials: UV resin, silicone ring molds, mini dried pressed flowers (like forget-me-nots or baby’s breath), gold leaf flakes, UV lamp, toothpick.
- Step-by-Step:
- Clean your silicone ring mold to ensure there is no dust inside.
- Pour a very thin layer of UV resin into the mold and cure it under your UV lamp for 30 seconds.
- Use tweezers to carefully place your mini pressed flowers and tiny flecks of gold leaf onto the cured base layer.
- Use a toothpick to gently push them into place.
- Fill the remainder of the mold with UV resin, using the toothpick to pop any trapped air bubbles.
- Cure under the UV lamp for 2 to 3 minutes on each side until completely hard.
- Pop the ring out of the mold and sand down any rough edges with a fine-grit nail buffer.
- Styling Tip: Pair this with breezy linen dresses, pastel knits, and a soft, neutral manicure.
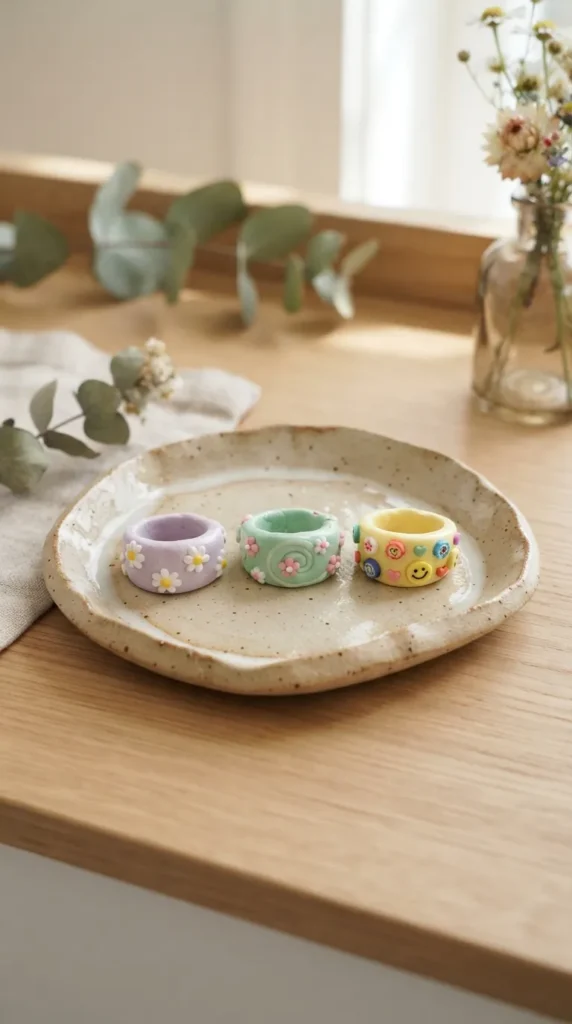
2. The Chunky Y2K Clay Ring
The Aesthetic: Y2K / Kidcore / Indie
Bring back the playful energy of the early 2000s with a chunky, colorful clay ring. These look great stacked together in contrasting pastel and neon shades.
- Materials: Polymer clay in pastel shades (lavender, mint, butter yellow), liquid clay softener (optional), acrylic rolling pin, craft knife, ring mandrel, gloss varnish.
- Step-by-Step:
- Condition your polymer clay by kneading it in your hands until it is soft and pliable.
- Roll the clay into a smooth, even snake about 1/4 inch thick.
- Wrap the clay snake around your ring mandrel at your desired size, cutting the excess and smoothing the seam with your finger.
- To make it a statement piece, sculpt a small clay shape (like a heart, flower, or star) and gently press it onto the seam of the band.
- Bake in your home oven according to your clay package instructions (usually 275°F/135°C for 15-20 minutes).
- Once cooled, coat the entire ring in a high-gloss glaze or UV resin to give it that ultra-shiny, plastic-like finish.
- Styling Tip: Stack two or three chunky clay rings on different fingers and pair them with a graphic baby tee and baggy cargo pants.
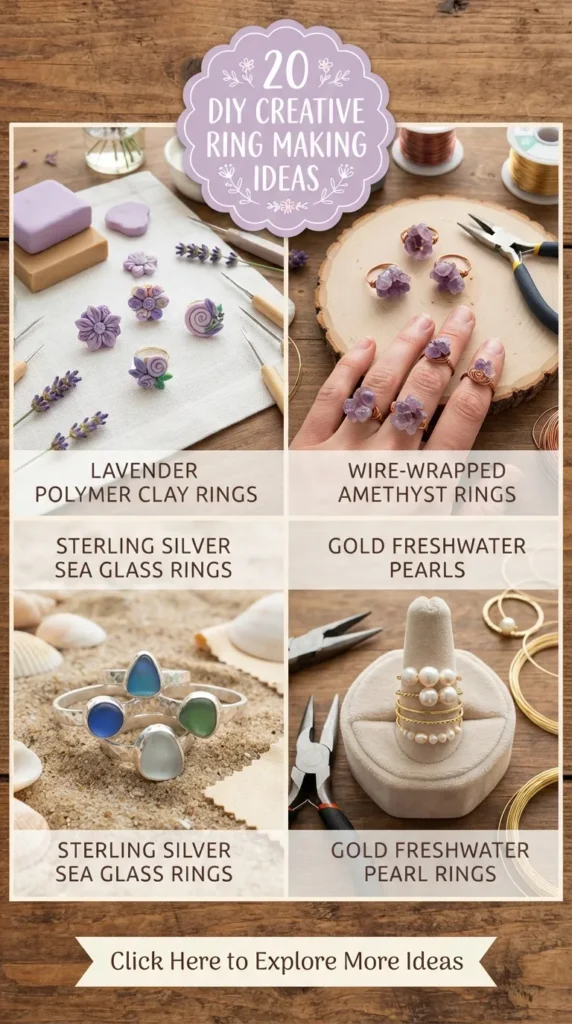
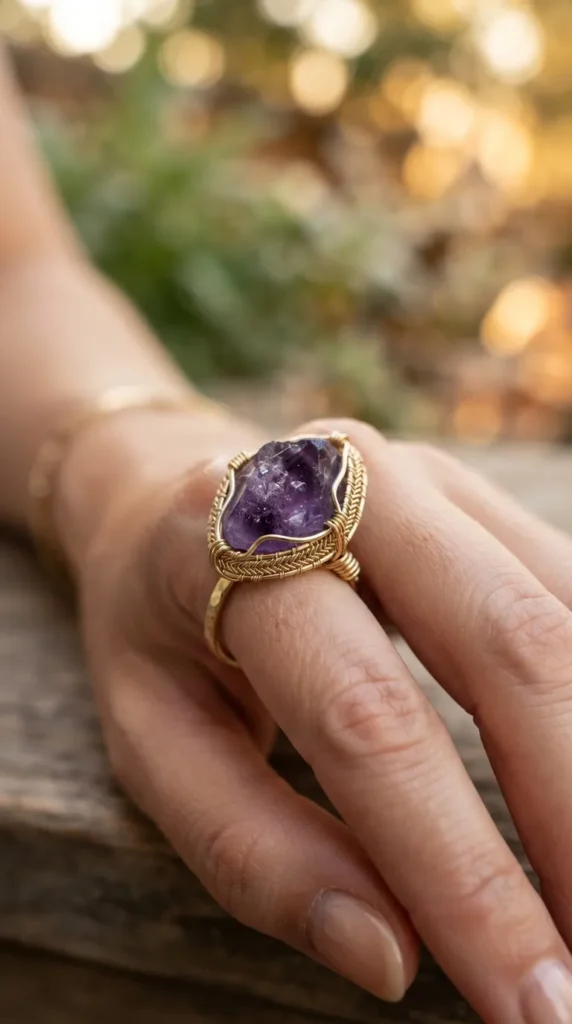
3. The Minimalist Wire-Wrapped Raw Crystal Ring
The Aesthetic: Bohemian / Witchy / Earthy
Keep your energy grounded with a gorgeous raw crystal wrapped in delicate metallic wire. This style highlights the natural, uncut beauty of stones like amethyst, quartz, or citrine.
- Materials: 20-gauge dead-soft jewelry wire (gold or silver), small raw crystal point, wire cutters, round-nose pliers, ring mandrel.
- Step-by-Step:
- Cut a piece of wire about 10-12 inches long.
- Place the middle of the wire against your ring mandrel at your size, wrapping both ends around the mandrel twice to create a sturdy, double-strand band.
- Slide the wire off the mandrel, holding the loop shape securely.
- Place your raw crystal flat against the center loop.
- Take one tail of the wire and wrap it tightly around the base of the crystal 3 to 4 times to anchor it.
- Take the other tail and wrap it around the opposite side of the crystal.
- Wrap the remaining wire tails around the ring band itself to secure the structure and prevent any sharp ends from poking your skin. Cut and tuck the ends with chain-nose pliers.
- Styling Tip: Wear this as a solo midi ring or stack it with simple gold bands to let the raw crystal shine.
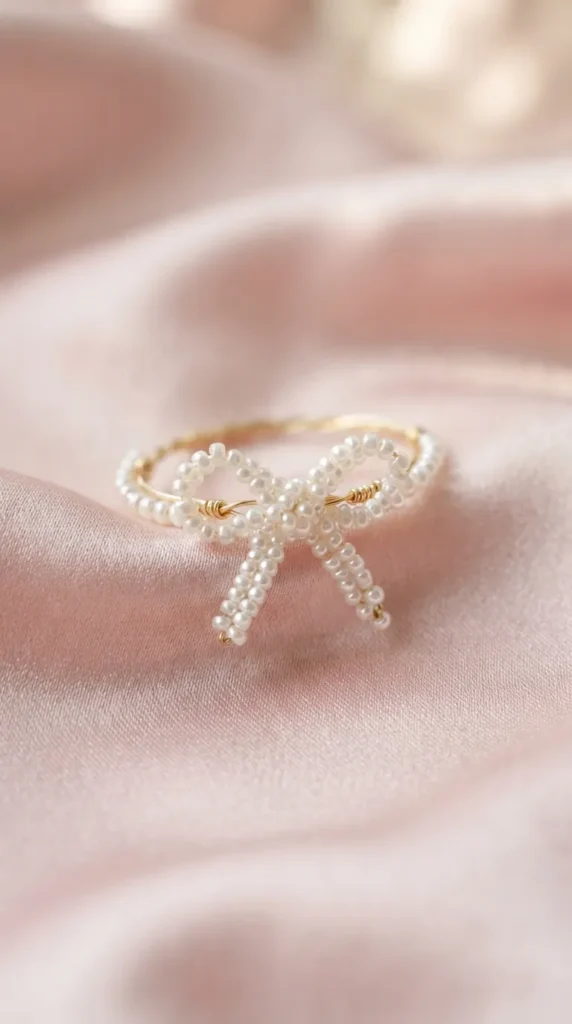
4. The Pearl Bow Ribbon Ring
The Aesthetic: Coquette / Balletcore
Dainty, ultra-feminine, and perfectly on-trend, this pearl bow ring brings a touch of classic elegance to your everyday jewelry lineup.
- Materials: 24-gauge gold jewelry wire, tiny 2mm faux pearl seed beads, wire cutters, round-nose pliers.
- Step-by-Step:
- Cut a 12-inch piece of wire.
- Thread enough pearl beads onto the wire to equal the circumference of your finger, keeping them centered.
- Bring the two wire ends together to form a circle, crossing them over. Twist them tightly twice to secure the beaded band.
- Thread 8-10 pearls onto one side of the excess wire, fold it into a loop to form half of a bow, and wrap the wire tail around the center twist to secure it.
- Repeat this process on the other side of the wire to create the second loop of your bow.
- Thread 3-4 pearls onto each remaining wire tail to create the dangling ribbon ends of the bow. Cut and crimp the tips to lock the beads in place.
- Styling Tip: This ring looks exquisite paired with satin hair bows, lace details, and a classic French manicure.
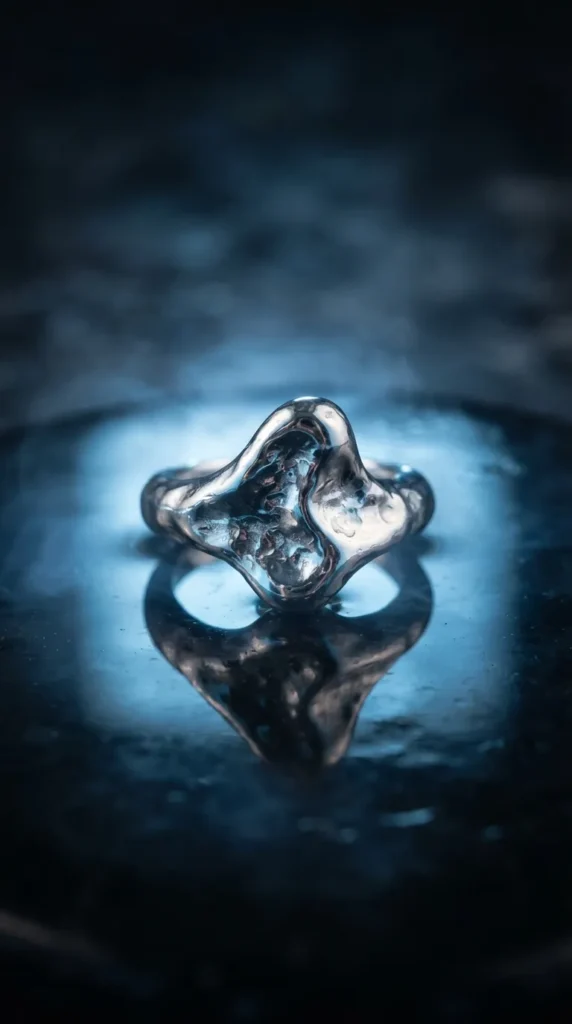
5. The Melted Metallic Silver Ring
The Aesthetic: Cyberpunk / Grunge / Avant-Garde
This ring looks like liquid mercury wrapped around your finger. It’s bold, edgy, and surprisingly lightweight.
- Materials: Silver polymer clay, silver mica powder, UV resin, silicone ring mold, craft knife.
- Step-by-Step:
- Condition your silver polymer clay and roll it into an uneven, organic, bumpy strip rather than a perfect cylinder.
- Wrap it around your ring mandrel, overlapping the edges to create a “draped” or “melted” look.
- Use a sculpting tool or toothpick to create drips and organic ridges along the outer surface.
- Dust the entire surface with silver mica powder using a soft brush to give it an intense, metallic sheen.
- Bake according to the clay instructions.
- Once cooled, coat it in a thick layer of glossy UV resin to mimic the liquid sheen of melted metal, then cure.
- Styling Tip: Style this with oversized vintage leather jackets, silver chain necklaces, and dark, moody nail polish.
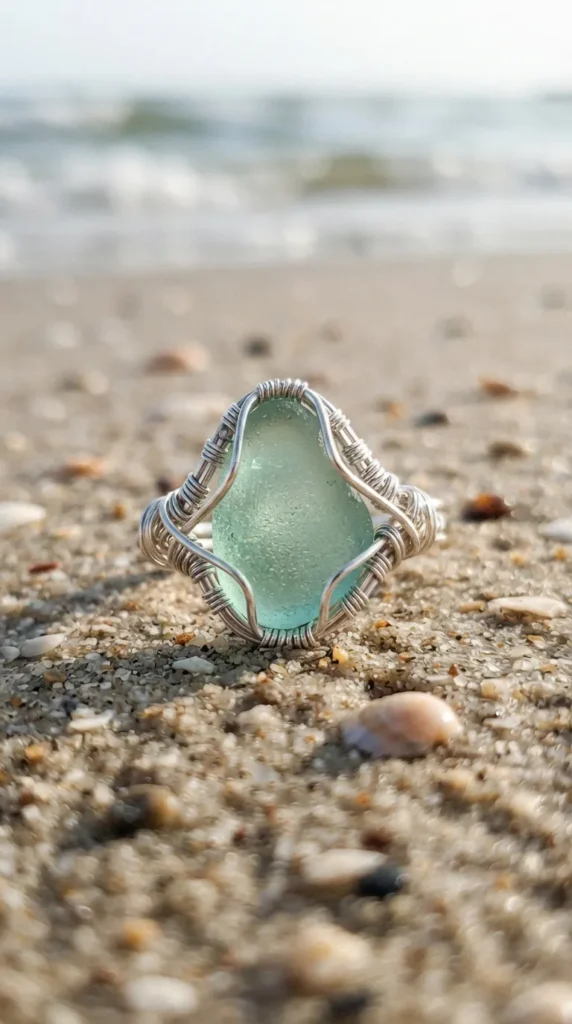
6. The Sea Glass Wire-Wrapped Ring
The Aesthetic: Coastal Mermaid / Beachy Boho
Carry a piece of the ocean wherever you go. Frosted sea glass wrapped in silver wire looks effortlessly beautiful and catches the light beautifully.
- Materials: A small piece of genuine frosted sea glass (mint green, aqua, or white), 20-gauge silver craft wire, wire cutters, round-nose pliers.
- Step-by-Step:
- Cut an 11-inch piece of silver wire.
- Center the sea glass on the wire. Bring both ends of the wire up over the front of the sea glass, crossing them over to form an “X” that hugs the stone.
- Wrap the wire ends around the sides of the sea glass to create a secure cage.
- Move the project to your ring mandrel and wrap the remaining long wire tails around the mandrel to form your ring band.
- Wrap the tails around the base of the sea glass cage to secure the stone to the band. Cut and file any sharp edges.
- Styling Tip: Looks amazing alongside chunky knit cream sweaters and gold-accented shell jewelry.
7. The Retro Mushroom Polymer Clay Ring
The Aesthetic: Goblincore / Indie / Weirdcore
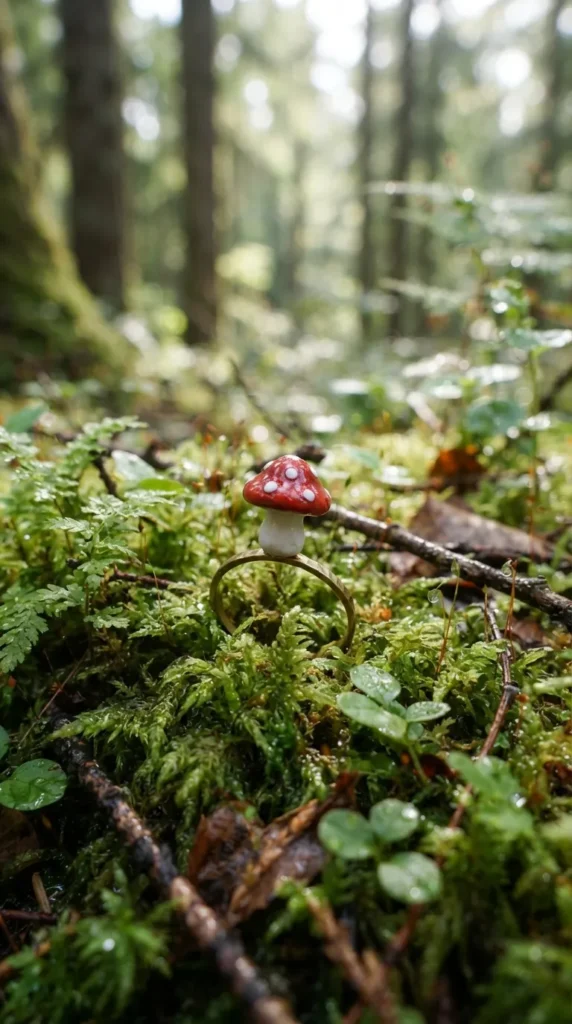
Add a playful, earthy touch to your hands with a sculpted red-and-white amanita mushroom ring that feels like it came straight out of a fairy tale.
- Materials: Polymer clay (red, white, and green/brown for the band), craft knife, dotting tool, gloss glaze.
- Step-by-Step:
- Create your ring band using a neutral brown or moss green polymer clay wrapped around your ring mandrel.
- Sculpt a tiny white mushroom stem and attach it to the center of the band, smoothing the clay connection with a toothpick.
- Sculpt a small dome shape out of vibrant red clay to serve as the mushroom cap. Press it gently onto the stem.
- Roll tiny crumbs of white clay into balls and press them onto the red cap to create the mushroom’s spots.
- Bake the entire assembly.
- Once cool, paint the mushroom cap with a gloss glaze while keeping the stem matte for a realistic texture.
- Styling Tip: This quirky piece is best styled with corduroy overalls, forest green layers, and whimsical, cozy vibes.
8. The Evil Eye Beaded Statement Ring
The Aesthetic: Mediterranean / Boho Chic / Protective
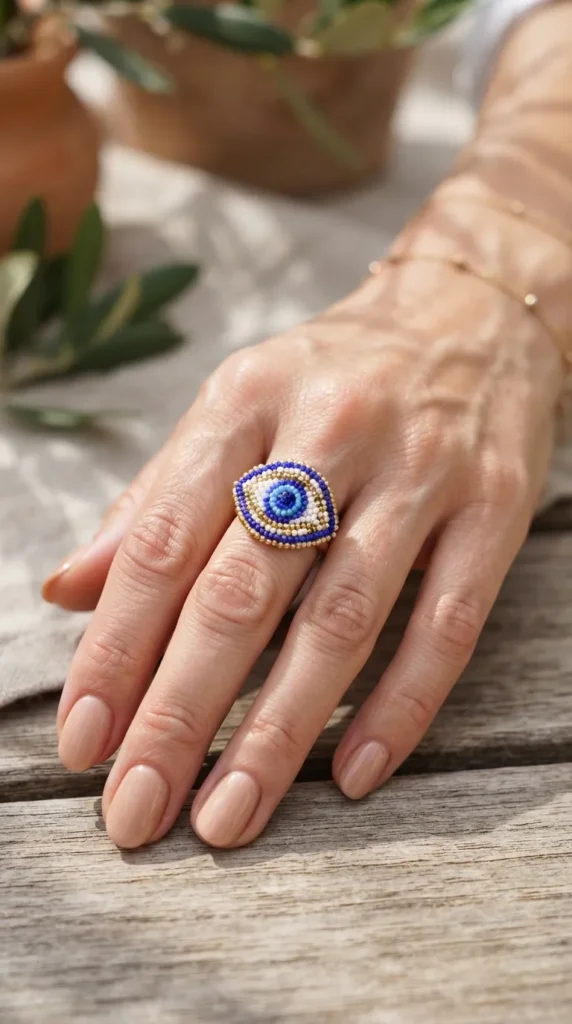
A beautiful and meaningful statement piece designed to ward off negative energy while adding a pop of cobalt blue to your hand stack.
- Materials: Elastic jewelry cord or 24-gauge wire, small seed beads (cobalt blue, light blue, white, and gold), scissors, jewelry glue.
- Step-by-Step:
- If using wire, cut a 6-inch piece. If using elastic, cut an 8-inch piece.
- Thread your background beads (gold or white) until you reach the center.
- To create the evil eye: Thread 1 cobalt blue bead, 1 white bead, 1 light blue bead (the iris), 1 black bead (the pupil), 1 light blue bead, 1 white bead, and 1 cobalt blue bead.
- Loop the wire/elastic back through the outer beads to cluster them into a round eye shape.
- Finish threading the rest of the band with your background beads.
- Secure the wire by twisting and tucking, or tie a surgeon’s knot in the elastic, securing it with a drop of E6000 glue.
- Styling Tip: Layer this alongside gold coin rings and delicate chain bracelets for a chic, travel-inspired stack.
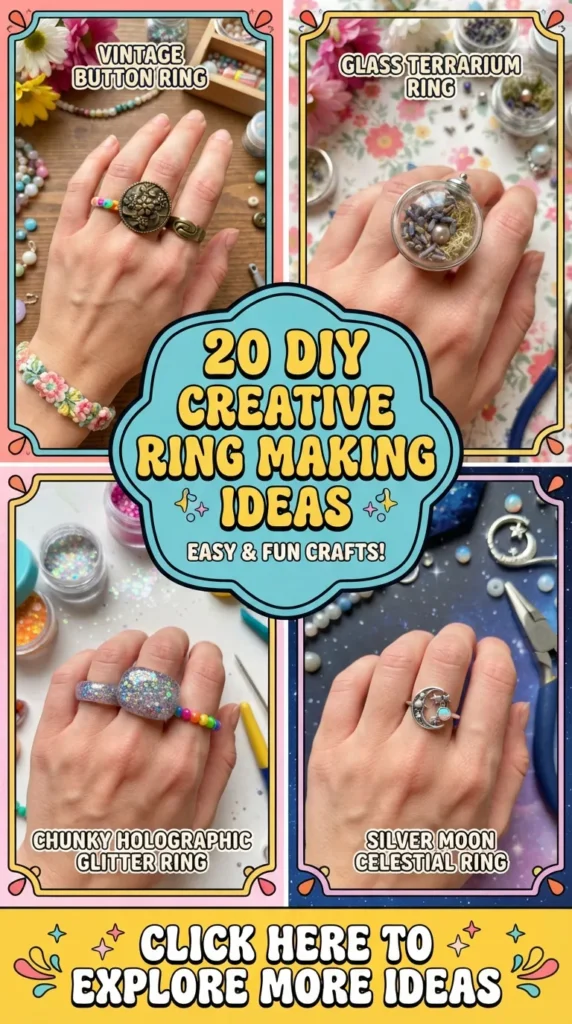
9. The Vintage Button Statement Ring
The Aesthetic: Dark Academia / Grandmacore
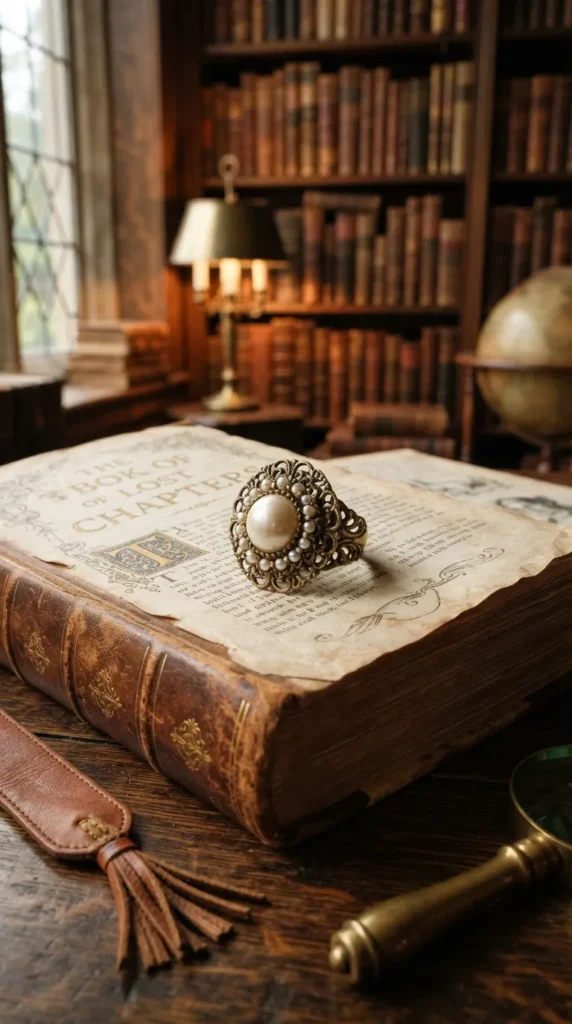
Thrift stores are full of gorgeous, ornate brass, pearl, or enamel buttons. Give them a second life as a bold, vintage-inspired shield ring.
- Materials: A vintage metal or pearl button with a flat back (or cut the shank off with wire cutters), adjustable blank ring base with a flat pad, E6000 jewelry glue.
- Step-by-Step:
- If your vintage button has a loop (shank) on the back, use heavy-duty wire cutters to snip it off as close to the base as possible.
- Use sandpaper to sand down the back of the button until it is completely flat and slightly rough. This helps the glue adhere better.
- Apply a generous dab of E6000 jewelry glue to the flat pad of your adjustable ring base.
- Press the vintage button firmly onto the glued pad.
- Let it cure undisturbed for a full 24 hours to ensure a permanent, rock-hard bond.
- Styling Tip: Wear this dramatic piece on your index finger paired with tweed blazers, loafers, and a vintage leather watch.
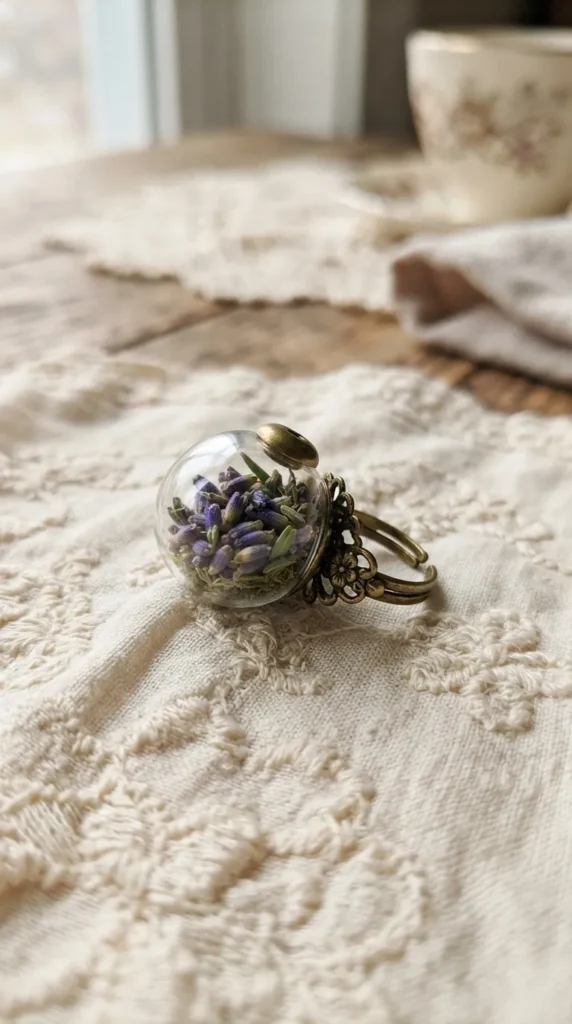
10. The Dried Lavender Terrarium Ring
The Aesthetic: Cottagecore / Herbology
Keep a soothing sprig of lavender close to you at all times. This ring uses a miniature glass dome or hollow resin shape to house real dried lavender buds.
- Materials: Miniature glass globes with ring bases (available online or at craft shops), dried lavender buds, clear baby oil or glycerine, E6000 glue.
- Step-by-Step:
- Carefully drop 3 to 5 tiny, vibrant purple lavender buds inside the miniature glass globe.
- If you want a “floating” look, fill the globe with glycerine or baby oil. For a dry terrarium look, leave it empty.
- Put a bead of E6000 glue around the metal cap rim of your ring base.
- Press the glass globe firmly onto the cap and hold it for 30 seconds.
- Let it dry upright in a small cup or bowl for 24 hours before wearing.
- Styling Tip: Perfect for spring outings, garden parties, or whenever you need a tiny sensory reminder of peace during a busy day.
11. The Chunky Glitter Acrylic Ring
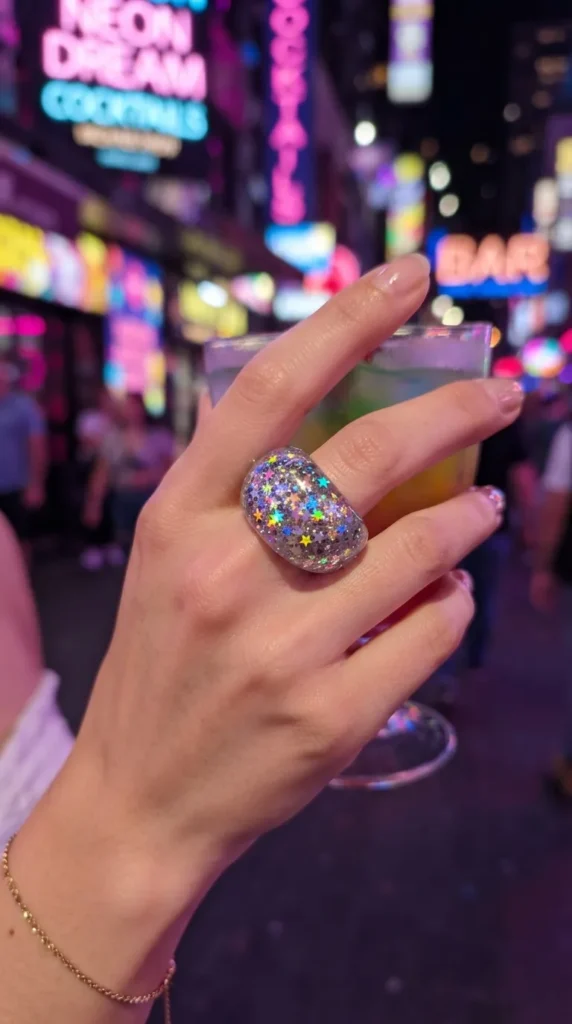
The Aesthetic: Y2K / Party Girl / Retro Futurist
Shine bright under the lights with an ultra-thick resin band packed with holographic chunky glitter, stars, and confetti.
- Materials: UV resin, chunky holographic star/heart glitter, thick silicone ring mold, UV lamp, mixing cup, toothpick.
- Step-by-Step:
- In a small, disposable mixing cup, mix a tablespoon of UV resin with a generous amount of your favorite holographic glitter.
- Stir slowly to avoid creating too many air bubbles.
- Pour the glittery resin into your silicone ring mold. Use a toothpick to drag the glitter pieces around so they are evenly distributed.
- Cure under your UV lamp for 3 minutes, flipping the mold halfway through.
- Once fully cured, pop it out of the mold and enjoy the high-shine, light-catching sparkle.
- Styling Tip: This is the ultimate festival accessory. Wear it with colorful hair clips, metallic clothing, and glitter eye makeup.
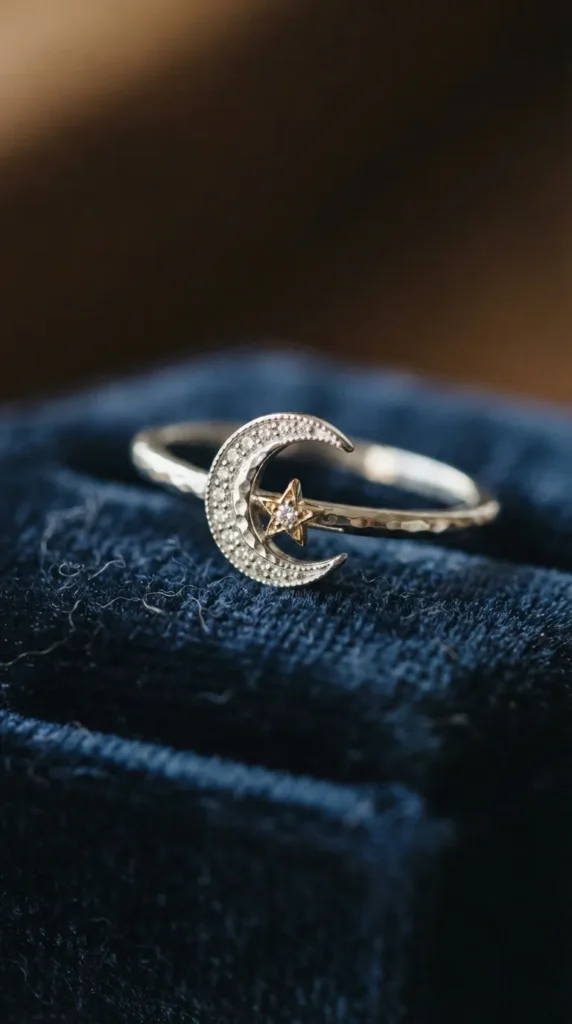
12. The Celestial Moon & Star Wire Ring
The Aesthetic: Astro-Goth / Whimsigoth
Bring the beauty of the night sky to your hands. This delicate wire-sculpted ring features a tiny silver crescent moon cradling a gold star.
- Materials: 20-gauge silver jewelry wire, 24-gauge gold jewelry wire, small gold star bead or charm, round-nose pliers, ring mandrel.
- Step-by-Step:
- Cut an 8-inch piece of silver wire.
- Wrap it around your ring mandrel twice to form a sturdy double band.
- Using round-nose pliers, bend one of the wire ends into a smooth, crescent moon shape directly on the front of the band.
- Cut a 4-inch piece of fine gold wire, thread your gold star bead onto it, and wrap the gold wire tightly around the center of the silver crescent moon to make the star float inside the curve of the moon.
- Wrap all wire ends cleanly around the main band, cut, and tuck.
- Styling Tip: Style this with dark velvet outfits, celestial prints, and plenty of other silver star-themed jewelry.
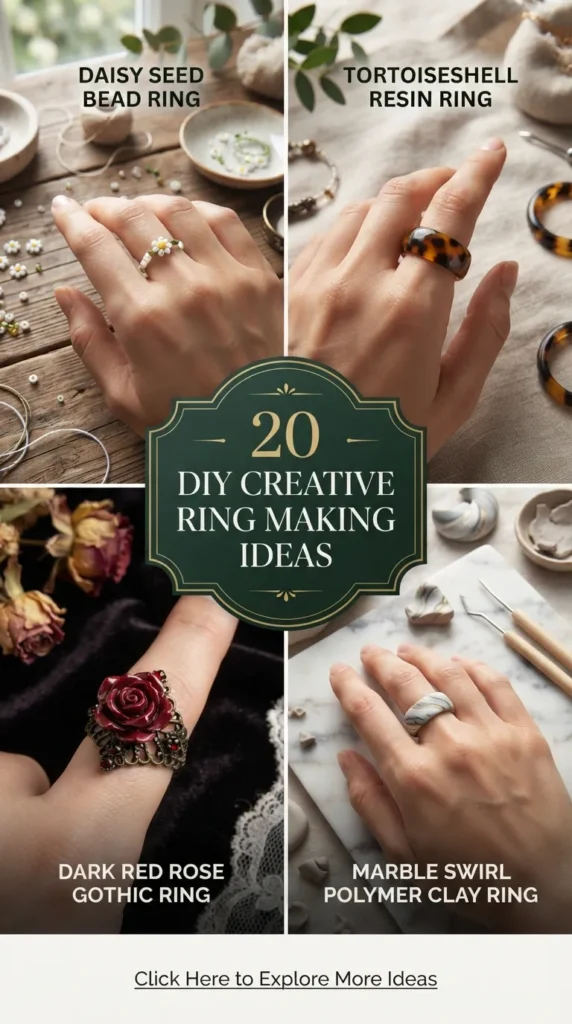
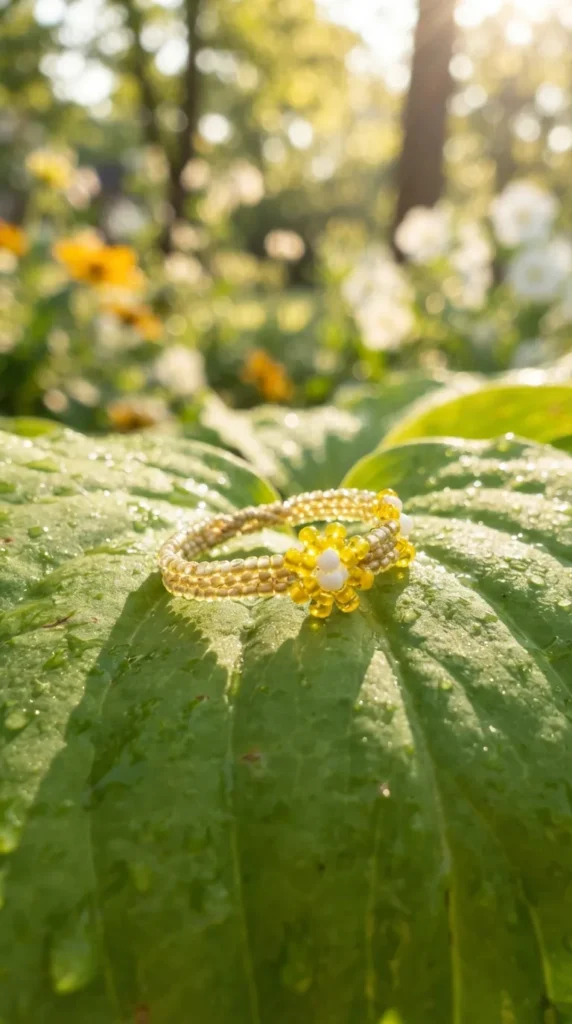
13. The Dainty Daisy Seed Bead Ring
The Aesthetic: Indie / Soft Girl / Kidcore
A sweet, nostalgic classic. These daisy chains are incredibly simple to make, highly addictive, and look adorable stacked up your fingers.
- Materials: Elastic cord (0.5mm), size 11/0 seed beads (white, yellow, and green), jewelry glue.
- Step-by-Step:
- Cut a 10-inch piece of elastic cord.
- Thread your green “stem” beads onto the cord until you reach where you want your first flower.
- Thread 4 white beads (petals) and 1 yellow bead (the center).
- Take the end of your elastic and loop it back through the very first white bead you strung, pulling it tight. This forms a half-circle of petals around the yellow center.
- Thread 3 more white beads onto the elastic.
- Run the elastic through the fourth white bead from your original loop to close the circle. You now have a perfect daisy!
- Repeat this process or continue with green spacer beads until the ring fits your finger.
- Tie off with a strong knot and secure with a dot of glue.
- Styling Tip: Make these in different colors (pink daisies, blue daisies) and wear them on multiple fingers for a cheerful, sunny look.
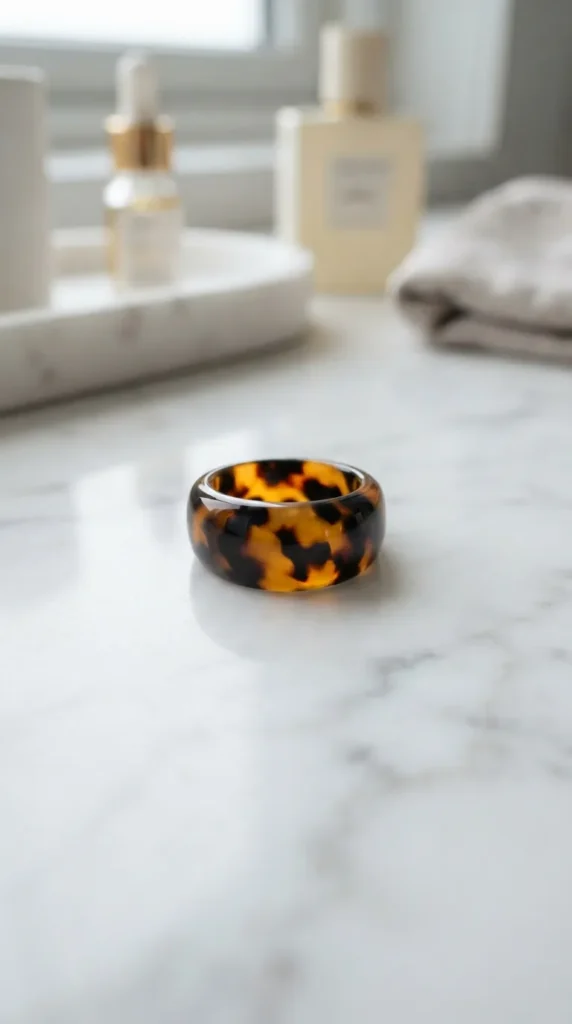
14. The Faux Tortoiseshell Resin Ring
The Aesthetic: Clean Girl / Old Money Chic
Tortoiseshell never goes out of style. This classic amber-and-black pattern adds an instant layer of sophistication and luxury to any casual look.
- Materials: UV resin, translucent amber/brown resin pigment, black alcohol ink, silicone ring mold, UV lamp, toothpick.
- Step-by-Step:
- Mix your UV resin with a few drops of translucent amber pigment until you get a warm, honey-like color.
- Fill your ring mold halfway with this amber mixture.
- Put a tiny drop of black alcohol ink onto a plastic surface. Dip your toothpick in the black ink and lightly swirl tiny, organic splotches into the amber resin inside the mold.
- Fill the rest of the mold with amber resin.
- Cure under your UV lamp for 3 minutes.
- Pop out of the mold to reveal a beautiful, organic tortoiseshell pattern swirling through the ring.
- Styling Tip: Pairs beautifully with gold hoop earrings, crisp white button-down shirts, and camel-colored trench coats.
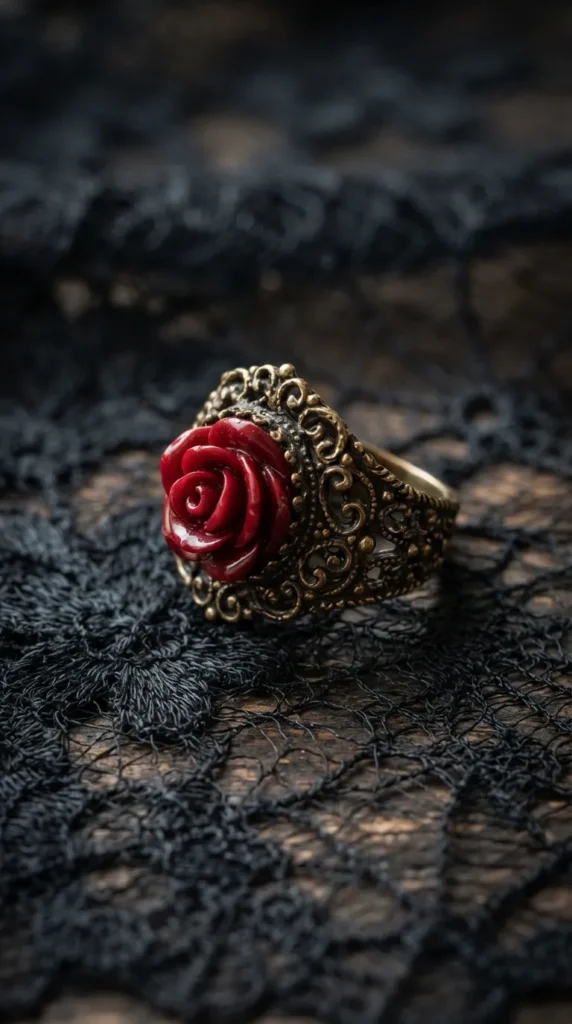
15. The Gothic Red Rose Cabochon Ring
The Aesthetic: Dark Coquette / Whimsigoth / Vampire
Channel your inner gothic romance with a deep, blood-red resin rose mounted on an antique-style filigree ring base.
- Materials: Red resin rose cabochon, vintage brass or silver adjustable filigree ring blank, E6000 jewelry glue.
- Step-by-Step:
- Ensure the back of your rose cabochon is clean and free of oils.
- Dab a generous amount of E6000 glue onto the center flat pad of your filigree ring blank.
- Press the rose cabochon firmly into the glue, making sure it is centered.
- Let the ring sit undisturbed for 24 hours to cure completely.
- Styling Tip: Wear this on your middle finger alongside delicate lace gloves, dark corsets, and deep plum lipstick.
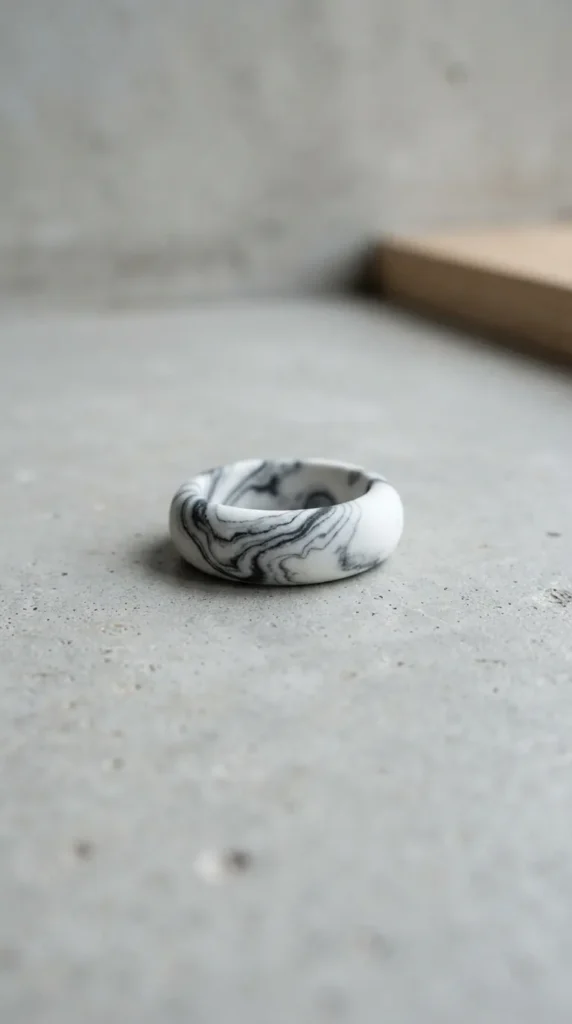
16. The Marble-Effect Clay Band
The Aesthetic: Minimalist / Modern Sculptural
Sleek, artistic, and calming, this ring mimics the luxurious swirls of real Carrara marble using two contrasting shades of polymer clay.
- Materials: White polymer clay, black polymer clay, clay slicer, acrylic roller, ring mandrel.
- Step-by-Step:
- Take a large block of white clay and a tiny crumb of black clay.
- Roll each into thin ropes.
- Twist the black and white ropes together, then fold the combined rope in half and twist again.
- Roll the twisted clay into a ball, then roll it out into a snake. You will see beautiful, thin gray and black veins forming. Do not over-mix, or the clay will turn a solid muddy gray.
- Flatten the marbled clay with your acrylic roller to a thickness of about 3mm.
- Cut a straight, neat band using your craft blade, wrap it around your ring mandrel to size, and bake.
- Finish with a matte or satin sealer for a realistic stone look.
- Styling Tip: An incredible everyday statement piece that pairs beautifully with minimalist monochrome outfits and silver hardware.
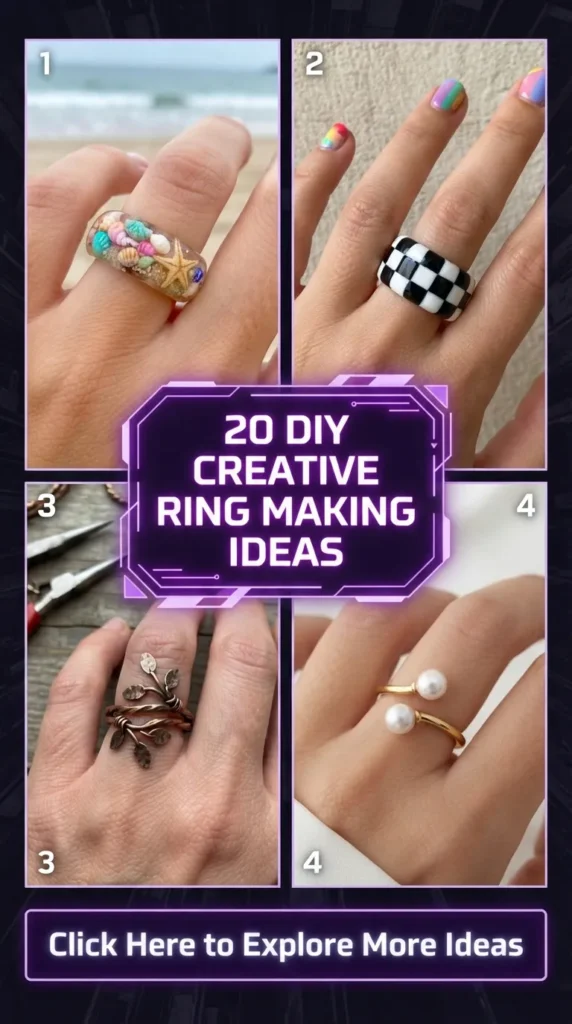
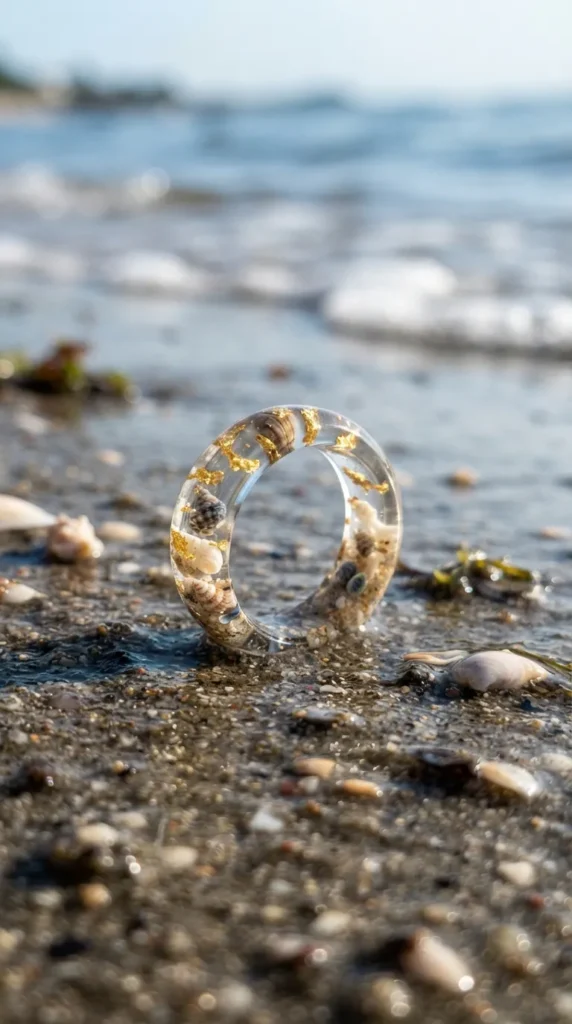
17. The Tiny Shell & Gold Leaf Ring
The Aesthetic: Beachy Chic / Warm Sands
Perfect for beach lovers, this crystal-clear resin band contains tiny, real micro-shells and sparkling gold leaf flakes floating inside.
- Materials: Clear UV resin, micro-shells (baby star shells or mini clams), gold leaf, toothpick, silicone ring mold, UV lamp.
- Step-by-Step:
- Pour a base layer of clear UV resin into your silicone mold and cure for 30 seconds.
- Carefully place 2 or 3 micro-shells and tiny flecks of gold leaf onto the cured layer.
- Fill the rest of the mold with clear UV resin, ensuring the shells are completely submerged.
- Use a toothpick to guide any trapped air bubbles out of the shells.
- Cure under your UV lamp for 3 minutes.
- Styling Tip: Wear this with breezy linen shorts, gold anklets, and sun-kissed skin on your next beach vacation.
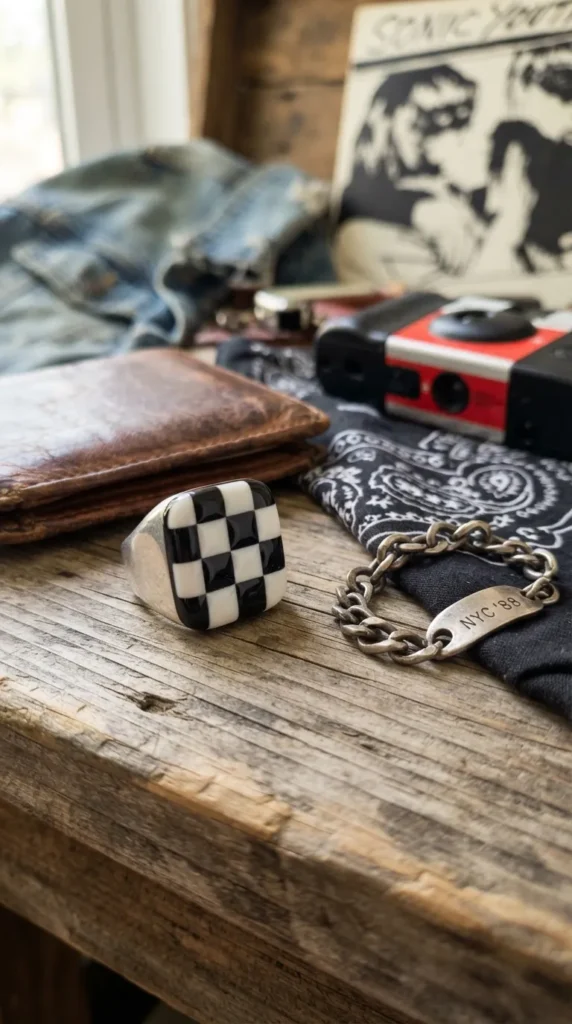
18. The Chunky Checkerboard Clay Ring
The Aesthetic: Retro / Streetwear / 90s Grunge
Checkerboard is one of the most popular patterns on Pinterest. This chunky clay band brings a bold, graphic punch to your jewelry rotation.
- Materials: Black polymer clay, white polymer clay, clay blade, roller, ring mandrel.
- Step-by-Step:
- Roll out a flat sheet of black clay and a flat sheet of white clay, both to the exact same thickness (around 2mm).
- Cut both sheets into thin, even strips of equal width.
- Lay the strips side-by-side, alternating black and white, to create a striped sheet. Roll lightly to fuse them together.
- Cut across the stripes to create new striped strips.
- Turn every second strip upside down to align the contrasting colors into a grid. Press them gently together to form your checkerboard sheet.
- Slice a band from this sheet, wrap it around your mandrel, seal the seam, and bake.
- Styling Tip: Perfectly complements chunky sneakers, oversized hoodies, and cool graphic nail art.
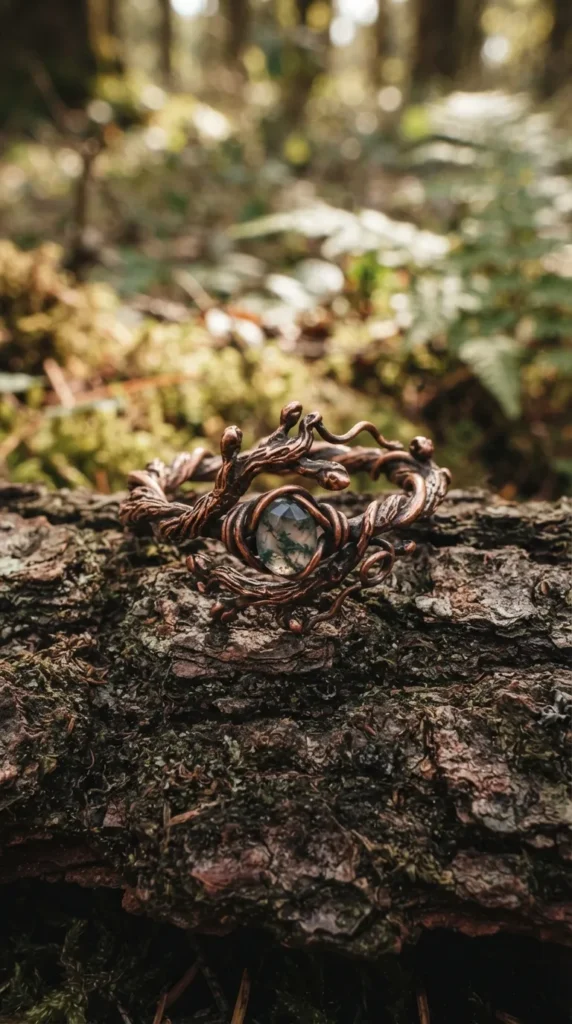
19. The Copper Solder Tree Branch Ring
The Aesthetic: Whimsigoth / Fairycore
This unique rustic ring uses copper wire to mimic the gnarled, beautiful texture of woodland tree branches wrapped around your finger.
- Materials: 20-gauge copper jewelry wire, round-nose pliers, jewelry hammer (optional), wire cutters.
- Step-by-Step:
- Cut three 6-inch pieces of copper wire.
- Twist them together in the center to create a single, thick, gnarled “branch” texture.
- Leave the ends untwisted and branching out like real twigs.
- Wrap the twisted center around your ring mandrel to form the band.
- Twist the loose ends together at the front of the ring, leaving small “twigs” pointing outward.
- Lightly tap the ring with a jewelry hammer on a steel block to flatten the wire slightly, hardening the copper and giving it an organic, hand-forged texture.
- Styling Tip: Looks incredibly mystical paired with forest green knits, raw crystal necklaces, and natural wood tones.
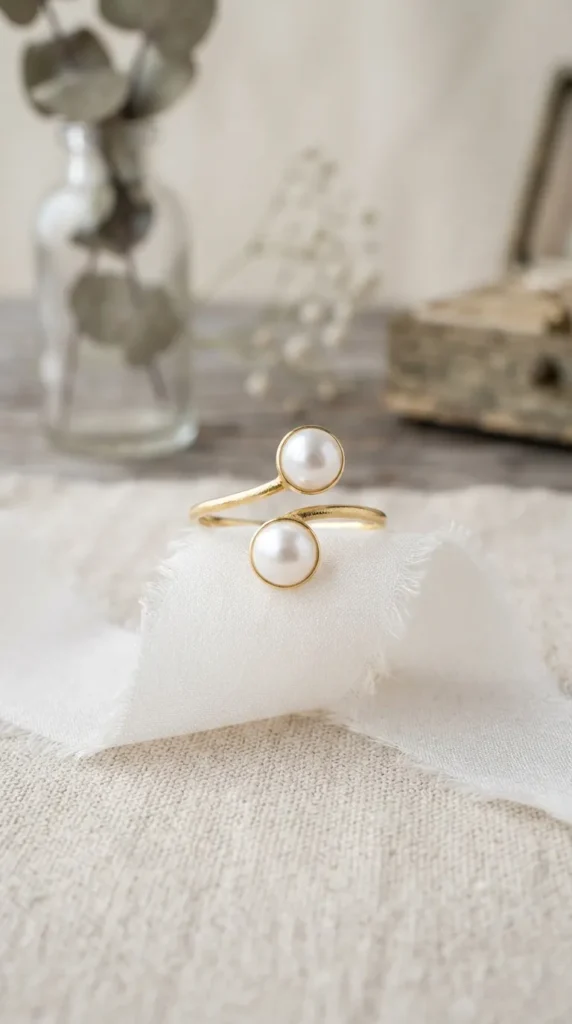
20. The Elegant Pearl Wrap Ring
The Aesthetic: Classic / Clean Girl / Bridal
Simple, elegant, and timeless. This open-wrap design features two lustrous freshwater pearls that sit gracefully on either side of your finger.
- Materials: 18-gauge sturdy gold-filled jewelry wire, two half-drilled freshwater pearls, E6000 glue, wire cutters, round-nose pliers, ring mandrel.
- Step-by-Step:
- Cut a 4-inch piece of gold-filled wire.
- Wrap the wire around your ring mandrel to form a “C” shape or spiral that overlaps slightly at the top.
- Use your round-nose pliers to create small, straight peg pins at both ends of the wire.
- Put a tiny dab of E6000 glue on the peg pins.
- Push the half-drilled freshwater pearls onto the glued pegs on both ends of the wire.
- Let the glue dry completely for 24 hours. The open design allows for slight adjusting to fit perfectly.
- Styling Tip: This is the ultimate sophisticated everyday ring. Wear it to elevate casual jeans-and-a-tee outfits or to add a touch of grace to formal evening wear.