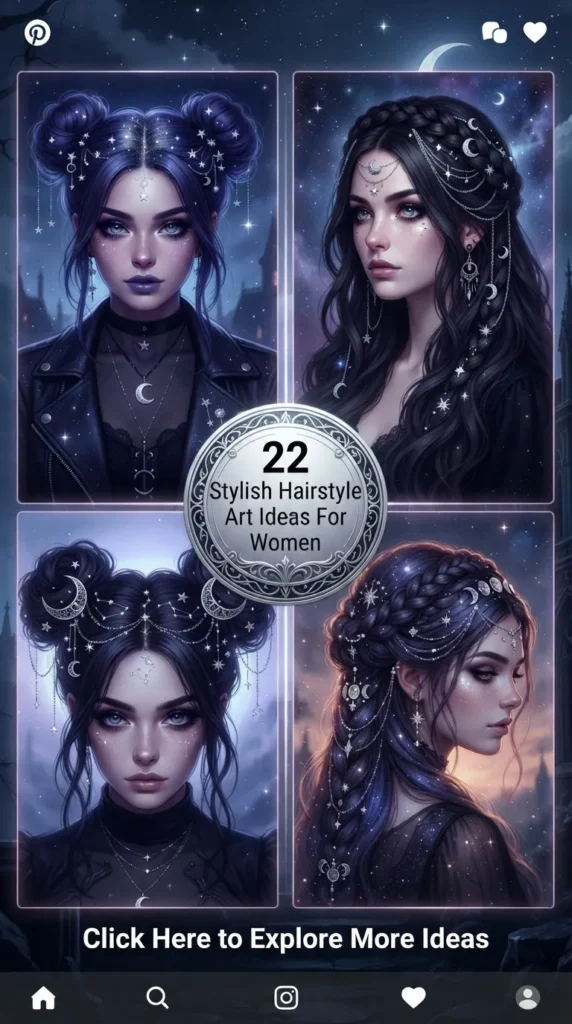
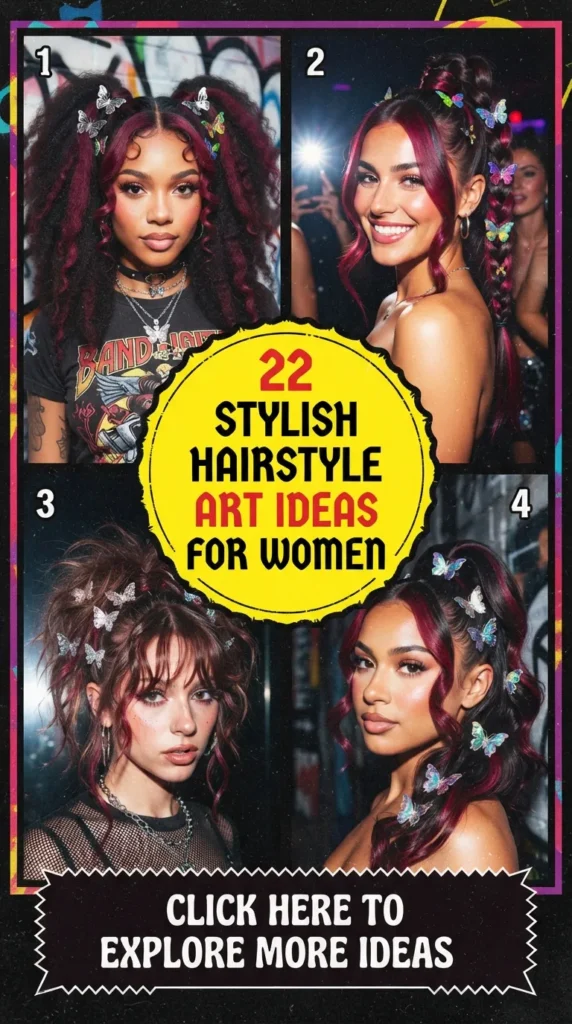
Hairstyle art transforms traditional hair design into wearable self-expression. By integrating colors, structured brais, delicate accessories, and sculptural techniques, hair becomes a dynamic visual canvas. Whether you want a subtle daily accent or a bold statement piece for photoshoots and social media, these 20 aesthetic hairstyle art ideas offer inspiration for every occasion.
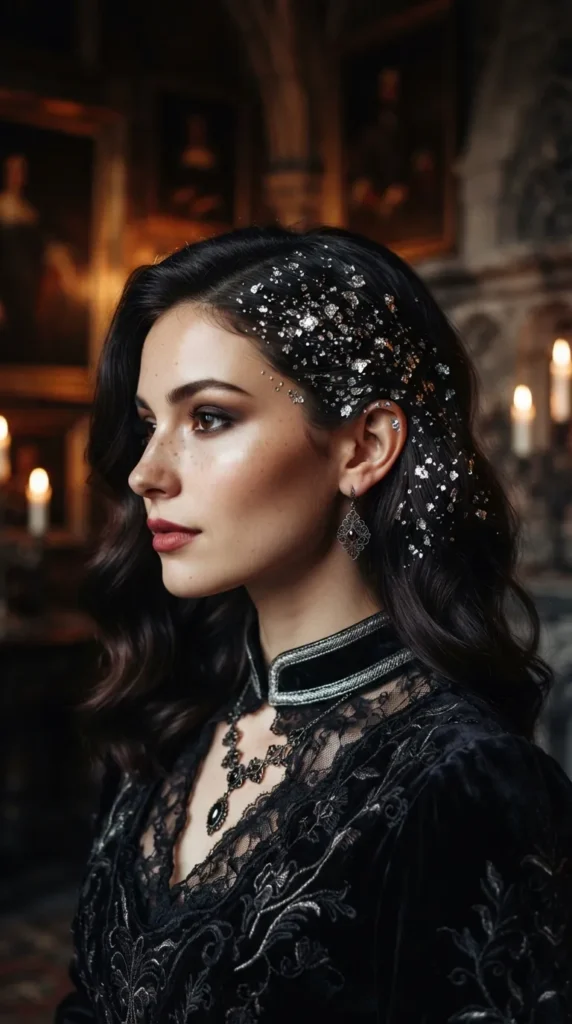

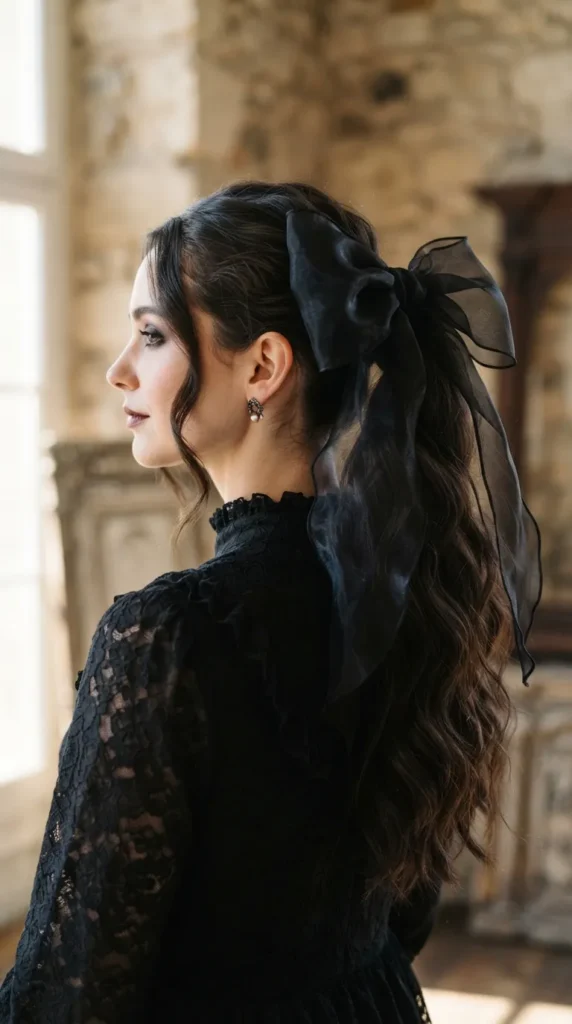


1. Celestial Starburst Braids
What This Idea Means
Celestial starburst braiding combines delicate micro-braids radiating from a central focal point on the crown, forming a geometric star-shaped pattern across the scalp. It offers an ethereal, mystical look inspired by night-sky aesthetics.
How to Make It
Section the hair at the crown into a central circular pivot point. Divide small, precise sections radiating outward like star rays. Dutch-braid or French-braid each thin strip tightly toward the outer perimeter of the head. Secure the ends into a clean low ponytail or blend them seamlessly into open waves.
Tips and Variations
- Tips: Apply a light hair wax or edge control pomade to each section before braiding to keep stray hairs tucked away and line precision sharp.
- Variations: Weave fine silver threads or metallic string through the braids to accentuate the star pattern under lighting.
2. Floating Butterfly Hair Clips Arrangement
What This Idea Means
This technique uses semi-translucent 3D butterfly clips arranged strategically down cascading waves or intricate updos, creating the visual illusion of vibrant butterflies resting naturally on your hair.
How to Make It
Start by creating soft, voluminous beach waves using a wide-barrel curling iron. Set the waves with a light-hold texturizing spray. Beginning near the crown, place tiny silk or resin butterfly clips at asymmetrical intervals down one side of your head, spreading them down to the mid-lengths.
Tips and Variations
- Tips: Vary the size of the clips—place larger butterflies near the top and smaller ones toward the bottom for a balanced perspective.
- Variations: Use monochrome white butterflies for a fairytale bridal look, or neon-hued options for festival styling.
3. Pressed Botanical Flower Braids
What This Idea Means
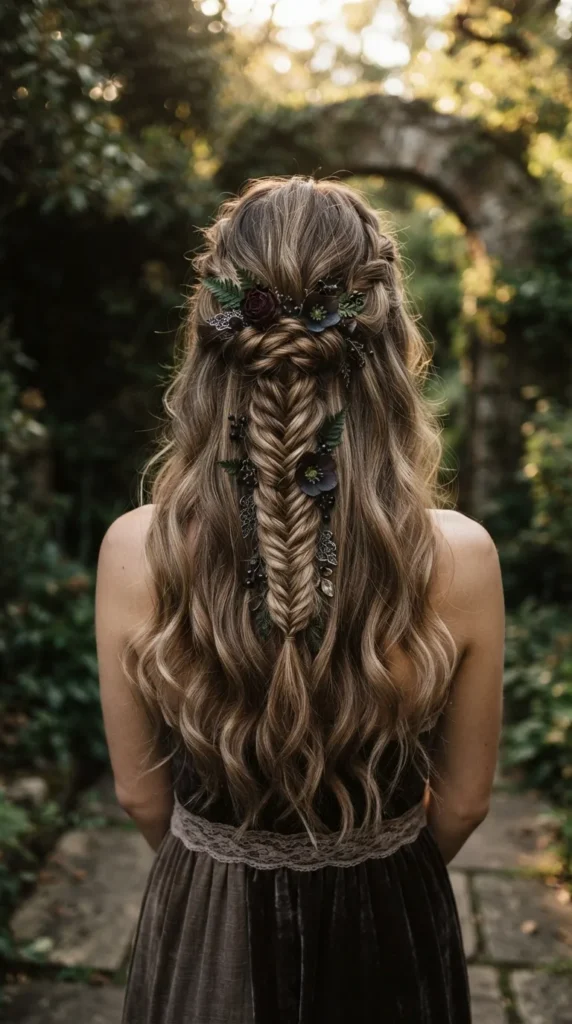
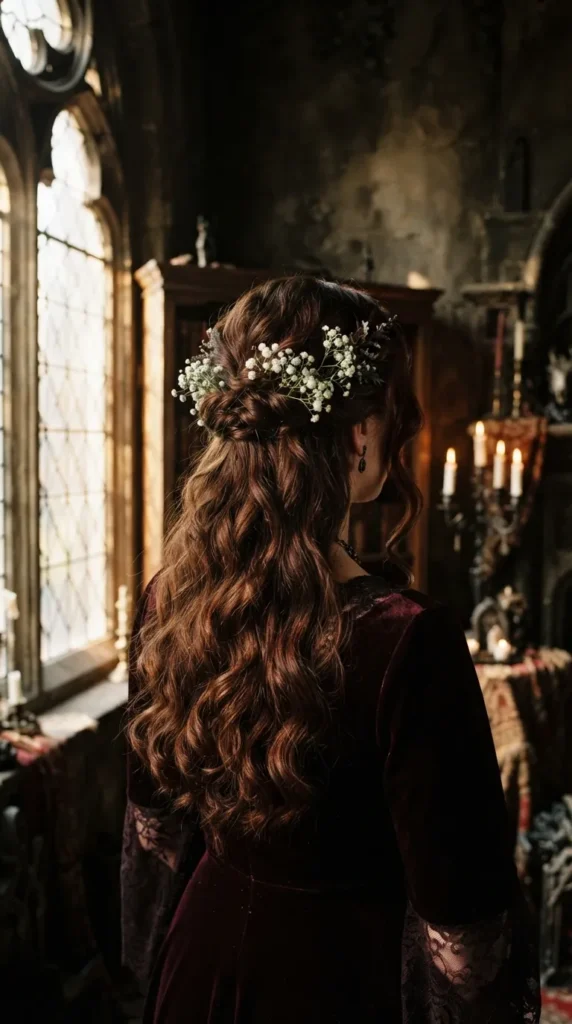
Inspired by cottagecore aesthetics, this style weaves real or high-quality artificial dried blossoms, baby’s breath, and small green sprigs directly into loose, textured braids for a romantic, organic finish.
How to Make It
Craft a relaxed Dutch side braid or a wide fishtail braid along the back of the head. Gently pull at the outer edges of the braid sections to add volume (pancake technique). Slide small stems of dried flowers directly into the weave, securing the stems with clear mini elastics hidden underneath.
Tips and Variations
- Tips: Use dried foliage or lightweight fabric blooms so the weight does not pull or loosen the braid shape over time.
- Variations: Swap tiny blooms for dried lavender stems for a calm aesthetic and natural floral fragrance.
4. Geometric Hair Stenciling
What This Idea Means
Hair stenciling is a modern graphic-art technique where temporary hair color sprays are applied over geometric cutout stencils, leaving temporary graphic patterns like chevrons, circles, or honeycomb grids directly on smooth hair.
How to Make It
Blow-dry hair completely flat and smooth using a straightener for a sleek finish. Secure a lightweight plastic stencil flat against a section of hair near the temples or along a side part. Hold temporary colored hair spray 6–8 inches away and spray lightly over the stencil. Let it set for two minutes before lifting the stencil clean away.
Tips and Variations
- Tips: Use a strong-hold hairspray over the hair before stenciling to prevent tiny hairs from lifting and blurring the lines.
- Variations: Apply pastel shades over dark hair using temporary chalk pastes for high contrast without permanent dye.
5. Metallic Thread Crown Weave
What This Idea Means
This elevated boho technique integrates fine metallic embroidery threads or thin chains directly into hairline accent braids, framing the face with subtle shine and texture.
How to Make It
Take two 1-inch sections of hair right at the front hairline. Knot three strands of gold or rose-gold metallic embroidery floss at the root under a small section of hair. Incorporate the threads into a classic three-strand braid, treating the thread as part of one strand. Pin both side braids around the back of the head like a crown.
Tips and Variations
- Tips: Match thread metallic tones to your daily jewelry (gold, rose gold, silver) for a cohesive overall accent.
- Variations: Add tiny hanging charms or mini metallic rings along the length of the thread braid for added movement.


6. Pastel Sunset Watercolor Gradient
What This Idea Means
Watercolor hair art involves painting soft, muted pastel tones—such as warm peach, dusty lavender, and soft rose pink—seamlessly blending into one another to mimic a twilight sky.
How to Make It
Starting on lightened or platinum blonde hair, section hair into clean horizontal bands. Apply peach hair dye at the mid-lengths, blend lavender into the middle, and transition into soft pink near the ends using a sponge or tint brush. Melt the colors together using your fingers to eliminate harsh lines.
Tips and Variations
- Tips: Use semi-permanent hair glosses instead of harsh dyes to keep hair healthy and shiny while experimenting with short-term color.
- Variations: Apply the gradient only to hidden under-layers for a subtle “peek-a-boo” effect when hair moves.
7. Pearl-Embellished Dutch Halo
What This Idea Means
A luxury-inspired formal updo featuring a circular Dutch halo braid encrusted with mismatched adhesive pearls, blending classic elegance with modern runway aesthetics.
How to Make It
Part hair down the center and create two Dutch braids starting from the back nape, bringing them forward around the forehead to meet. Tuck the ends under and pin securely. Using specialized hair gem adhesive or clip-in pearl pins, place flat-backed pearls along the ridges of the braid in varied sizes.
Tips and Variations
- Tips: Ensure the halo braid is secured tightly with hairpins before applying pearls to keep accessories stable.
- Variations: Alternate pearls with subtle rhinestone studs for an added glint under indoor lighting.
8. Sculptural Bubble Ponytail Art
What This Idea Means
An architectural twist on the standard ponytail, using clear elastics spaced along the length of a high ponytail, pulled outward to create round, spherical “bubbles” down the tail.
How to Make It
Sleek your hair back into a tight high ponytail using a fine-tooth comb and smoothing gel. Wrap clear elastic bands every 2 to 3 inches down the ponytail. Gently tug the hair between each elastic band outward in 360 degrees to form full, structured rounded bubbles.
Tips and Variations
- Tips: Lightly teasing each ponytail section before placing the elastics creates fuller, longer-lasting bubbles.
- Variations: Cover the elastics with velvet ribbon ties or metallic wire wraps for a refined look.
9. Minimalist Gold Ring Accents
What This Idea Means
Integrating tiny, open metal hair rings into small accent braids gives a minimalist, edgy, and contemporary jewelry accent to natural textured or straight hair.
How to Make It
Create 3 to 4 thin three-strand accent braids near the temple or along a deep side part. Pry open small, lightweight craft hair rings. Loop them directly through the center weaves of the braid at regular intervals, then pinch the rings shut with your fingers.
Tips and Variations
- Tips: Place rings closer together near the top of the braid for an intentional, structural jewelry effect.
- Variations: Combine gold and silver rings for a stylish mixed-metal look.
10. Gothic Velvet Ribbon Corset Braid
What This Idea Means
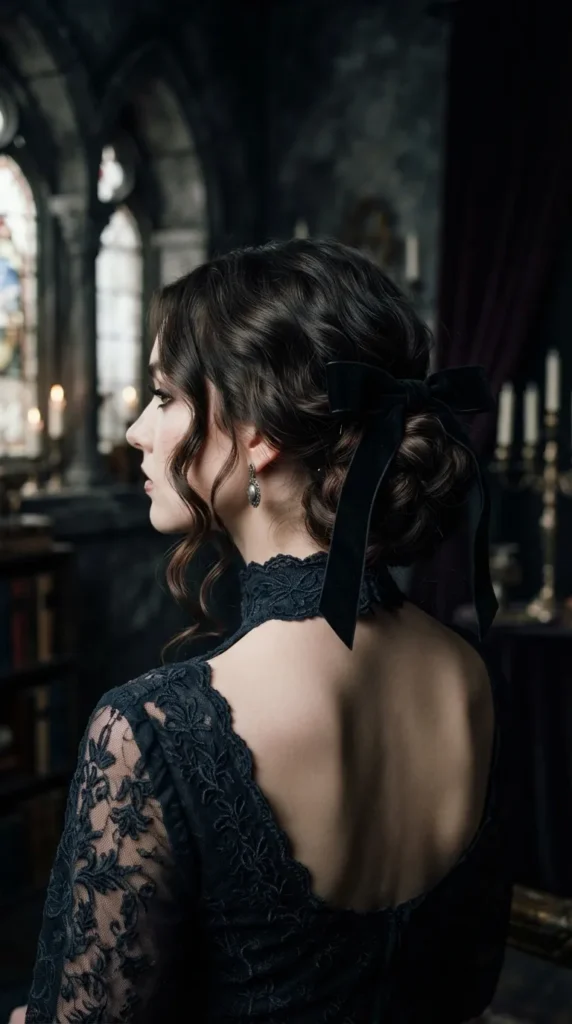
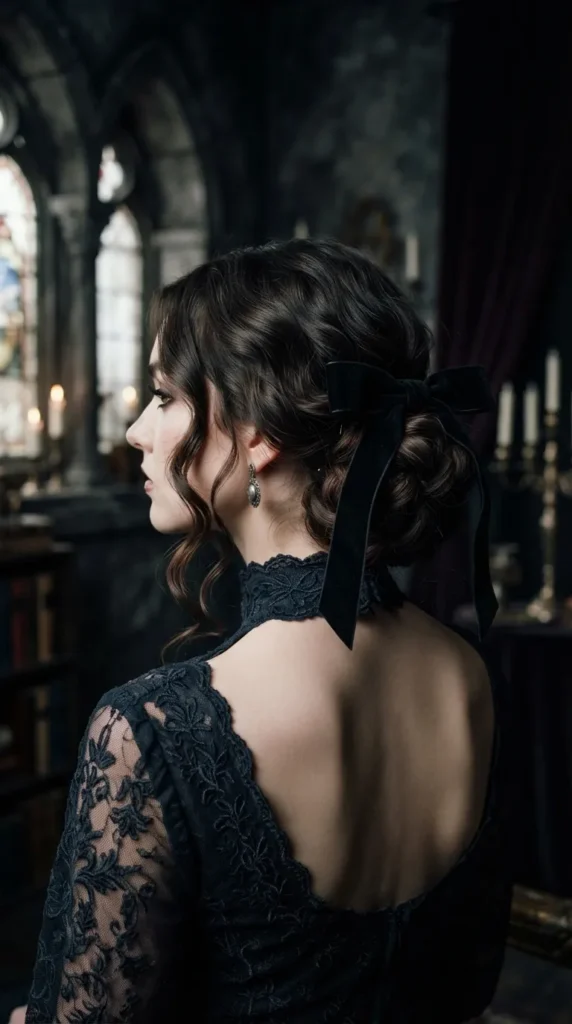
Drawing inspiration from Victorian fashion, this style places two parallel French braids close together, crisscrossing velvet ribbon between them to resemble a corset pattern down the back of the head.
How to Make It
Braid two parallel French braids down the back of the head, leaving about 2 inches of space between them. Thread a thin velvet ribbon onto a blunt tapestry needle. Start at the top of the braids and weave the ribbon back and forth between the inner loops of each braid, lacing it downward like a shoe or corset. Tie off at the bottom with a small bow.
Tips and Variations
- Tips: Use a deep jewel-tone ribbon—like dark burgundy, emerald, or midnight blue—for rich color contrast against light or dark hair.
- Variations: Use sheer organza or satin ribbon for a lighter, romantic wedding or spring style.


11. Sculptural Wire-Wrapped Updo
What This Idea Means
An avant-garde hairstyle using flexible crafting wire wrapped around sleek structural loops or high buns to sculpt the hair into rigid, artistic, gallery-ready shapes.
How to Make It
Gather hair into a high, sleek ponytail. Divide the tail into two sections. Wrap flexible aluminum hair wire down each section tightly. Bend and mold the wire-enclosed hair sections into abstract loops, knots, or geometric arcs around the base of the ponytail. Secure the ends firmly with heavy-duty hairpins.
Tips and Variations
- Tips: Ensure wire ends are bent inward so sharp edges do not catch on scalp skin or clothing.
- Variations: Wrap colorful fabric or leather cords over the wire for added texture and style contrast.
12. Floating Pearl Hair Web
What This Idea Means
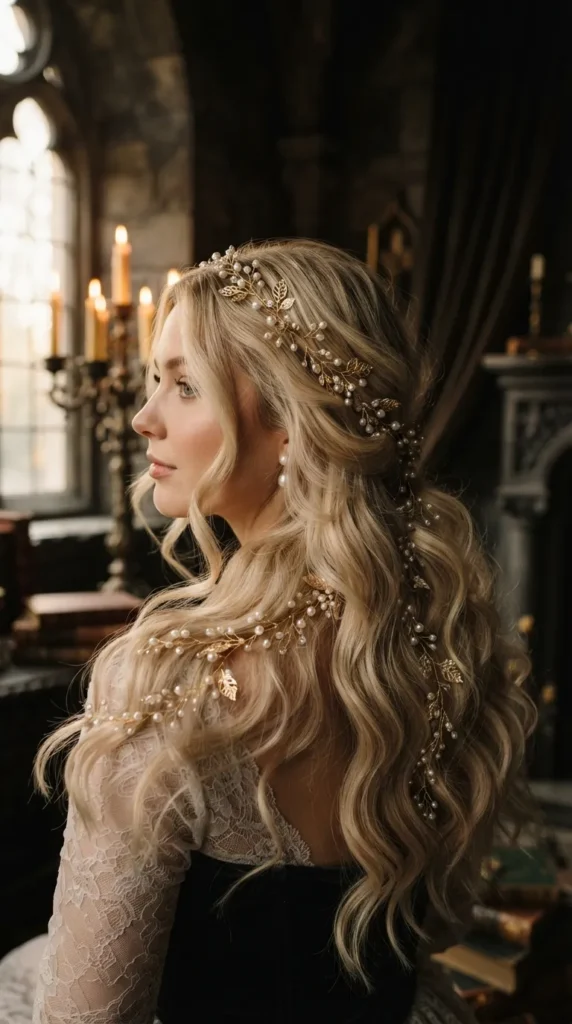
A dramatic back-head hair design where ultra-fine invisible string strung with pearls is woven between small braids, creating a floating cobweb effect across the hair.
How to Make It
Create two anchor braids on either side of the head, pinning them back. String delicate glass pearls onto invisible nylon fishing thread. Zig-zag the thread between the two anchor braids across the back of the hair, securing it at each anchor braid with small hair pins, so the pearls appear to hover over loose hair.
Tips and Variations
- Tips: Keep thread tension balanced so the web sits flat against open waves without pulling on the anchor braids.
- Variations: Add tiny clear crystals between pearls to catch light during evening events.
13. High-Contrast Two-Tone Split Dye Art
What This Idea Means
Split dye involves coloring the left and right halves of the head in two distinctly contrasting colors, creating a clean visual line down the center part.
How to Make It
Using a tail comb, create a clean center part from the front hairline all the way down to the nape of the neck. Clip one side back completely. Lighten or apply your chosen hair dye to one half (e.g., platinum white) and a contrasting color to the other half (e.g., jet black or deep violet). Process, rinse separately to avoid bleed, and style.
Tips and Variations
- Tips: Wash hair with cool water and color-safe shampoo to prevent deep tones from bleeding into lighter sides.
- Variations: Try pastel pairings like mint green and soft pink for a softer visual contrast.
14. Retro Pin-Up Victory Roll Art
What This Idea Means
A vintage hairstyle featuring voluminous, hollow hair rolls sculpted symmetrically above the forehead and temples, blending retro glamour with timeless structural art.
How to Make It
Section the top front portion of hair into two equal halves. Tease the underside of one section thoroughly to create interior volume. Smooth the top layer with a boar-bristle brush, wrap the ends around your fingers, and roll the hair downward toward the scalp to form a hollow tube. Pin securely from the inside with bobby pins and set with strong hairspray. Repeat on the other side.
Tips and Variations
- Tips: Use a light hair pomade on your fingers while rolling to keep stray flyaways smooth.
- Variations: Combine vintage victory rolls with sleek modern straight hair in the back for a retro-fusion look.
15. Metallic Foil Leaf Accents
What This Idea Means
Applying delicate gold, silver, or copper leaf foil onto sleek hair surfaces, creating shimmering metallic patches that reflect light like gilding on a frame.
How to Make It
Smooth a section of hair along a side part or across an updo bun with a flexible styling gel. While the gel remains tacky, place thin sheets of gold or silver hair foil onto the surface using soft tweezers or a dry brush. Gently press down, then dust away excess leaf flakes with a fan brush.
Tips and Variations
- Tips: Apply a light layer of flexible hairspray over the foil to seal it against wind and movement.
- Variations: Focus gold foil strictly along the scalp part line for a modern, minimalist metallic accent.



16. Artistic Fishtail Skeleton Braid
What This Idea Means
An exaggerated fishtail braid where outer strands are pulled thin and spread outward, resembling an intricate ribcage or skeletal structure running down the spine.
How to Make It
Gather hair into a central ponytail at the back. Split the hair into two equal sections. Take ultra-thin strands from the outer edge of one section and cross over to the inner side of the opposite section. Continue down the length. Once completed, carefully pull the outer edges of each cross-section wide apart to expand the width of the braid.
Tips and Variations
- Tips: Apply texturizing dust powder to the braid before pulling edges outward to give strands grip and hold.
- Variations: Weave thin dark ribbons into the fishtail to highlight the skeletal line detail.
17. Abstract Yarn Art Braids
What This Idea Means
Integrating bright, chunky fiber yarns of varying textures directly into natural hair braids, blending textile art with traditional braiding techniques.
How to Make It
Select 3 to 4 shades of textured yarn (wool, cotton, or mohair). Tie lengths of yarn to the roots of small hair sections. Braid the yarn directly into three-strand or box braids, treating the yarn as full strands. Trim the ends cleanly or leave yarn tassels hanging past the hair length.
Tips and Variations
- Tips: Choose lightweight yarn blends so the hair feels light and comfortable when worn up or down.
- Variations: Use neutral earth-toned yarns for a cozy winter look, or bright neon fibers for modern artistic flair.
18. Modern Wet-Look Finger Waves
What This Idea Means
A sleek, high-shine adaptation of 1920s finger waves, using gel and precise comb work to sculpt ‘S’-shaped waves flat against the scalp framing the face.
How to Make It
Apply a generous amount of high-shine wet-look hair gel to damp hair along the hairline. Place a fine-tooth comb 1 inch from the part line, pull the comb toward the face, and hold hair down with your middle finger to create a curve. Push the comb back slightly to form an ‘S’ ridge. Repeat down the side of the forehead and set with a diffuser.
Tips and Variations
- Tips: Use a strong-hold gel that dries glossy without flaking to keep waves defined all day.
- Variations: Add tiny rhinestone studs along the wave ridges for a dramatic, red-carpet look.
19. Origami Fabric Ribbon Bow Knot Updo
What This Idea Means
An artistic updo where wide structured ribbons are folded and knotted around a high bun, mimicking structural Japanese origami paper art.
How to Make It
Secure hair into a tight high bun. Take a crisp, structured fabric ribbon (such as dupioni silk or stiff satin). Fold the ribbon into geometric crisp angles and sharp loops around the base and body of the bun, anchoring each fold with hidden bobby pins so the ribbon holds sharp, angular bow shapes.
Tips and Variations
- Tips: Stiffer fabric ribbons hold origami folds much better than soft, fluid ribbons.
- Variations: Use contrast colors—like stark white ribbon against jet black hair—to emphasize geometric folds.
20. Galactic Glitter Parting Art
What This Idea Means
A festival-inspired technique where fine glitter gel or star-shaped sequins are painted directly onto a clean scalp part, creating a sparkling cosmic line.
How to Make It
Create a sharp center or side part using a tail comb. Mix cosmetic-grade hair glitter with a clear, strong-hold hair gel in a small bowl. Use a flat hair dye brush or clean brush to paint the glitter mixture directly down the exposed scalp parting line. Allow to dry completely for 10 minutes.
Tips and Variations
- Tips: Use cosmetic-grade biodegradable glitter to ensure safety for scalp skin and easy wash-out.
- Variations: Blend chunky hexagonal glitter with fine star sequins for a multi-dimensional galaxy look.