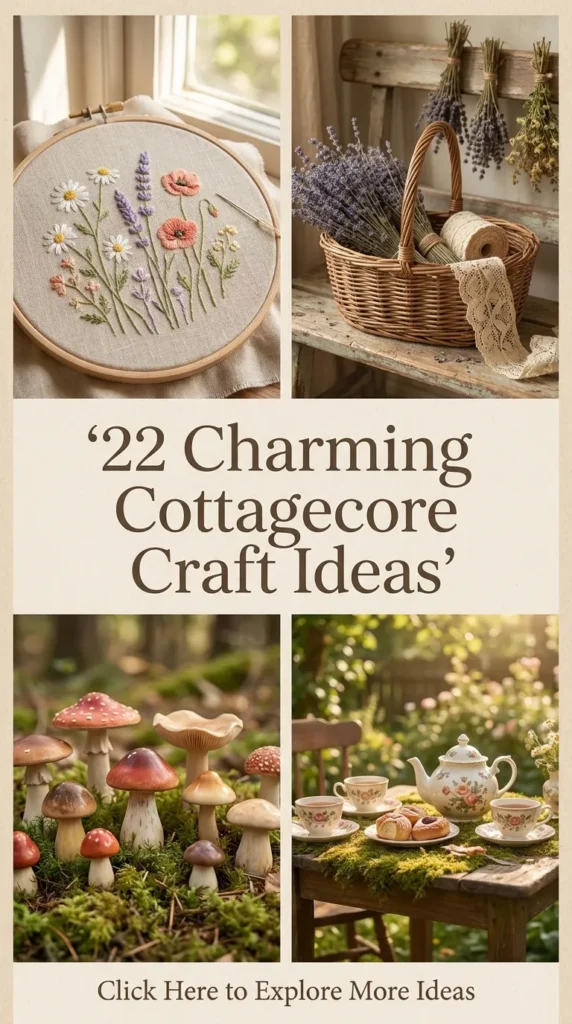
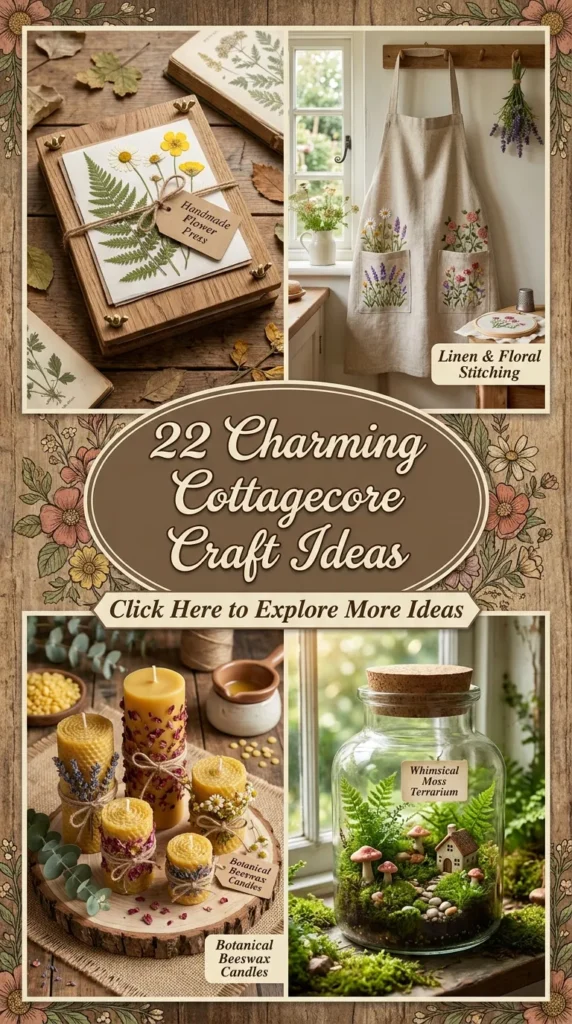
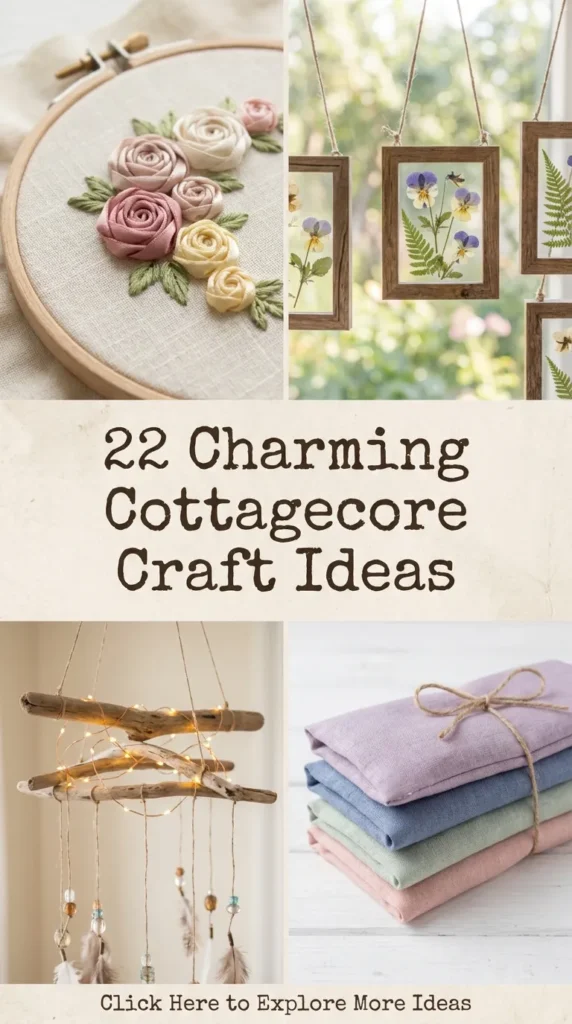
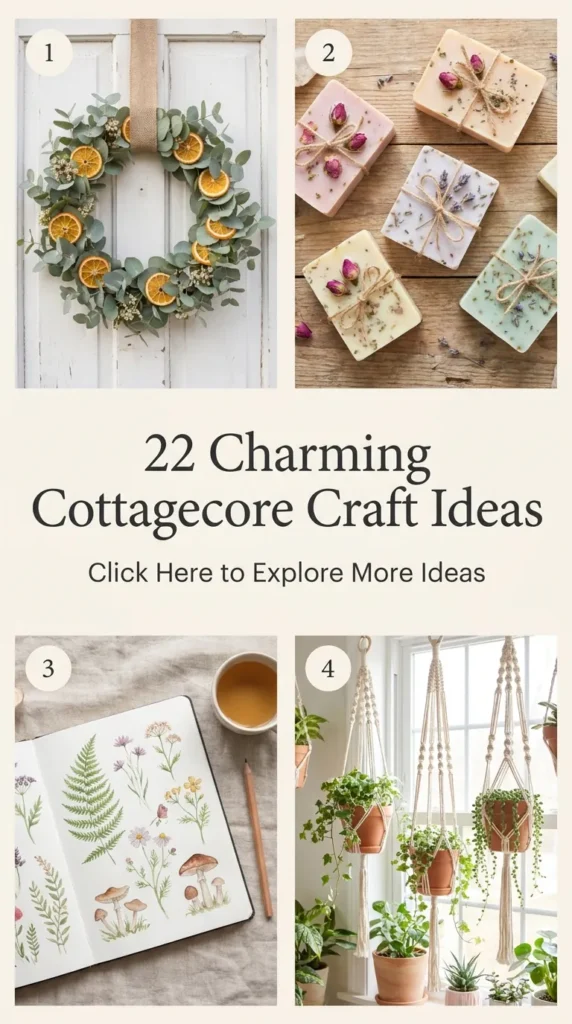
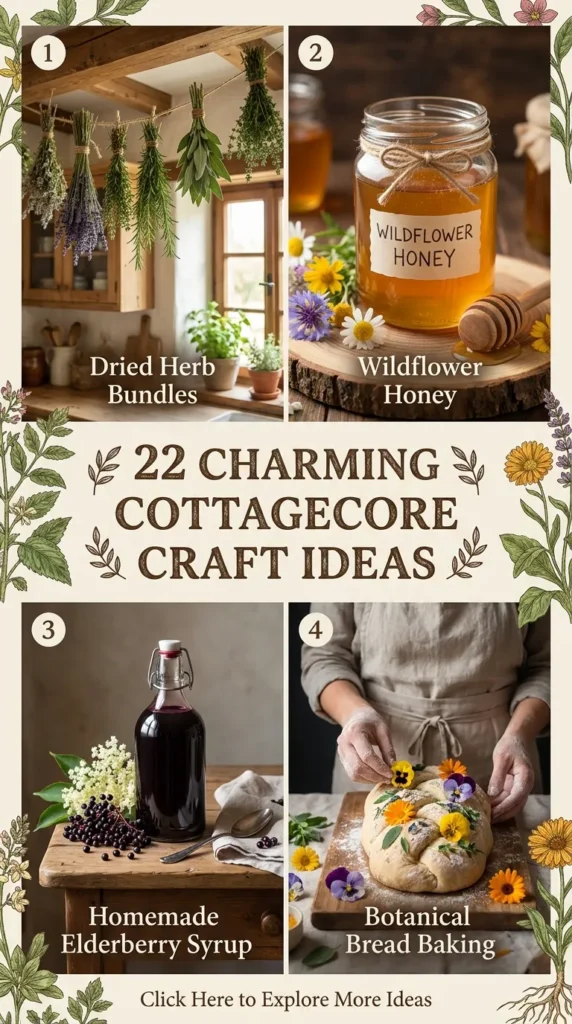
There is a distinct, quiet magic in slowing down and creating something with your own two hands. In a world that often feels rushed and overwhelmingly digital, the cottagecore aesthetic offers a gentle alternative. It is a celebration of agricultural life, traditional skills, vintage whimsy, and a deep connection to the natural world.
Bringing this aesthetic into your living space does not require moving to a remote cabin in the woods. You can cultivate that same cozy, nostalgic atmosphere right where you are through thoughtful, handmade crafts. By utilizing natural materials like dried flora, vintage textiles, reclaimed wood, and simple clays, you can create functional art pieces that carry the warmth of a bygone era.
Here are 20 charming, highly rewarding cottagecore craft projects designed to infuse your home with rustic elegance and storybook charm.
1. Pressed Botanical Wall Art
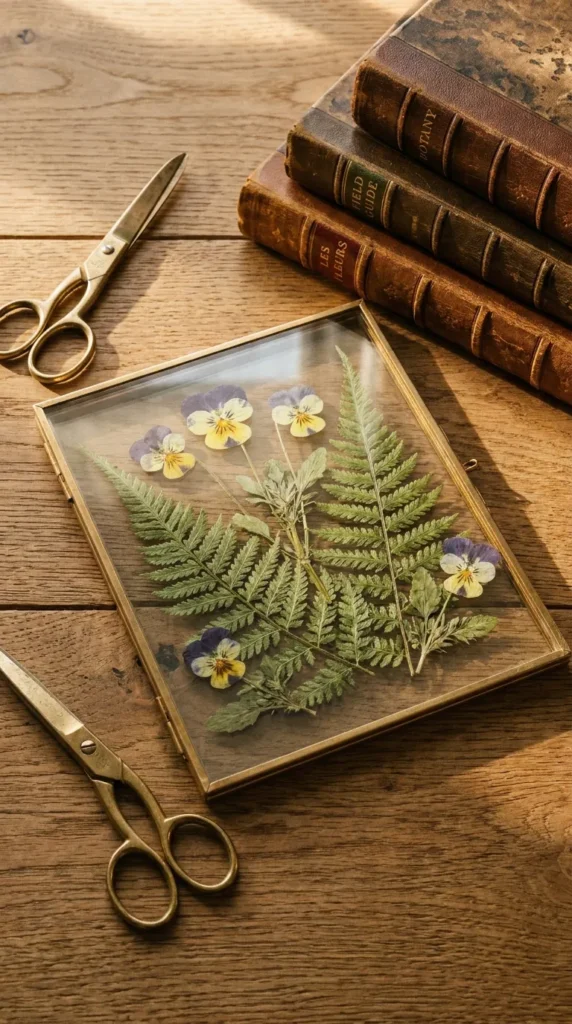
Preserving the fleeting beauty of a season is a foundational cottagecore tradition. Pressed botanical art allows you to capture the delicate geometry of ferns, wild pansies, and garden roses, turning them into timeless wall decor.
- Materials Needed: Freshly foraged flowers or leaves, heavy books, parchment paper, a floating glass frame, and acid-free craft glue.
- The Process: Gather your botanicals on a dry afternoon to ensure there is no residual moisture on the petals. Place them between sheets of parchment paper and slip them deep inside the pages of a heavy book. Weight the book down with extra stones or weights and leave them undisturbed for two to three weeks. Once the specimens are completely flat and paper-thin, use tweezers to lightly apply a tiny drop of glue to the back of the stem. Arrange them inside a double-glass floating frame, allowing the natural color variations to stand out against your wall.
2. Beeswax Fabric Food Wraps
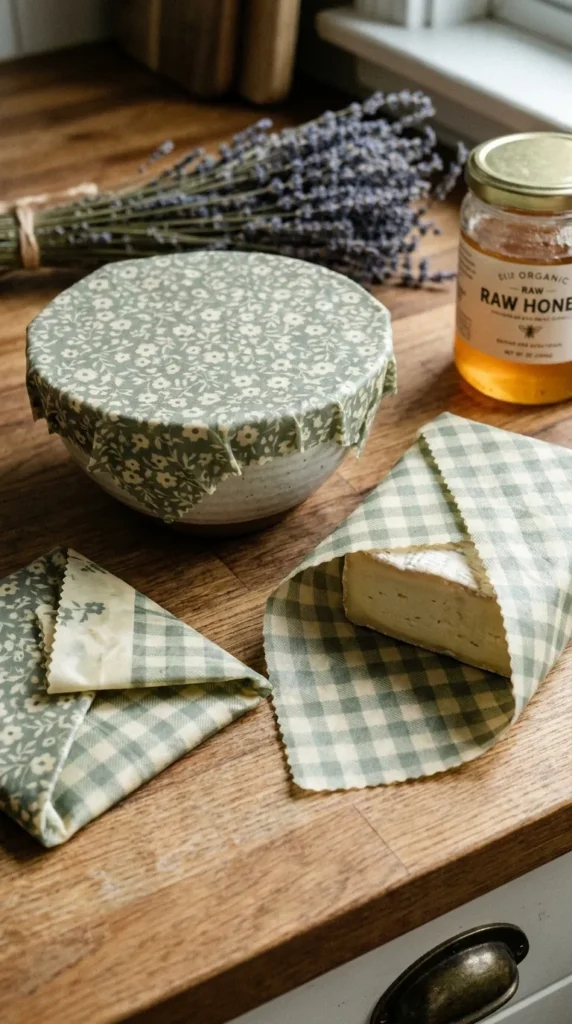
Embracing a sustainable, self-sufficient lifestyle is central to the cottagecore ethos. Replacing plastic wrap with beautifully patterned, honey-scented beeswax wraps brings both utility and vintage visual appeal to your pantry.
- Materials Needed: 100% cotton fabric scraps (ideally with ditsy floral patterns), pure cosmetic-grade beeswax pellets, parchment paper, and an iron.
- The Process: Cut your cotton fabric into various sizes—small squares for avocado halves, medium ones for cheese blocks, and large circles to cover mixing bowls. Lay a piece of fabric onto a sheet of parchment paper placed on an ironing board. Sprinkle a thin, even layer of beeswax pellets across the cloth. Cover it with a second sheet of parchment paper and press down with a hot iron, gliding it smoothly to melt the wax into the fibers. Peel the wrap away while it is still warm and hang it to dry for a few minutes until it stiffens.
3. Clay Mushroom Incense Holders
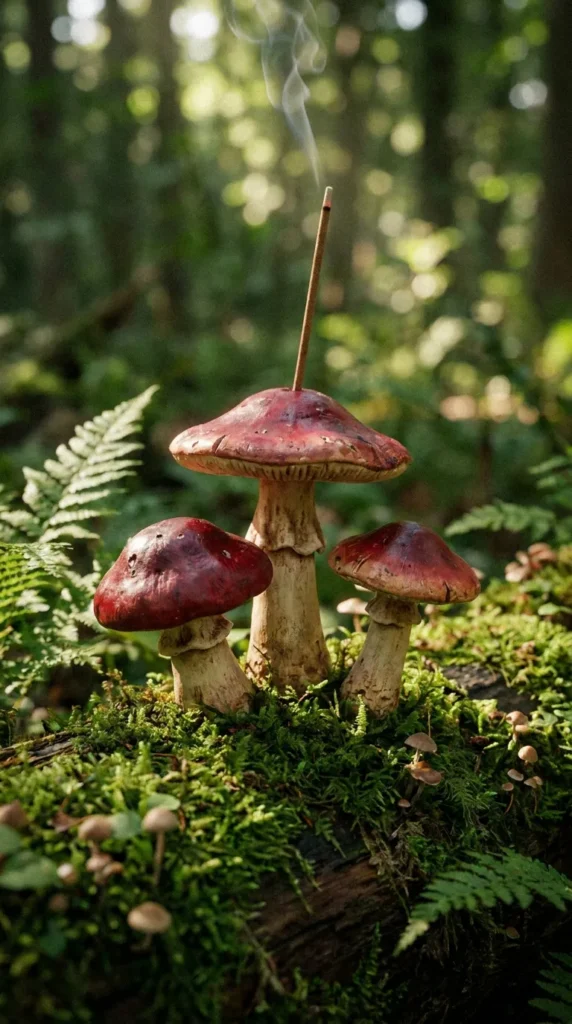
Mushrooms are an iconic symbol of whimsical forest floors. Crafting your own miniature clay fungi provides a functional piece of art that gently releases aromatic smoke into your reading nook or living room.
- Materials Needed: Air-dry clay or polymer clay, sculpting tools, acrylic paints (earthy reds, creams, and moss greens), matte or glossy varnish, and a thick sewing needle.
- The Process: Condition your clay by kneading it thoroughly. Mold a flat, slightly curved disc to serve as the mossy base that catches the falling incense ash. Roll out a thick stem and a wide, umbrella-like mushroom cap. Join the pieces securely, using a drop of water to smooth out the seams if using air-dry clay. Before the clay hardens, press a thick needle into the center of the mushroom cap at a slight angle to create a perfectly sized hole for your incense sticks. Allow it to dry completely, then paint it with classic red-and-white toadstool detailing or realistic forest tones before sealing it.
4. Embroidered Vintage Pocket Aprons
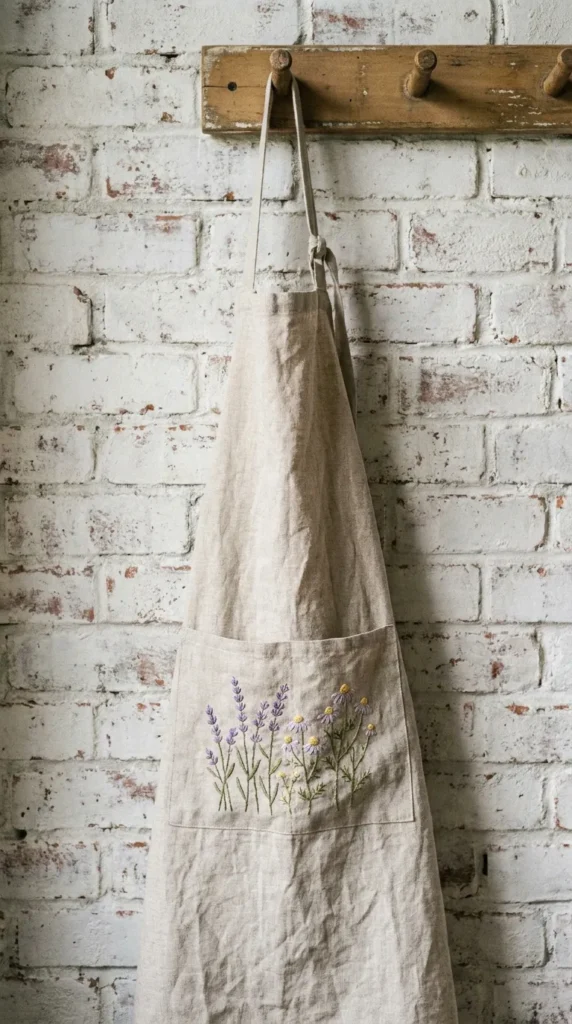
A sturdy apron is a staple of the cottage kitchen, protecting your clothes while you bake sourdough bread or preserve fresh berries. Adding personalized hand embroidery turns a simple utility item into a cherished heirloom.
- Materials Needed: A plain linen or heavy cotton apron, embroidery hoops, various shades of green and pastel embroidery floss, a disappearing ink fabric marker, and needles.
- The Process: Sketch a delicate trailing vine or a cluster of lavender stalks directly onto the pocket of your apron using the fabric marker. Secure the fabric tightly within your embroidery hoop. Use a classic satin stitch to create filled leaf shapes, a stem stitch for the winding vines, and French knots to mimic the tiny, clustered blossoms of lavender or lilacs. Once your design is finished, rinse the fabric in cool water to erase any remaining marker guidelines, then press it smooth with an iron.
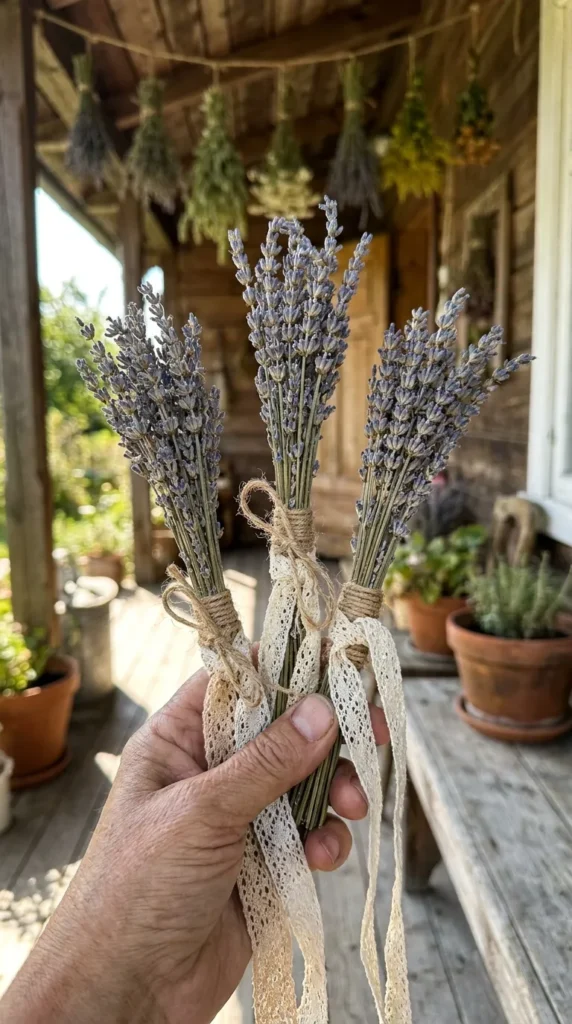
5. Dried Lavender Whisks and Smudge Wands
Hanging bundles of dried herbs adds an instant rustic look to exposed kitchen beams or pantry shelving, while also filling the air with a calming, herbaceous aroma.
- Materials Needed: Fresh lavender stalks with long stems, organic cotton or twine, dried sage leaves, and vintage lace ribbons.
- The Process: Harvest fresh lavender just as the lowest blossoms on the spike begin to open, as this is when their oil content and fragrance are strongest. Gather a bundle of fifteen to twenty stalks, aligning the flower heads perfectly. Tie a tight knot with twine just below the base of the blooms. Carefully fold the long stems back up over the blossoms, creating a protective cage around the flowers, and wrap the twine tightly down the length of the handle. Hang the wands upside down in a dark, dry, well-ventilated space for two weeks until fully cured.
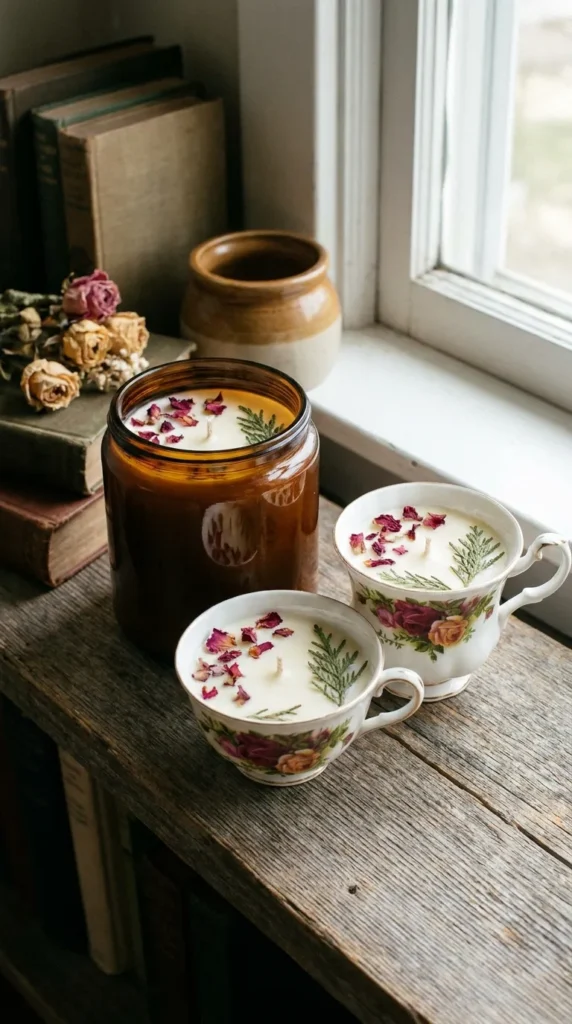
6. Hand-Poured Botanical Soy Candles
Soft, warm candlelight is essential for creating a cozy atmosphere during rainy afternoons. Infusing homemade candles with real dried botanicals and woodsy essential oils brings the essence of the forest indoors.
- Materials Needed: Natural soy wax flakes, cotton or wood wicks, amber glass jars or vintage teacups, pressed dried petals, and essential oils (such as cedarwood, pine, or sweet orange).
- The Process: Melt the soy wax flakes in a double boiler until it reaches a clear, liquid state. While it melts, glue the metal base of your wick securely to the absolute center of your clean glass jar or vintage teacup. Once the wax cools slightly, stir in your chosen blend of essential oils. Carefully pour the liquid wax into the vessel, leaving a half-inch of space at the top. Allow the candle to cool slightly until it starts to turn opaque, then use tweezers to gently press small pressed flowers or cedar sprigs against the inner glass walls or surface of the wax.
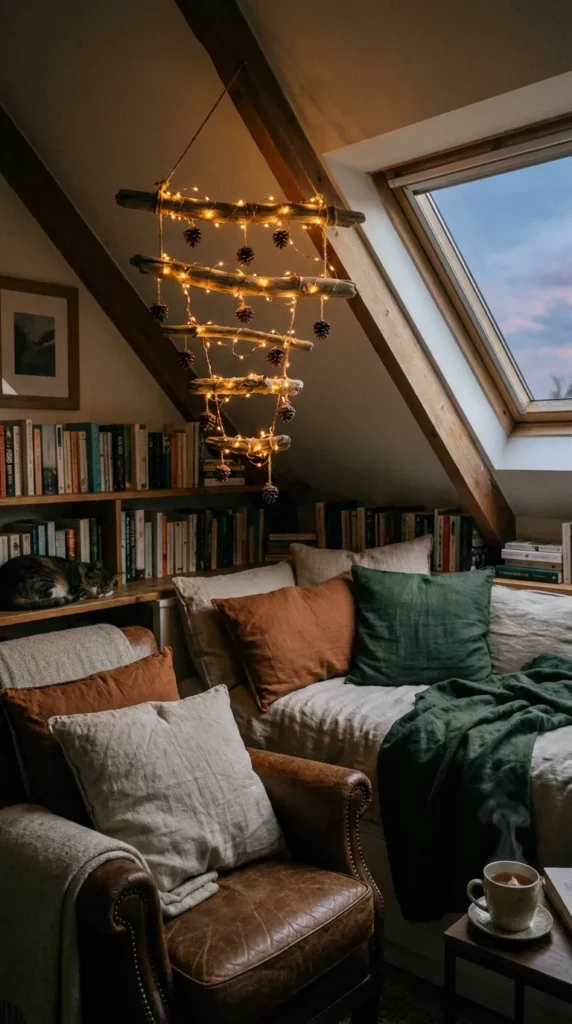
7. Driftwood and Twig Twinkle Light Mobiles
Bringing natural wood textures into your decor anchors a space in the rustic simplicity of the outdoors. Suspended above a bed or a cozy window seat, a twig mobile creates a starry, dreamlike illumination.
- Materials Needed: A sturdy, character-filled piece of driftwood or a thick fallen branch, thin copper wire fairy lights, jute twine, and small pinecones or dried orange slices.
- The Process: Clean your chosen branch thoroughly and allow it to dry completely in the sun. Tie a long piece of heavy jute twine to both ends of the branch to create a reliable hanging loop. Wrap the battery pack of your copper fairy lights in a small piece of burlap and secure it to the top of the branch. Unfurl the delicate wire lights and wind them down around the wood, allowing strands to cascade vertically like shimmering willow branches. Tie small pinecones or translucent dried citrus slices to the ends of the wire strands for an added organic touch.
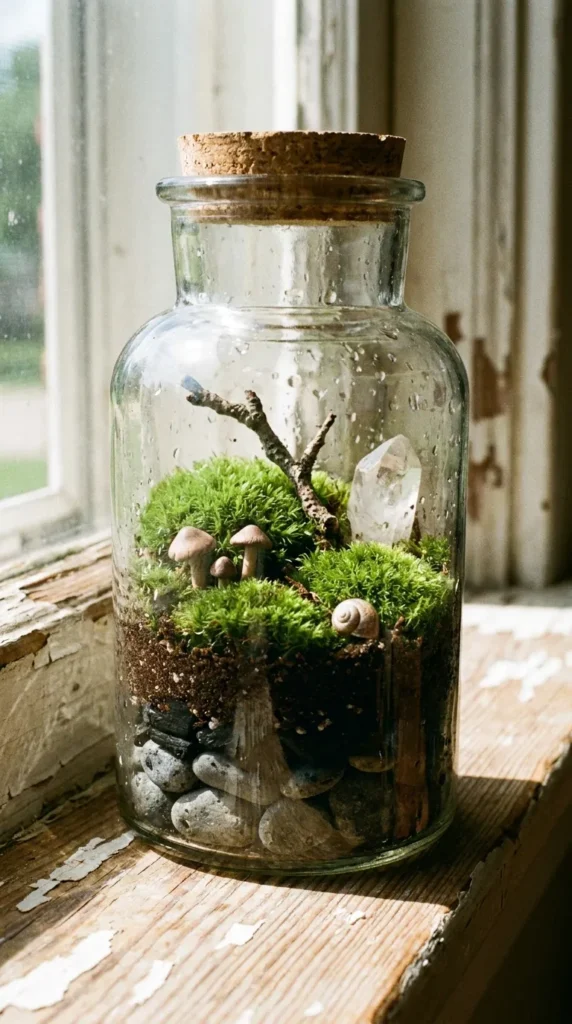
8. Whimsical Moss Terrariums
A miniature ecosystem enclosed in vintage glassware feels like a small piece of an enchanted forest floor captured just for your desk or windowsill.
- Materials Needed: A clear glass jar with a lid (antique apothecary jars work wonderfully), activated charcoal, small pebbles, potting soil, foraged live moss, and tiny twigs or quartz crystals.
- The Process: Begin by layering half an inch of clean pebbles at the very bottom of your glass vessel to provide essential drainage. Add a thin layer of activated charcoal over the stones to keep the environment fresh and free of mold. Spoon in an inch of damp potting soil, pressing it down lightly. Gently lay your pieces of collected moss onto the soil, misting them thoroughly with water. Use tweezers to nestle a winding twig, a piece of raw crystal, or a tiny clay mushroom into the moss, then seal the lid to create a self-sustaining humid haven.
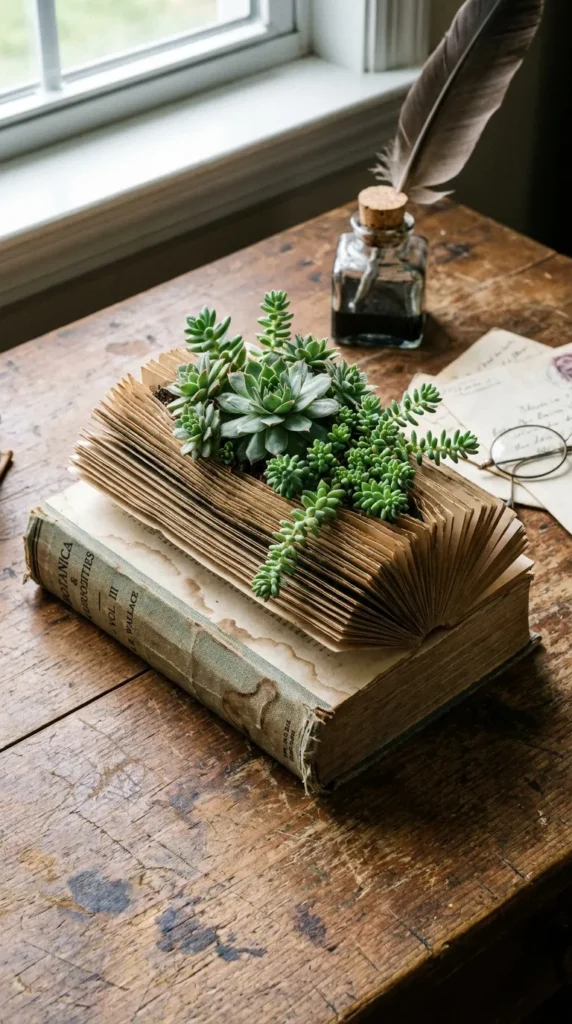
9. Upcycled Vintage Book Planters
Old, worn-out hardcover books that are missing pages can be given a second life as whimsical, living planters for small succulents or indoor ivy.
- Materials Needed: An old thick hardcover book, a utility knife, plastic lining (like a thick zip-top bag), craft glue, potting soil, and small succulents.
- The Process: Apply a generous layer of craft glue along the outside edges of the closed pages of the book, keeping the front cover open, and let it dry completely to seal the pages together as a solid block. Draw a rectangle on the first page, leaving a one-inch border around the edges. Carefully cut out the center of the pages using a utility knife, digging down about two inches deep. Coat the inside of the hollowed space with glue to seal it, then line it with thick plastic to protect the paper from moisture. Fill the cavity with well-draining soil and plant your miniature greens inside.
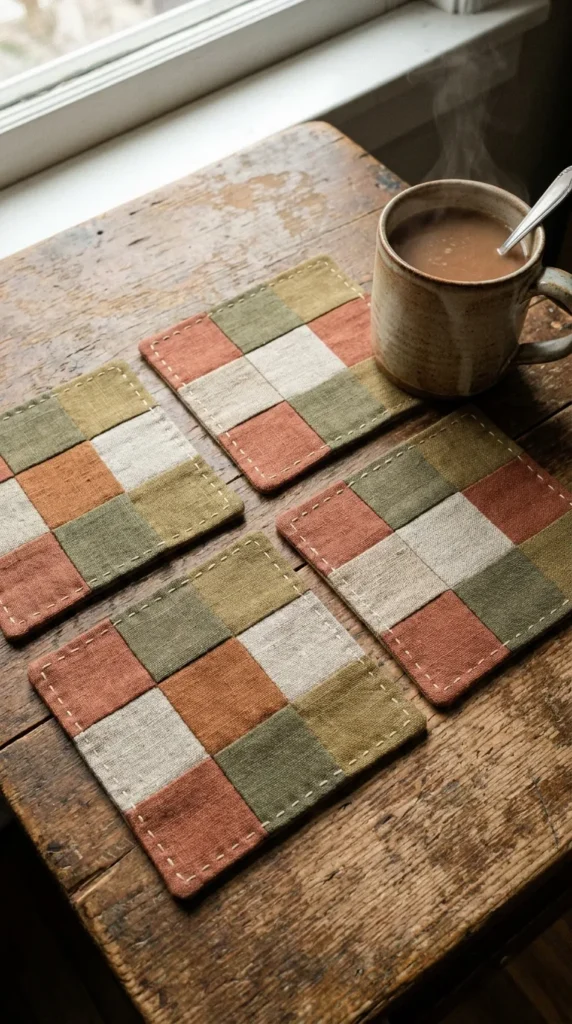
10. Scrap Linen Patchwork Coasters
Nothing says cottage charm quite like the mismatched beauty of handmade patchwork quilting. Utilizing small fabric scraps prevents waste while adding texture to your coffee table.
- Materials Needed: Small scraps of linen or linen-blend fabric in muted earth tones, cotton batting, sewing pins, a needle, and thread.
- The Process: Cut your linen scraps into small, clean squares or rectangles. Arrange them into a pleasing grid layout until you have a square measuring roughly five by five inches. Sew the individual pieces together with a simple running stitch, pressing the seams flat. Cut a matching square of cotton batting and a solid square of linen for the backing. Sandwich the layers together, stitch around the borders while leaving a small opening, turn the coaster right-side out, and hand-stitch the opening closed before adding decorative topstitching.
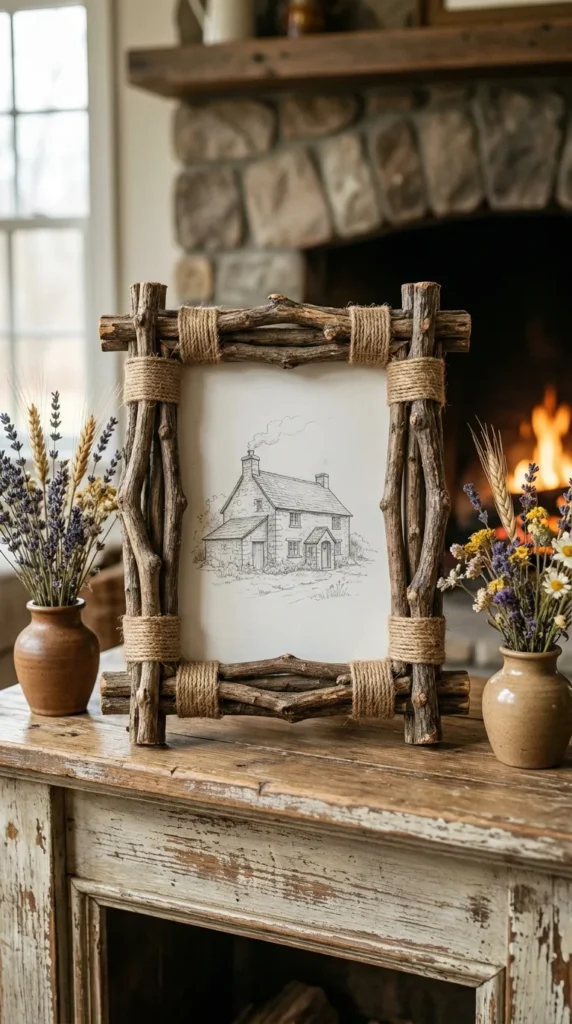
11. Twig and Burlap Picture Frames
Frame your favorite landscape sketches or family photos in a frame made entirely from materials found on a morning walk through the woods.
- Materials Needed: A basic wooden or cardboard craft frame, a collection of straight twigs of similar thickness, a small piece of burlap fabric, hot glue, and garden pruners.
- The Process: Cut your burlap fabric into thin strips and wrap them carefully around the base frame, gluing them down securely to hide the original material. Using your pruners, trim your gathered twigs so they match the length of the frame’s borders. Apply a generous line of glue along one side of the frame and press the twigs down firmly, stacking them tightly next to each other. Layer smaller twigs on top at the corners to create a rugged, nested appearance that highlights the natural bark textures.
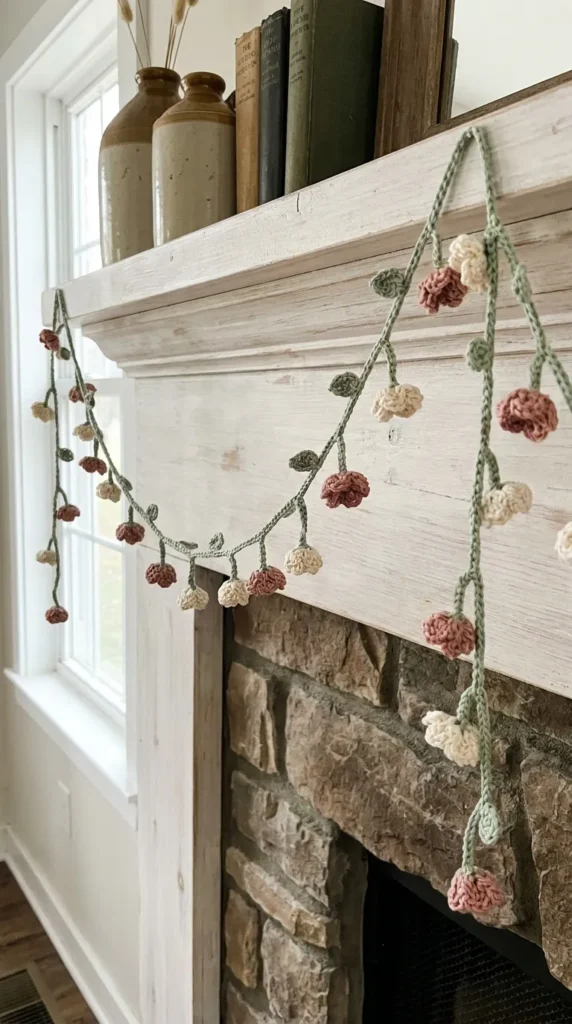
12. Crocheted Ditsy Floral Garlands
Strung across a fireplace mantle or along the top of a bookshelf, a delicate crocheted garland brings a soft, handmade texture that updates a room instantly.
- Materials Needed: Fine cotton yarn in soft cream, sage green, and pastel pink, a matching crochet hook, and a darning needle.
- The Process: Begin by crocheting a long, simple chain in sage green to serve as the main vine of the garland, occasionally working in small chain loops that look like delicate leaves. Switch to your pastel yarn to create simple five-petal blossom shapes using basic stitches like double crochets worked into a magic ring. Once you have crafted a collection of ten to fifteen flowers, use a darning needle to stitch them securely along the green vine at regular intervals.
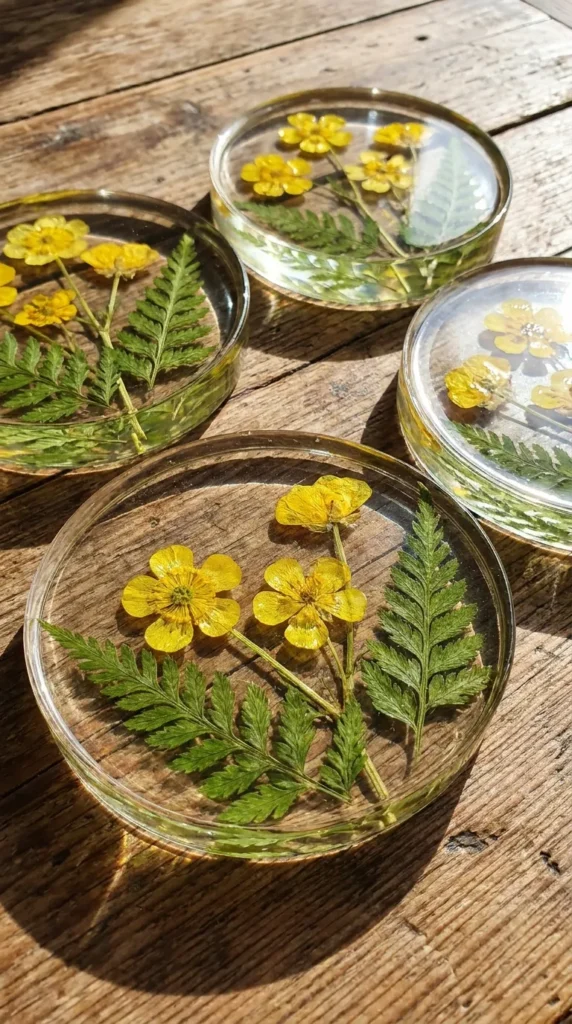
13. Pressed Flower Coasters
Pouring clear resin over vibrant pressed flowers creates a durable, glossy surface that protects your wooden tables while showcasing the delicate details of spring petals.
- Materials Needed: Clear casting resin, silicone coaster molds, pressed dried flowers, a mixing cup, and a wooden stir stick.
- The Process: Mix your two-part clear casting resin thoroughly according to the specific packaging instructions, ensuring there are no cloudy streaks. Pour a very thin, foundational layer of resin into the bottom of your silicone mold. Use tweezers to carefully arrange your vibrant pressed flowers, ferns, or gold leaf flakes face-down onto this layer. Let it set for an hour until tacky, then pour the remaining resin over the arrangement to fill the mold completely. Pop any surface bubbles with a toothpick and let it cure undisturbed for twenty-four hours before removing.
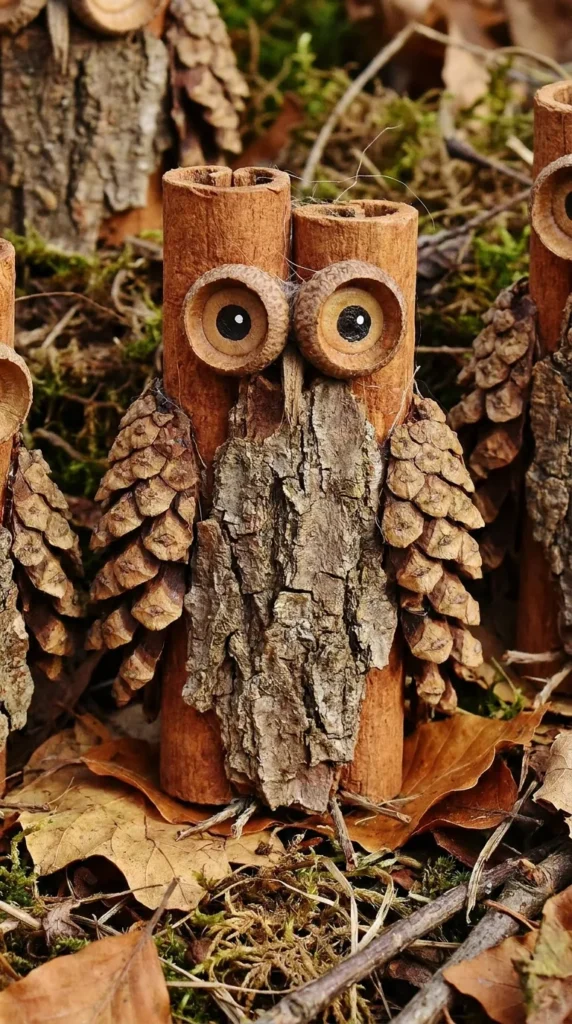
14. Cinnamon Wood Bark Owls
Using natural tree bark and pinecones to create whimsical woodland creatures is a wonderful craft to undertake on a crisp autumn evening.
- Materials Needed: Thick pieces of fallen tree bark or large cinnamon sticks, pinecone scales, acorn caps, dried pumpkin seeds, and wood glue.
- The Process: Select a flat, sturdy piece of bark to serve as the main body of your owl. Glue two large, hollow acorn caps near the top of the piece to form the wide, expressive eyes, placing a small dark peppercorn or black seed inside each cap for the pupils. Layer overlapping pinecone scales down the lower half of the bark block to replicate the look of feathered wings and chest plumage. Add a single triangular pumpkin seed between the eyes to serve as a beak, creating a rustic accent piece for your autumn mantle display.
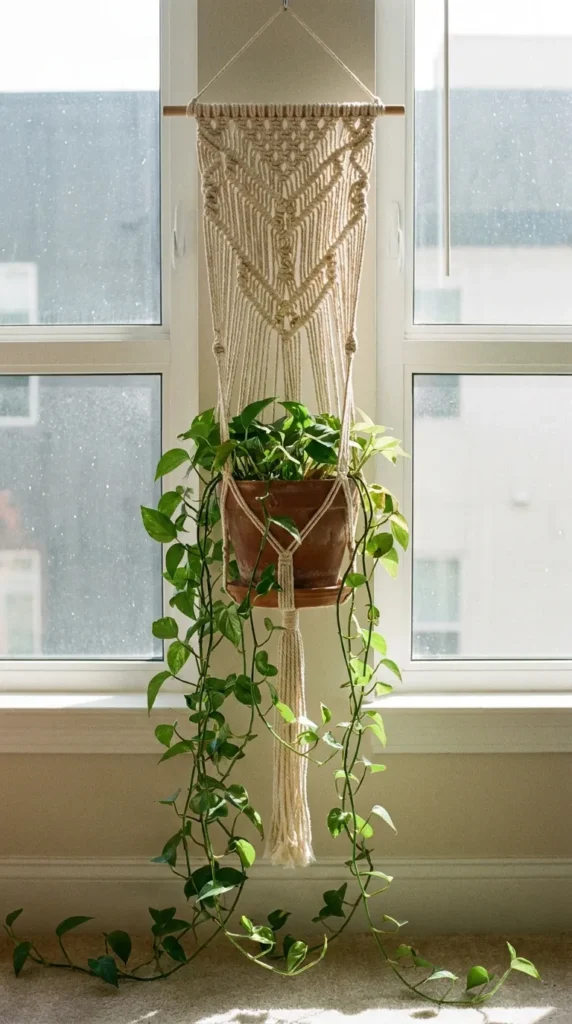
15. Macrame Plant Hangers
Hanging your potted ferns and trailing pothos plants at different heights in front of a sunny window maximizes space while adding beautiful, knotted textile patterns to your home.
- Materials Needed: 3mm or 4mm 100% cotton macrame cord, a solid wooden ring, and sharp scissors.
- The Process: Cut eight long, equal strands of cotton cord. Thread them through your wooden ring so that the ring rests precisely at the midpoint of the bundle, giving you sixteen working strands hanging down. Tie a secure wrapping knot right below the ring to anchor the cords. Group the strands into sections of four and create rows of simple square knots or spiral half-knot twists, measuring down about eighteen inches. Bring adjacent cords together and tie them to form a secure basket web that holds the base of your ceramic plant pot, finishing with a long, flowing tassel at the very bottom.
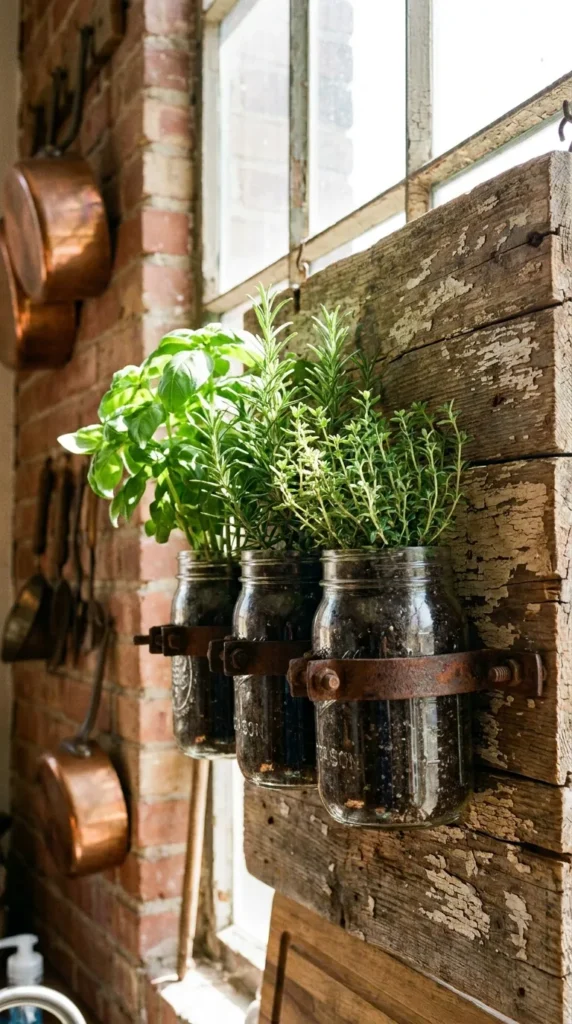
16. Rustic Mason Jar Herb Gardens
Growing fresh basil, thyme, and rosemary right on your kitchen wall ensures you always have fresh ingredients on hand for hearty, home-cooked stews and soups.
- Materials Needed: A reclaimed wooden board, three or four wide-mouth mason jars, metal pipe clamps, screws, a screwdriver, small stones, and herb plants.
- The Process: Sand the edges of your reclaimed wood board, leaving its natural knots and weathering intact. Screw the metal pipe clamps onto the front of the board, spacing them evenly apart. Place an inch of small stones at the bottom of each mason jar to allow excess water to drain away from the roots, then fill the rest of the jar with organic potting soil and your chosen herbs. Slip the jars into the pipe clamps and tighten the screws until they are held firmly in place, then mount the entire board securely to a sunny kitchen wall.
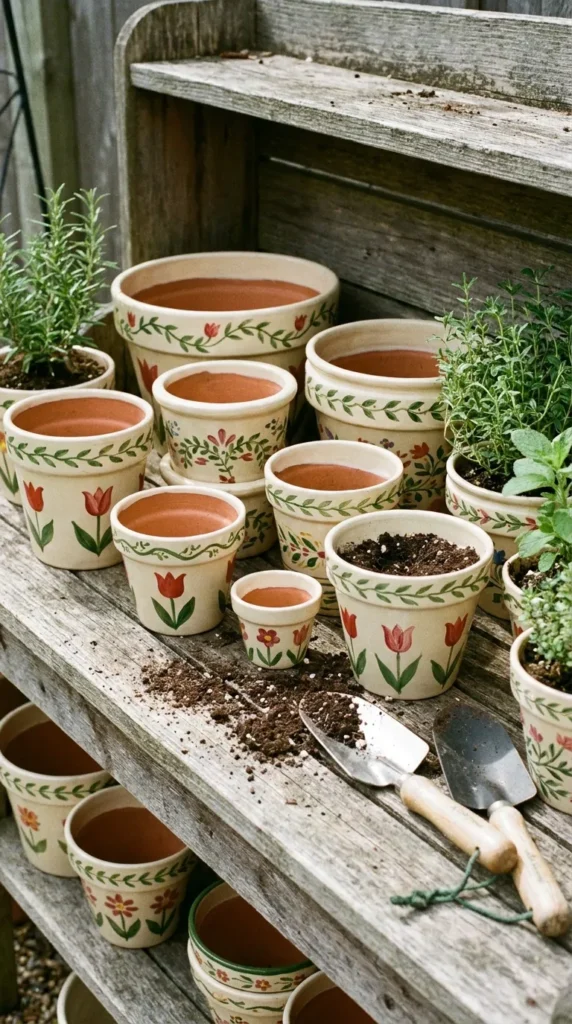
17. Hand-Painted Vintage Ceramic Pots
Transform plain, inexpensive terracotta pots or mismatched thrift store ceramics into custom heirloom containers using muted palettes and classic European folk-art patterns.
- Materials Needed: Terracotta or ceramic pots, matte acrylic paints (soft creams, sage, mustard, and deep terracotta), fine-tipped paintbrushes, and an outdoor matte acrylic sealant.
- The Process: Clean the pots thoroughly to remove any dust or dirt. Apply two coats of a soft, creamy white or muted beige paint to serve as your background canvas. Once dry, use a fine-tipped brush to freehand paint delicate folk motifs—think simple tulips, symmetrical leaf branches, or ditsy trailing berries. Keep the brushstrokes organic and slightly imperfect to emphasize the handmade charm. Once dry, protect your artwork from watering moisture by applying a clear matte sealant.
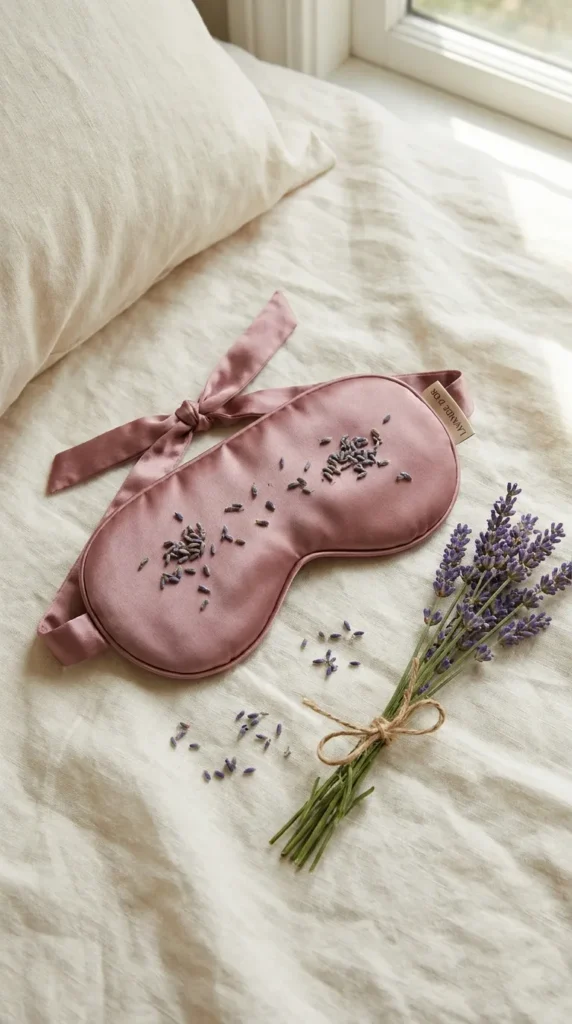
18. Lavender Satin Sleep Masks
Sewing a soft sleep mask filled with fragrant lavender blossoms turns a basic comfort item into a luxurious bedtime ritual that encourages deep, restful sleep.
- Materials Needed: Soft silk or satin fabric, cotton batting, a piece of elastic ribbon, dried lavender flowers, sewing pins, and a sewing machine or needle.
- The Process: Cut out two matching mask shapes from your silk or satin fabric using a simple template, and one matching shape from the cotton batting. Lay the two silk pieces together with their decorated right sides facing each other, sandwiching the elastic ribbon ends inside at the temples. Stitch around the perimeter, leaving a small two-inch gap open. Turn the mask right-side out so the smooth satin is on the exterior. Slip the layer of cotton batting inside, then use a small funnel to pour two tablespoons of fragrant dried lavender into the core of the mask before hand-stitching the opening closed.
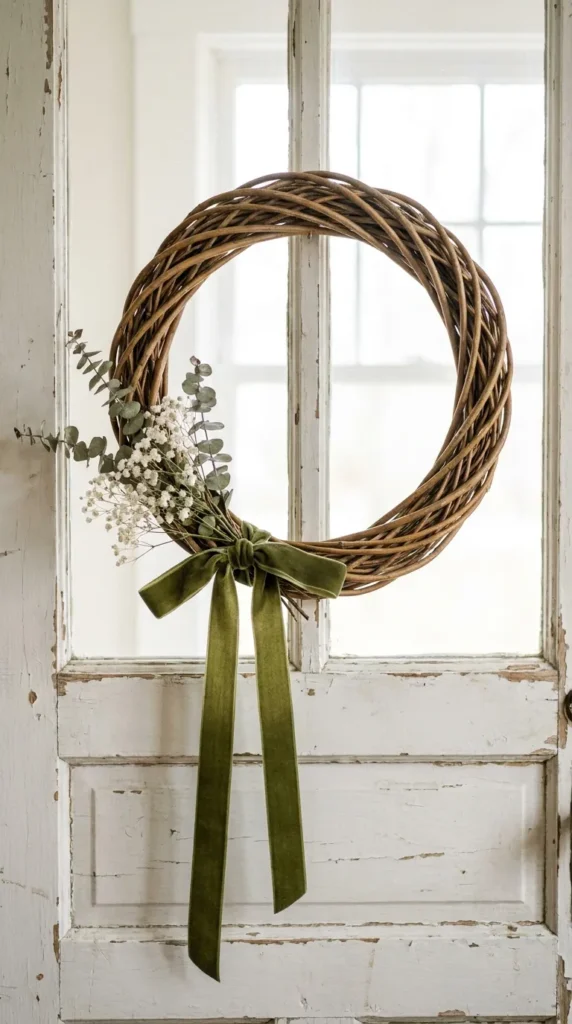
19. Twig and Vine Window Wreaths
Wreaths are not just for the holiday season. A minimal, airy wreath made from flexible willow twigs and seasonal greenery brings a welcoming touch of the countryside to your front door year-round.
- Materials Needed: Flexible fresh grapevine or willow branches, paddle wire, wire cutters, and fresh or dried eucalyptus, baby’s breath, and velvet ribbon.
- The Process: Bend your fresh grapevine branches into a neat circle, weaving the ends over and under each other to hold the shape without needing glue. Use small pieces of green floral wire to anchor any wild, loose ends. Choose one side of the wreath to serve as the visual focal point, and use wire to attach a small, asymmetrical bunch of eucalyptus stems and delicate baby’s breath. Finish the piece by tying a long, trailing bow made of rich olive green or dusty rose velvet ribbon around the base of the greenery.
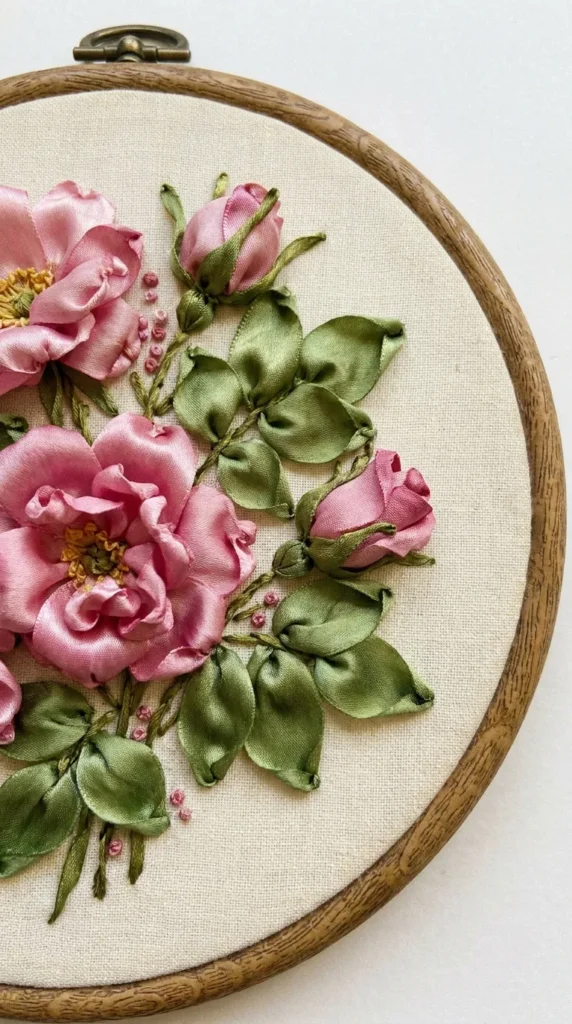
20. Linen Ribbon Embroidery Hoop Art
Using wide linen ribbons instead of traditional thin embroidery floss allows you to create striking three-dimensional floral art pieces with incredible texture and depth.
- Materials Needed: A wooden embroidery hoop, heavy linen background fabric, 7mm wide silk or linen ribbons (in rose pinks and mossy greens), and a large chenille needle.
- The Process: Stretch your background linen fabric tightly over the wooden embroidery hoop, pulling it taut like a drum. Thread your wide ribbon through the large eye of a chenille needle. Pierce the fabric from the back, pulling the ribbon through while keeping it flat and untwisted. Create large, loose loops to form the dimensional petals of a rustic rose or a simple daisy, securing the base of each loop down carefully. Switch to green ribbon to create bold, sweeping ribbon-stitch leaves, leaving the finished piece inside the wooden hoop to serve as its permanent vintage frame.