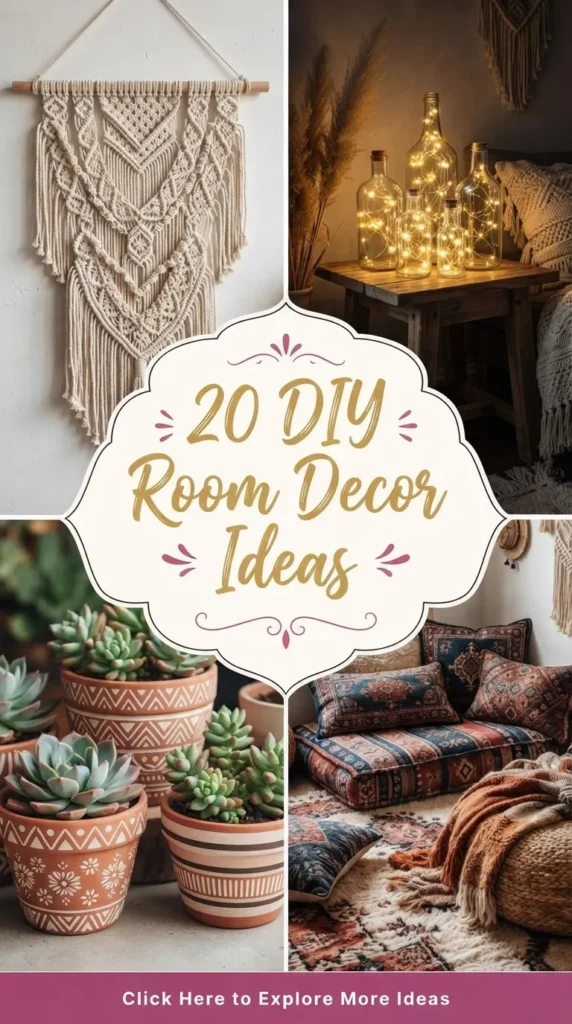
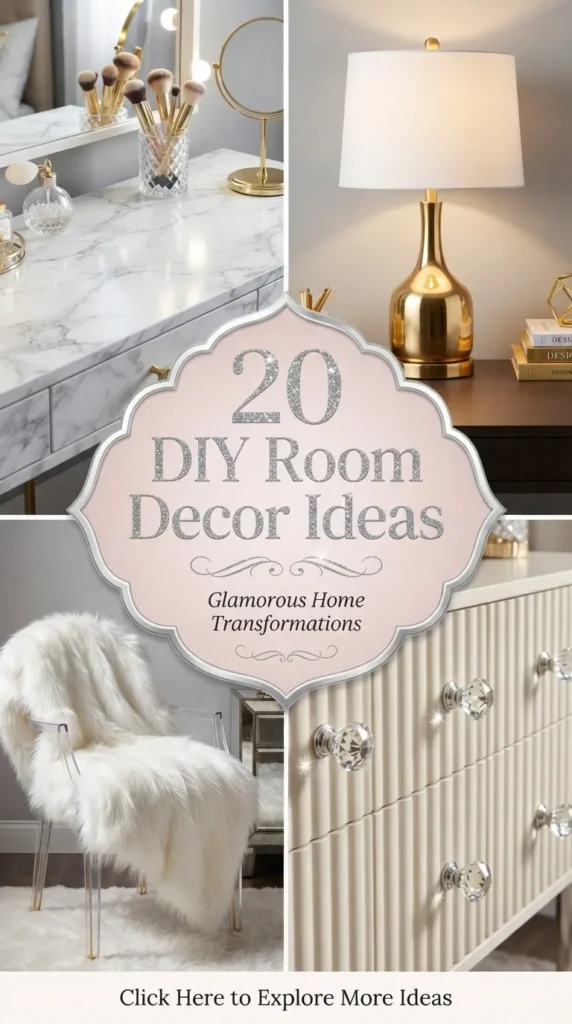
Transforming your living space doesn’t require a massive budget or a professional interior designer. Often, the most memorable, elegant, and cozy rooms are those infused with handmade charm. Whether you are aiming for a serene, spa-like sanctuary, a chic modern aesthetic, or a warm bohemian haven, DIY projects allow you to customize your environment to match your exact personality.
Pinterest is brimming with inspiration, but translating those gorgeous aesthetics into reality can feel overwhelming. To help you curate a home that looks effortlessly curated, we have rounded up 20 unique, realistic, and highly photogenic DIY room decor ideas. These projects balance high-end elegance with approachable crafting techniques, ensuring your home looks sophisticated, cohesive, and entirely your own.
1. The Textured Canvas Masterpiece
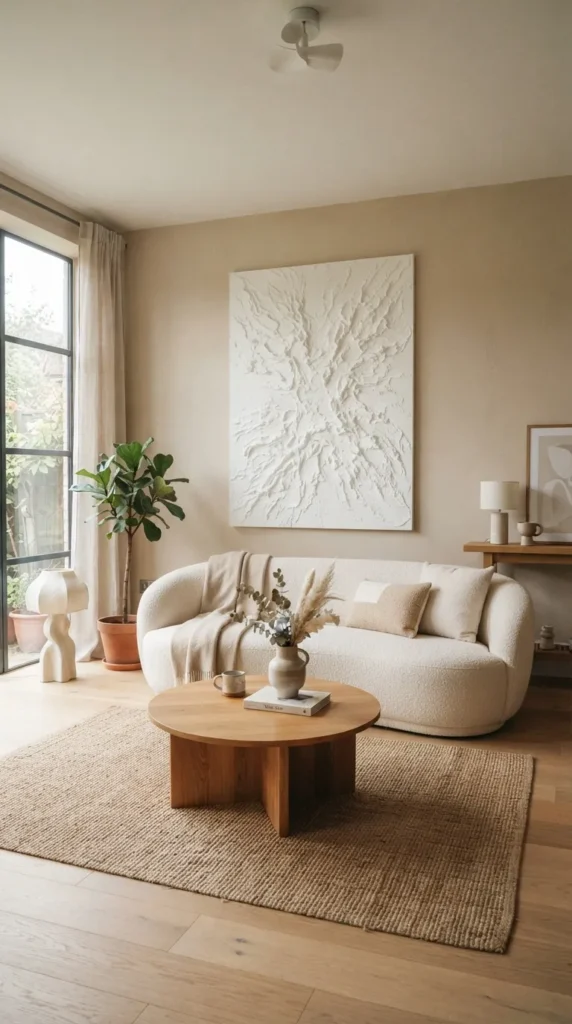
Minimalist, high-texture art dominates high-end interior design boards. Instead of dropping hundreds on a gallery piece, you can create your own oversized textured canvas using joint compound or plaster.
How to Achieve the Look
Purchase a large, inexpensive pre-stretched canvas from a local craft store. Using a putty knife, a notched trowel, or even an old comb, apply lightweight joint compound across the surface in sweeping arcs, sharp geometric lines, or organic, wave-like motions. The beauty lies in the imperfection. Once dry, leave it stark white for a sculptural, gallery-esque feel, or paint it in muted earth tones like beige, taupe, or terracotta to add depth to your walls.
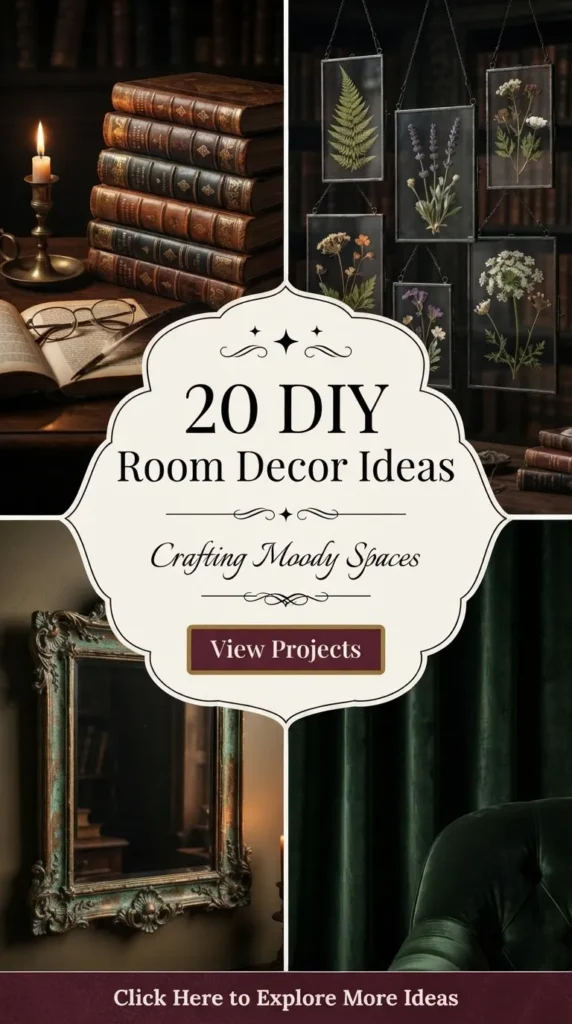
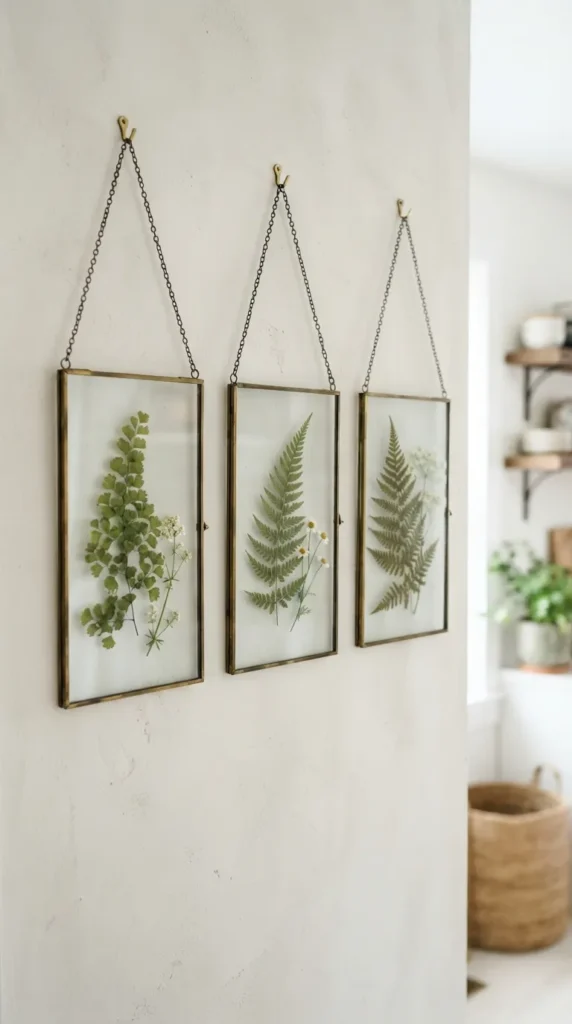
2. Floating Botanical Pressed Glass Frames
Bringing nature indoors adds instant life and tranquility to a room. Pressed botanical frames offer a timeless, vintage-modern look that works beautifully in living rooms, bedrooms, or entryways.
How to Achieve the Look
Collect interesting ferns, eucalyptus leaves, wild flowers, or delicate colorful petals. Press them inside a heavy book lined with parchment paper for about a week until completely dry and flat. Purchase double-pane floating glass frames (frames with transparent backgrounds). Carefully arrange your dried botanicals between the glass panes, securing them with a tiny dot of clear adhesive if necessary. Hang them in groups of three to create a stunning, organic feature wall.
3. Fluted Wooden Accent Furniture
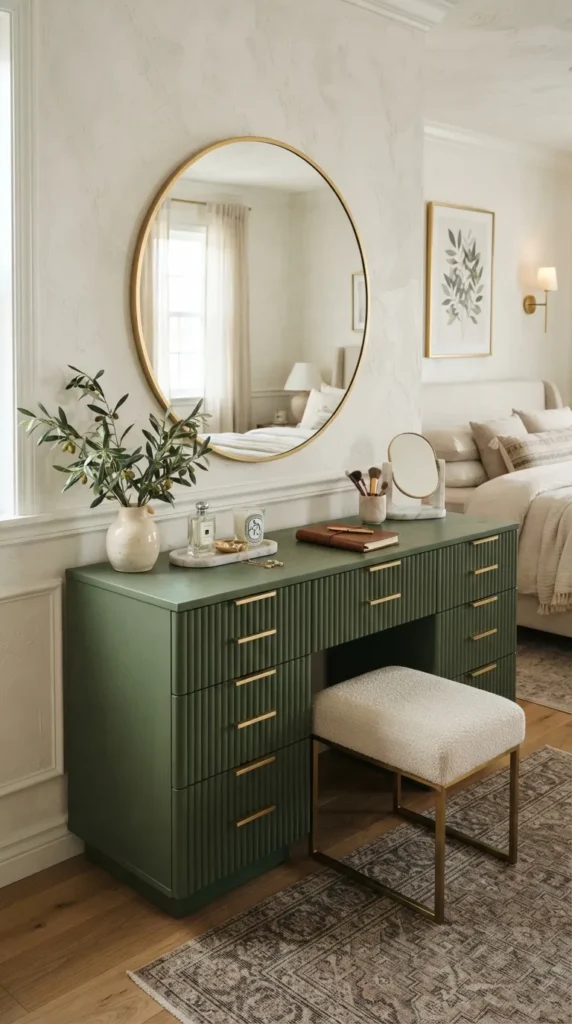
Fluted furniture is a staple of contemporary luxury decor. You can easily upgrade a basic, flat-surfaced piece of furniture—like an inexpensive IKEA dresser, a side table, or a trash can turned sleek planter—using wooden half-round dowels.
How to Achieve the Look
Measure the height of the piece you want to wrap and cut wooden half-round molding strips to size. Using strong wood glue or construction adhesive, attach the dowels side-by-side along the exterior surface until it is entirely covered. Secure them temporarily with painter’s tape while the glue cures. Sand any rough edges, then apply a rich wood stain or a matte paint—such as forest green, charcoal, or creamy ivory—to instantly elevate the piece into a high-end designer look.
4. The Upcycled Alabaster Faux Stone Vase
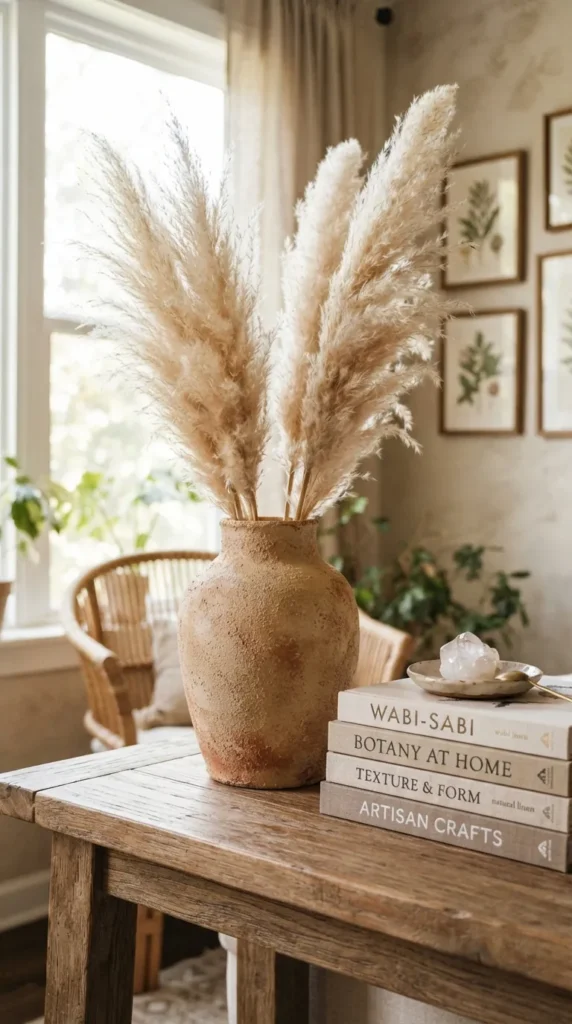
Thrift stores are filled with glass, ceramic, and plastic vases with dated patterns but beautiful silhouettes. You can give these forgotten vessels a luxurious makeover using a simple baking soda and paint mixture that mimics the look of authentic stoneware or terracotta.
How to Achieve the Look
Mix acrylic matte paint with baking soda until you achieve a thick, chalky, paste-like consistency. Using a coarse bristle brush, slap the mixture onto the vase in uneven strokes to build up a realistic, sandy texture. Once dry, the paint loses its sheen and transforms into an earthy, matte finish resembling heavy ceramic or ancient stone. Style it with a few dried pampas grass stalks or minimal olive branches for a stunning Pinterest vignette.
5. Floating Cloud Ribbon Organizer & Vanity Trays
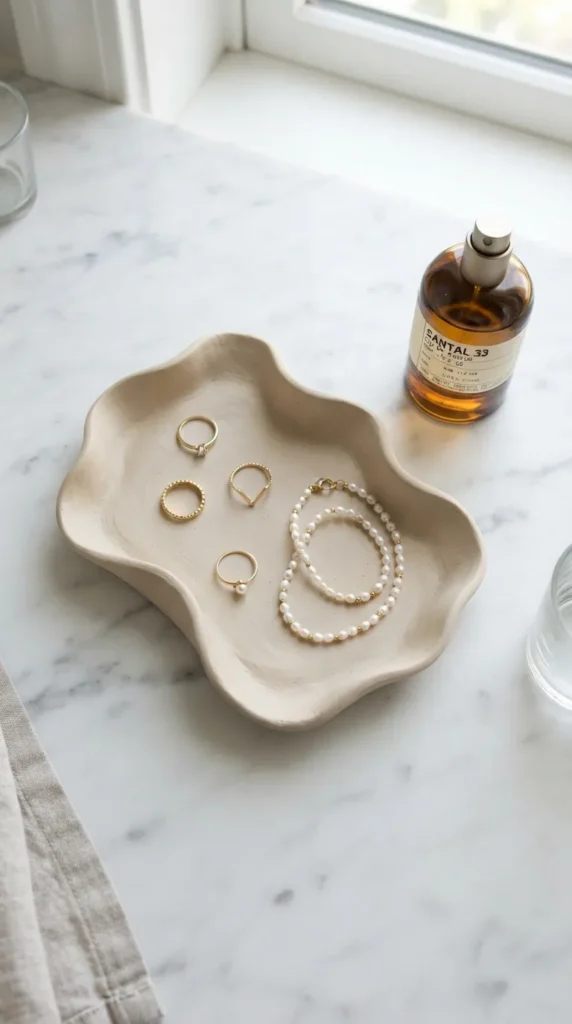
A cluttered vanity instantly disrupts the peace of a bedroom. You can create custom, organic-shaped organizational trays using air-dry clay, which feels incredibly high-end and artisanal when finished correctly.
How to Achieve the Look
Roll out white air-dry clay to an even thickness of about a quarter of an inch. Cut out organic, wavy, or asymmetric shapes. Pinch the edges upward slightly to create a shallow lip that will prevent your jewelry, perfumes, or keys from sliding off. Let the clay cure completely for 24 to 48 hours. Sand away any rough spots, then seal the tray with a glossy clear coat for a porcelain look, or a matte sealant for a raw, stone-like aesthetic.
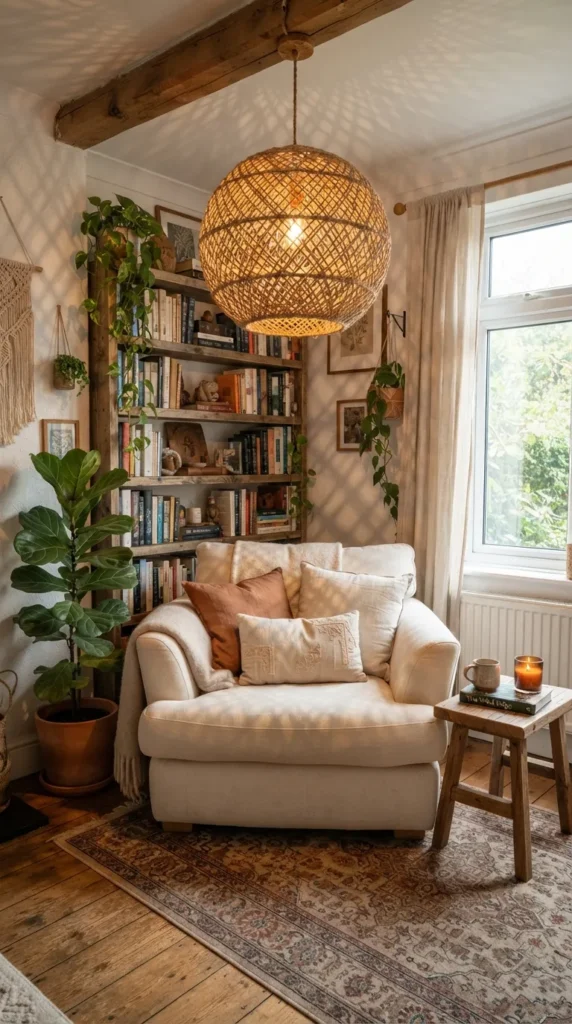
6. Woven Rope Boho Pendant Light
Statement lighting can make or break a room’s ambiance. A grand, woven pendant light adds immense warmth and texture, and it can be created using a standard beach ball or inflatable balloon as a mold.
How to Achieve the Look
Inflat a large exercise ball or beach ball. Mix equal parts cornstarch, school glue, and warm water to create a smooth paste. Dip thick cotton rope, jute twine, or macramé cord into the mixture, then wrap it randomly or in structured patterns around the ball, leaving an opening at the top for the light fixture to slip through. Once the glue dries completely rock-hard, deflate the ball and pull it out. Insert a simple cord kit with a warm LED bulb to cast gorgeous, patterned shadows across your room.
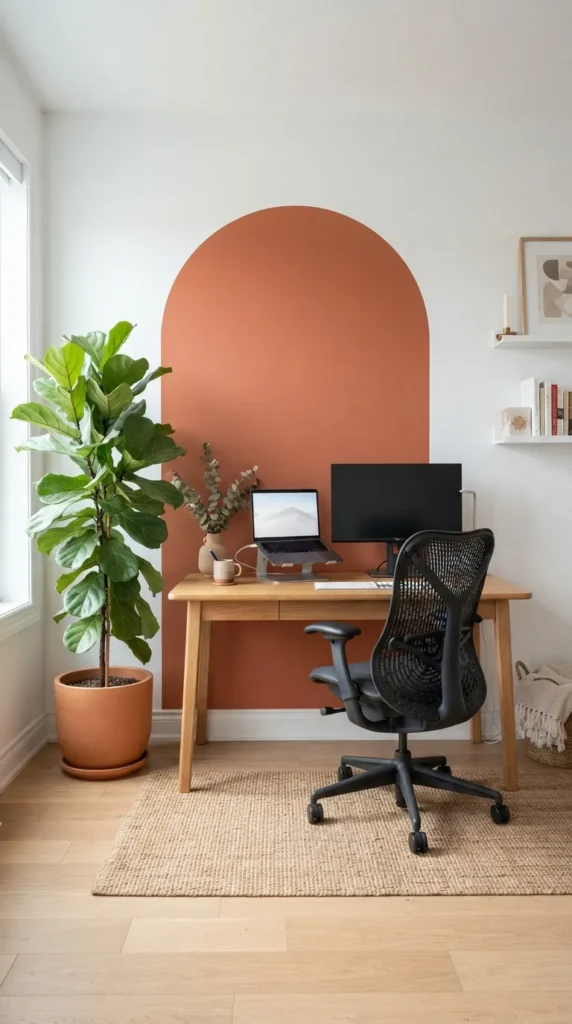
7. Faux Arch Wall Mural
If you want to define a specific zone in your room—like a workspace, a reading nook, or the wall behind your headboard—without painting the entire space, an painted architectural arch is the perfect weekend project.
How to Achieve the Look
Measure the width of the area and mark the top center point. Pin a piece of string to the center point, attach a pencil to the other end, and draw a perfect semi-circle arch template. Use a level to draw straight vertical lines down to the floor from the edges of your arch. Tape off the straight lines, carefully paint the curved arch freehand, and fill in the shape with a contrasting, sophisticated color like dusty rose, sage green, or deep terracotta.
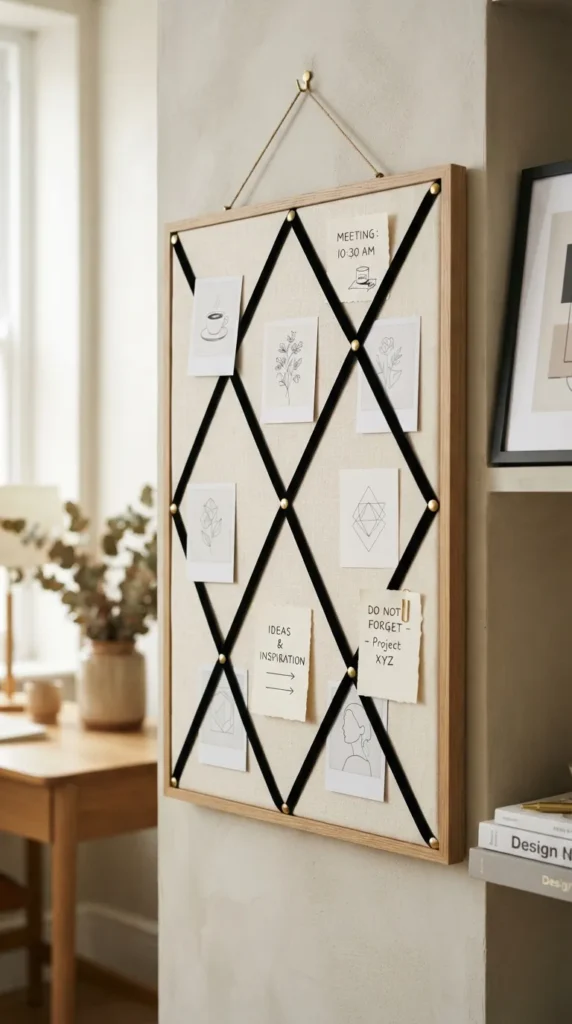
8. The Luxury Linen Grid Memo Board
Ditch the cheap plastic whiteboards or messy corkboards for a custom, tailored linen memo board that keeps your daily inspiration organized while looking incredibly sophisticated.
How to Achieve the Look
Take a piece of sturdy plywood or a large canvas frame. Wrap it in heavy, neutral-toned linen fabric, securing it firmly to the back with a staple gun. Using a thin velvet ribbon or leather cording in a contrasting color, create a crisscross grid pattern across the front. Secure the intersections of the ribbon with decorative brass upholstery tacks or studs. You can now slip polaroids, notes, and schedules into the ribbons without damaging them.
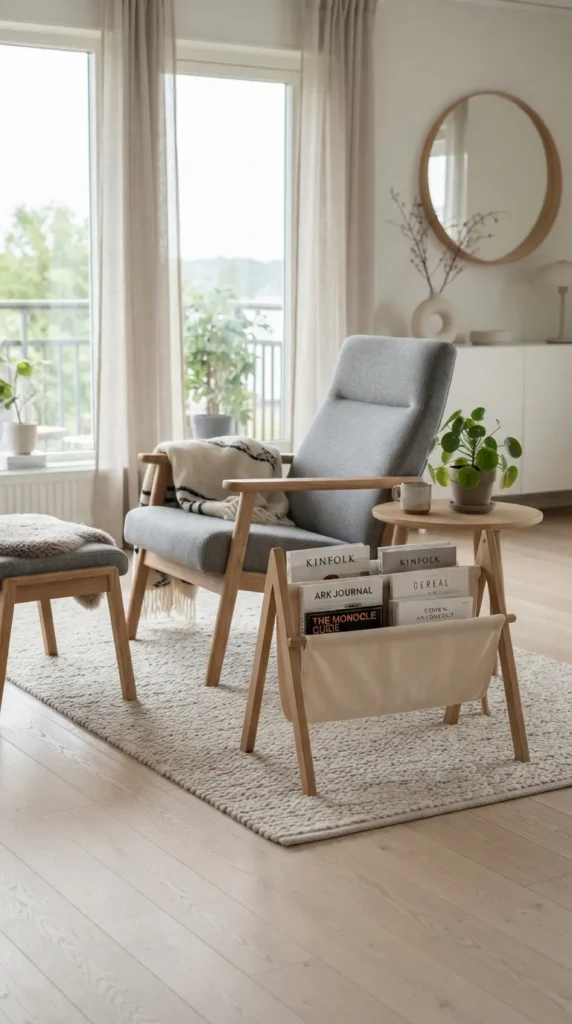
9. Scandi-Style Wooden Dowel Magazine Rack
Clear out coffee table clutter with a sleek, Scandinavian-inspired floor magazine and book rack made from simple wooden dowels and a strip of heavy canvas or leather.
How to Achieve the Look
Construct two simple rectangular frames out of square wooden dowels, joining them at the top with a hinge or crossbar so they can stand open like an A-frame ladder. Cut a wide strip of thick cream canvas or tan leather, loop the ends over the horizontal crossbars, and sew or rivet them in place to create a deep, hanging sling hammock. This piece looks effortlessly chic resting next to an armchair or a bed.
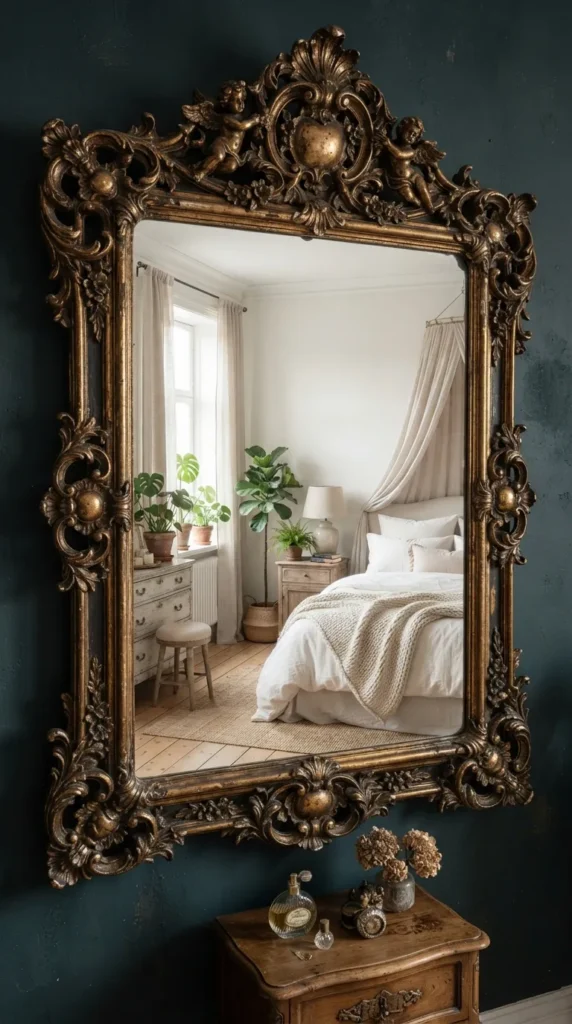
10. Antiqued Gilt Mirror Transformation
Large antique gold mirrors are highly coveted, but they often carry hefty price tags. You can give a basic, flat-framed thrift store mirror a heavy vintage patina using air-dry clay molds and metallic wax.
How to Achieve the Look
Purchase decorative silicone molds (featuring baroque, floral, or scrollwork designs) and fill them with air-dry clay to create ornate appliques. Glue these molded details onto the corners and edges of a plain wooden mirror frame. Once dry, paint the entire frame black. Finally, use your finger or a dry brush to lightly buff gold metallic wax (like Rub ‘n Buff) over the raised surfaces, allowing the black paint to peek through the crevices to simulate authentic, centuries-old aged gold.
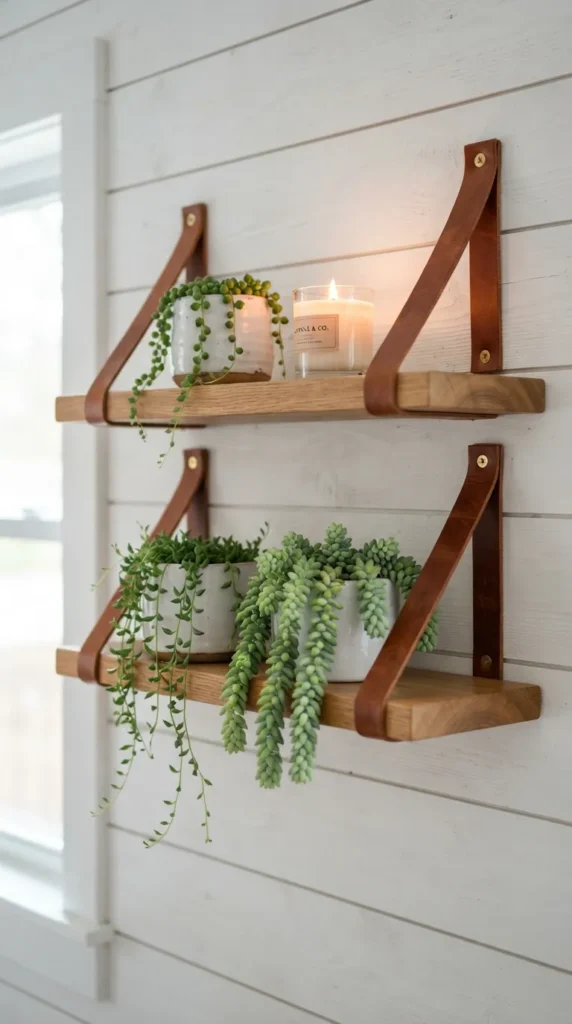
11. Minimalist Leather Strap Shelves
Ditch standard, bulky metal brackets for sleek, industrial-modern shelves held up by rich leather straps. This look is perfect for showcasing small indoor plants, candles, and curated books.
How to Achieve the Look
Purchase a smooth wooden plank, sand it down, and seal it with a clear coat or light wood stain. Cut two long, identical strips of thick leather belt strapping. Fold each strap in half to form a loop, and screw them securely into wall studs using heavy-duty screws finished with decorative brass washers. Slide the wooden board through the loops, adjusting it until it sits completely level.
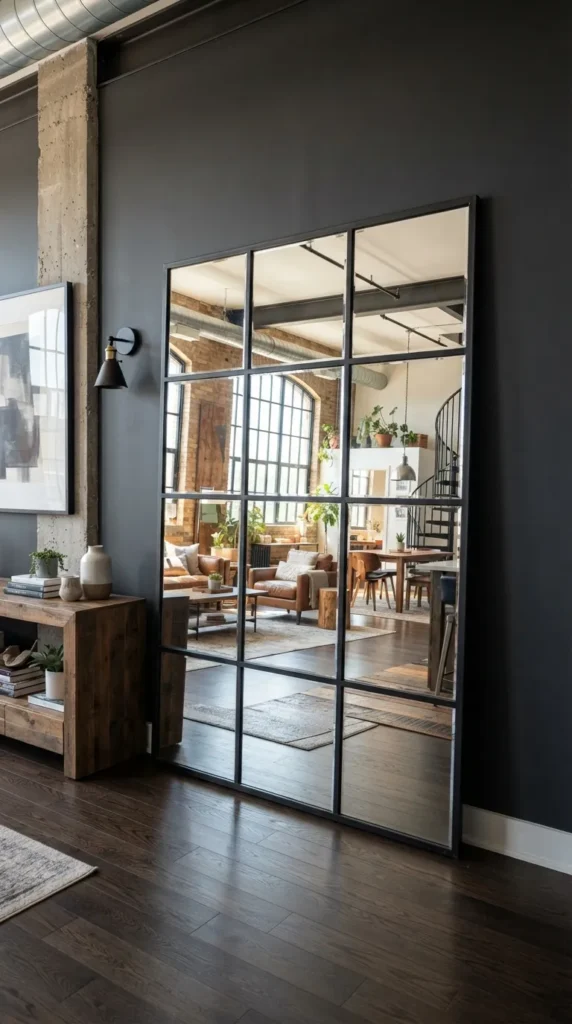
12. Segmented Grid Statement Mirror
Giant industrial grid mirrors expand a room visually, making spaces feel twice as large and bright. You can build your own large-scale grid mirror using inexpensive square mirror tiles and a thin wooden backing board.
How to Achieve the Look
Determine your desired size (for example, a grid of 12 or 16 square mirror tiles). Cut a thin sheet of plywood to match those total dimensions. Paint the entire board a sleek matte black. Glue the mirror tiles down onto the board using mirror-safe adhesive, leaving a consistent quarter-inch gap between each tile. Fill those gaps with thin strips of black balsa wood or neat lines of dark caulk to create the illusion of a heavy, custom metal-framed window pane mirror.
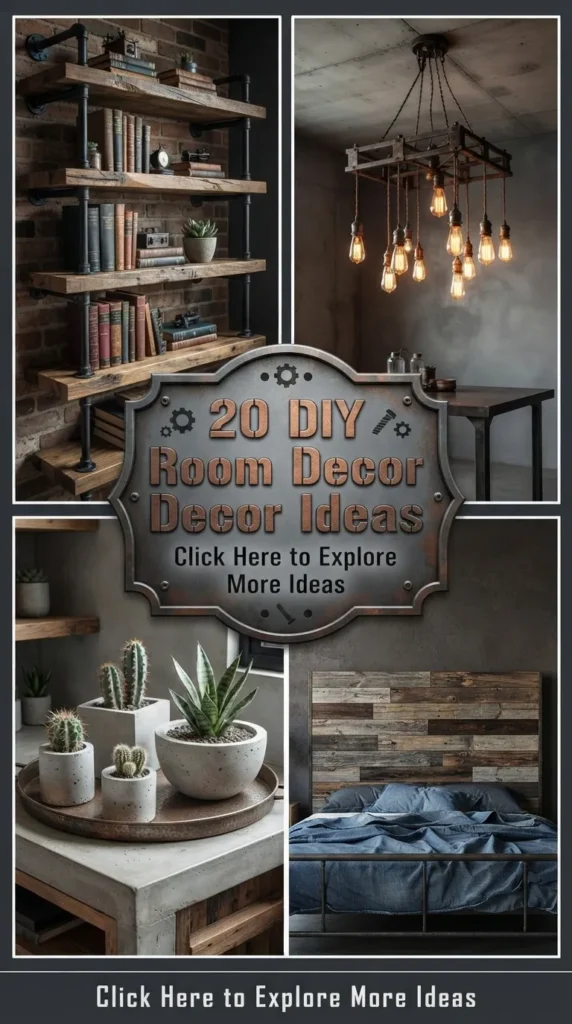
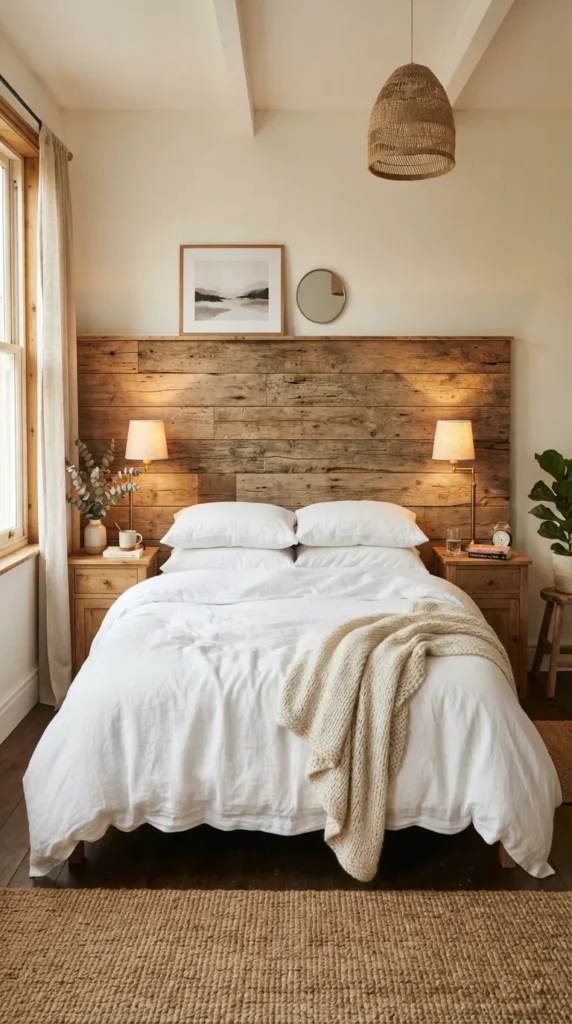
13. Reclaimed Wood Headboard
Give your bedroom the warm, cozy feel of a boutique rustic hotel by crafting a custom wooden headboard out of thin accent planks or weathered pallet wood.
How to Achieve the Look
Build a simple rectangular frame out of construction lumber that matches the width of your bed. Lay thin, lightweight wood planks horizontally or in a stylish herringbone pattern across the front of the frame. Secure them with wood glue and brad nails. Sand the wood thoroughly to prevent any snagging on your bedding, then apply a rich, transparent stain that highlights the natural beauty of the wood grain. Mount it directly to the wall behind your bed.
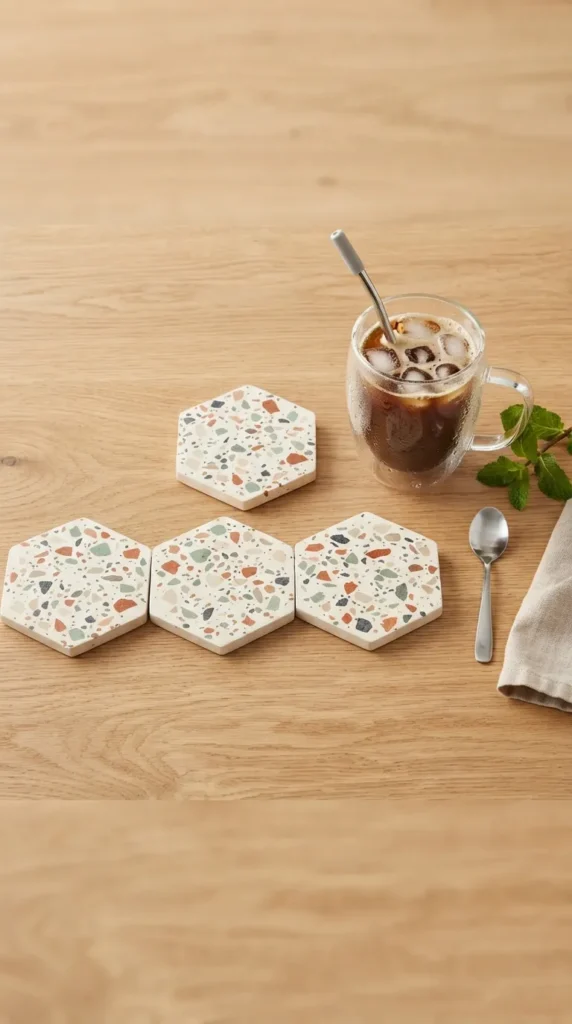
14. Terrazzo-Effect Polymer Clay Coasters
Terrazzo is a playful, high-contrast material that injects instant color and artistic flair into contemporary spaces. You can create your own durable, waterproof terrazzo coasters using oven-bake polymer clay.
How to Achieve the Look
Condition a large lump of white or beige polymer clay and roll it out into a smooth sheet to form the base of your coasters. Chop up tiny, irregular fragments of contrasting clay colors—like terracotta, sage, navy, and mustard yellow. Scatter these colorful flecks across your base sheet, then roll over the surface with a rolling pin or brayer to press the flecks flat into the base. Cut out circles or hexagons using cookie cutters, bake according to the package instructions, and finish with a clear sealer.
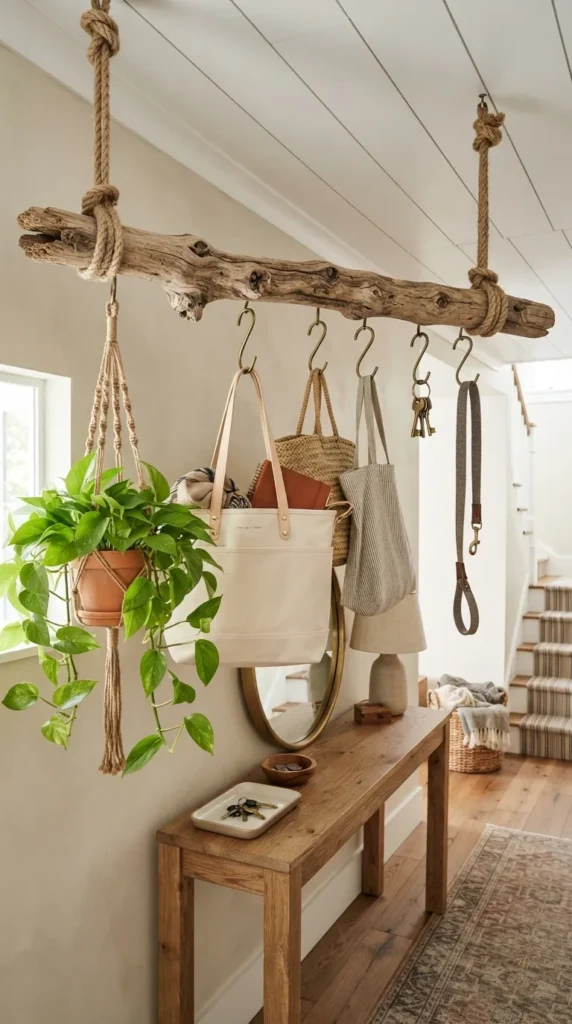
15. The Driftwood Multi-Tier Hanging Rack
Bring coastal, organic symmetry into your entryway or bedroom with a functional hanging rack crafted from a beautiful piece of beach-washed driftwood.
How to Achieve the Look
Find or purchase a sturdy, thick piece of driftwood or an interesting fallen tree branch. Sand down any sharp edges while preserving its natural, twisted shape. Securely tie thick jute twine or cotton rope to both ends of the branch so it hangs perfectly horizontal. Screw heavy-duty S-hooks or vintage brass hooks along the length of the wood. Hang it from your ceiling or wall to elegantly hold coats, hats, scarves, or hanging indoor trailing plants.
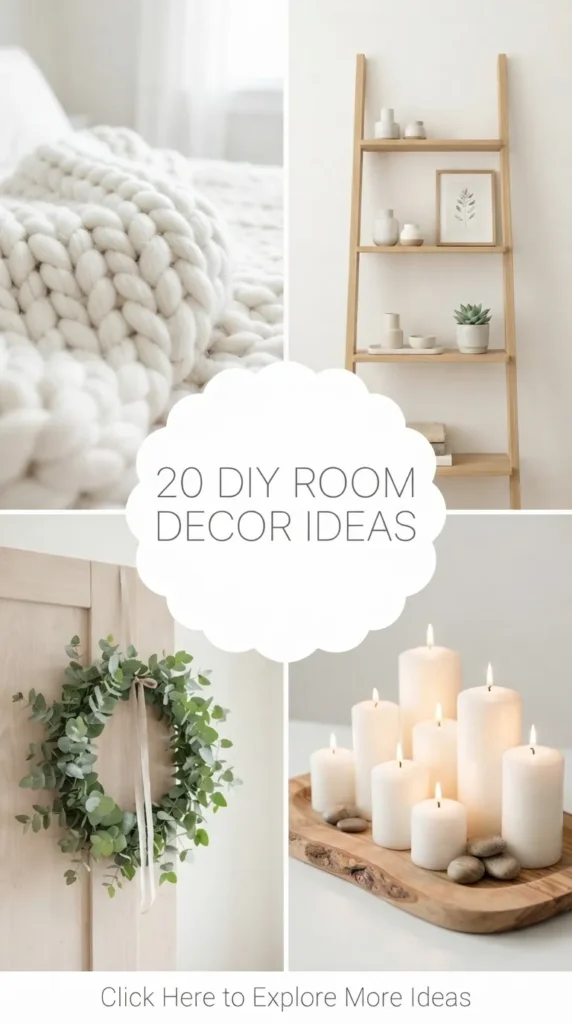
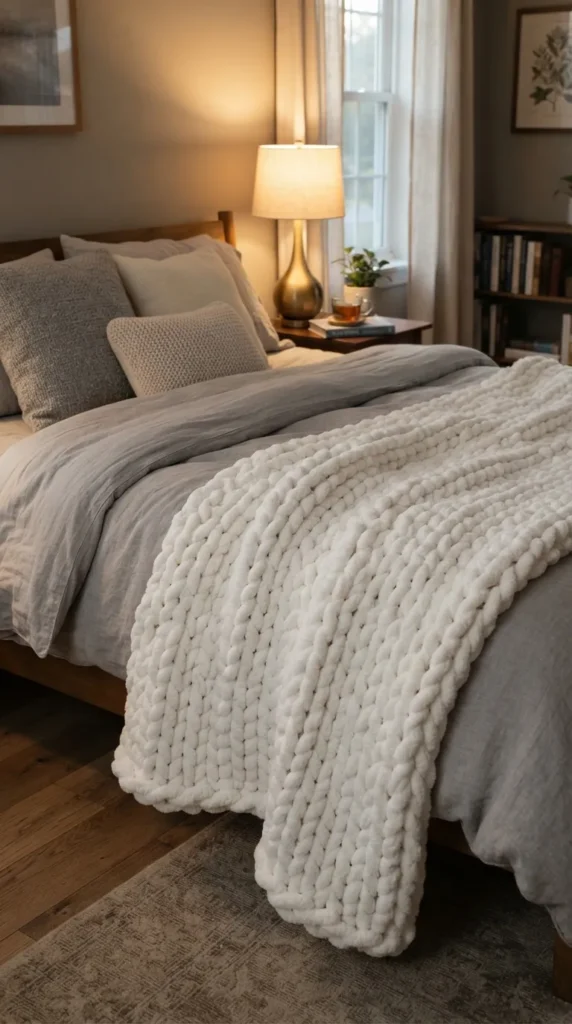
16. Chunky Hand-Knit Throw Blanket
Nothing says cozy like an oversized, ultra-thick knit blanket draped over the edge of a bed or a sofa. You don’t even need knitting needles to create this Pinterest staple—just your arms!
How to Achieve the Look
Purchase several skeins of ultra-plush, jumbo chenille or merino wool roving yarn. Using your forearms as the knitting needles, cast on your initial loops and weave the yarn back and forth to create simple, oversized knit stitches. Because the yarn is so thick, the project comes together incredibly fast, often taking less than an hour. The result is a heavy, luxurious, tactile throw blanket that adds massive cozy texture to your seating areas.
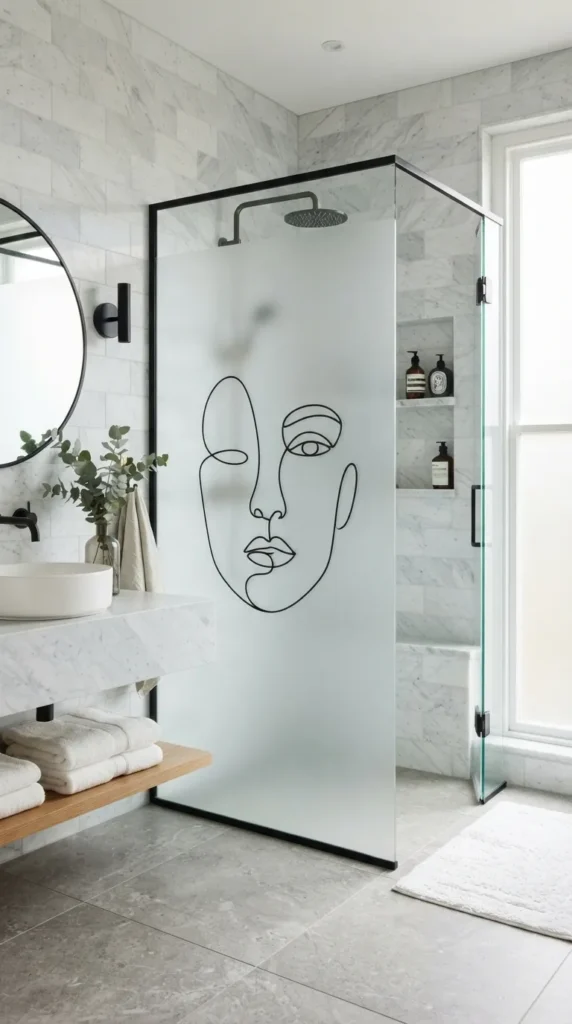
17. Abstract Line Art Window Panels
If you have plain glass windows, shower doors, or cabinet inserts that lack character, you can use thin black vinyl tape or glass paint to simulate high-end abstract line art panels.
How to Achieve the Look
Clean the glass surface thoroughly. Sketch an abstract, minimalist continuous-line face or geometric silhouette on a piece of paper, or find a reference design you love. If working on a window or cabinet, tape the reference paper to the back of the glass as a guide. On the front side, carefully trace the lines using flexible, thin black vinyl pin-striping tape, cutting the edges cleanly with a utility knife. The result is a striking, light-filtering art piece built right into your architecture.
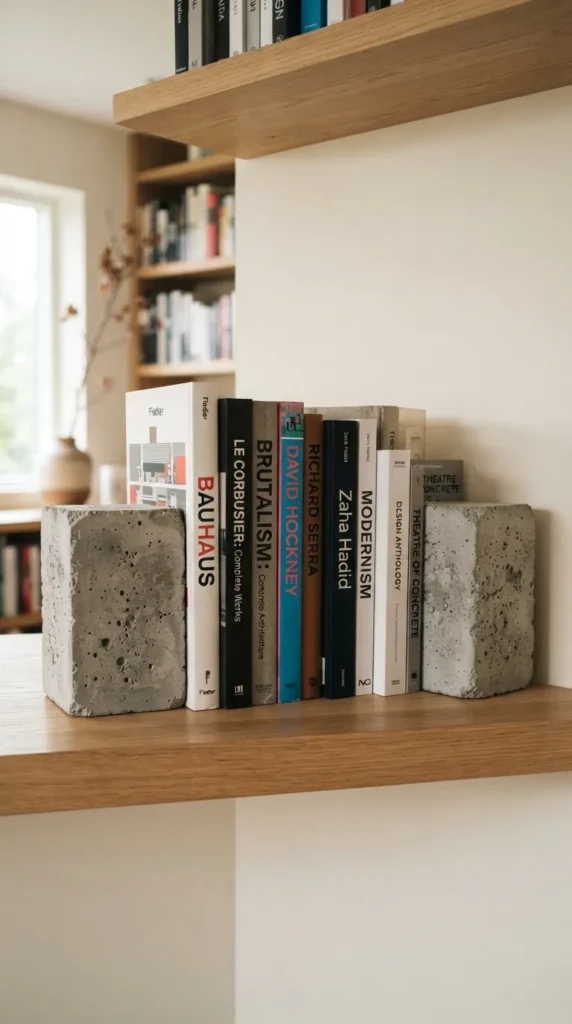
18. Faux Cement Block Bookends
Industrial, brutalist accents add a sharp, modern edge to soft, textile-heavy rooms. You can create heavy, realistic architectural concrete bookends using empty milk cartons as molds.
How to Achieve the Look
Cut the tops off two clean half-gallon milk cartons to create open box molds. Mix standard quick-dry mortar or craft concrete with water until it reaches a thick batter consistency. Pour the concrete into the molds, tapping the sides firmly to release any trapped air bubbles. Push a heavy stone or metal weight into the center of the wet concrete to ensure the finished bookends are heavy enough to hold up books. Let it cure for 48 hours, peel the cardboard mold away, and sand the edges for a clean, architectural finish.
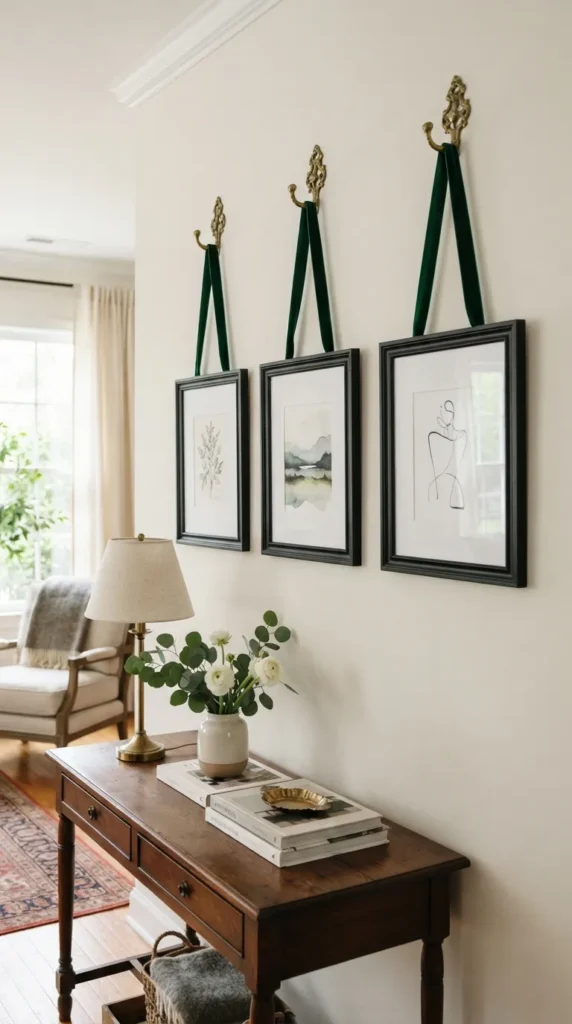
19. Velvet Ribbon Gallery Wall
Elevate a standard gallery wall of art prints or family photos by incorporating soft, luxurious velvet ribbons that hang the frames from decorative brass hooks.
How to Achieve the Look
Frame your prints using matching, clean-lined frames. Cut lengths of wide, high-quality velvet ribbon in a color that complements your room (such as emerald green, dusty blue, or rich cream). Loop the ribbon through the hanging hardware on the back of the frame, bringing both ends up to meet above the frame. Secure the ribbon loop to the wall using an ornamental brass tack or a vintage drapery hook, letting the ribbon hang gracefully to add vertical lines and soft texture to your wall.
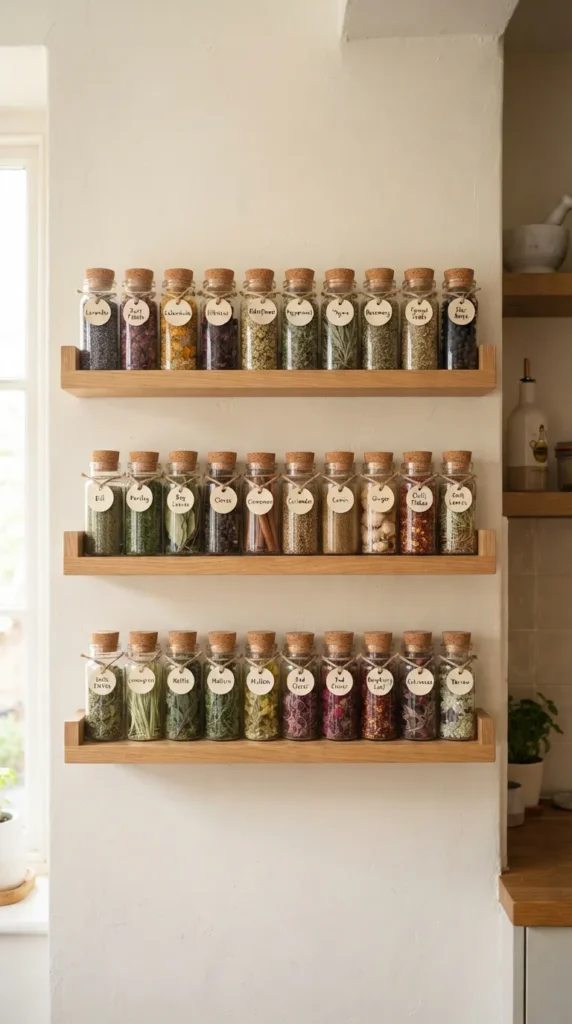
20. Apothecary Dried Herb Display
Turn your kitchen or dining room wall into an old-world apothecary display by organizing dried herbs, teas, and botanicals in matching glass jars on uniform shelves.
How to Achieve the Look
Install three to four shallow wooden picture-ledge shelves vertically spaced along a wall. Purchase a bulk set of identical glass jars with cork stoppers or bamboo lids. Fill the jars with visually distinct dried goods—such as whole lavender buds, rose petals, star anise, dried orange slices, and loose-leaf teas. Create custom, minimalist labels using a vintage typewriter or a clean modern font script, and arrange them uniformly across the shelves for a highly organized, sensory-rich display.