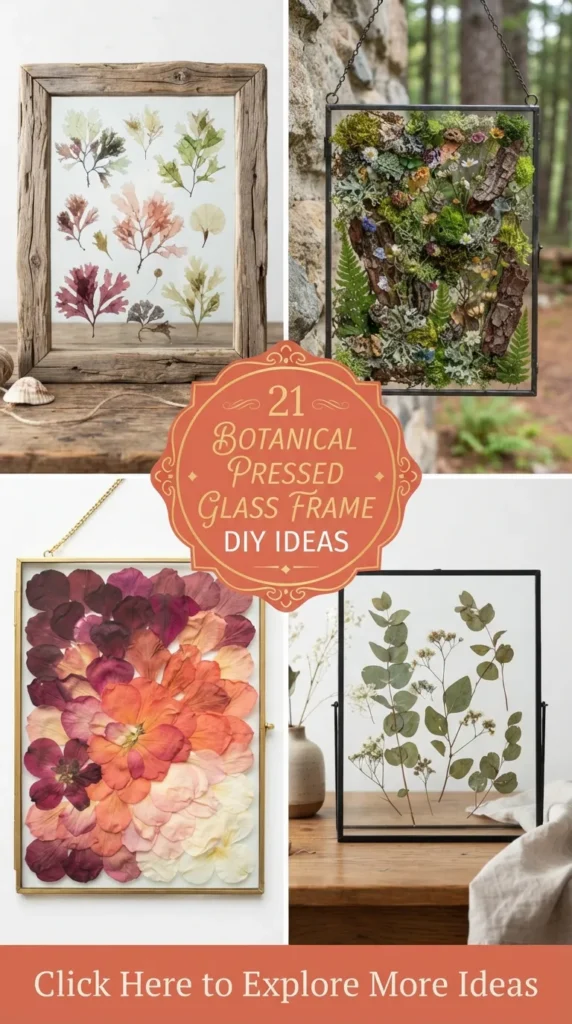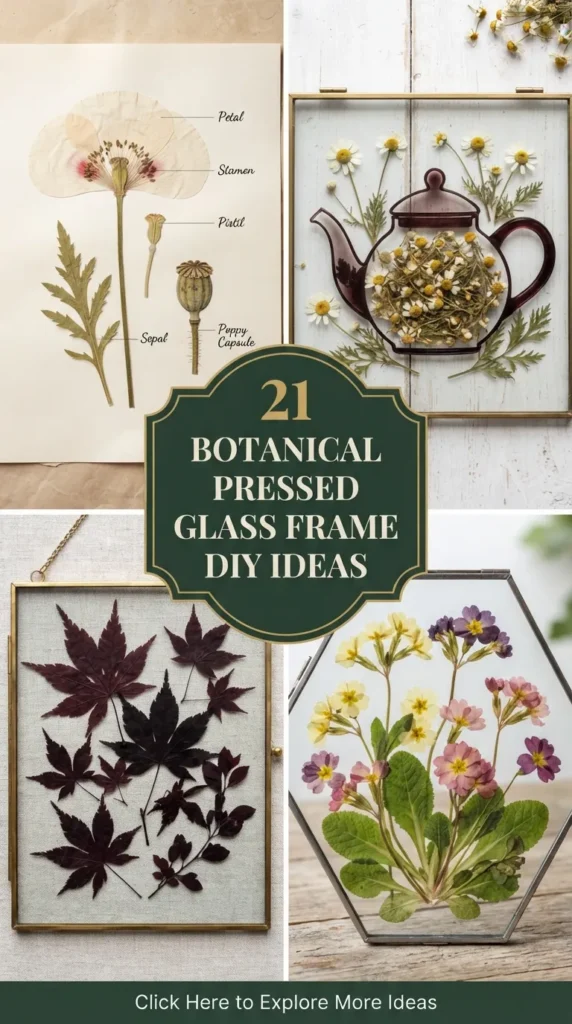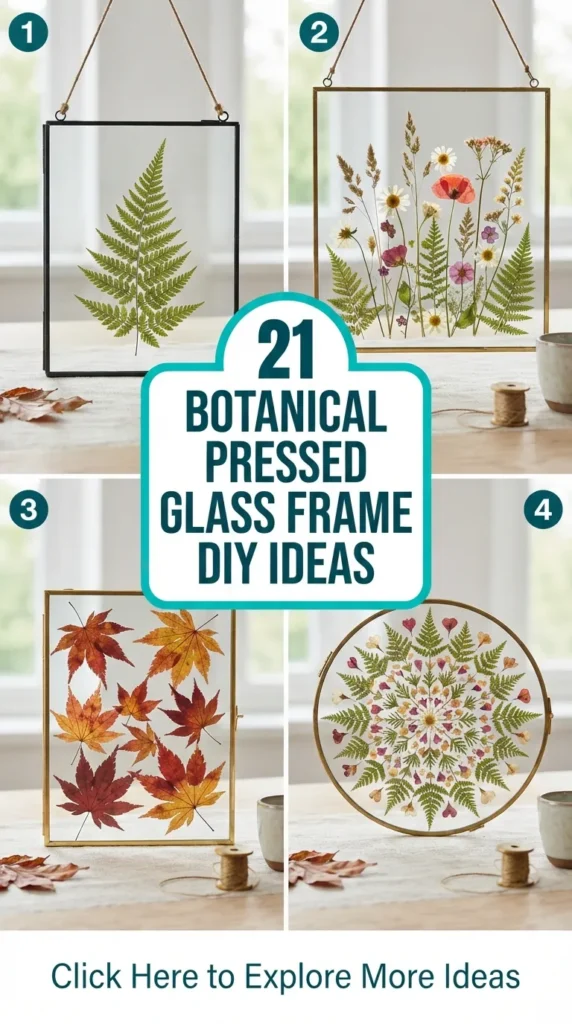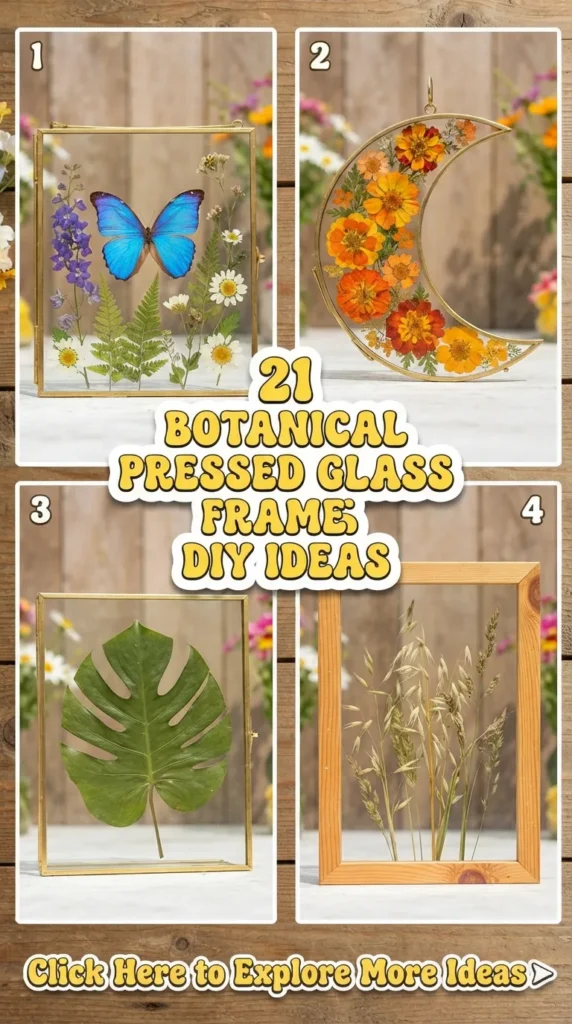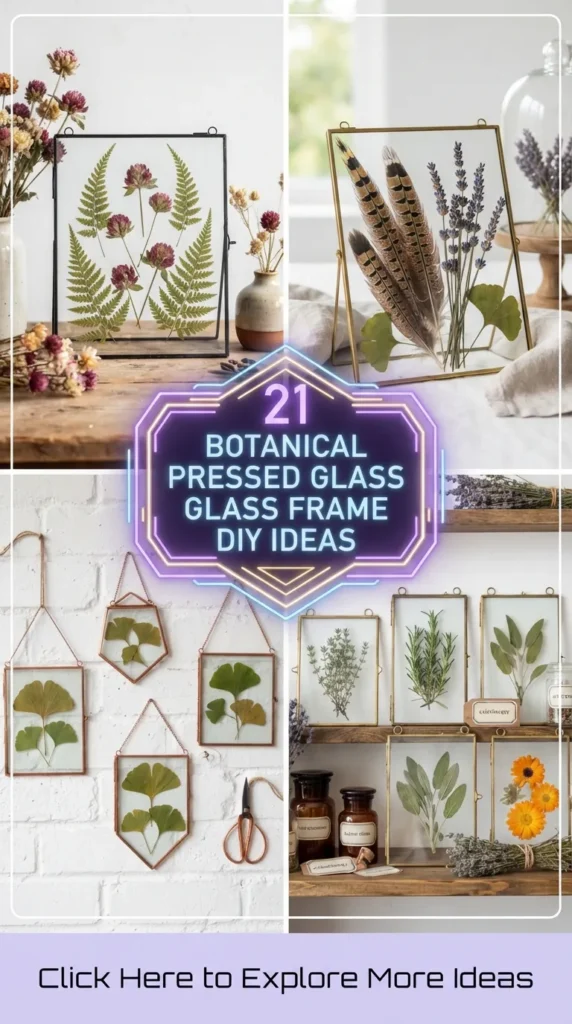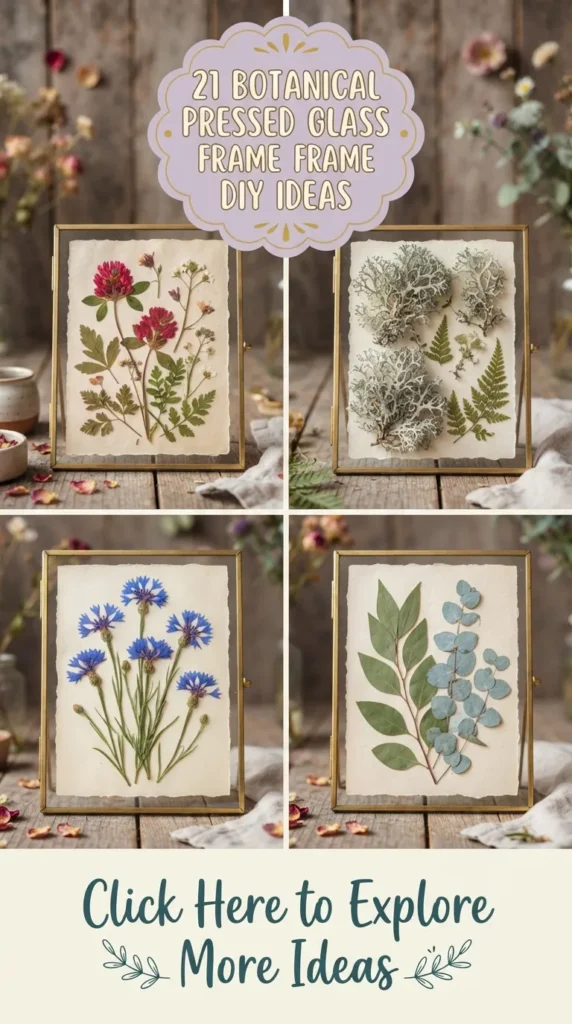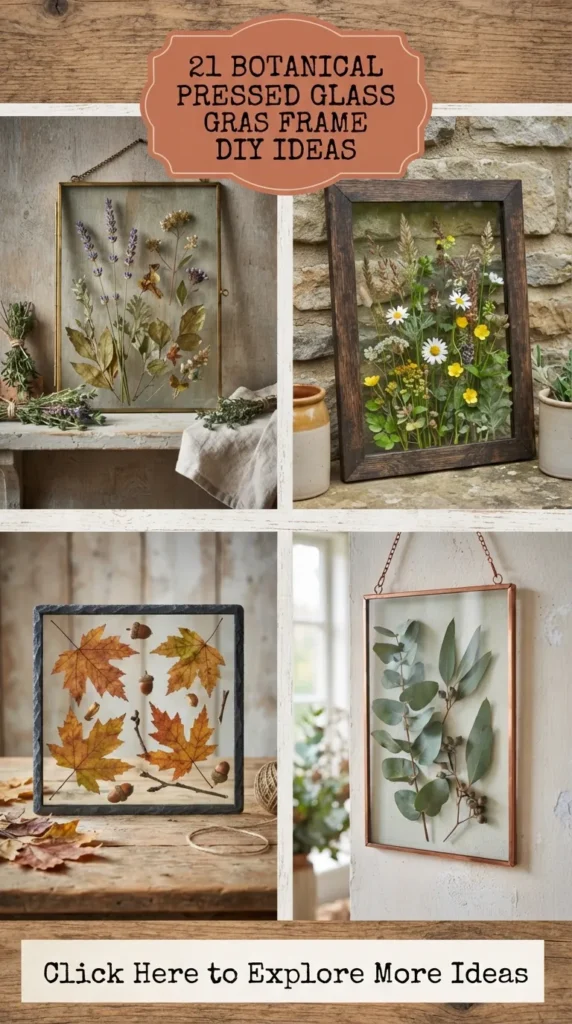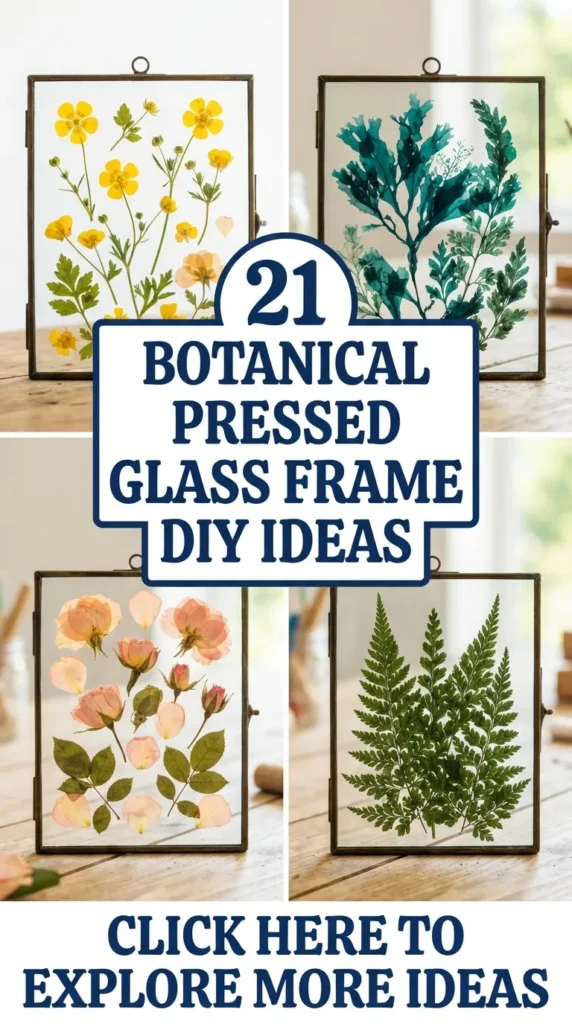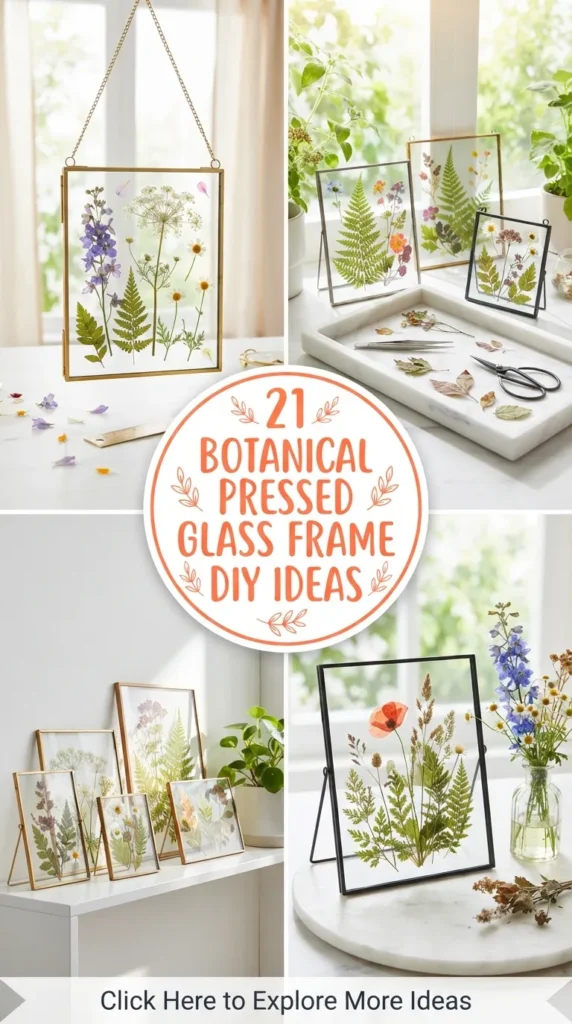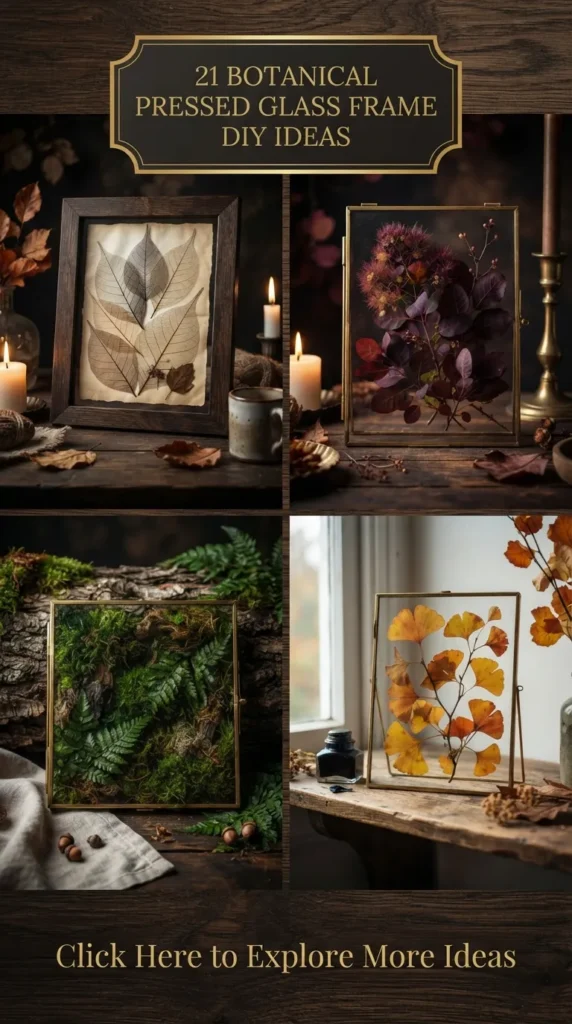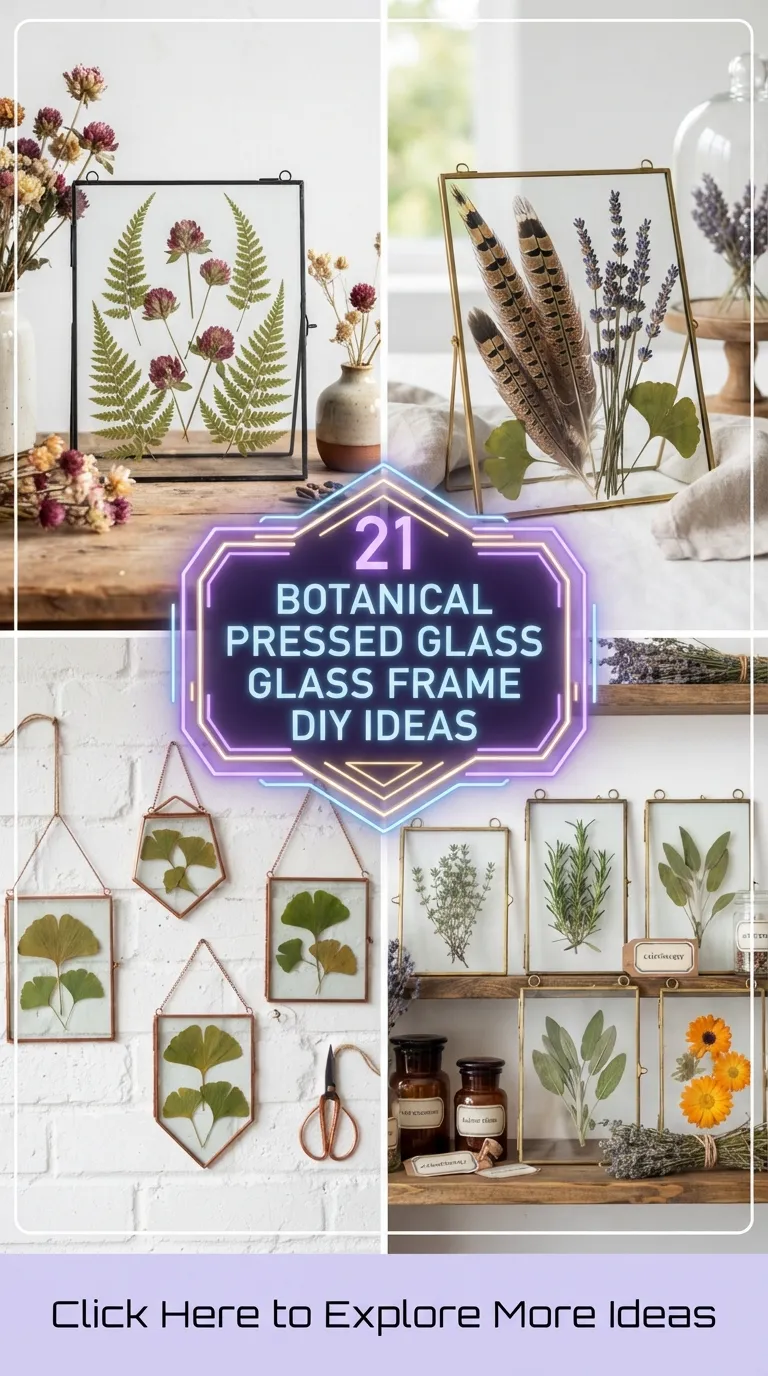
There is a timeless magic in capturing the fleeting beauty of a garden and preserving it forever behind glass. While fresh-cut bouquets eventually fade, pressed botanical art allows you to hold onto the delicate anatomy of a fern, the vibrant blush of a summer petal, or the wild whimsy of field grass year-round. Pressed glass frames—often called “floating frames”—create a gorgeous visual illusion where your botanicals appear suspended in mid-air, allowing the wall color or natural sunlight to filter directly through the display.
Whether you are looking to commemorate a special occasion (like preserving a wedding bouquet), wanting to add an organic, cottagecore aesthetic to your living room, or searching for a meditative weekend craft, this masterclass guide will teach you the nuances of the craft.
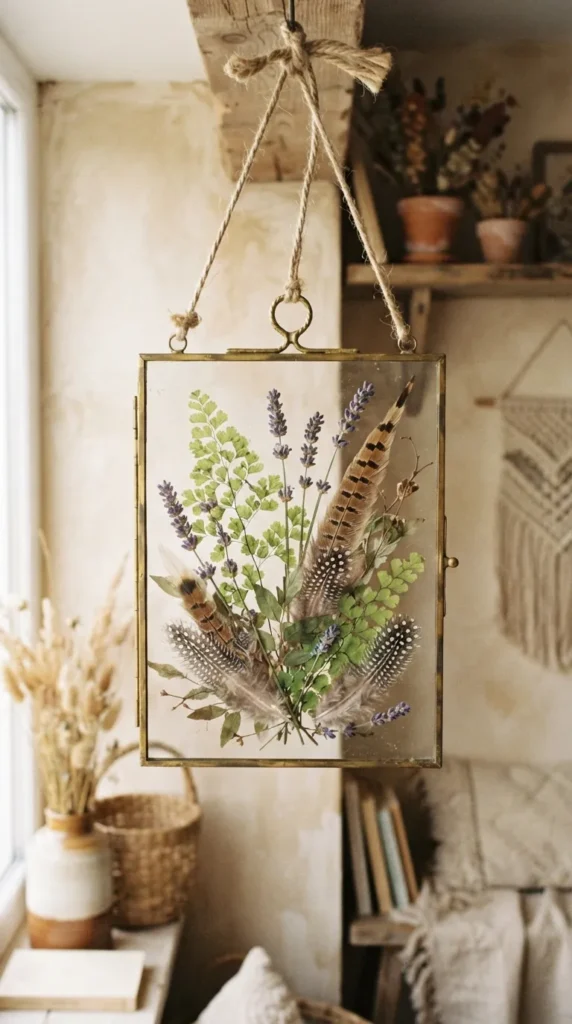
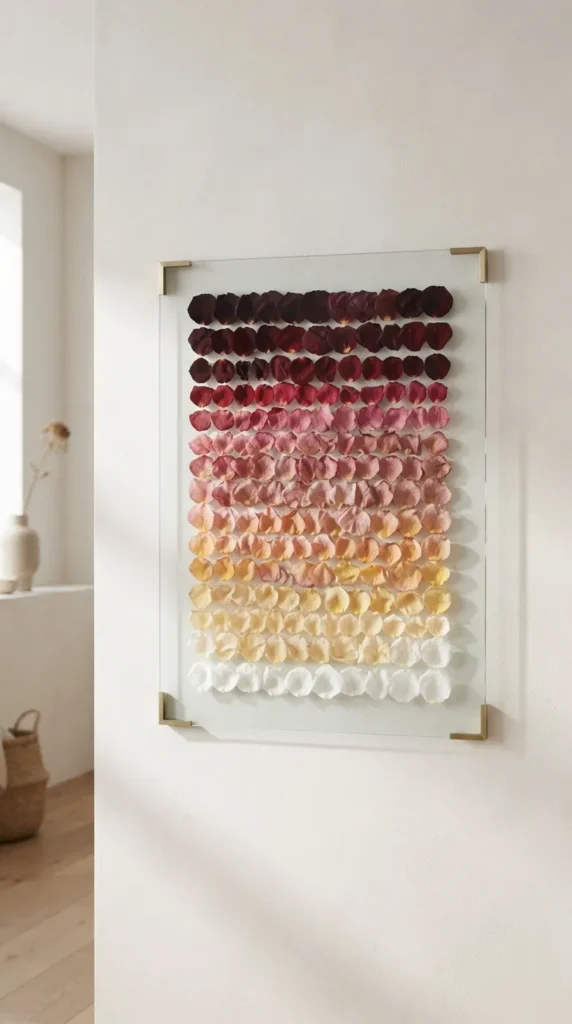
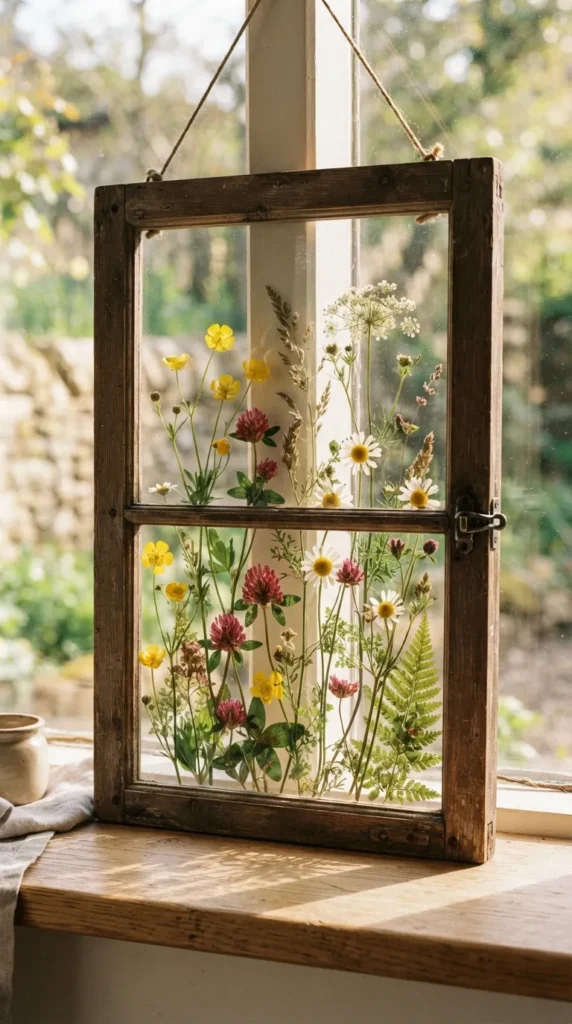
Below is an elegant example of what can be achieved with a double-glass hanging frame, allowing natural light to illuminate the fine details of the preserved petals:
Part 1: The Golden Rules of Pressing and Framing Botanicals
Before we dive into our 20 design layouts, it is crucial to understand the foundational science of botanical preservation. A beautiful frame is only as good as the preparation of its contents. Moisture is the ultimate enemy of pressed art; if a flower is not fully dry before going between two airtight panes of glass, it will eventually discolor, mold, or decay.
Choosing the Right Plants
Not all flora is created equal in the world of pressing.
- Best candidates: Flat-faced flowers with low moisture content press beautifully. Think pansies, violas, cosmos, buttercups, Queen Anne’s lace, daisies, ferns, and most herbs.
- Tricky candidates: Thick, fleshy, or water-heavy plants (like succulent leaves, orchids, thick roses, or lilies) take a very long time to dry and are highly prone to browning or molding.
- The workaround: If you must press a thick flower like a rose or a peony, carefully slice it in half vertically down the stem and receptacle, or press the petals individually and reassemble them like a puzzle inside the frame.
The Pressing Process
You do not need fancy equipment to press plants, though a wooden botanical press is a lovely investment.
- The Book Method: Place your specimens between two sheets of non-glossy parchment paper or watercolor paper. Slip the parchment “sandwich” deep inside the pages of a heavy book (like an encyclopedia or dictionary). Stack several more heavy books on top and leave undisturbed in a dry room for two to three weeks.
- The Microwave Method (For the impatient): Place your specimens between two flat pieces of cardboard, sandwiched with sheets of watercolor paper. Hold the sandwich tight with rubber bands, and microwave in short, 20-to-30-second bursts at low power. Check the progress between bursts; this dries the plants in minutes, often preserving bright pigments (especially blues and purples) remarkably well.
Designing the “Float” Look
To achieve the striking floating glass look, you will need a double-pane glass frame. These frames are constructed so that the artwork is sandwiched securely between two clear sheets of glass, leaving a transparent border around the botanicals.
- Securing the Botanicals: To keep your dried specimens from slipping down inside the frame over time, use a tiny, microscopic dot of clear-drying acid-free glue (such as Mod Podge or specialized floral adhesive) on the back of the sturdiest leaf or stem. Use a toothpick to apply the glue so it does not squish out and show through the glass.
- Preventing Fingerprints: Always wear lint-free cotton gloves or use fine tweezers when handling your pressed botanicals and clean the glass panes thoroughly with a streak-free glass cleaner before sealing.
Part 2: Unique Botanical Pressed Glass Frame DIY Ideas
Here are twenty highly curated, artistic, and Pinterest-ready design concepts for your next botanical project.
1. The Monochromatic Fern Specimen
Minimalist, classic, and deeply soothing. This layout focuses entirely on the structural elegance of ferns.
- Botanicals: Maidenhair fern, bracken fern, or sword fern.
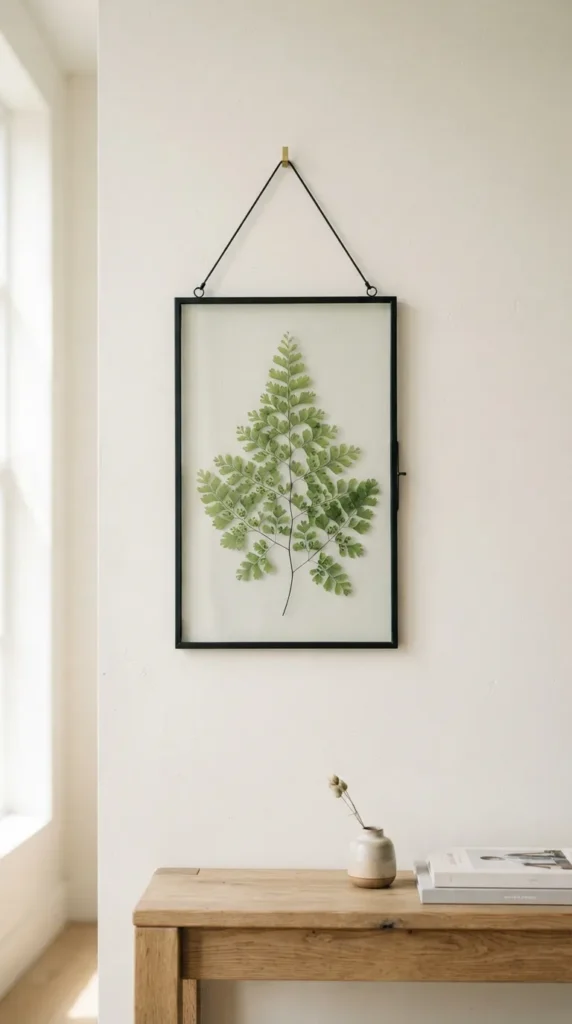
- The Layout: A single, perfectly symmetrical fern frond centered precisely within a tall, vertical black metal or rustic dark wood frame. The negative space around the single green frond accentuates its complex, fractal-like geometry. This style fits beautifully in modern, mid-century, or industrial-style spaces.
2. Wildflower Meadow Tapestry
Bring the unrefined beauty of a sunny summer field indoors.
- Botanicals: Buttercups, red clover, wild chamomile, field daisies, poppy petals, and delicate wild grasses.
- The Layout: Instead of a single specimen, arrange a dense, overlapping cluster of wildflowers rising from the bottom of a wide horizontal frame, as if they are growing naturally out of the bottom edge. Keep the stems long and varied in height to mimic the organic layering of a wild meadow.
3. The Vintage Apothecary Herbarium
A throwback to Victorian-era botanical studies, complete with handwritten labels.
- Botanicals: Culinary or medicinal herbs like rosemary sprigs, thyme, sage leaves, lavender, and pressed chamomile flowers.
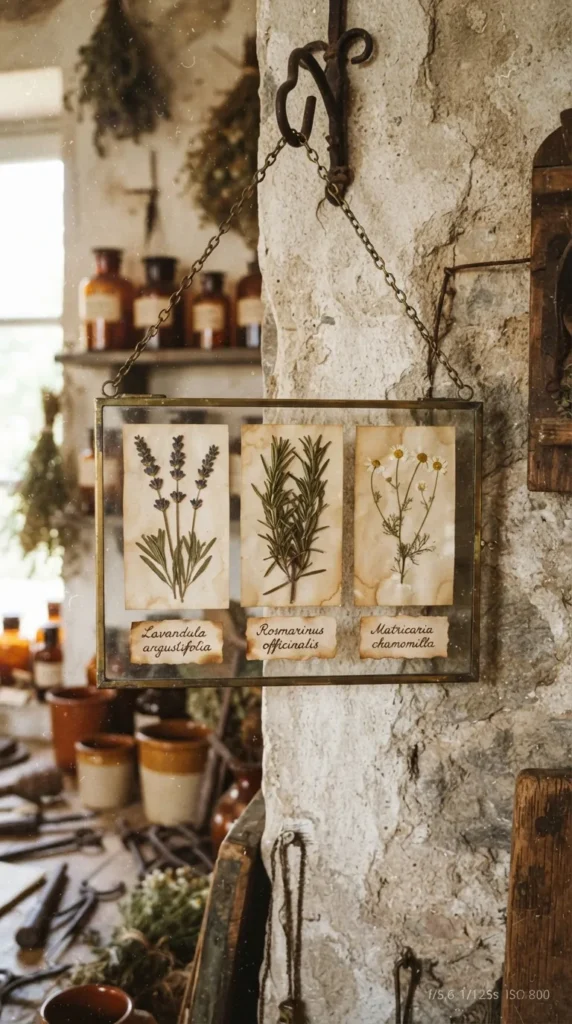
- The Layout: Arrange three or four distinct herb stems in a neat row. Underneath each specimen, place a small, hand-torn piece of tea-stained parchment paper featuring the handwritten botanical Latin name in elegant cursive calligraphy (e.g., Lavandula angustifolia). Use a vintage brass frame with a top hanging chain.
4. Autumnal Amber and Rust Cascade
Capture the cozy warmth of changing seasons using the rich, fiery hues of autumn foliage.
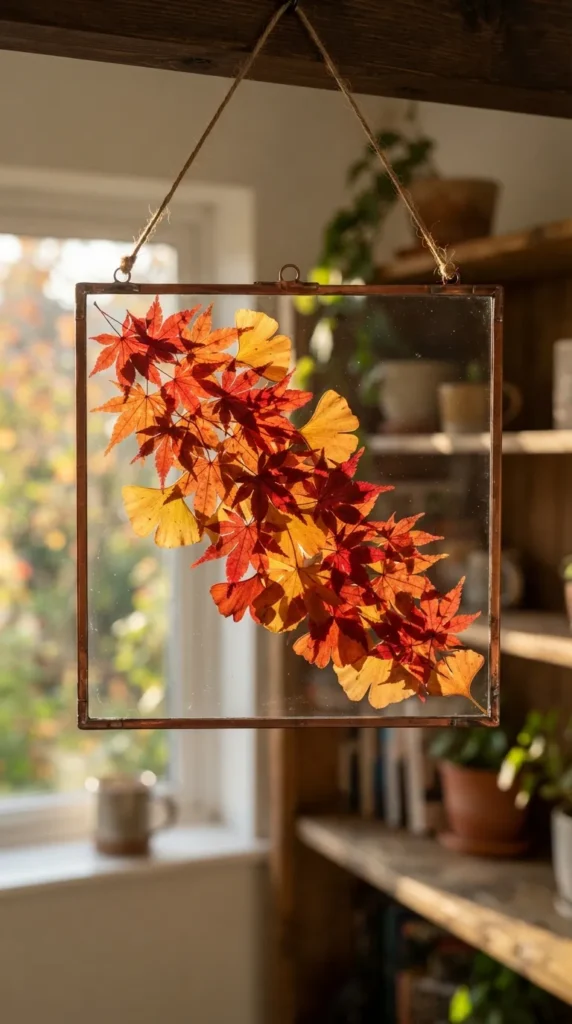
- Botanicals: Japanese maple leaves, amber ginkgo biloba leaves, dried copper beech, and ochre oak leaves.
- The Layout: Arrange the leaves in a cascading diagonal pattern across a square copper-bordered frame, starting from the top-left corner and drifting down to the bottom-right. Overlap the leaves slightly to create depth, letting the warm orange, gold, and deep red tones transition seamlessly.
5. Symmetrical Mandala Mandala Design
A spiritual and visually hypnotic layout that focuses on geometric balance.
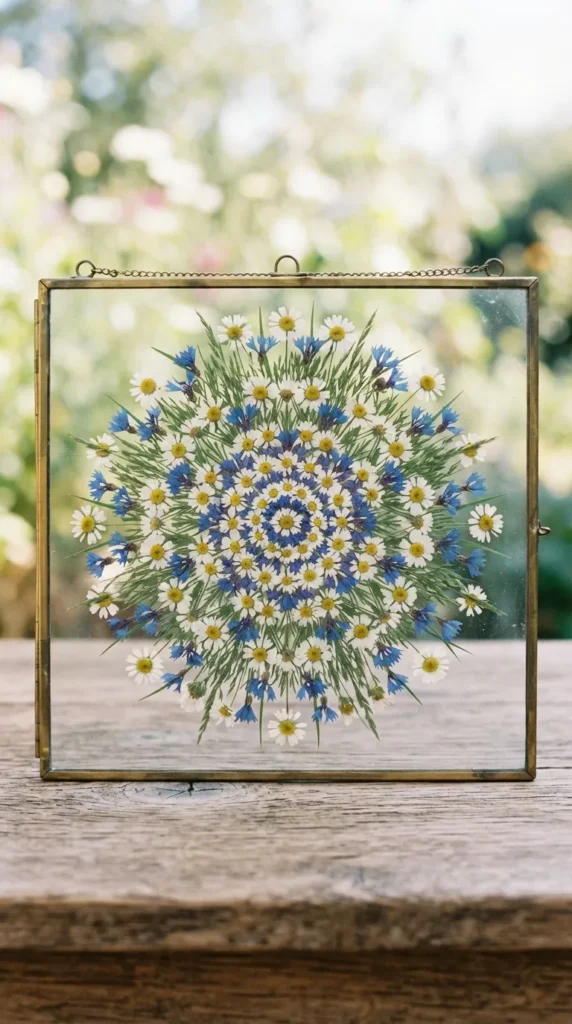
- Botanicals: Petite daisy heads, colorful pansy petals, tiny hydrangeas, and thin blades of grass.
- The Layout: Find the exact center of a square or circular glass frame. Build outward in concentric circles, using matching petals and small leaves to construct an intricate, perfectly symmetrical botanical mandala. It requires high precision but results in a stunning focal piece.
6. The Bridal Bouquet Keepsake Frame
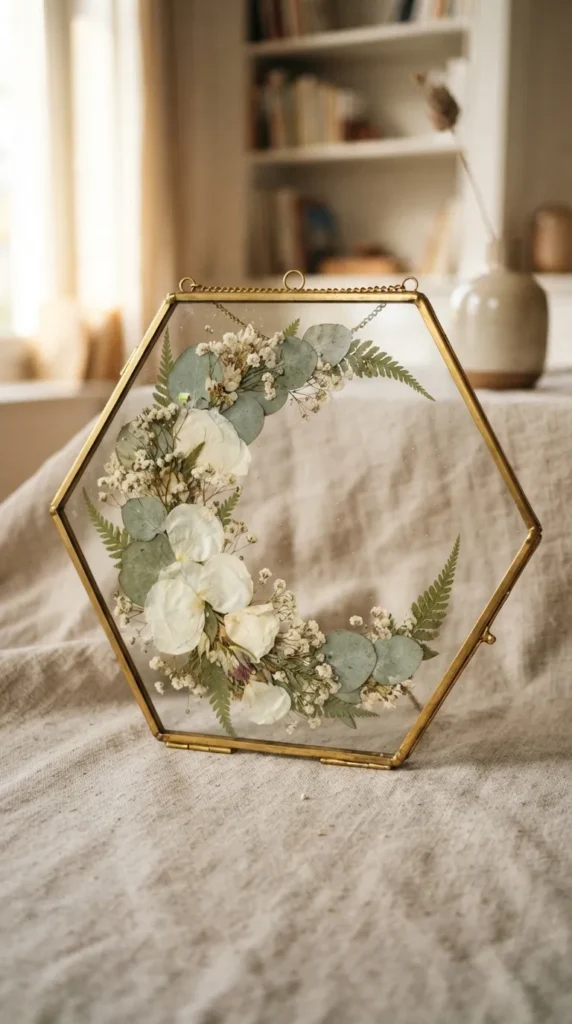
Preserve the memories of your wedding day by transforming your fresh bridal bouquet into a lasting piece of heirloom art.
- Botanicals: Deconstructed elements from a wedding bouquet—individual white rose petals, baby’s breath, eucalyptus leaves, anemones, or waxflowers.
- The Layout: Gently press a mix of flowers from the wedding. Arrange them in a loose, romantic, semi-circular crescent shape inside a large, elegant gold-bordered frame. To make it extra personal, slip a small card with the wedding date or vows in the center of the crescent.
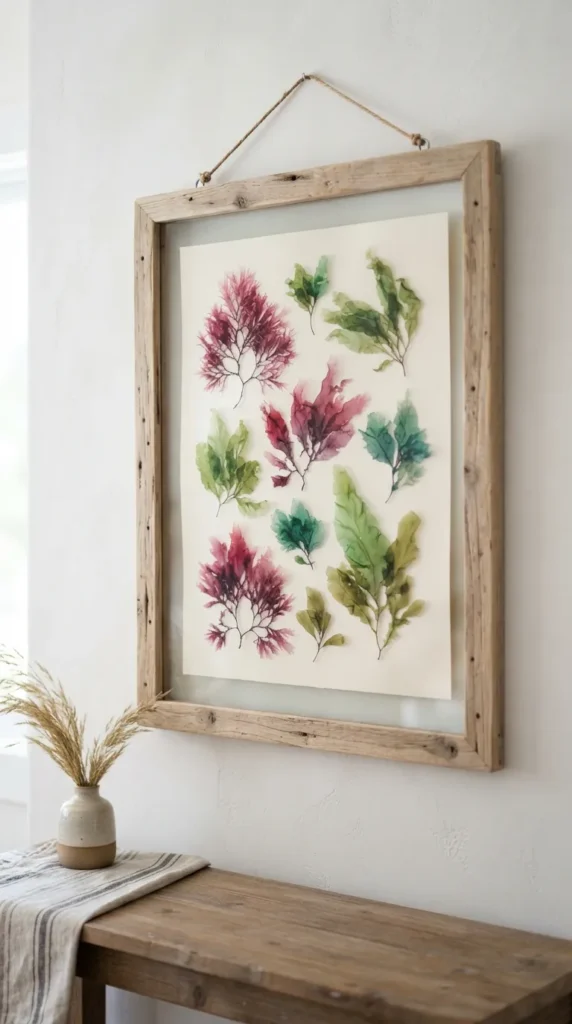
7. Ocean-Inspired Coastal Seaweed Display
Botanical art isn’t limited to land-dwellers. Pressed marine algae offer an incredibly unique, ethereal aesthetic.
- Botanicals: Carefully collected and pressed red, green, or brown seaweeds, sea lettuce, and pressed sea ferns.
- The Layout: Float these specimens in a light driftwood frame. The translucent, flowing, ribbon-like structures of pressed seaweeds look like abstract watercolor brushstrokes when light passes through the glass.
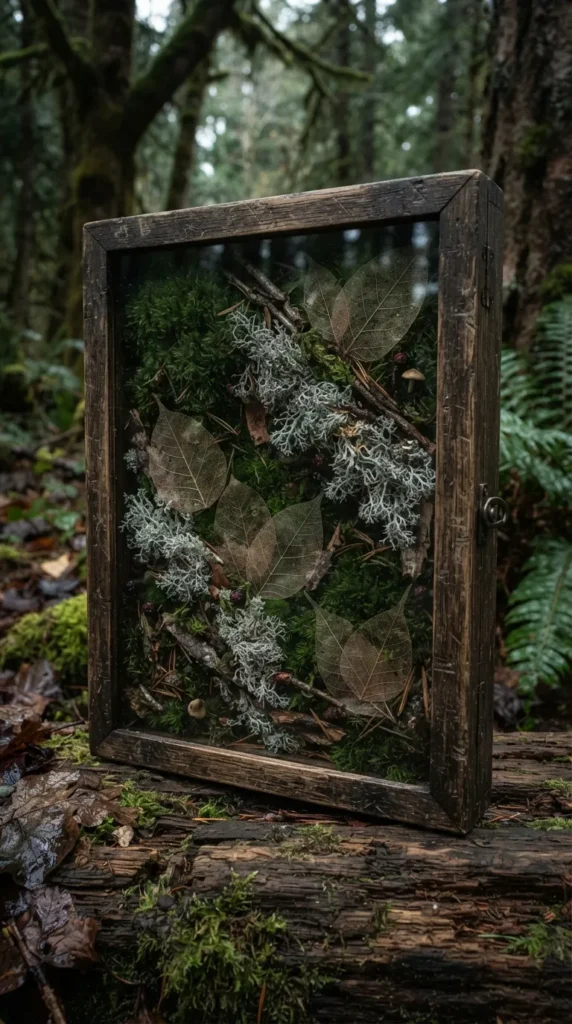
8. Forest Floor Moss and Lichen Collage
Bring the rich textures of a damp, ancient woodland floor into your home.
- Botanicals: Flat-pressed sheet moss, delicate fern moss, reindeer lichen, and skeletonized skeleton leaves.
- The Layout: Create a textured abstract collage in a dark, chunky rustic wood frame. Group different varieties of moss in organic, velvety patches, letting the brilliant chartreuse and deep forest greens contrast against the silver-grey of the lichen.
9. Ombré Petal Gradient Art
A modern, color-blocked approach that highlights the brilliant spectrum of floral pigments.
- Botanicals: Petals from bright blossoms like dahlias, zinnias, roses, and delphiniums.
- The Layout: Arrange loose petals in clean vertical or horizontal rows, transitioning smoothly from one shade to the next (e.g., deep burgundy to crimson, rose pink, pastel blush, and finally creamy white). This minimalist layout works best in sleek, borderless glass frames.
10. The Minimalist Eucalyptus Trio
Clean, calming, and perfect for bathrooms or Scandinavian-inspired bedrooms.
- Botanicals: Silver dollar eucalyptus, seeded eucalyptus, and baby blue eucalyptus leaves.
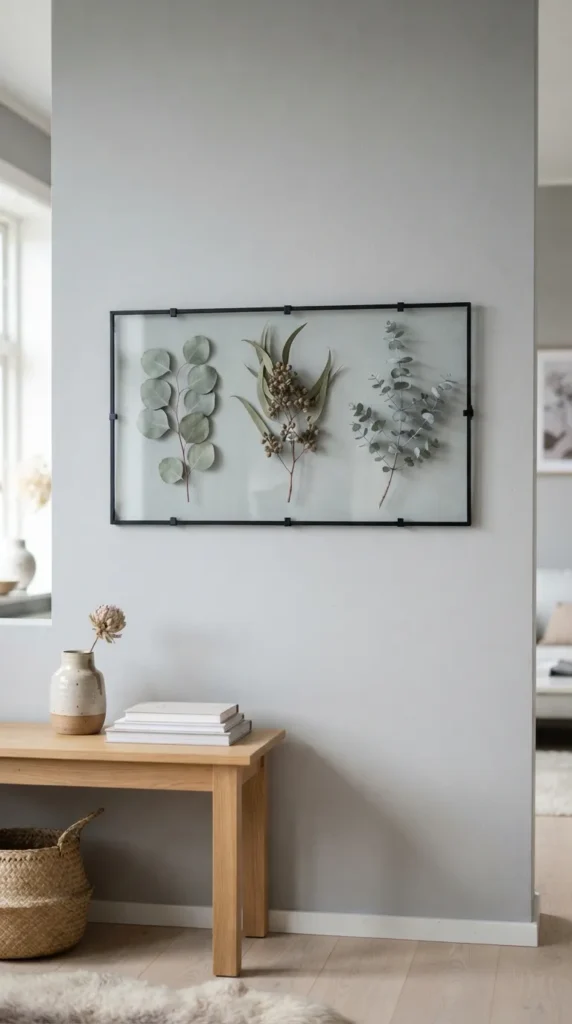
- The Layout: Place exactly three stems of different eucalyptus varieties side-by-side in a long, horizontal black metal frame. The pale, dusty green hues and silver tones of the leaves offer a highly sophisticated, airy, and modern organic touch.
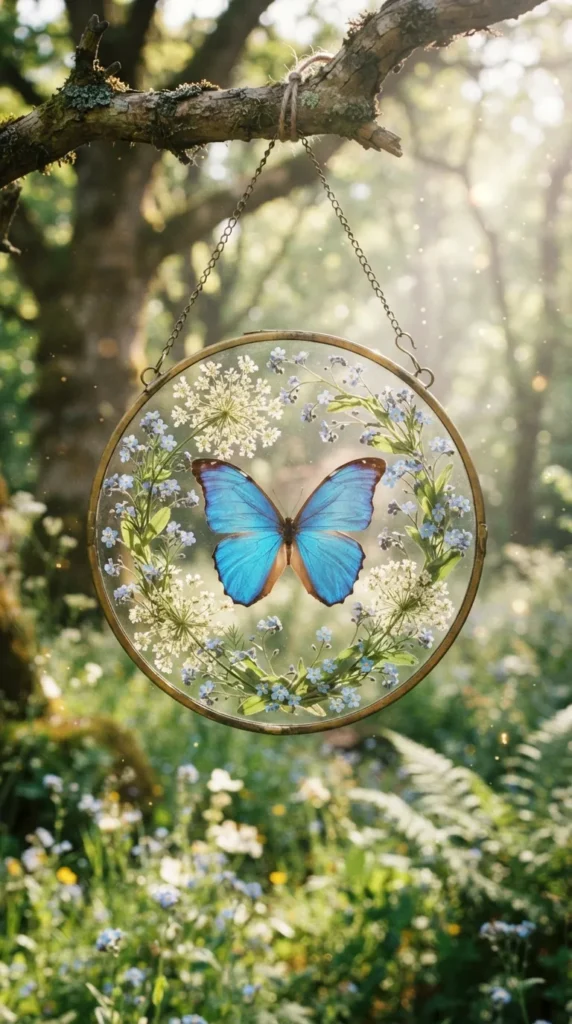
11. Whimsical Butterfly and Botanical Fusion
Combine the delicate textures of pressed flora with the stunning patterns of responsibly sourced insect specimens (or realistic paper cutouts).
- Botanicals: Queen Anne’s lace, pressed forget-me-nots, baby’s breath, and a central pressed butterfly.
- The Layout: Arrange the delicate white lace flowers and tiny blue blossoms to frame a beautiful, ethically sourced butterfly (or a high-quality double-sided paper print of one) positioned right in the center. The glass-on-glass framing elevates the whimsical, fairy-tale quality of this design.
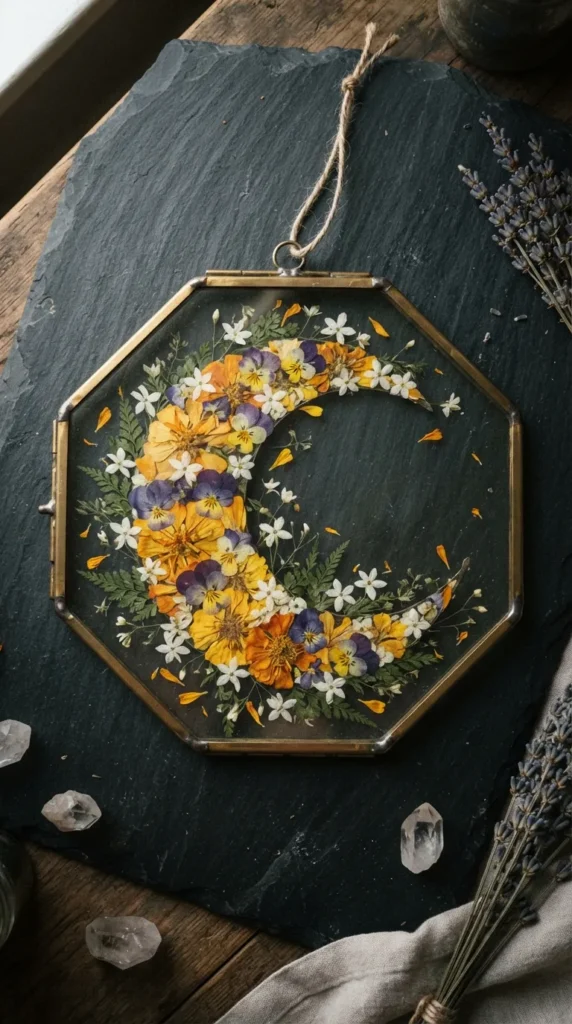
12. Celestial Crescent Flora
Tap into the mystical, bohemian aesthetic by arranging colorful flowers in a lunar shape.
- Botanicals: Vibrant yellow marigolds, purple violas, blue cornflowers, and tiny star-shaped jasmine blossoms.
- The Layout: Arrange the pressed botanicals closely together to form a perfectly defined, thick crescent moon shape inside a circular or octagonal brass glass frame. Use the natural shapes of the petals to create clean, sharp points on the tips of the moon.
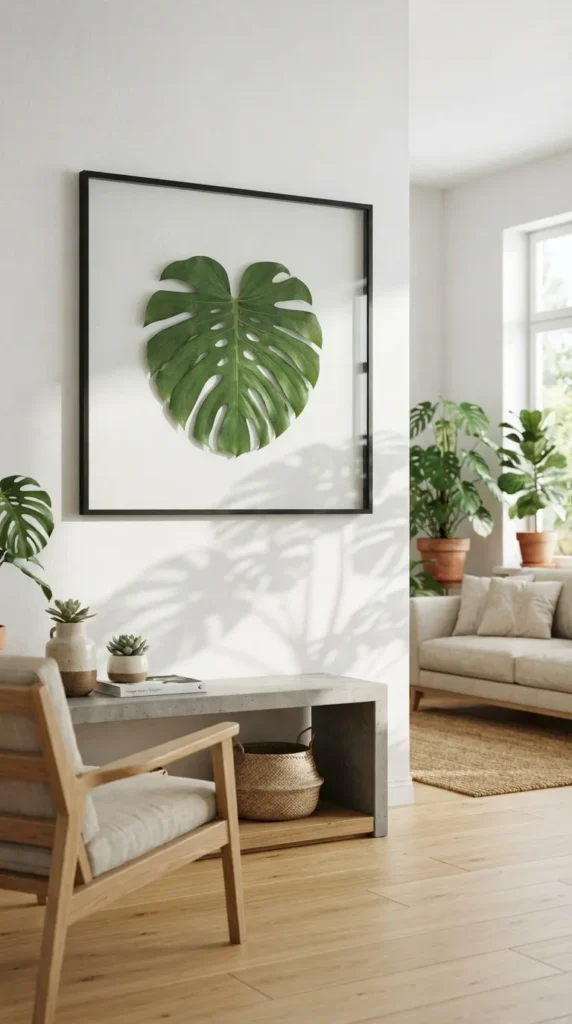
13. The Tropical Palm Minimalist Statement
Bring bold, graphic lines and a fresh, summery vacation feel to your walls.
- Botanicals: Pressed dwarf palm leaves, split-leaf philodendron (monstera) leaf segments, or areca palm fronds.
- The Layout: Select a single large, dramatic palm leaf (or a clean arrangement of three staggered leaves) and press them flat. Frame them in an oversized, sleek black wood frame. The bold, architectural lines of the tropical foliage create a striking graphic contrast against the open glass.
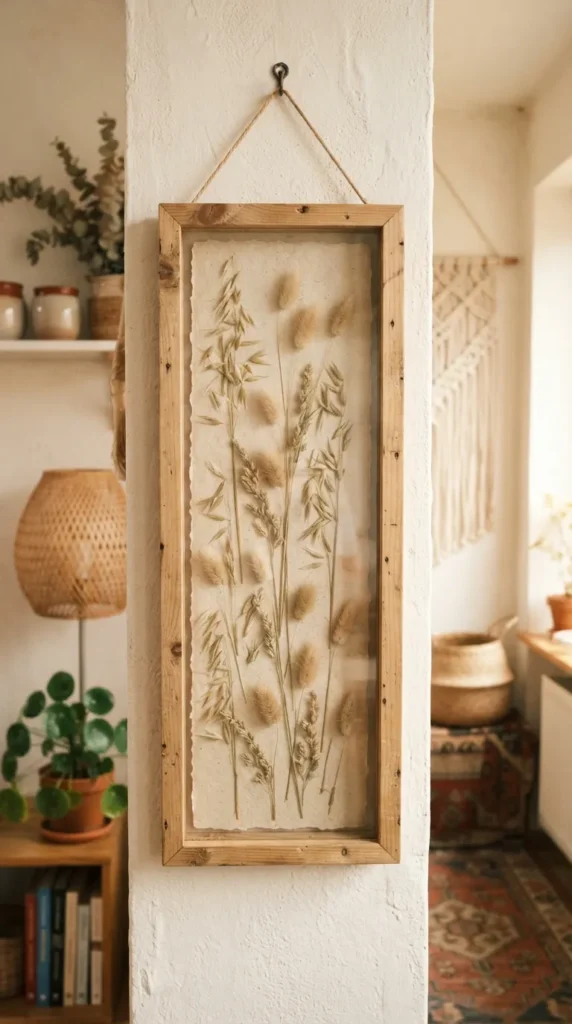
14. Linear Pressed Grasses and Seed Heads
An underrated design that celebrate the delicate, airy textures of autumn grasses.
- Botanicals: Pressed wild oats, bunny tail grass, pampas grass tips, and wheat stalks.
- The Layout: Arrange a series of tall, slender grass stalks standing vertically in a neat, rhythmic row. The fluffy, textured seed heads at the top of the stalks catch the light beautifully, giving a soft, neutral, bohemian aesthetic to any gallery wall.
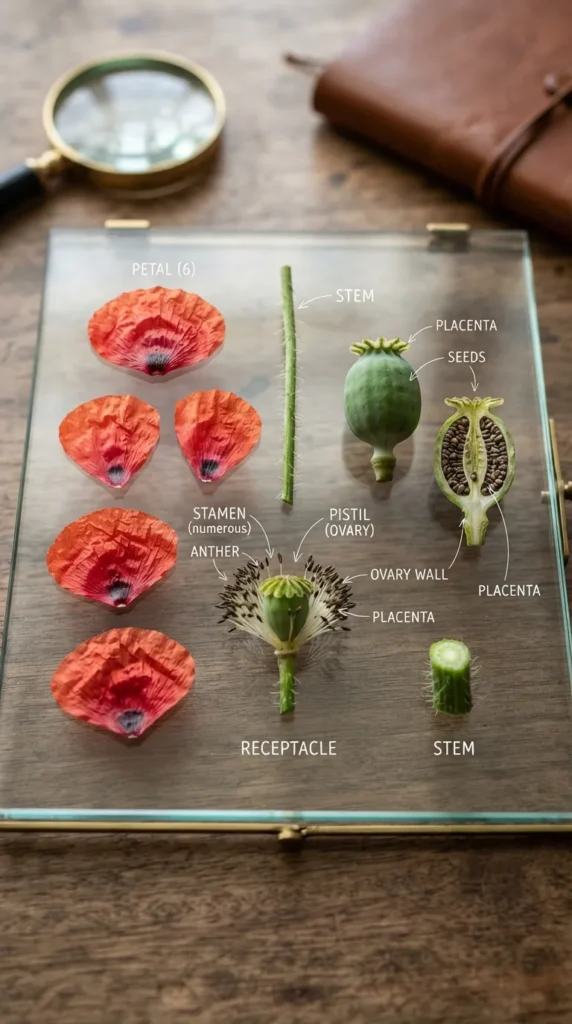
15. The Single Botanical Anatomy Breakdown
An educational, highly artistic layout that dissects a single flower to celebrate its botanical components.
- Botanicals: A single complex flower, such as a poppy, tulip, or daffodil.
- The Layout: Press the stem and leaves of the flower intact, but also press individual petals, stamens, pistils, and seed pods separately. Arrange the intact stem on one side of a wide frame, and place the meticulously labeled, dissected anatomical parts in a clean, vertical line next to it.
16. Cottagecore Pressed Tea Garden
Celebrate the comforting, rustic rituals of tea-drinking with this charming kitchen-friendly piece.
- Botanicals: Dried chamomile flowers, peppermint leaves, rosebuds, lemon verbena, and raspberry leaves.
- The Layout: Arrange the classic loose tea ingredients in delicate clusters as if they are swirling inside a glass teapot. Frame them in a warm, distressed cherry wood double-glass frame to complete the cozy, countryside look.
17. The Bold Silhouette Shadow Play
Focus entirely on high-contrast shapes and shadows by using deep, dark botanicals.
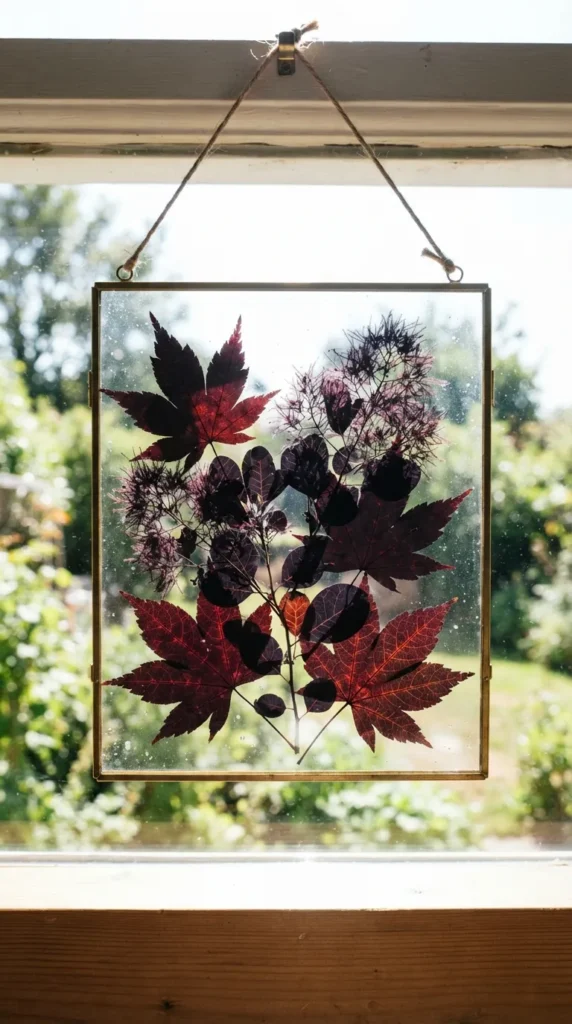
- Botanicals: Dark purple smoke bush leaves, black mondo grass, and deep burgundy maple leaves.
- The Layout: Place these ultra-dark botanicals inside a frame with a completely clear background, and hang it directly in front of a light-colored wall or a sun-drenched window. The bold silhouettes create dramatic shadows that change throughout the day as the sun moves.
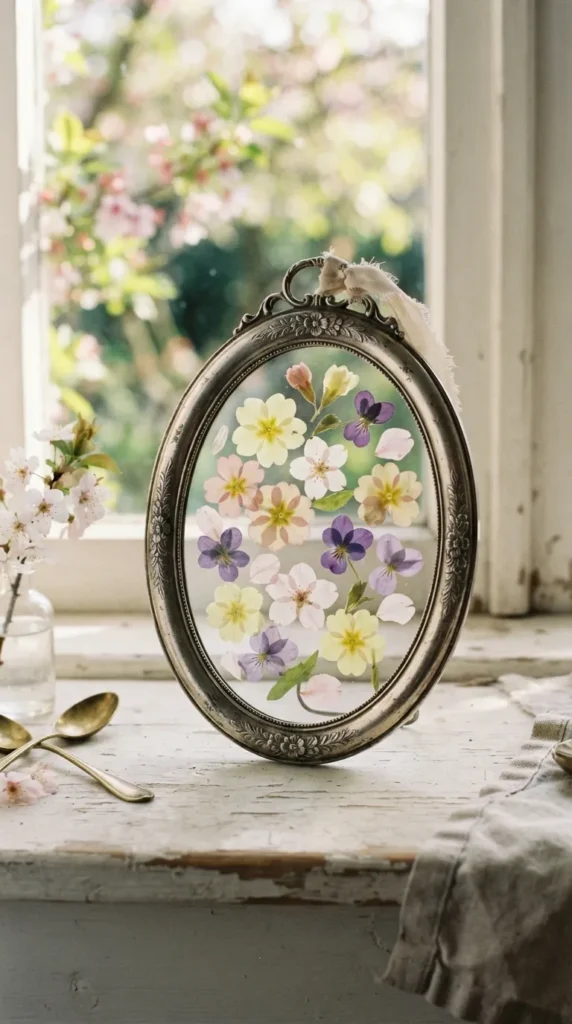
18. Delicate Spring Primrose and Violet Vignette
A celebration of the very first blossoms of spring, bursting with soft pastel colors.
- Botanicals: Spring primroses, sweet violets, forget-me-nots, and tiny cherry blossom petals.
- The Layout: Arrange these tiny, delicate spring flowers in a scattered, floating pattern across a small, elegant silver-plated or pewter frame. The light pastel pinks, purples, and yellows evoke a sense of fresh, quiet renewal.
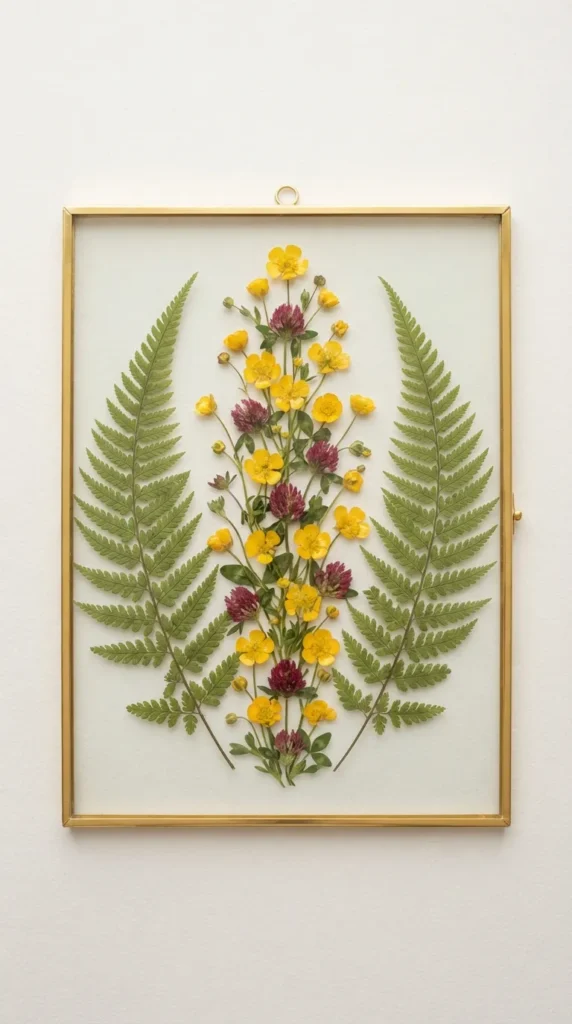
19. Symmetrical Fern and Wildflower Geometry
Combine the clean, structured look of ferns with the bright, playful pops of wildflowers.
- Botanicals: Two matching green fern fronds, paired with small, bright yellow buttercups and red clover blossoms.
- The Layout: Place the two fern fronds facing each other vertically to create a natural, leafy border or frame inside the glass. In the open diamond-shaped space between them, arrange a delicate cascade of bright wildflowers to act as a colorful centerpiece.
20. The Bohemian Feather and Flora Collage
Blend the soft, airy movement of natural feathers with the earthy, structured elements of dried plants.
- Botanicals: Spotted guinea fowl feathers, soft pheasant feathers, pressed maidenhair ferns, and dried lavender sprigs.
- The Layout: Alternate layers of feathers and botanicals in a loose, casual arrangement inside a rustic, hanging brass double-glass frame. The combination of velvety feather barbs and crisp botanical textures creates a gorgeous, tactile visual harmony.
Part 3: Step-by-Step DIY Assembly Tutorial
Once you have chosen your favorite design concept and fully pressed your plant specimens, it is time to assemble your botanical glass frame. Follow these precise steps to ensure a flawless, long-lasting finish.
1.Sanitize and dry the glass:10 mins.
Clean both panes of glass thoroughly using a high-quality glass cleaner or isopropyl alcohol. Wipe down with a lint-free microfiber cloth to remove all fingerprints, smudges, and dust particles. Let dry completely before proceeding.
2.Plan the botanical layout:15-20 mins.
Place one pane of glass flat on a clean, soft surface (like a clean towel). Using fine tweezers, carefully lay out your dried botanicals on the glass to test your design. Experiment with spacing, overlap, and alignment without committing to adhesive yet.
3.Anchor the plants with glue:10 mins.
Once you are happy with the layout, use a toothpick to dab a microscopic dot of clear-drying, acid-free adhesive to the back of the thickest part of each plant stem or leaf. Press down gently with tweezers to secure the plant to the base glass pane. Allow the glue to dry completely (about 10 minutes).
4.Seal the double-glass frame:5 mins.
Carefully lower the second clean glass pane directly over the botanicals, sandwiching them between the two layers. Close the frame latch, slide it into its outer metal or wooden frame, or secure the outer edges using frame pins or soldering. Hang your new masterpiece on the wall or place it on a sunny windowsill where light can stream through!