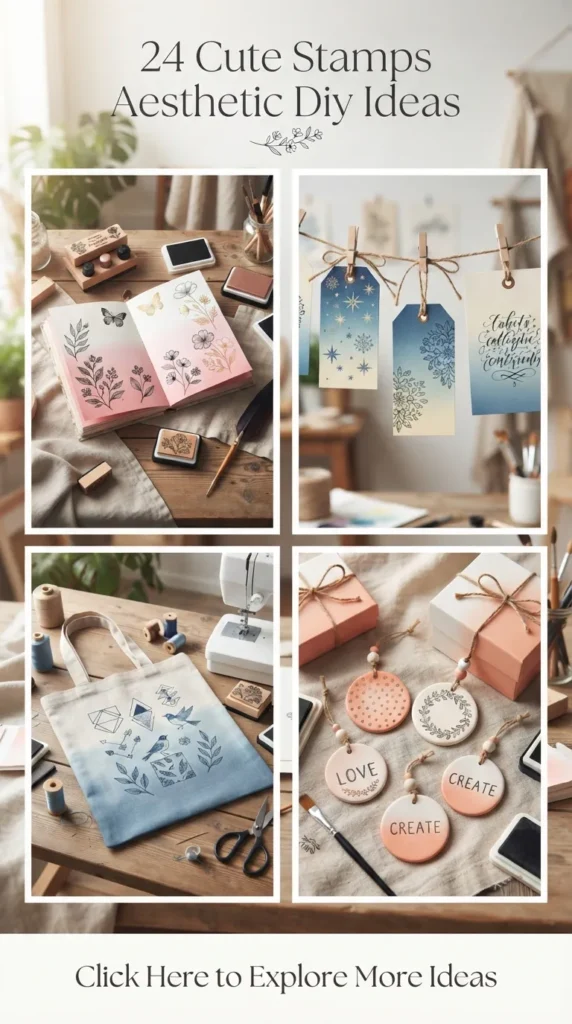
There is something undeniably magical about the humble stamp. In an era dominated by pixels and touchscreens, the tactile joy of pressing an inked design onto crisp paper feels like a quiet act of rebellion. It’s intentional, imperfect, and deeply personal.
If you’ve spent any time scrolling through the cozy corners of Pinterest, you’ve likely seen the rising tide of the “stamp aesthetic.” It’s a beautiful blend of dark academia, vintage botanical illustration, cottagecore warmth, and clean, minimalist stationery design.
Whether you are a seasoned crafter looking to expand your repertoire or a beginner wanting to add a personalized touch to your daily life, carving and using your own stamps is one of the most rewarding DIY projects you can undertake.
Below, we’ve curated 20 ultra-cute, Pinterest-approved stamp aesthetic DIY ideas to inspire your next creative afternoon. Grab a cup of tea, turn on your favorite lo-fi playlist, and let’s dive into the world of custom stamping.
The Art of the Impression: Why Stamps?
Before we jump into the ideas, let’s talk about why this aesthetic resonates so deeply. A stamp isn’t just a tool; it’s a signature. When you stamp an item, you leave behind a unique imprint that carries tiny variations in ink density and texture. No two impressions are ever exactly alike.
This inherent imperfection is exactly what makes it so charming. It strips away the sterile uniformity of digital printing and replaces it with warmth, character, and soul.
Cute Stamp Aesthetic DIY Ideas


1. The Tiny Botanical Pocket Journal
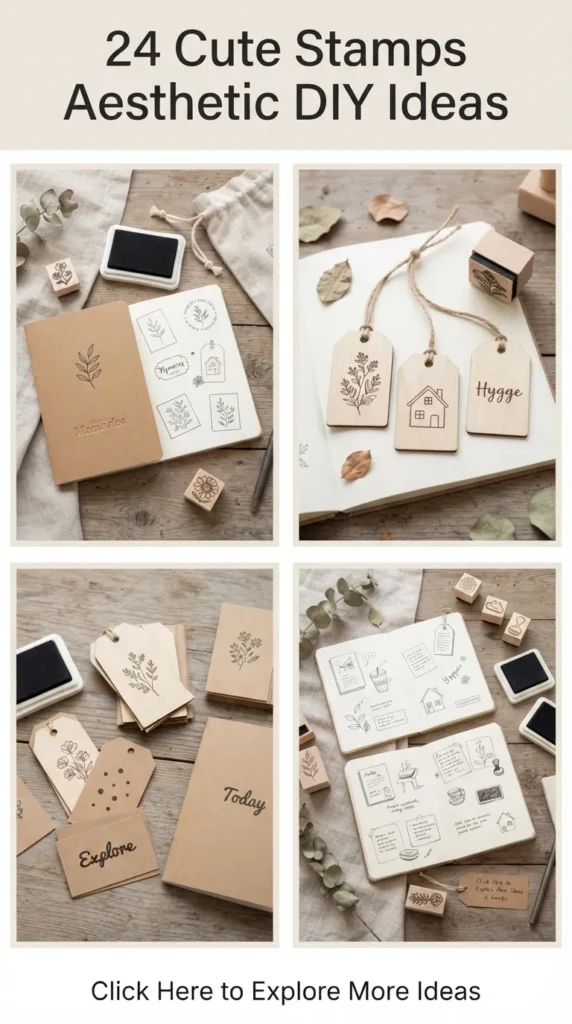
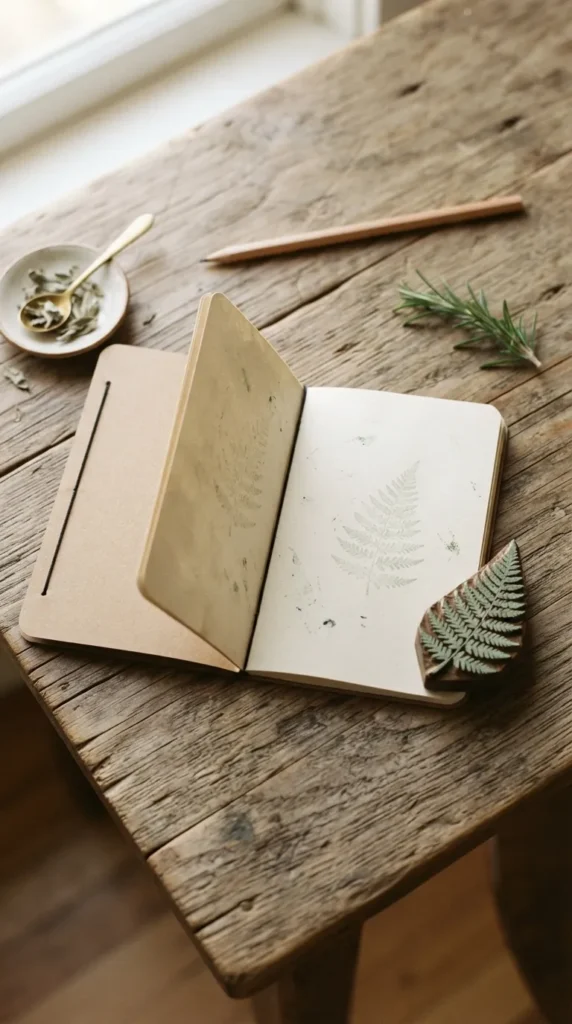
There is nothing more comforting than a miniature notebook filled with your thoughts, sketches, or daily to-do lists. To elevate a simple, blank kraft-paper journal, create a series of delicate botanical stamps. Think micro-ferns, single monstera leaves, or minimalist wildflower stems.
- The DIY: Stamp the bottom corners of your journal pages to create a subtle running border, or scatter them across the front cover for a pressed-flower effect.
- Aesthetic Tip: Use muted ink tones like sage green, terracotta, or soft amber to keep the look organic and earthy.
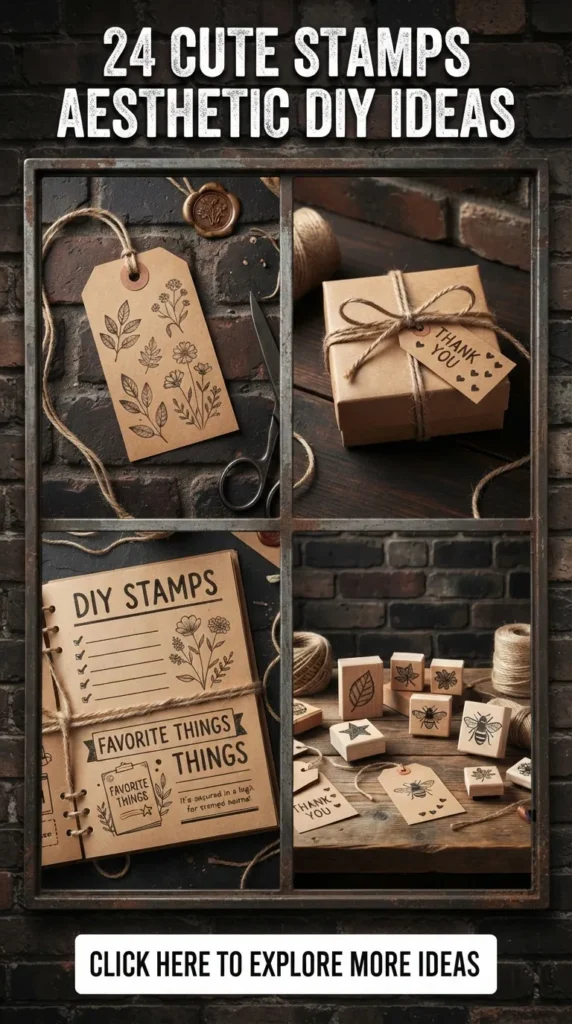
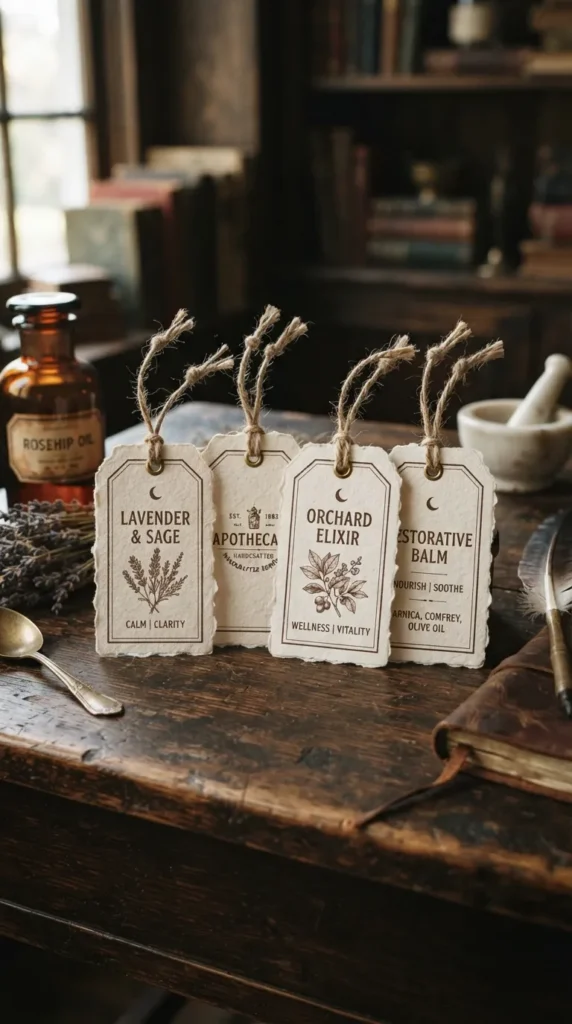
2. Vintage Apothecary Gift Tags
Turn ordinary cardstock into a collection of labels that look like they were pulled straight from an 18th-century European pharmacy.
- The DIY: Cut thick, cream-colored paper into classic luggage-tag shapes. Carve a stamp that features a delicate, double-lined border with a small crescent moon or a star constellation at the top.
- The Magic Touch: Stamp the design using deep espresso brown or charcoal ink. Distress the edges of the paper slightly by rubbing them with a damp tea bag, and tie the tag off with a piece of frayed raw twine.
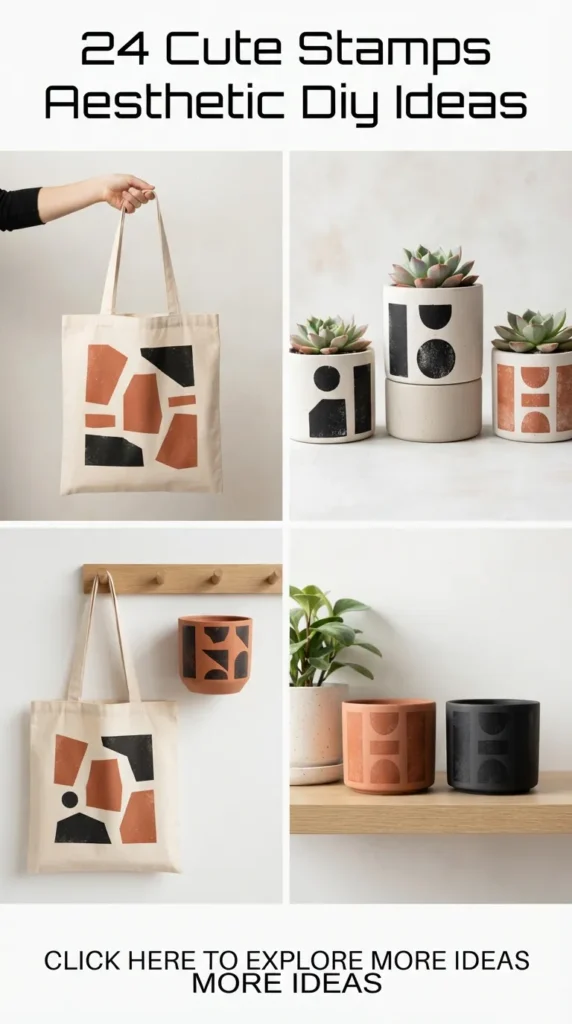
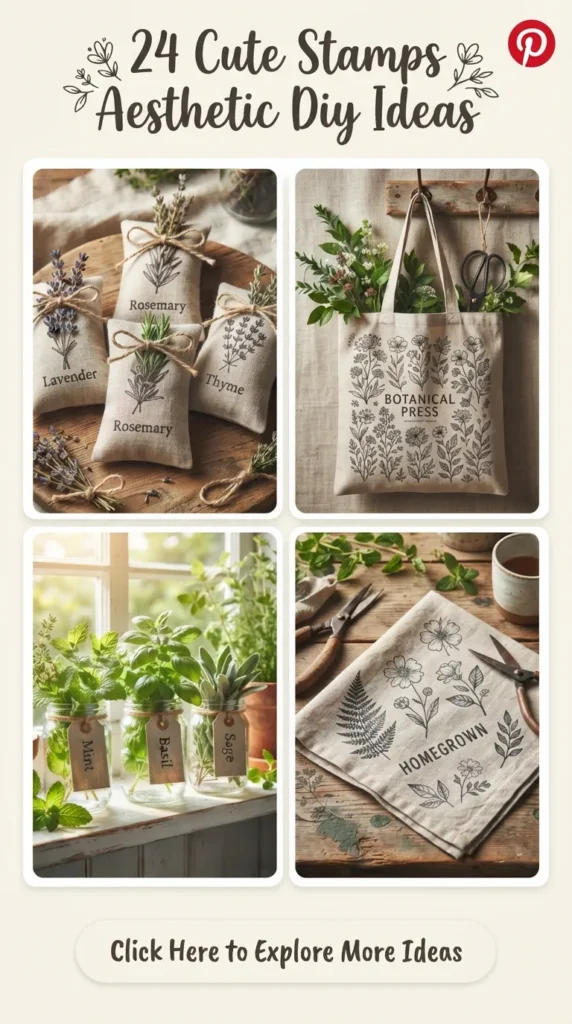
3. Hand-Stamped Cotton Tote Bags
Ditch the mass-produced canvas bags and create a custom tote that turns heads at the local farmer’s market or bookstore.
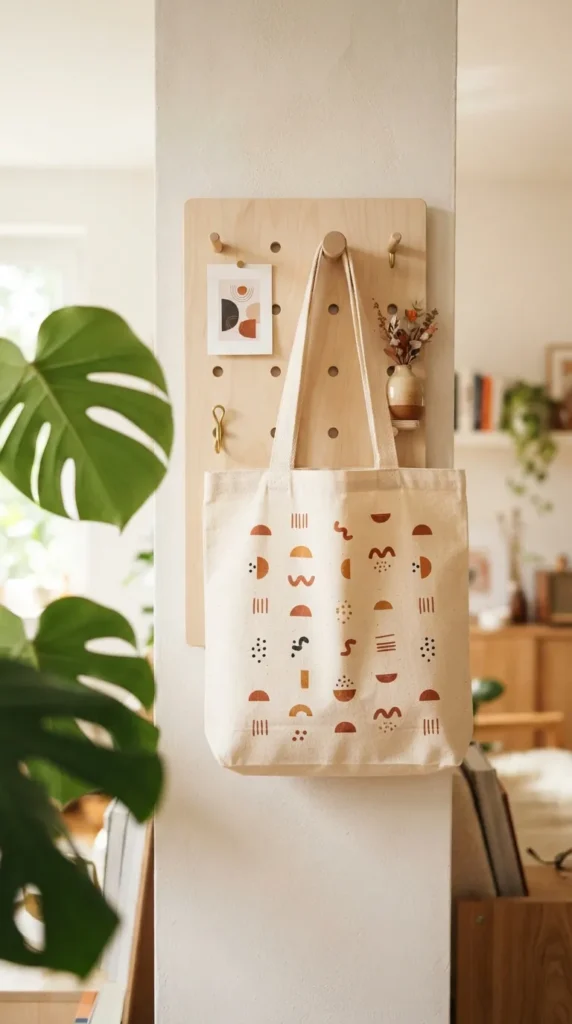
- The DIY: For fabric printing, use a block-printing ink specifically formulated for textiles. Carve a bold, geometric mid-century modern shape or a whimsical repeating pattern—like a collection of tiny, smiling mushrooms or abstract squiggles.
- Pro-Tip: Place a piece of cardboard inside the tote bag before stamping to prevent the ink from bleeding through to the back side.
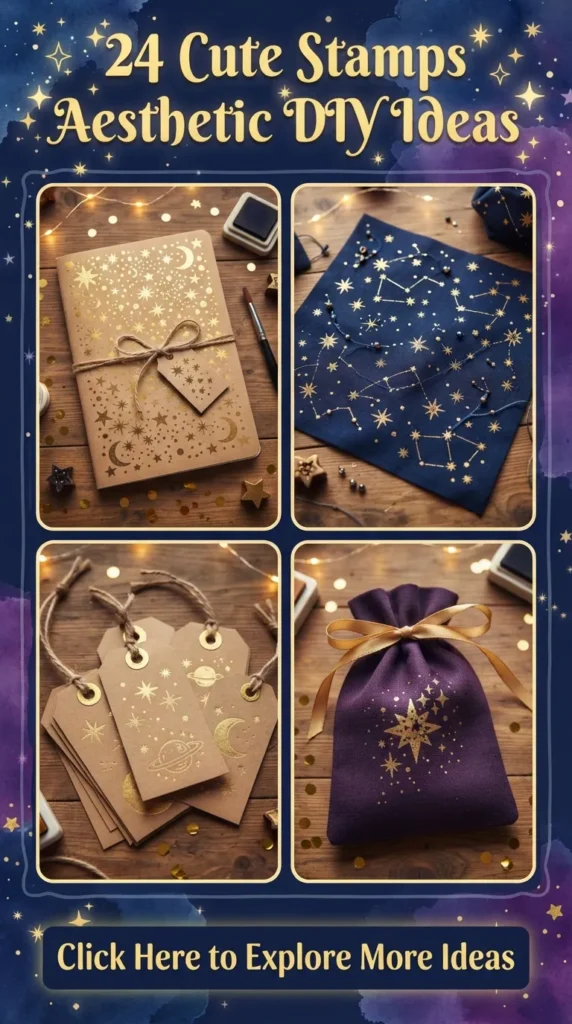
4. Celestial Wrapping Paper
Make your gifts look so beautiful that the recipient won’t even want to open them.
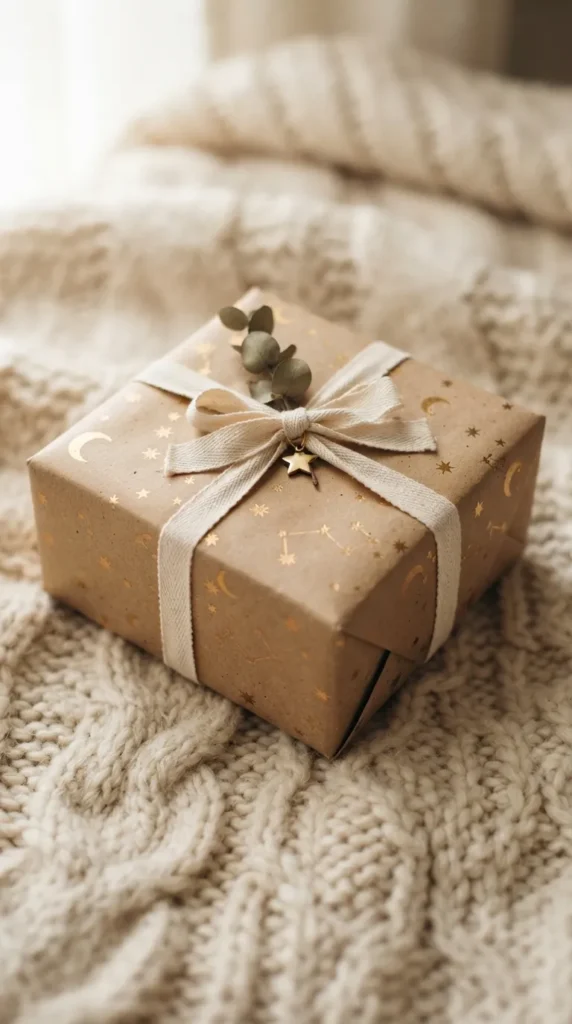
- The DIY: Roll out a long sheet of plain brown kraft paper. Using a custom-carved celestial stamp set—consisting of a crescent moon, a collection of tiny four-point stars, and a swirling galaxy cloud—stamp a random, scattered pattern across the paper.
- Aesthetic combination: Gold or metallic silver ink looks absolutely breathtaking against the rustic, matte texture of brown paper.
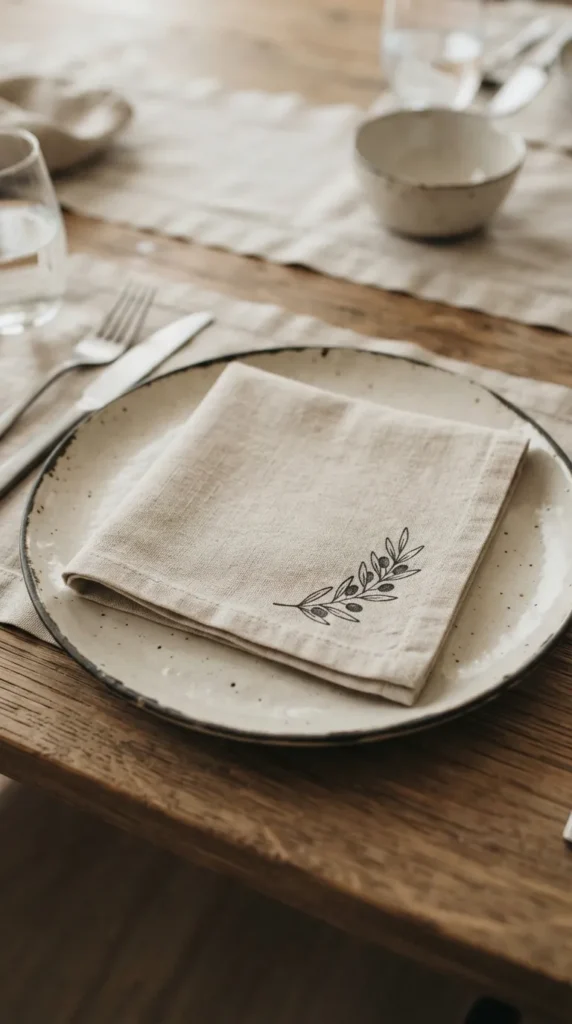
5. Custom Linen Napkins for Cozy Dinner Parties
Elevate your hosting game by introducing hand-stamped textiles to your dining table.
- The DIY: Source some plain, washed linen napkins in white, oatmeal, or soft grey. Carve a stamp featuring a minimalist olive branch or a simple, single-line drawing of a face.
- The Application: Stamp the design in the bottom right corner of each napkin. Once dry, heat-set the ink with an iron so the napkins can be washed and reused for years to come.
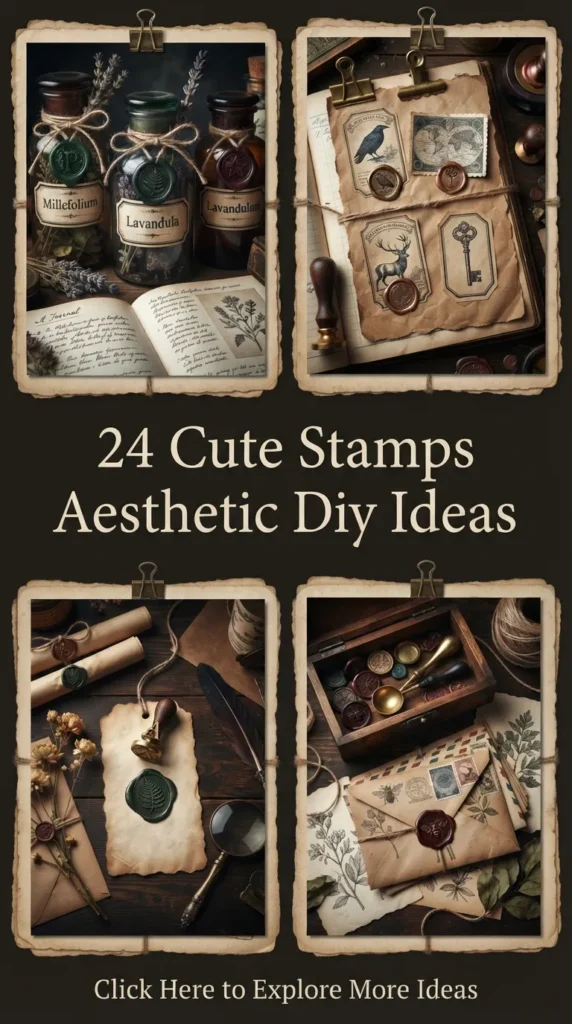
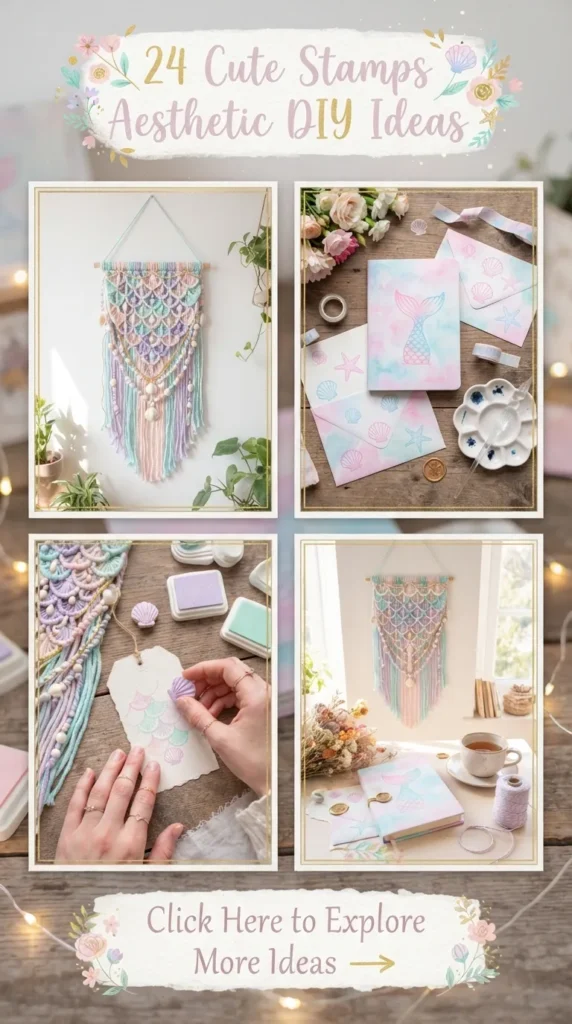
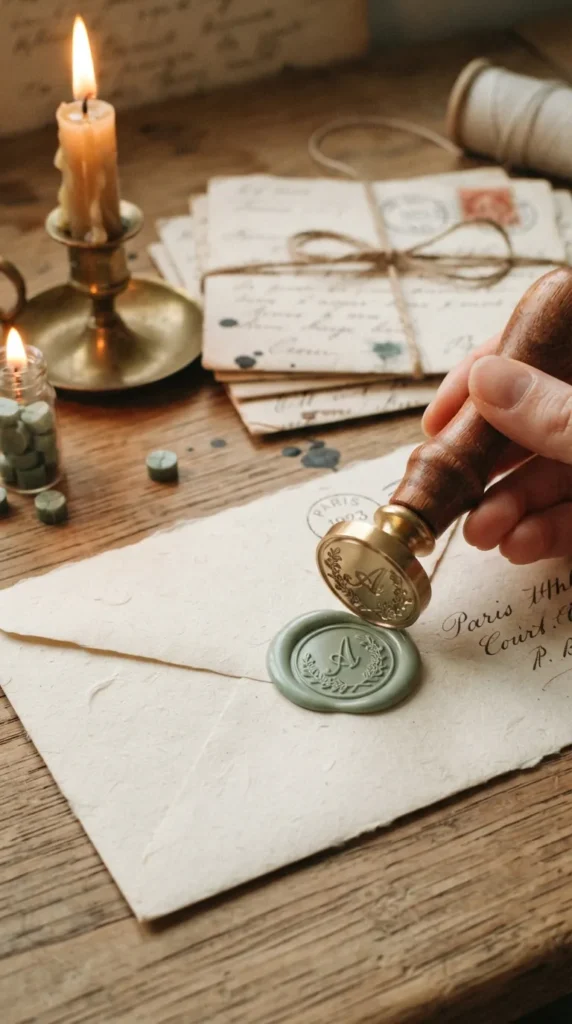
6. Wax Seal Impressions with a Stamp Twist
If you love the look of vintage wax seals but don’t want to invest in expensive metal stamps, your custom rubber carvings can actually double as wax pressers.
- The DIY: Melt your favorite color of sealing wax onto an envelope flap. Lightly coat your DIY rubber stamp with a tiny bit of vegetable oil (to prevent sticking), and press it firmly into the hot wax.
- The Look: A tiny heart, an initial in a whimsical serif font, or a small bumblebee design works perfectly for this cozy, old-school touch.
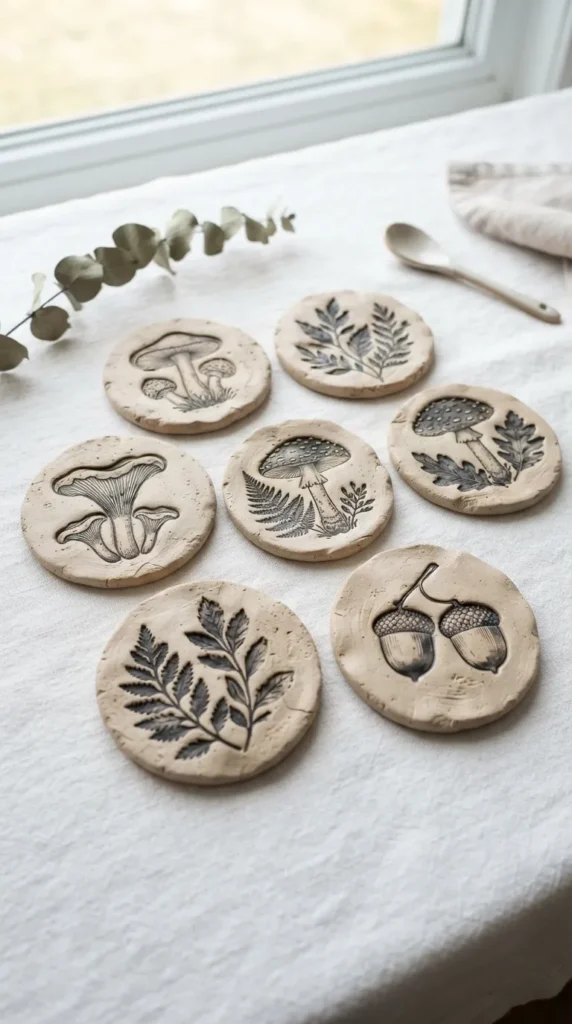
7. Cottagecore Mushroom Clay Coasters
Combine the art of stamping with air-dry clay to create beautiful, functional home decor piece.
- The DIY: Roll out a slab of white air-dry clay to about a quarter-inch thickness and cut out circles using a cookie cutter or a glass rim. Press a detailed mushroom or acorn stamp deeply into the wet clay to create an embossed or debossed impression.
- Finishing: Let the clay dry completely, paint the recessed stamped areas with dark watercolor or acrylic wash, and seal the entire coaster with a clear, waterproof matte varnish.
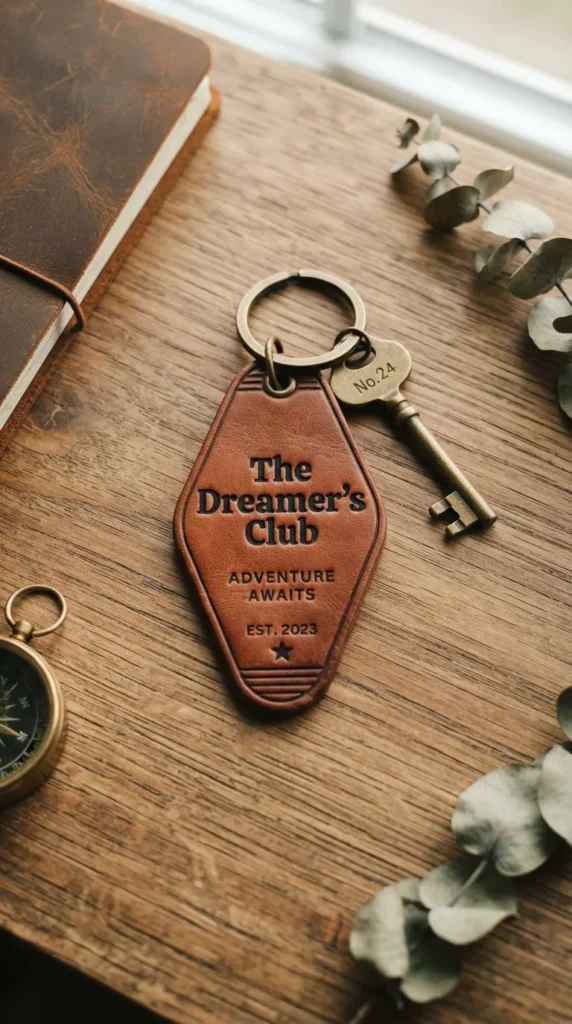
8. Retro Hotel Key Tags
Channel major nostalgia by recreating the iconic diamond-shaped vintage hotel keychains.
- The DIY: Cut out diamond shapes from thick leather scraps or heavy-duty chipboard. Carve a stamp that mimics retro typography—something like “Room 101” or “The Dreamer’s Club”—surrounded by a sharp, clean border.
- Aesthetic Tip: Punch a hole at the top, add a brass grommet, and slide on a brass key ring for an instant, high-end thrifted vibe.
9. Minimalist Ceramic Mug Decals
You can easily customize plain white ceramic mugs using specialized multi-surface or porcelain ink pads.
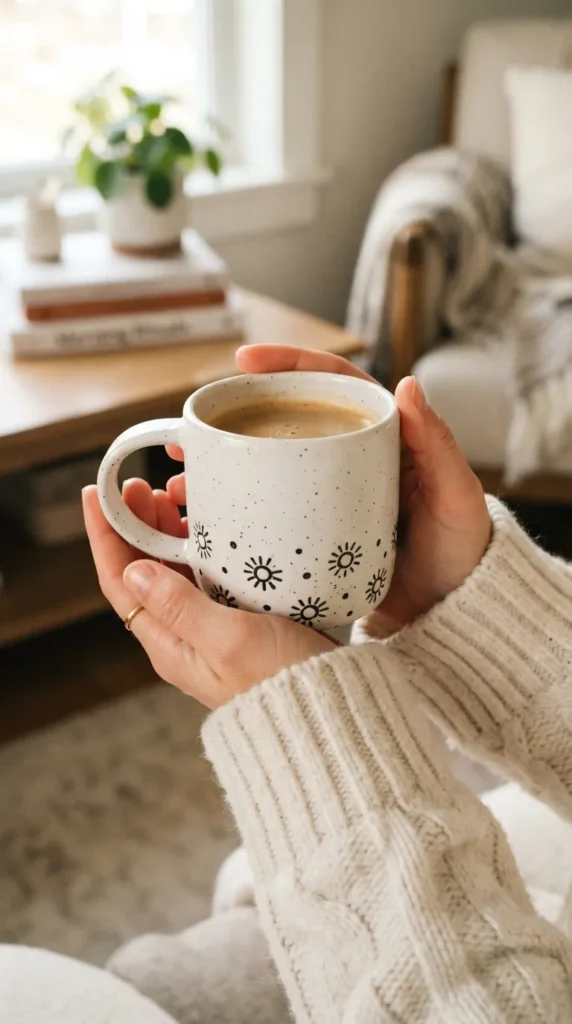
- The DIY: Clean your mug thoroughly with rubbing alcohol. Carve a tiny, playful icon—like an abstract sunburst, an espresso bean, or a cozy little ghost. Stamp it repeatedly around the lower third of the mug.
- The Cure: Bake the mug in your home oven according to the ink manufacturer’s instructions to permanently set your beautiful design.
10. Thrifted Book Edge Stamping
Give a second life to old, discarded paperbacks or plain hardcover books by decorating their outer edges (the text block).
- The DIY: Clamp the pages of the book tightly together so they form a solid, flat surface. Take a long, repeating pattern stamp—such as a vine of ivy, a baroque filigree design, or a checkerboard pattern—and carefully press it along the top, bottom, or side edges of the pages.
- The Result: When the book is closed, it displays a gorgeous, hidden work of art that looks stunning on any bookshelf.

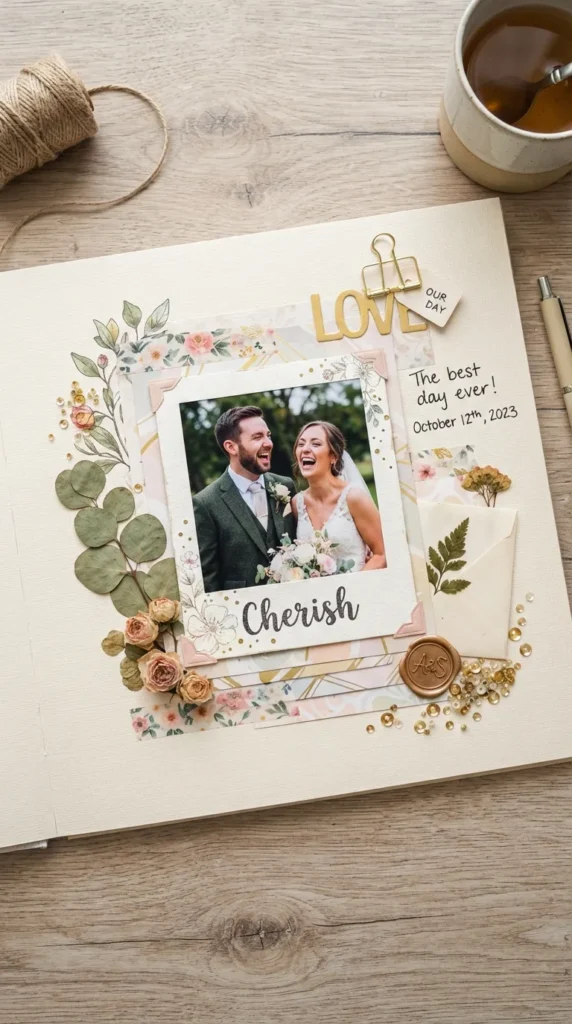
11. Polarized Photo Borders
If you love collecting instant film photos or printing out mini pictures, this project adds an extra layer of nostalgic whimsy to your scrapbooks.
- The DIY: Carve a stamp that perfectly mimics the look of a classic Polaroid frame, complete with a tiny, handwritten-style word at the bottom like “Cherish,” “Magic,” or “Home.”
- Usage: Stamp the frame onto heavy paper, cut out the center, and layer it directly over your favorite snapshots.
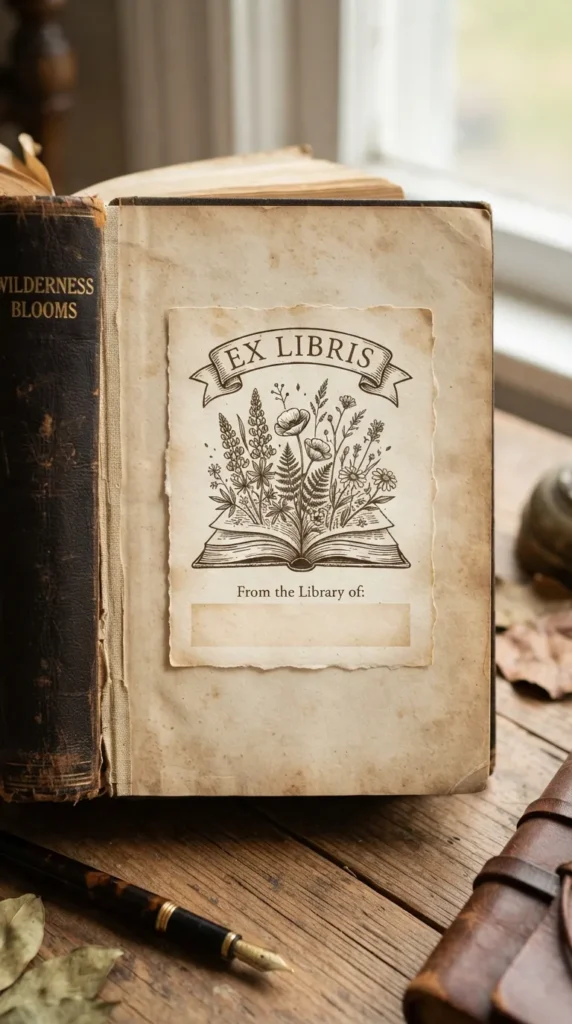
12. Personalized Library Bookplates
Never lose a loaned book again. Create a beautiful “Ex Libris” (From the Library of) stamp to mark your personal collection.
- The DIY: Design a stamp featuring an open book with flowers growing out of the pages, or a wise owl perched on a crescent moon. Include a clean, blank banner at the bottom where you can handwrite your name.
- Application: Stamp this onto adhesive sticker paper, cut them out, and place them lovingly on the inside front cover of every book you own.
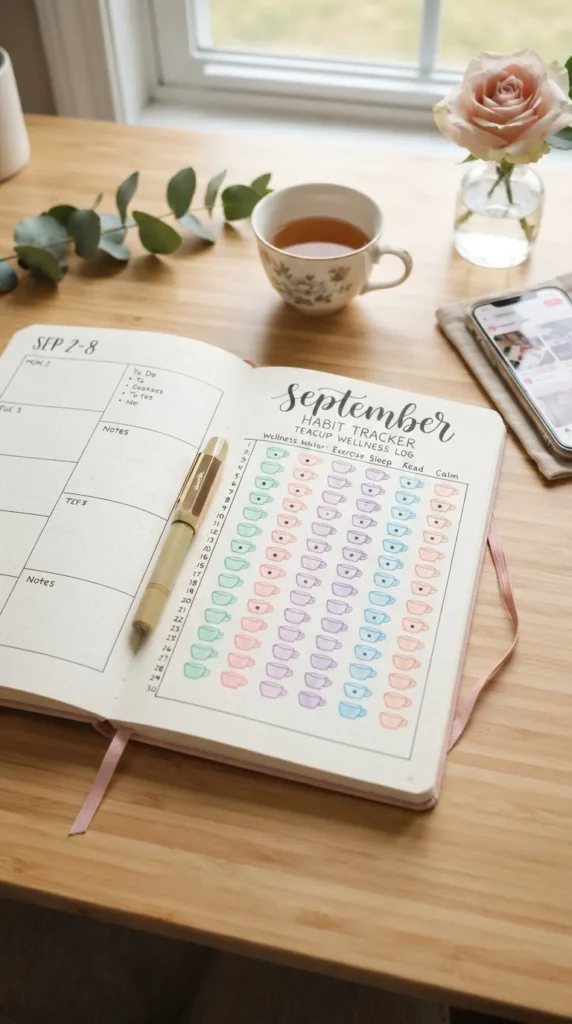
13. Mood Tracker Bullet Journal Pages
Bullet journaling is a fantastic way to clear your mind, but drawing the layout elements from scratch every single month can get exhausting.
- The DIY: Carve functional stamps to streamline your layout. Think of a row of seven tiny teacups for a weekly water tracker, or a collection of thirty tiny crystals to track your daily mood throughout the month.
- The Benefit: It saves hours of sketching time while keeping your journal looking perfectly cohesive and aesthetically uniform.
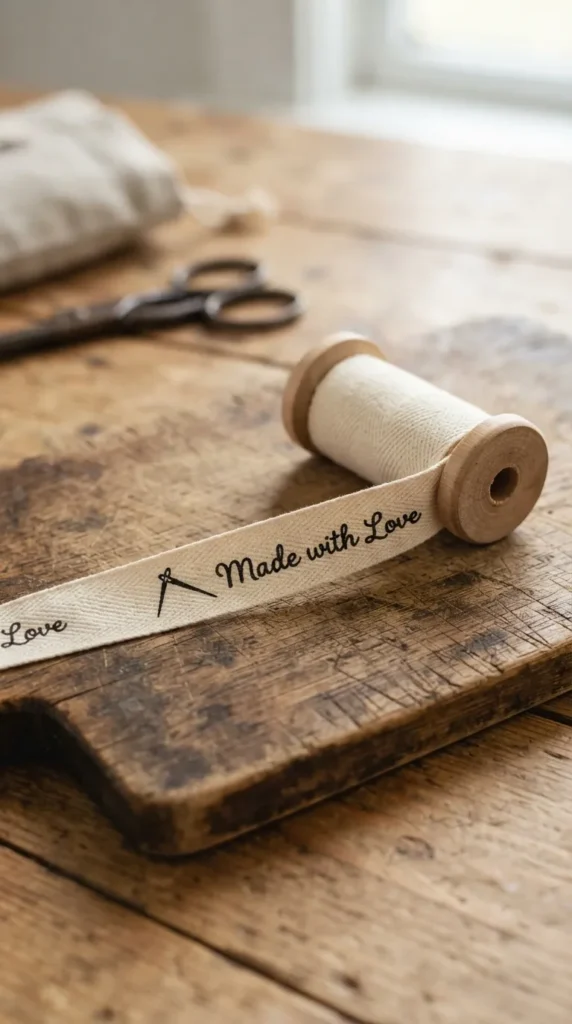
14. Sweet Thrifted Clothing Labels
Give your wardrobe or your handmade sewing projects an artisanal upgrade with custom fabric labels.
- The DIY: Buy a spool of cotton twill tape ribbon. Carve a small, clean stamp with your initials, a little needle-and-thread icon, or a whimsical phrase like “Made with Love.”
- The Look: Stamp the ribbon continuously, cut it into individual segments, heat-set the ink, and sew them into the necklines of your favorite thrifted flips or handmade garments.
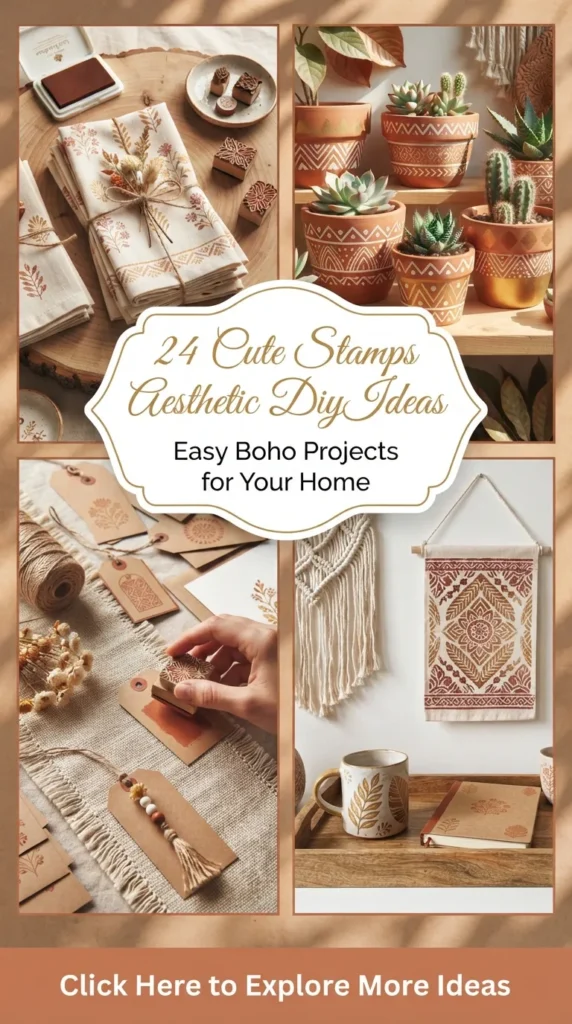
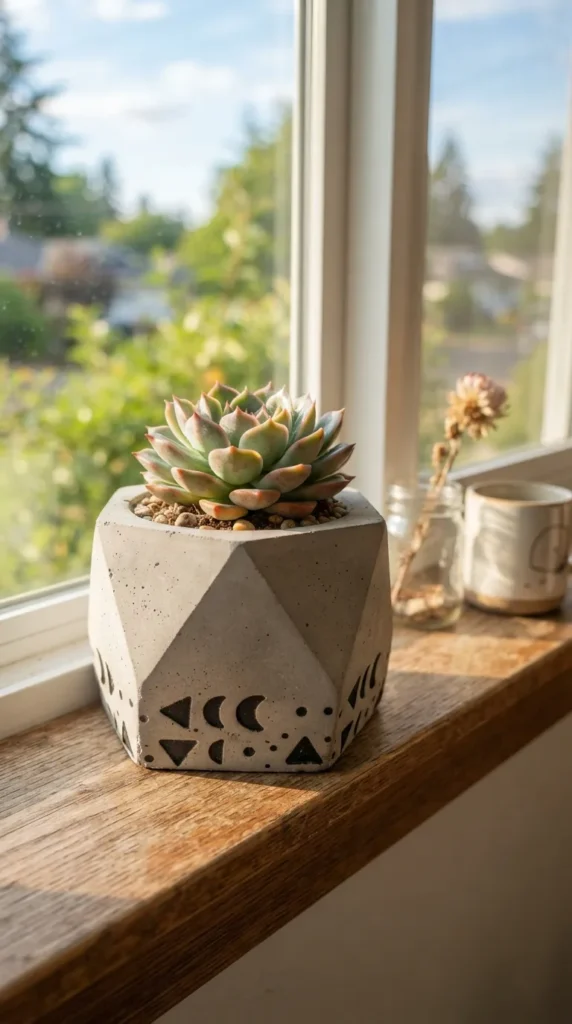
15. Geometric Concrete Planter Accents
If you have plain concrete or terracotta planters sitting around your indoor garden, they are the perfect canvas for a bit of structural stamp work.
- The DIY: Use a high-pigment, weatherproof outdoor paint or ink. Carve simple, bold, primitive geometric shapes—like solid triangles, half-moons, or intersecting lines.
- Arrangement: Stamp them in an asymmetrical, modern layout around the base of the pot for a striking, high-contrast look that beautifully complements the green foliage of your plants.
16. Whimsical Correspondence Stationery
Step up your pen-pal game with custom letterhead stationery that feels incredibly luxurious to receive.
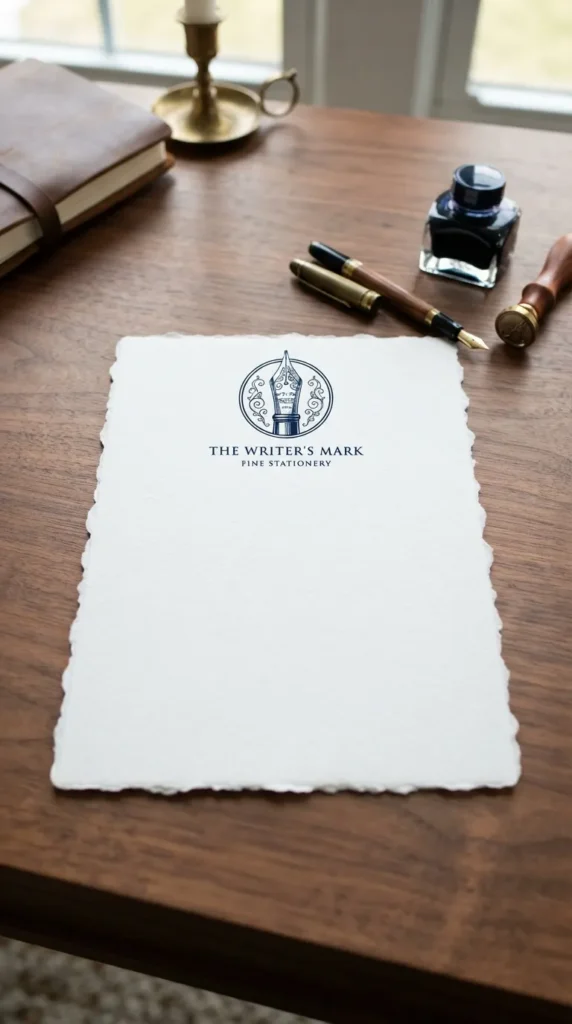
- The DIY: Take a sheet of high-quality, deckle-edged cotton rag paper. Carve an elegant, vintage-inspired fountain pen nib or a soaring swallow carrying a tiny letter.
- Placement: Stamp this icon at the very top center of your writing paper to act as a personal crest, and use a matching design on the back flap of the envelope.
17. Abstract Collage Ephemera Pack
For those who love scrapbooking, junk journaling, or mixed-media art, having a stash of custom ephemera is a game changer.
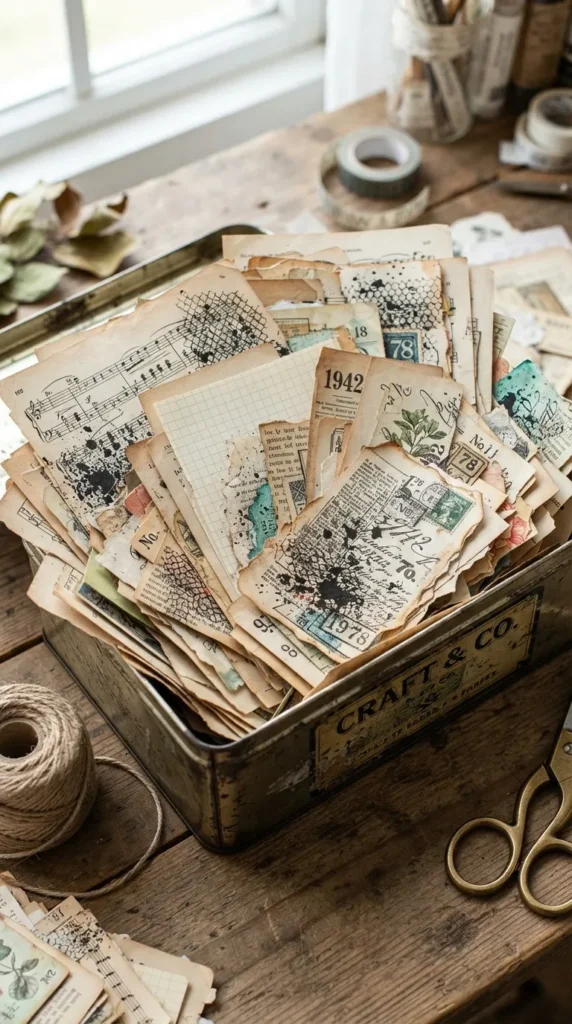
- The DIY: Spend an afternoon stamping randomly onto different textures of paper: old newspaper, sheet music, grid paper, and vellum. Use abstract stamps like paint splatters, text blocks, barcode lines, or mesh textures.
- Storage: Tear the stamped papers into organic, jagged shapes and store them in a beautiful vintage tin. Pull them out whenever you need a textured layer for a collage.
18. Custom Kraft Paper Coffee Sleeves
If you are someone who loves making iced lattes or pour-over coffee at home to take on the go, this project adds a lovely, cafe-quality touch to your morning routine.
- The DIY: Purchase a pack of blank, corrugated kraft paper coffee sleeves. Carve a cozy stamp featuring a steaming coffee mug, a sleepy cat, or a witty phrase like “Liquid Optimism.”
- The Vibe: Stamping a stack of these ahead of time keeps your morning coffee runs feeling like a beautifully curated aesthetic experience.
19. DIY Patchwork Fabric Ribbons
Don’t throw away your leftover fabric scraps from other crafting endeavors. Instead, turn them into gorgeous, rustic ribbon.
- The DIY: Tear long strips of linen, muslin, or lightweight cotton fabric (tearing gives it those beautiful, frayed, organic edges). Use a long, continuous stamp design—like a delicate star trail or a simple running stitch pattern—and ink it down the entire length of the fabric strip.
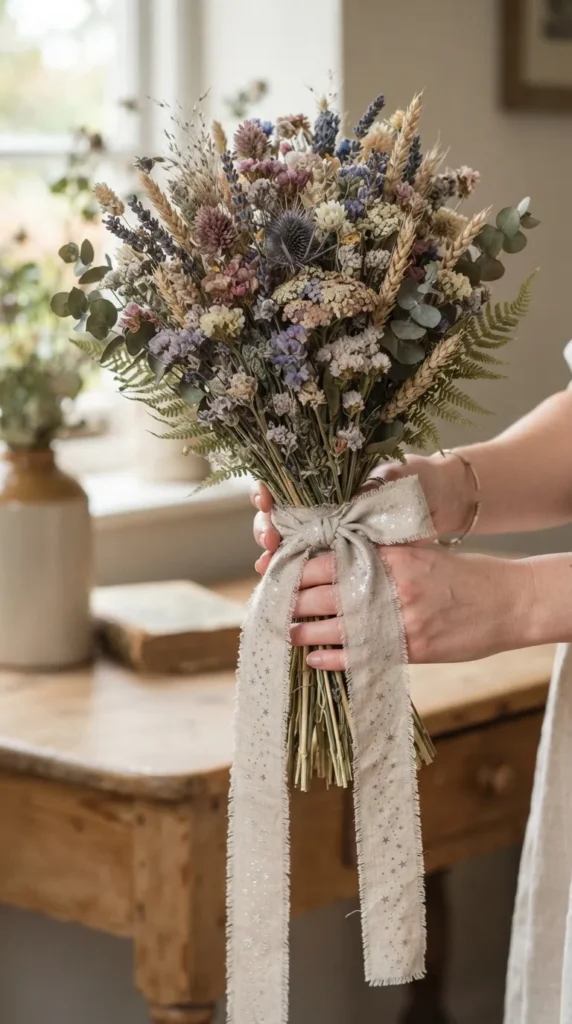
- Usage: Use these unique ribbons to tie up bouquets of fresh flowers, wrap special gifts, or bind handmade journals.
20. Whimsical Scented Sachet Pouches
Keep your closets, drawers, and luggage smelling incredible while looking absolutely adorable.
- The DIY: Source small, breathable cotton drawstring muslin pouches. Stamp the front of the bags with a comforting, cozy design—like a sprig of fresh lavender, a bundle of cinnamon sticks, or a sleeping fox.
- The Filling: Fill the pouches with dried lavender buds, cedar shavings, or rose petals mixed with a few drops of your favorite essential oils.
The Essential Stamp Carver’s Toolkit
If you’re ready to bring these ideas to life, you don’t need a massive budget or a dedicated studio space. Here are the basic tools you will need to gather to start your DIY stamping journey:
| Tool Name | What It’s Used For | Beginner Tip |
| Linoleum/Rubber Blocks | The canvas for your stamp. Soft rubber blocks are much easier to carve than hard linoleum. | Look for pink or white “easy-carve” blocks. |
| Lino Cutting Tool | A handle with interchangeable, V-shaped and U-shaped metal blades to gouge out the material. | Always carve away from your fingers to avoid slips. |
| High-Quality Ink Pads | The source of your color. Chalk inks give a matte, pastel look; pigment inks are vibrant; archival inks are permanent. | Choose multi-surface ink if you plan to stamp on fabric or clay. |
| Tracing Paper & Pencil | To transfer your design from a sketchbook or reference photo onto the rubber block. | Remember that your stamped image will be a mirror reflection of your carving! |
Step-by-Step: How to Carve Your First Stamp
If you’ve never carved a stamp before, don’t worry! The process is surprisingly meditative and straightforward. Follow these simple steps to achieve a flawless print every single time:
- Sketch Your Design: Draw your idea on a piece of paper using a soft graphite pencil. Keep your first few designs simple—think bold shapes and clean lines rather than intricate, tiny details.
- Transfer the Image: Flip your pencil sketch upside down directly onto the surface of your rubber carving block. Rub the back of the paper firmly with the back of a spoon or your fingernail. The graphite will transfer beautifully onto the block, leaving a clear guide.
- Carve the Outline: Using the smallest V-shaped blade on your cutting tool, carefully carve along the outer edges of your pencil lines. Take your time, move slowly, and rotate the rubber block rather than twisting your wrist.
- Clear the Background: Switch to a wider, U-shaped blade to clear away all the remaining rubber around your design. Anything you carve away will stay white (the color of your paper), while the raised surfaces left behind will catch the ink.
- Test and Refine: Press your new stamp onto an ink pad and make a test print on a scrap piece of paper. Look closely at the print—if there are any stray lines or unwanted textures showing up from the background, simply go back with your carving tool and shave them away.
Bringing the Aesthetic Together
The beauty of the stamp aesthetic lies in its versatility. Once you have a collection of five or six core stamps, you can mix, match, and layer them to create endless visual combinations. Don’t be afraid to experiment with overlapping different colored inks, mixing bold geometric shapes with delicate organic illustrations, or stamping on unconventional surfaces like wood, fabric, and clay.
The more you practice, the more your unique artistic voice will shine through those beautifully imperfect, hand-pressed ink marks. So put on your apron, clear off your work table, and let your creativity run wild!