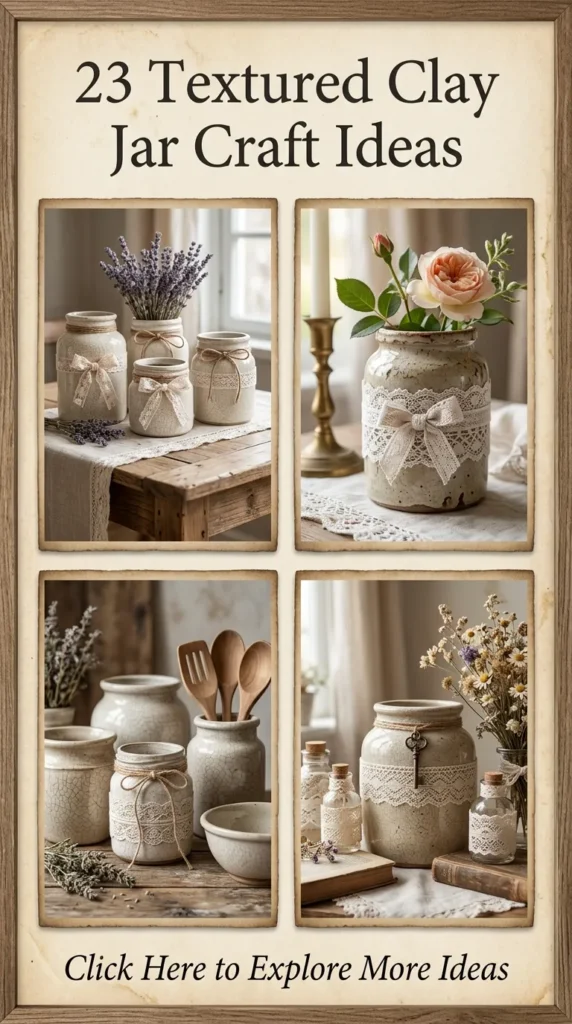
Transforming simple, smooth clay into deeply textured, tactile art pieces is one of the most rewarding DIY trends taking over the home decor world. Inspired by rustic Mediterranean villas, vintage European finds, and modern organic minimalism, textured clay jars bridge the gap between high-end boutique styling and accessible crafting.
Whether you are looking to upcycle old glass pasta jars, refresh outdated ceramic vases, or sculpt entirely new vessels from scratch using air-dry clay, adding texture elevates an object from a simple container to a structural statement piece.
Here is a master collection of 20 unique, realistic, and highly Pinterest-worthy textured clay jar craft ideas to inspire your next weekend project.
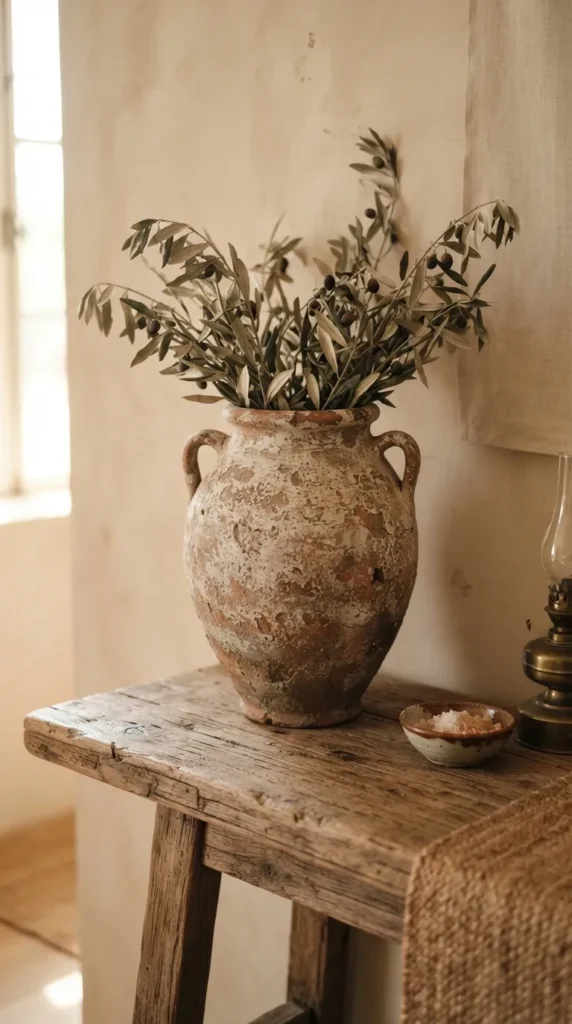
1. The Faux Terracotta Ancient Amphora
Bring the warmth of Tuscany or the history of ancient Greece into your living room. By blending standard terracotta air-dry clay with a splash of acrylic paint and coarse baking soda, you can mimic the weathered, pitted surface of an excavated relic.
- The Technique: Wrap a glass jar base in a thin layer of clay, shape two small side handles, and use a coarse sea sponge to press pitting and erosion into the surface before it dries. Once dry, wash it with a diluted white acrylic paint to simulate aged lime bloom.
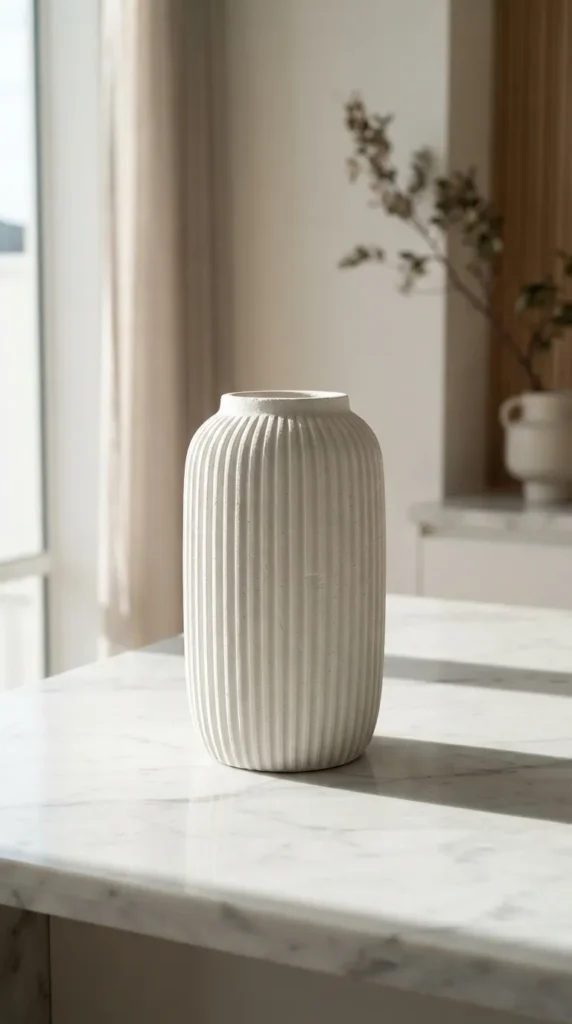
2. Minimalist White Limestone Ribbed Vase
Clean, crisp, and architectural, the minimalist ribbed vase is a staple of modern Scandinavian design. The texture relies on symmetry and deep, clean grooves that catch the light beautifully throughout the day.
- The Technique: Roll out a uniform sheet of white air-dry clay. Use a clay scoring tool or a simple wooden ruler to press parallel, vertical lines uniformly across the slab before wrapping it securely around your jar. Smooth the top edges with a damp finger for a flawless, high-end finish.
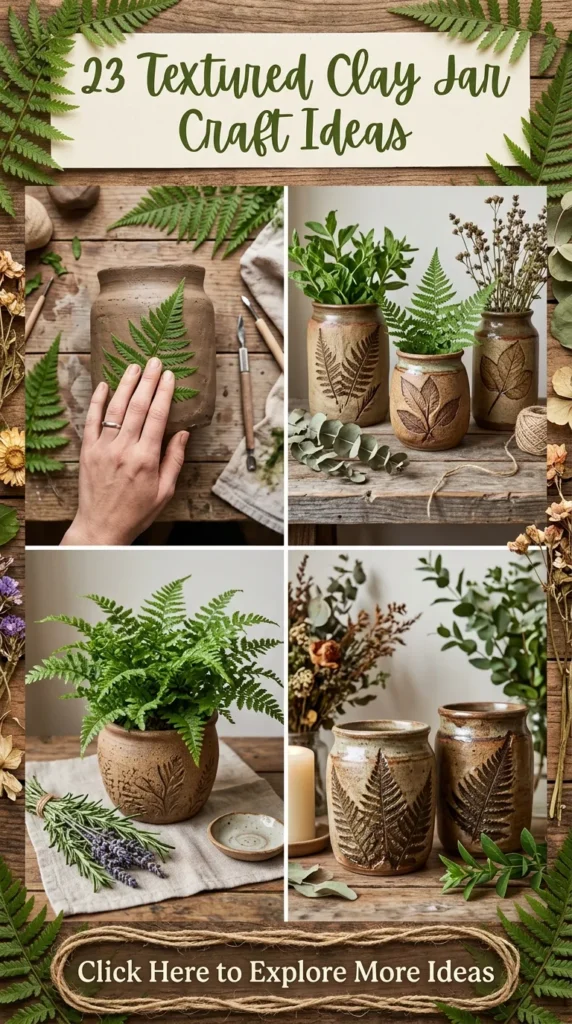
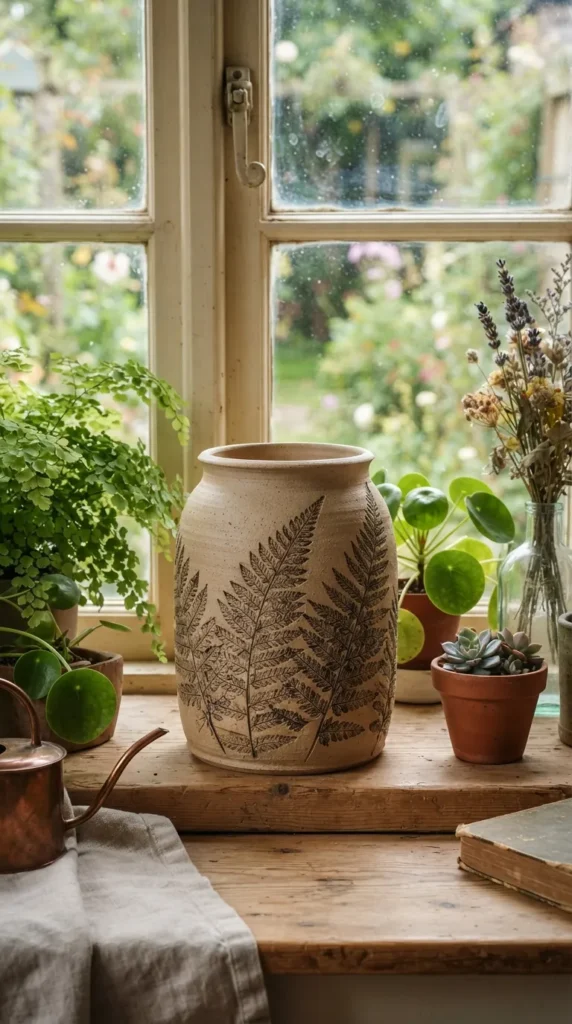
3. Pressed Botanical Fern Silhouette Jar
Perfect for cottagecore enthusiasts, this design permanently captures the delicate, intricate beauty of nature. It features the raised or recessed impressions of real ferns, leaves, or wild herbs embedded directly into the clay body.
- The Technique: Press fresh, heavily veined fern fronds into a rolled slab of moist clay using a rolling pin. Carefully peel the plant away, leaving a perfect structural negative space. Wrap the slab around the jar, and once dry, apply a dark wax or antiquing gel over the impression to make the leaf details pop.
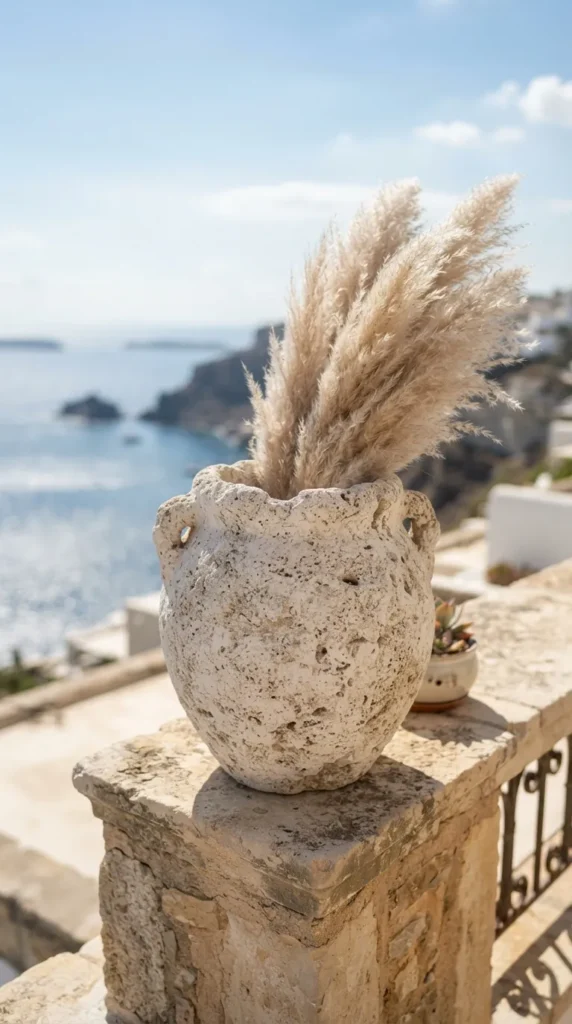
4. Mediterranean Bleached Coarse Pumice Urn
This look captures the raw, chalky texture of volcanic stone bleached by the Mediterranean sun. It features an incredibly rough, hyper-textured surface that contrasts beautifully with soft pampas grass or dried eucalyptus.
- The Technique: Mix crushed pumice stone powder or fine builders’ sand directly into your clay body before applying it to the jar. Instead of smoothing it down, use a stiff-bristled stencil brush to stipple and slap the surface, creating an organic, irregular stone crust.
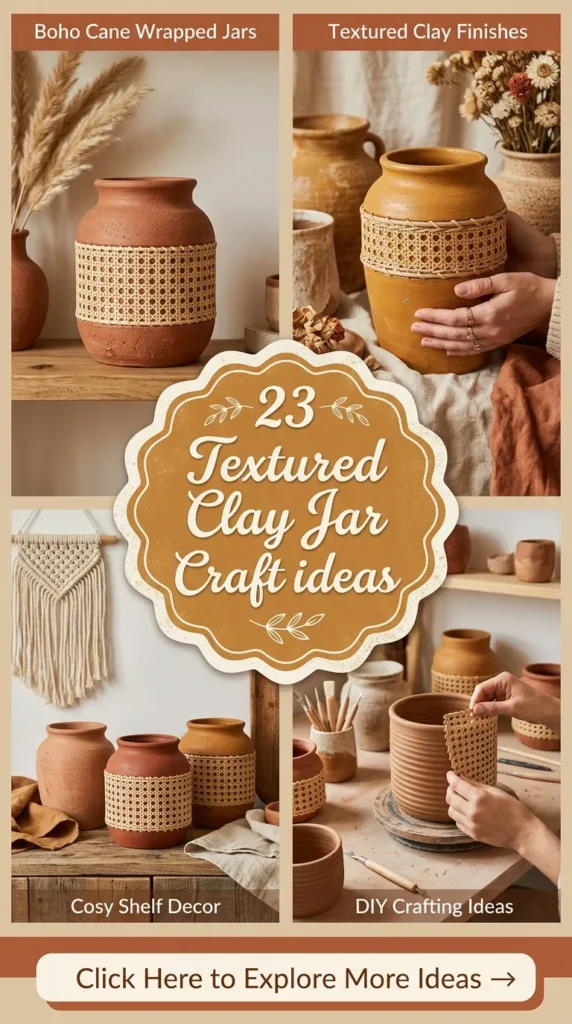
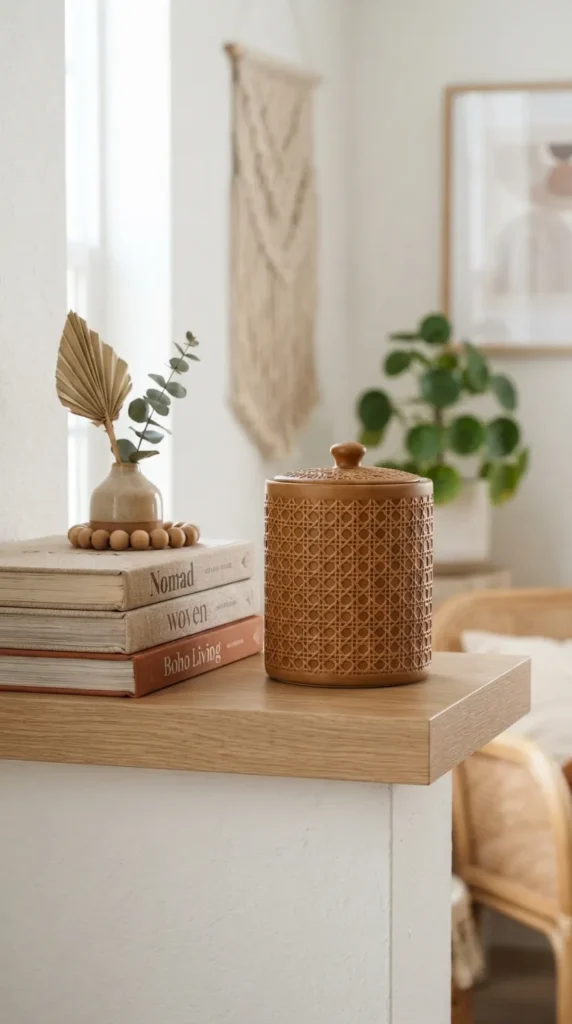
5. The Woven Faux Rattan Cane Jar
Combining the warmth of woven textures with the solidity of clay, this technique replicates the intricate cross-hatch patterns of natural rattan or cane webbing, giving your shelves a breezy, bohemian coastal vibe.
- The Technique: Use a fine-mesh screen, a piece of burlap fabric, or a specialized clay texture mat. Press the mesh firmly into the exterior clay layer of the jar. Accentuate the faux weave by running a dry brush with light brown and beige tones across the raised ridges.
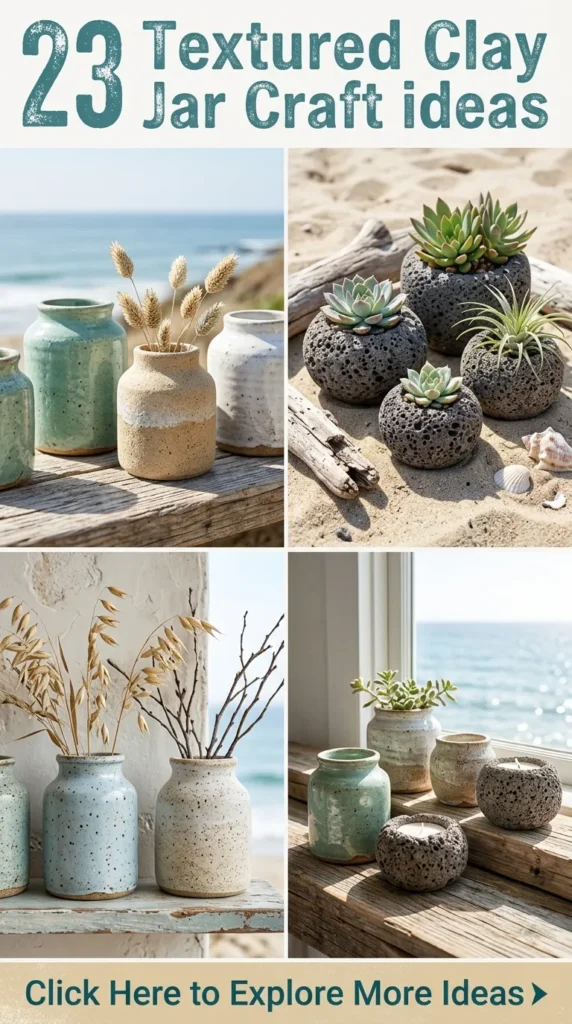
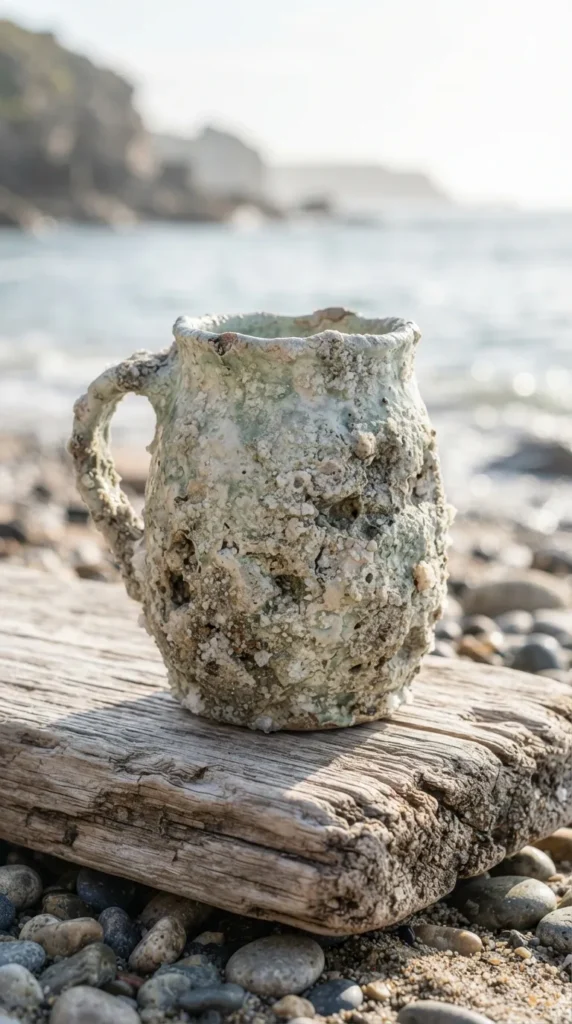
6. Weathered Sea Salt and Driftwood Vessel
Inspired by objects washed ashore, this jar features a crusty, crystalline texture that looks as though it has spent decades tumbling through ocean waves and accumulating salt deposits.
- The Technique: While the clay wrapped around your jar is still wet, roll the entire piece in coarse sea salt crystals, pressing them firmly into the surface. Once the clay dries completely, submerge the jar in water briefly; the salt will dissolve, leaving behind an incredibly realistic, deeply pitted, eroded stone effect.
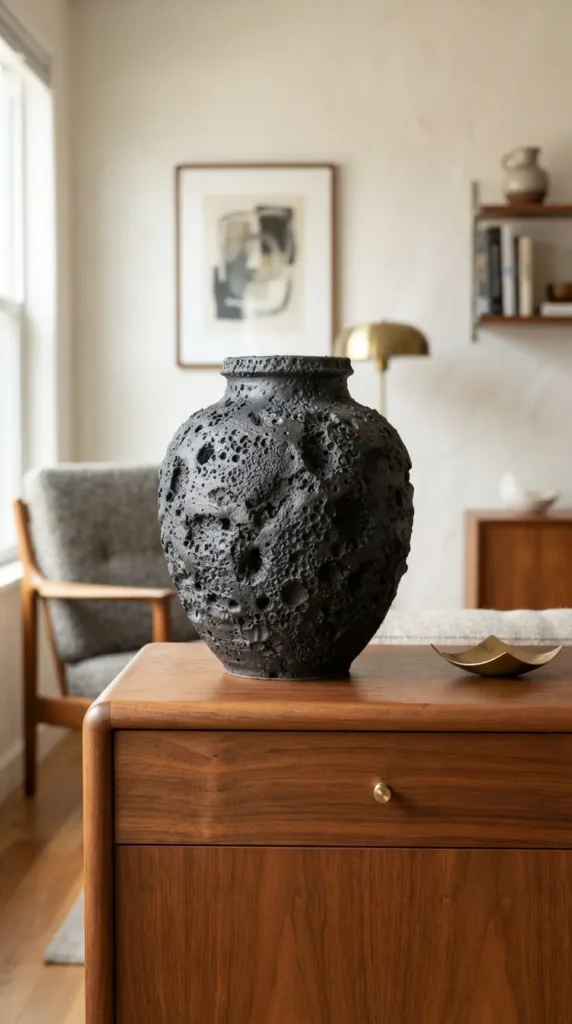
7. Mid-Century Modern Stippled Crater Pot
Channeling the bold, experimental ceramic movements of the 1960s, this style relies on dramatic, crater-like texture and deep, volcanic bubbling. It works beautifully as a standalone statement piece on a console table.
- The Technique: Apply a thick, uneven layer of clay to your vessel. Use the end of a thick metal straw or a ball-stylus tool to punch varying depths of circular indentations closely together, creating a chaotic yet intentional volcanic crater landscape.
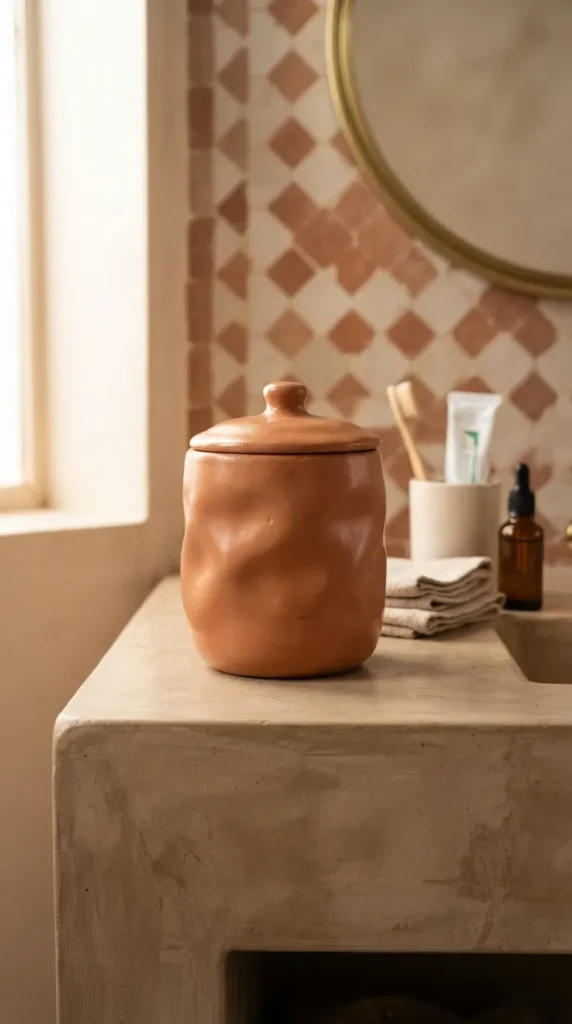
8. Moroccan Plaster Tadelakt Storage Canister
Tadelakt is a traditional Moroccan plaster technique known for its soft, silky, yet subtly wavy and hand-polished stone texture. It exudes warmth, luxury, and organic minimalism.
- The Technique: Coat your jar in a smooth layer of clay, leaving natural, soft ridges from your hands. As the clay begins to set, use a smooth, flat river stone to firmly rub and burnish the surface. This compresses the clay fibers, creating a soft, naturally reflective, polished sheen.
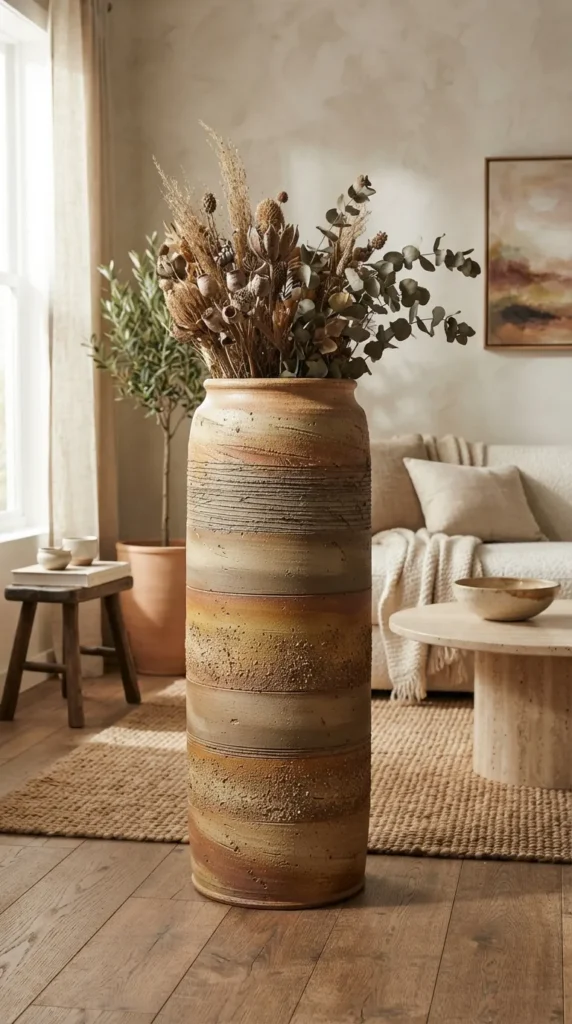
9. Horizontal Linear Strata Clay Crock
Inspired by the sedimentary rock layers found in deep canyons, this craft focuses on continuous, horizontal bands of varying textures stacked on top of one another, resulting in an earthy, grounded aesthetic.
- The Technique: Apply clay bands in horizontal rings around the jar. Vary the treatment of each ring—leave one smooth, scratch one with a wire brush, pit another with sandpaper, and score lines into the next. Finish with a cohesive, monochromatic earthy wash.
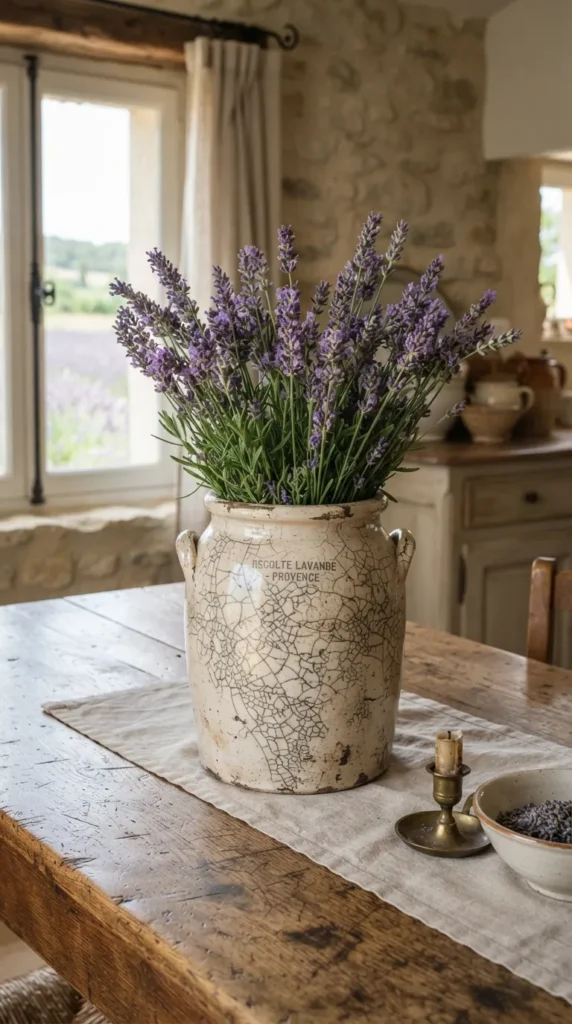
10. Vintage French Country Cracked Crackle Jar
This style perfectly mimics centuries-old French stoneware that has developed a fine network of delicate cracks through generations of use, giving it an authentic heirloom quality.
- The Technique: Apply your clay to the jar, and while it is still damp, paint a thick layer of classic school glue or crackle medium over the top. Use a hairdryer on high heat to force the surface to dry rapidly. The surface will shrink and split into gorgeous, organic crackle patterns.
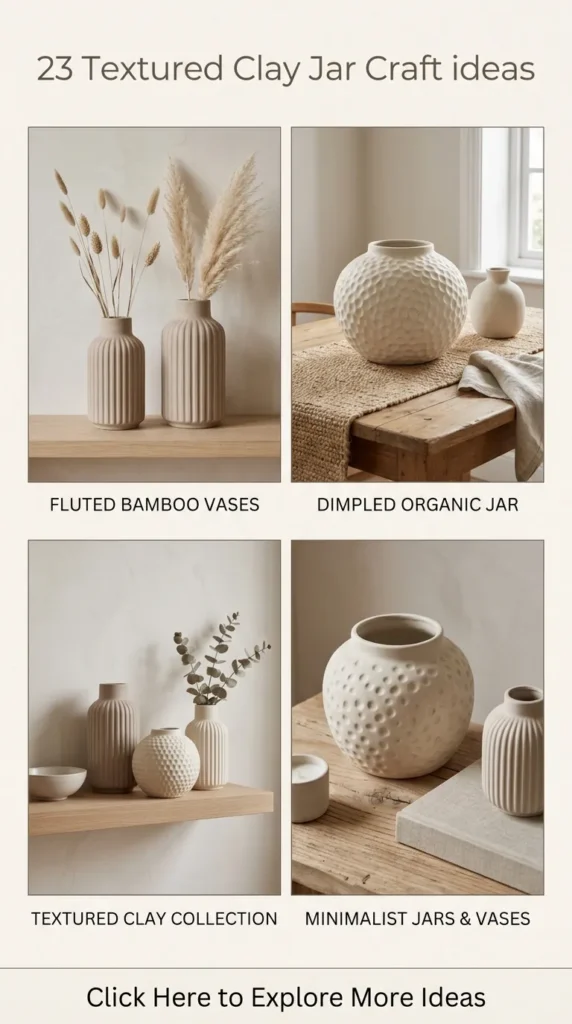
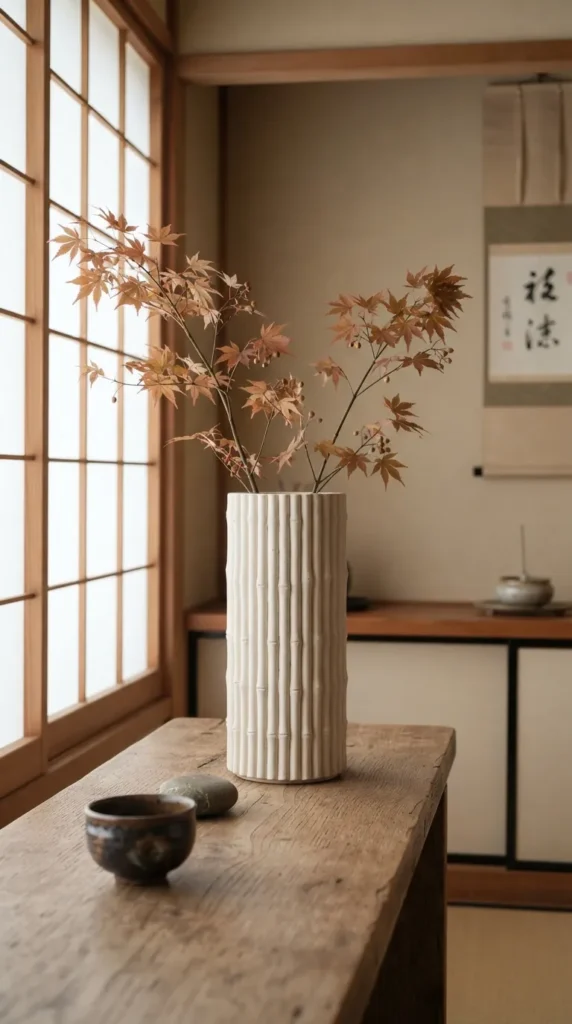
11. Japandi Fluted Bamboo Cylinder
Merging Japanese minimalism with Scandinavian functionality, this design uses clean, semi-circular raised vertical rods to create a calming, balanced rhythm around the entire jar.
- The Technique: Roll out thin, uniform clay “snakes” or ropes. Align them vertically side-by-side all the way around the exterior of the jar, blending the tops and bottoms smoothly into the rim and base. Paint the piece in a soft cream, beige, or charcoal matte tone.
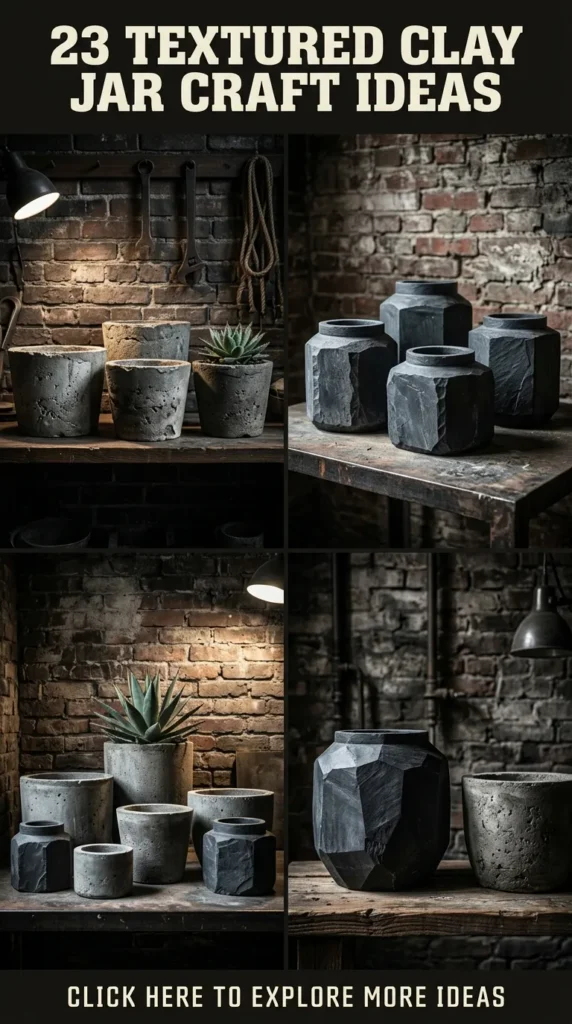
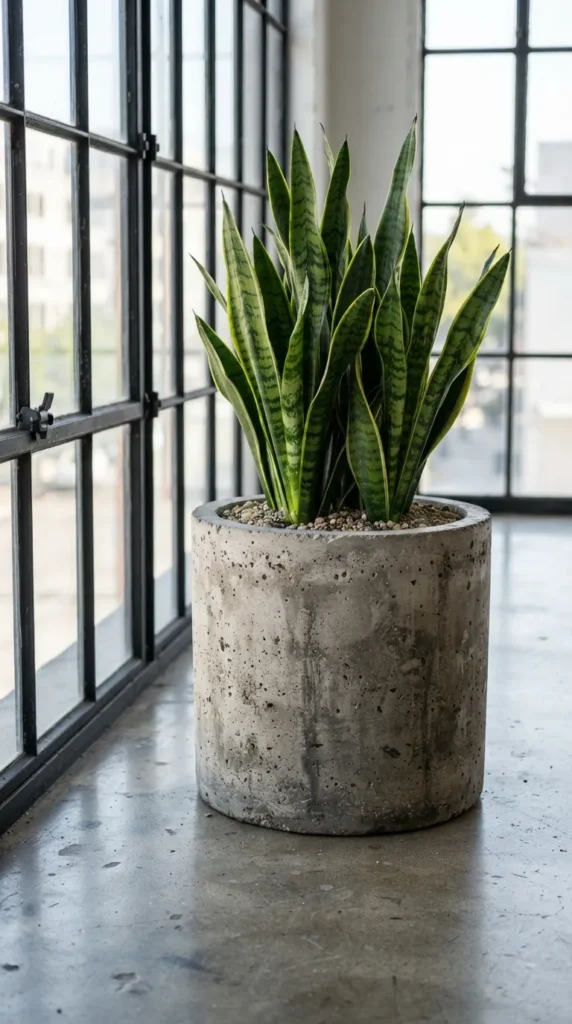
12. Distressed Concrete Industrial Loam Pot
For those who love modern lofts, raw architecture, and industrial design, this jar looks exactly like heavy, cast concrete poured into a rough mold, complete with air pockets and aggregate textures.
- The Technique: Press coarse sandpaper, crumpled aluminum foil, and small pebbles into the wet clay surface. Once dry, paint the jar with layers of cool gray, slate, and charcoal acrylics, using a dabbing motion to build depth and simulate real cement variations.
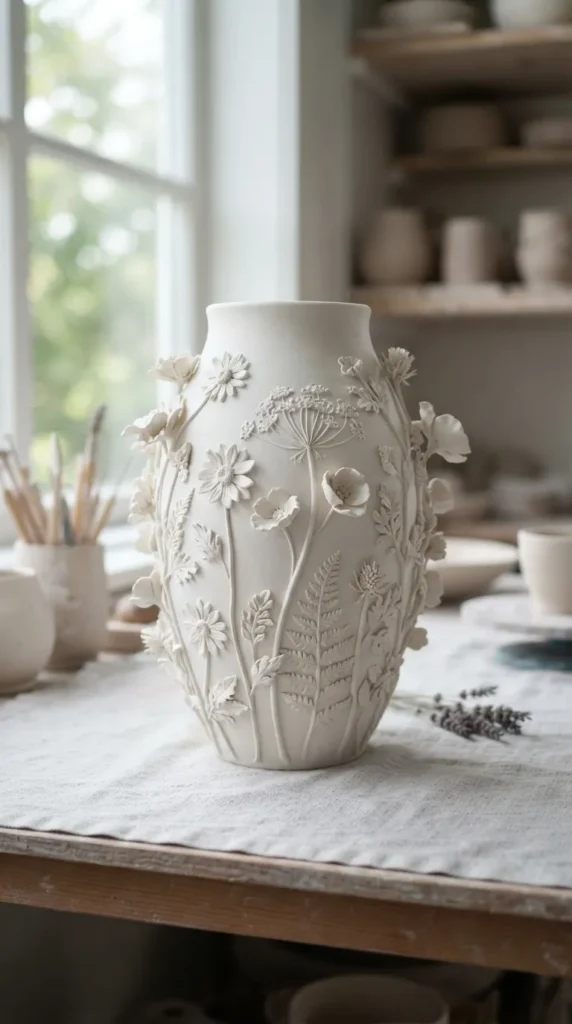
13. Raised Botanical Wildflower Meadow Vase
Unlike pressed silhouettes, this elegant technique features three-dimensional wildflowers, stems, and seed pods emerging outward from the surface of the jar, creating a romantic, sculptural garden effect.
- The Technique: Sculpt miniature petals, stems, and leaves separately out of clay. Score the back of each piece and attach them to the clay-covered jar body using clay slip (a liquid clay glue). Blend the edges seamlessly so the flowers look like they are growing directly out of the stone.
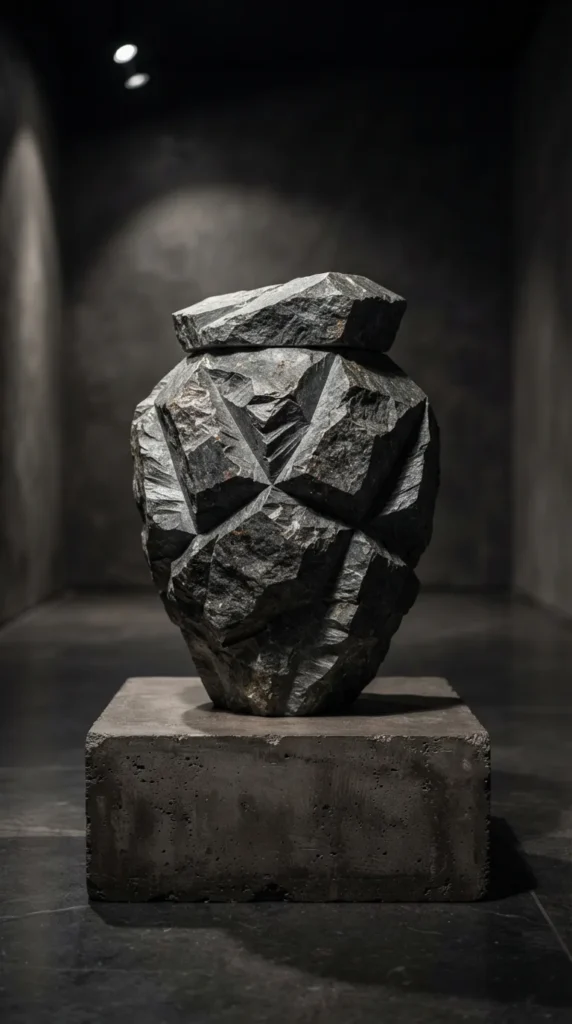
14. Brutalist Chipped Rock Artifact
Brutalist decor relies on heavy, raw, and jagged geometric textures. This jar looks like a piece of rough granite or quartz that has been violently chipped away from a cliffside.
- The Technique: Wrap the jar in an extra-thick layer of clay. Once it has dried slightly to a leather-hard consistency, use a clay carving loop or a craft knife to deliberately slice away flat, angled facets and chunks, creating a rugged, crystalline stone appearance.
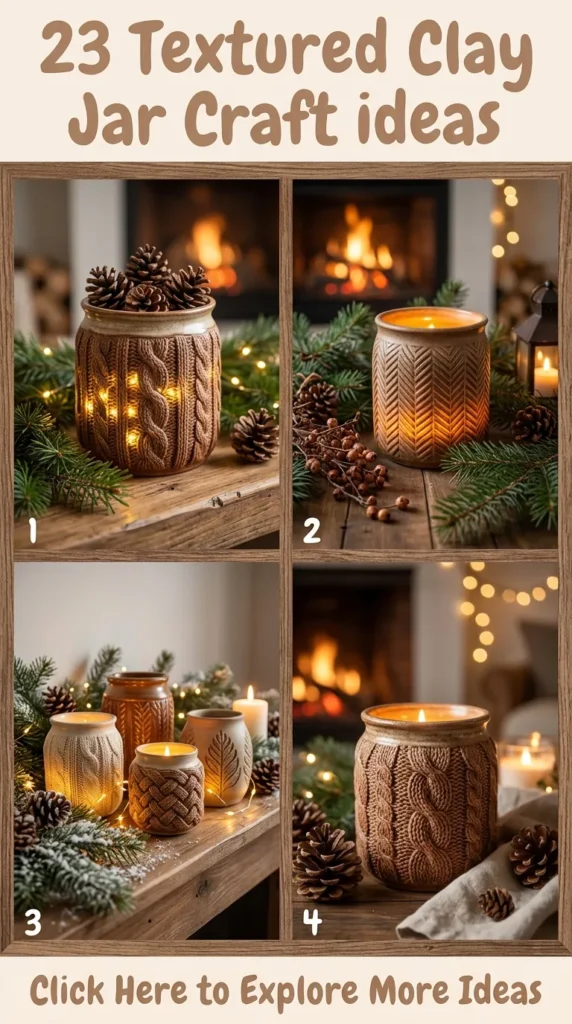
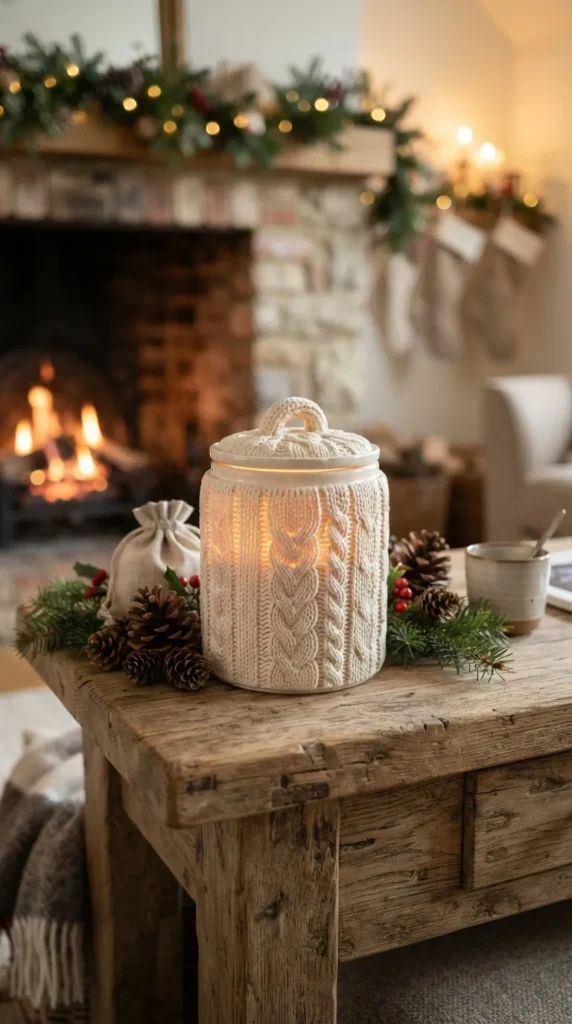
15. The Cozy Nordic Cable-Knit Jar
Bring warmth and seasonal comfort into your space with a jar texturized to look exactly like a chunky, hand-knitted wool sweater, perfect for housing warm autumn candles or winter branches.
- The Technique: Twist pairs of thin clay ropes together to simulate knitted yarn braids. Attach these braided clay strips vertically around the jar, alternating directions to mimic classic cable-knit, rib, and purl stitches.
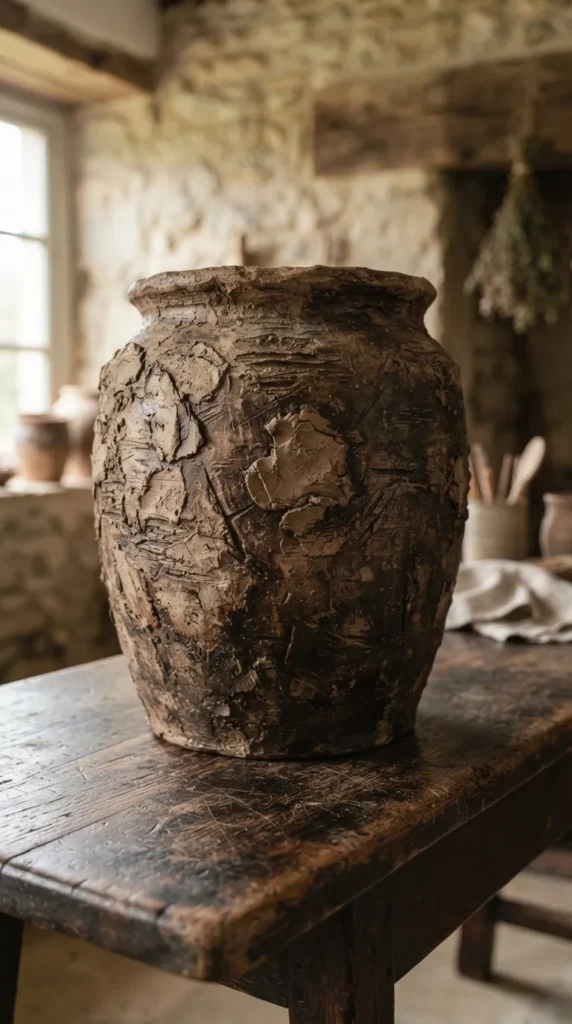
16. Distressed Rustic Farmhouse Mud Jar
Evoking images of old American or European farmsteads, this project emphasizes a heavy, thick, uneven texture that looks as if it was hand-molded from riverbank mud and baked in an open fire.
- The Technique: Slap thick, intentionally uneven patches of clay onto the jar using a putty knife. Leave the sharp ridges, overlapping edges, and tool marks completely visible. Wipe a dark brown or black antiquing wax into the deep crevices after drying to emphasize the rustic imperfections.
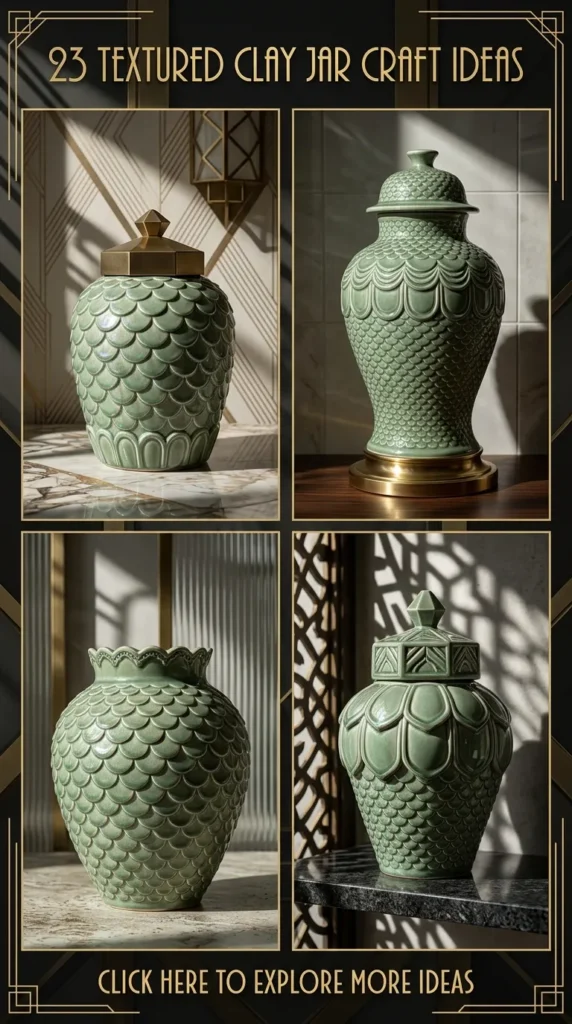
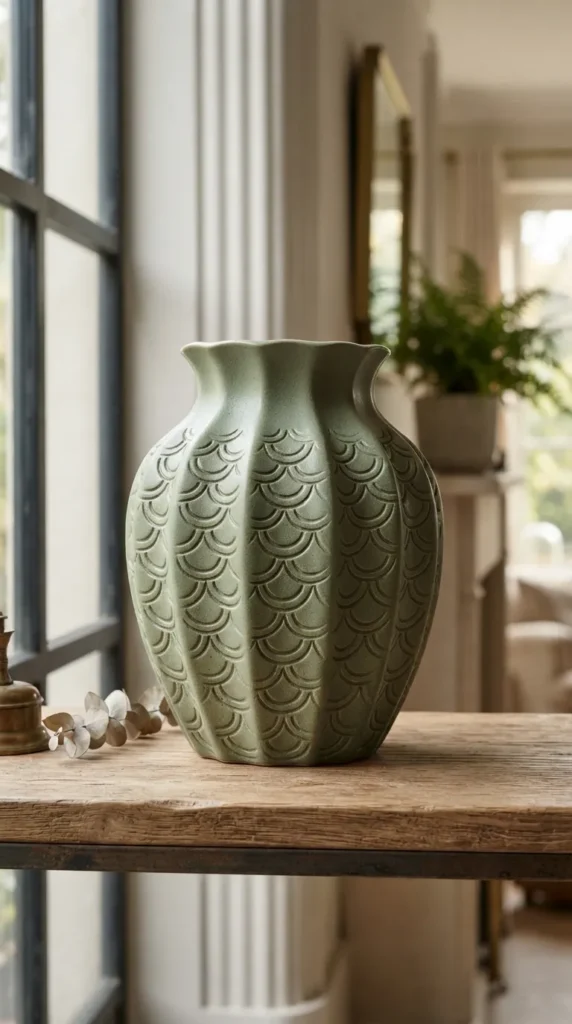
17. Elegant Art Deco Scalloped Mermaid Jar
Bring a touch of vintage 1920s glamour into your home with a repeating, rhythmic scalloped scale texture that feels both highly organized and beautifully fluid.
- The Technique: Use the round cap of a marker or a small circular cutter to stamp overlapping rows of half-circles into the wet clay, starting from the bottom of the jar and working your way up to the top. The result is a clean, uniform scale pattern that looks stunning under ambient lighting.
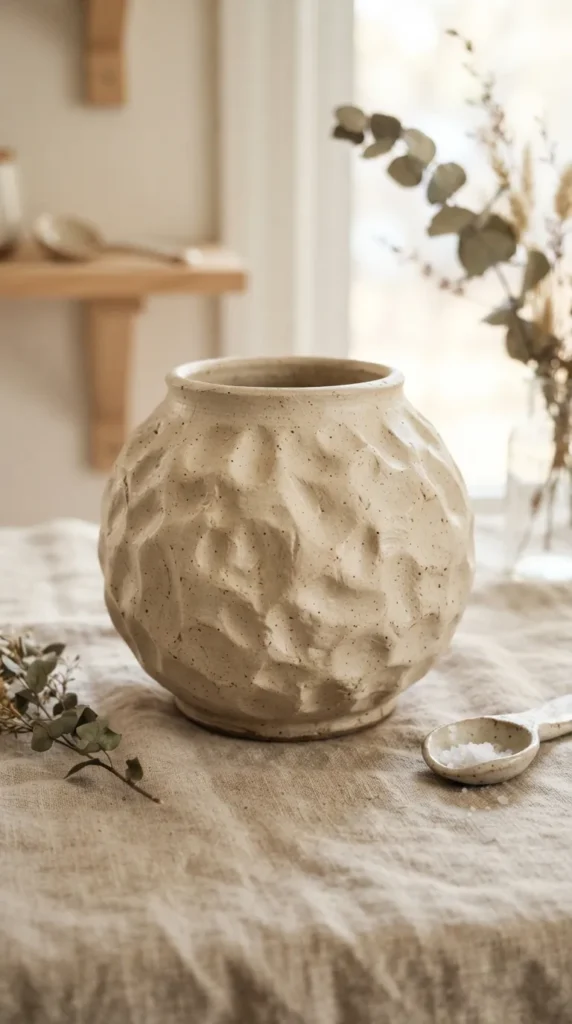
18. Abstract Finger-Pressed Organic Ring Jar
Embrace the beauty of human imperfection. This design relies entirely on the organic, soft indentations left behind by your own hands, highlighting the artistic process and the raw connection between the maker and the clay.
- The Technique: Coat your vessel in a soft, pliable layer of clay. Take your thumb or index finger and systematically press shallow, rhythmic indents into the clay all the way around the surface, creating an elegant, dimpled texture that feels wonderful to hold.
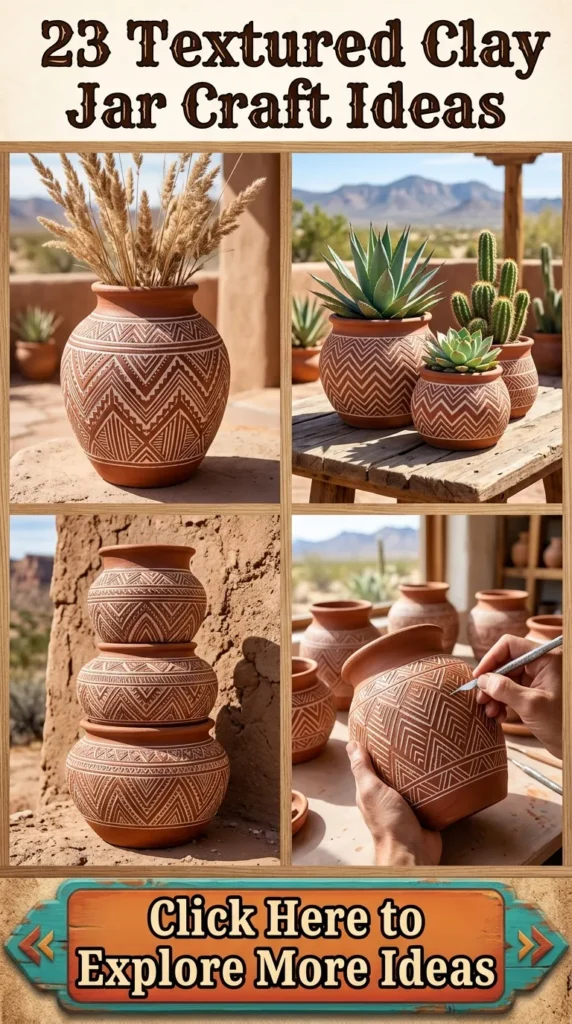
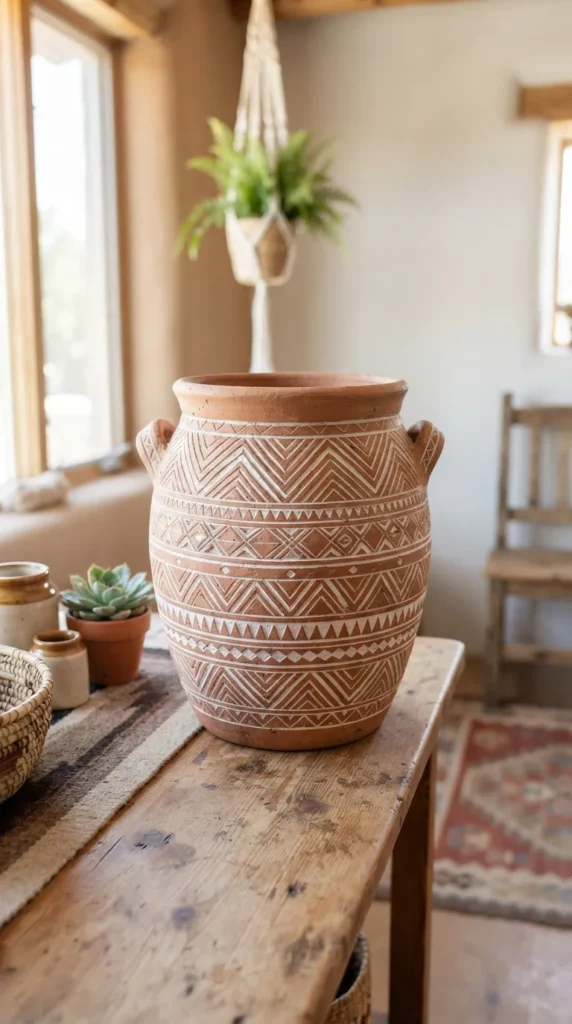
19. Bohemian Tribal Chevron Etched Crock
This design uses geometric precision mixed with hand-carved textures to create striking Southwestern or Bohemian patterns, including chevrons, triangles, and linear hatches.
- The Technique: Wrap your jar in smooth clay and let it dry slightly until it feels like hard cheese. Use a fine, pointed clay carving tool or a large needle to precisely scratch sharp, geometric chevron patterns deep into the surface. Brush away the debris to leave crisp, sharp, tribal-inspired line art.
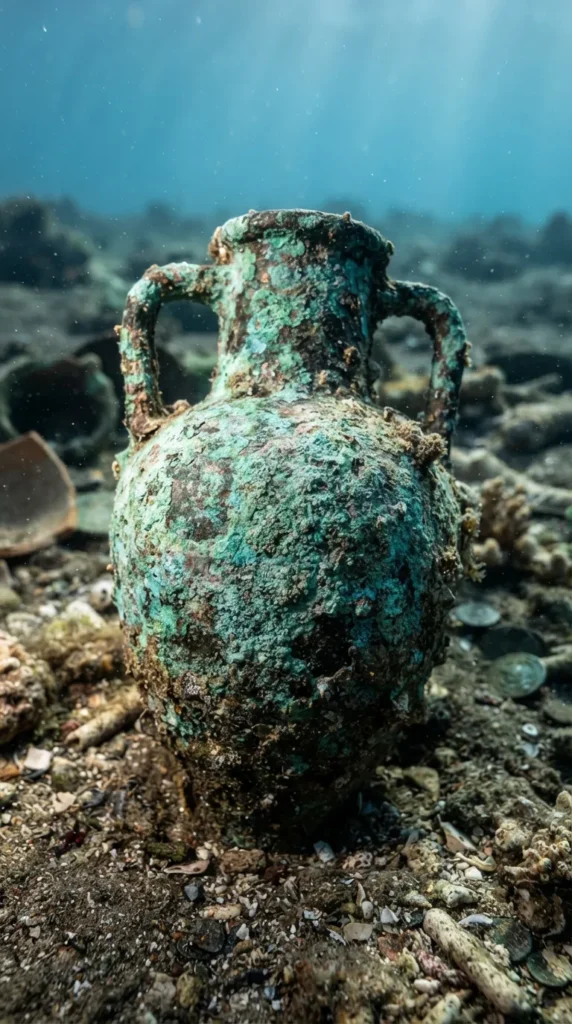
20. Weathered Bronze Oxidized Verdigris Jar
A spectacular project that replicates the beautiful, textured crust that forms on ancient bronze statues and vessels when they oxidize over centuries, turning a vibrant teal, green, and copper.
- The Technique: Create a rough, stippled texture on your clay using a sponge and baking soda. Once dry, paint the entire jar with a dark metallic bronze paint. While still wet, dab seafoam green, turquoise, and mint green chalk paints into the crevices, blending lightly to create a hyper-realistic oxidized copper patina.