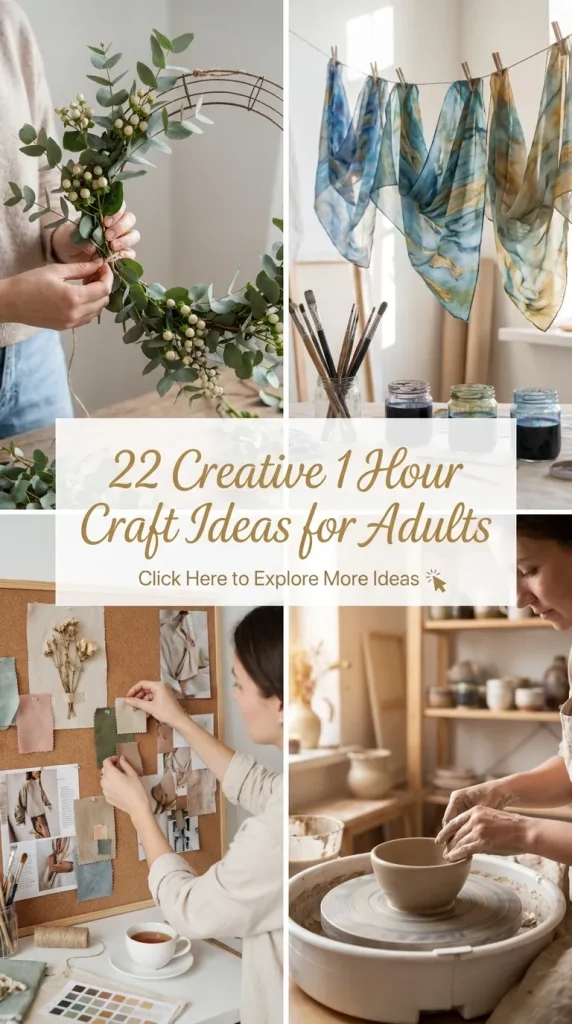
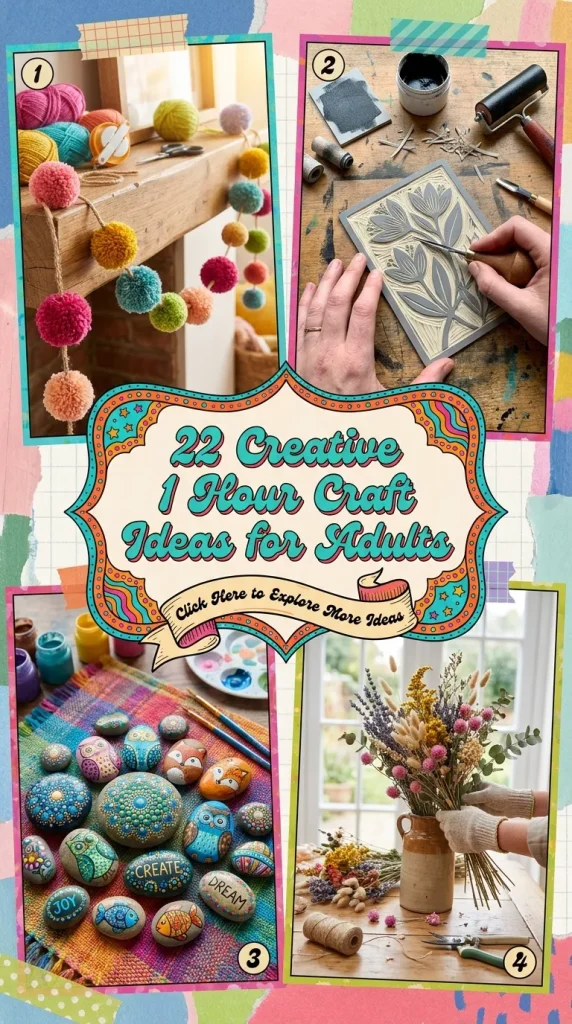
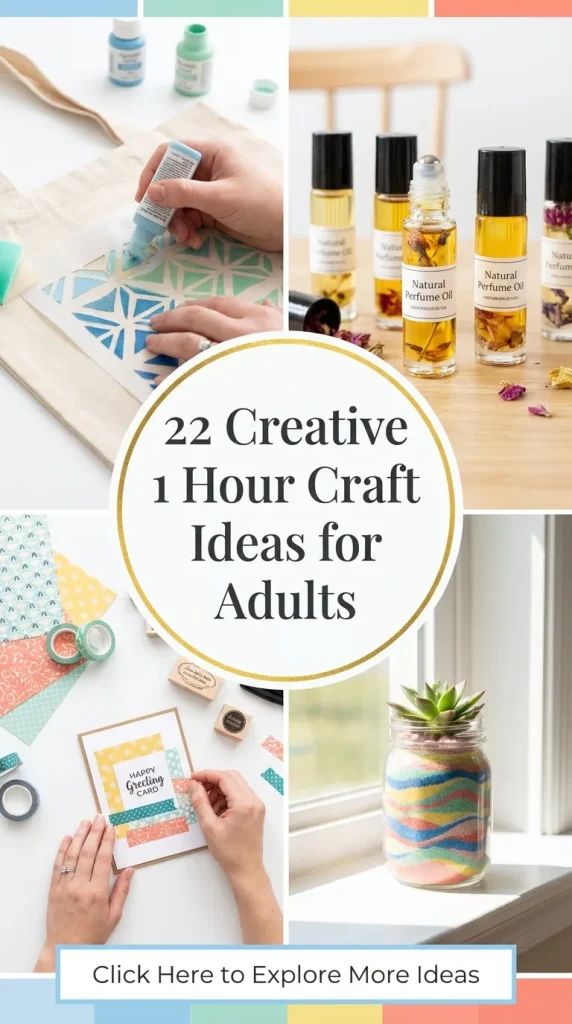
In a world that constantly demands our digital attention, there is a profound, grounding joy in making something with your own two hands. Yet, for many of us, the barrier to crafting isn’t a lack of desire—it’s a lack of time. The thought of starting a project that requires days of dedication, specialized workshops, or an entire room dedicated to supplies can feel more overwhelming than relaxing.
Enter the power of the one-hour craft.
Limiting your creative sessions to a single hour shifts the focus from perfection to process. It eliminates the dreaded “crafter’s guilt” of unfinished projects gathering dust in the closet. Instead, you get a concentrated burst of mindfulness, a tangible sense of accomplishment, and a beautiful, elevated piece of decor or a functional accessory to show for it.
The secret to a successful adult craft lies in the materials and the aesthetic. We aren’t talking about popsicle sticks and glitter glue. By utilizing high-quality elements like raw wood, genuine leather, soy wax, linen, and minimalist metallics, you can create items that look like they were plucked straight from a high-end boutique or a curated Pinterest board.
Grab a cup of coffee or tea, clear your workspace, and dive into these 20 sophisticated, hour-or-less DIY projects designed to elevate your home and soothe your mind.
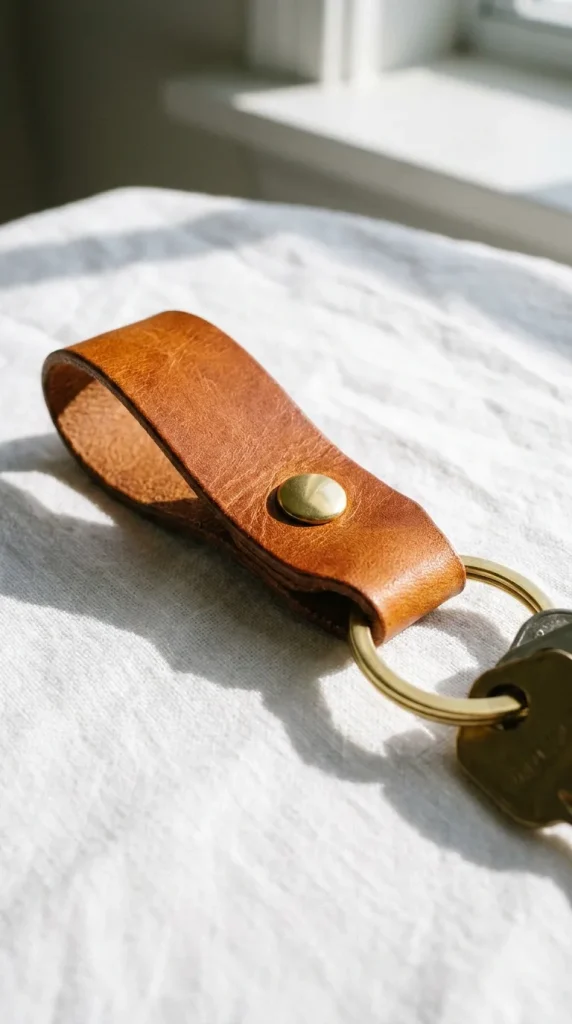
1. Minimalist Leather Key Fobs
Elevate your daily essentials with a sleek, Scandinavian-inspired leather key fob. Genuine leather scraps can be purchased inexpensively online or at local craft stores, and they instantly bring a premium feel to everyday utility.
- Materials Needed: Vegetable-tanned leather scraps, heavy-duty utility knife, metal key rings, leather hole punch, brass rivets, and a hammer.
- The Process: Cut a strip of leather approximately 0.75 inches wide and 6 inches long. Smooth the edges if desired. Loop the strip through your brass key ring, folding it over to create a clean tab. Punch a hole through both layers of the folded leather using your hole punch. Insert a brass rivet through the holes, place it on a hard surface, and gently tap it with a hammer to secure the pieces together.
- Styling Tip: Use a gold paint pen or a stamping kit to subtly monogram the leather for a personalized touch.
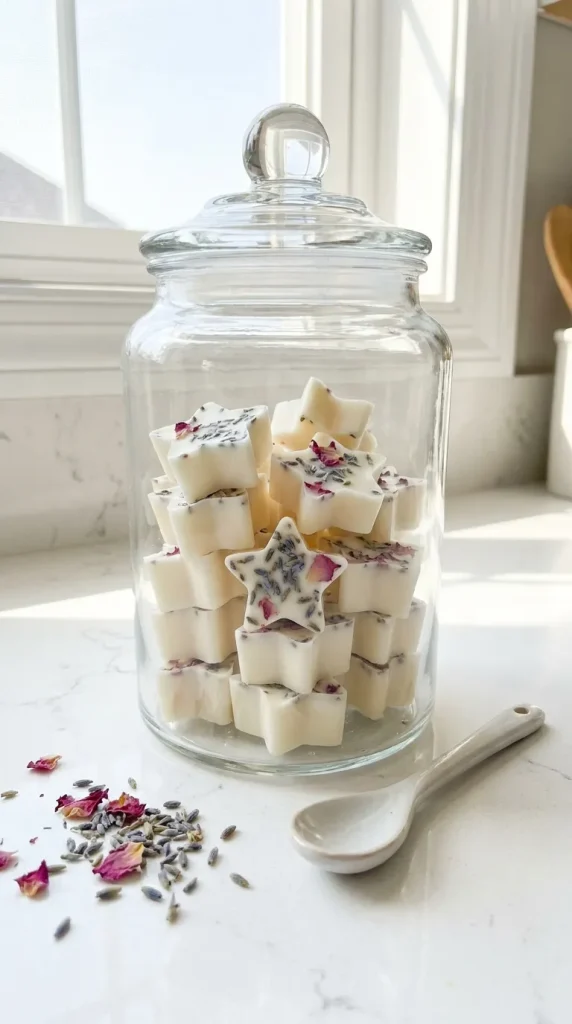
2. Hand-Poured Soy Wax Botanical Wax Melts
Transform the ambiance of your home without the commitment of pouring full candles. Botanical wax melts look incredibly elegant sitting in a glass jar and fill your space with custom fragrances.
- Materials Needed: Natural soy wax flakes, candle fragrance oils (like cedarwood, amber, or bergamot), dried botanicals (lavender buds, rose petals, or jasmine), a silicone mold, and a heat-safe pouring pitcher.
- The Process: Melt the soy wax flakes in a double boiler or a microwave-safe container in 30-second bursts. Once fully melted, let it cool slightly before stirring in your chosen fragrance oils. Sprinkle a few dried botanicals into the bottom of your silicone mold cavities. Carefully pour the melted wax over the botanicals, then scatter a few more petals on top while the wax is still warm. Let them sit for 45 minutes to fully harden before popping them out.
- Styling Tip: Display these in a clear apothecary jar on your bathroom counter or bedroom vanity.
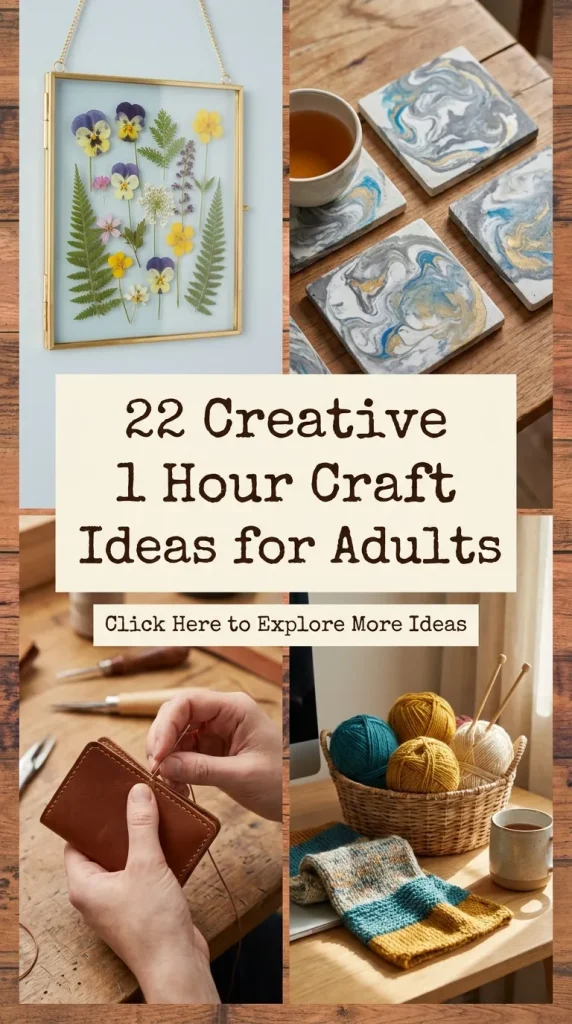
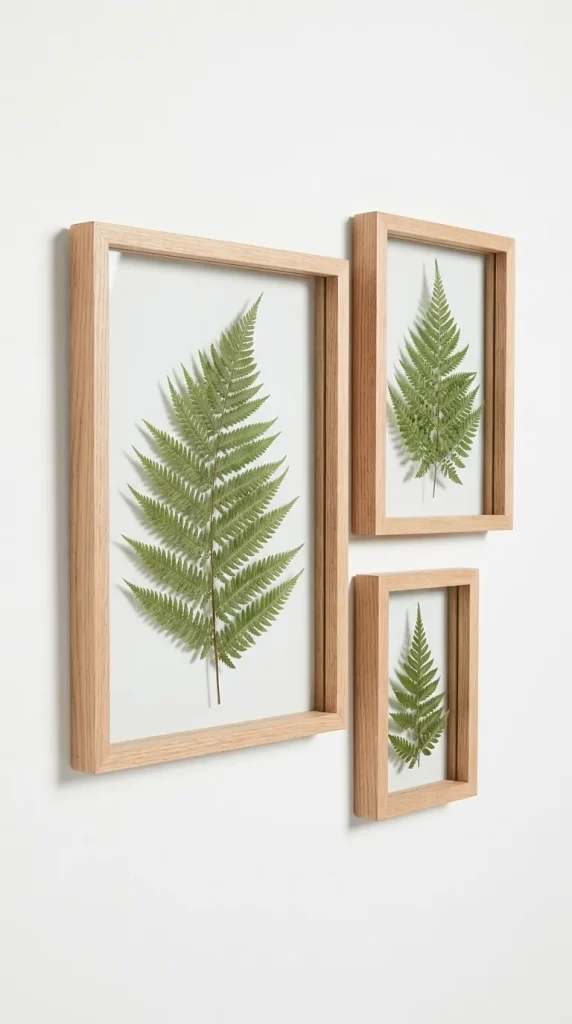
3. Pressed Botanical Glass Frames
Bring the beauty of the outdoors inside with minimalist floating botanical frames. This project captures the delicate intricacy of nature in a modern, clean format.
- Materials Needed: Double-glass floating frames, pre-pressed ferns or wildflowers, tweezers, and a small dab of clear floral glue.
- The Process: Ensure your glass panes are completely clean and free of fingerprints. Arrange your pressed ferns or flowers on the back pane of glass using tweezers to avoid damaging the delicate leaves. If the plant material feels like it might slide, use a microscopic dot of clear glue on the back of the stem to hold it in place. Carefully lower the top glass pane over the arrangement and secure the frame lock.
- Styling Tip: Group three frames of varying sizes together on a gallery wall for an organic, curated look.
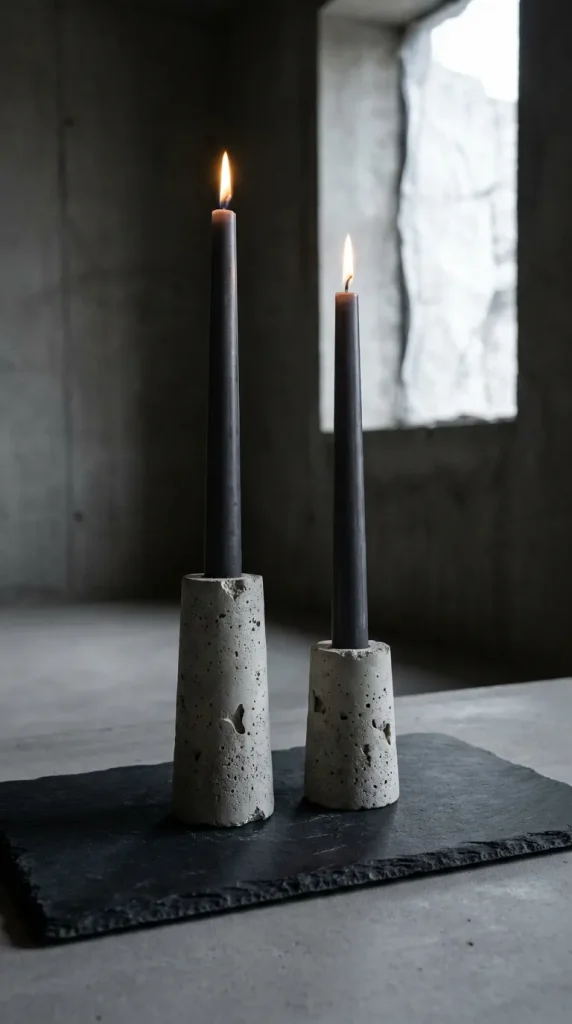
4. Raw Concrete Taper Candle Holders
Industrial chic meets warm minimalism. Concrete is an incredibly forgiving medium that cures quickly enough to handle within an hour if you use fast-setting varieties.
- Materials Needed: Fast-setting concrete mix, water, disposable mixing bowl, empty paper juice cartons or plastic cups (as molds), taper candles, and vegetable oil.
- The Process: Cut the tops off your plastic cups or juice cartons to create the outer shape of your holder. Coat the inside lightly with vegetable oil to act as a release agent. Mix the concrete according to the package instructions until it reaches a thick batter consistency. Pour it into the molds, tapping the sides firmly to release air bubbles. Press the bottom of a taper candle (wrapped in plastic wrap) about an inch into the center of the wet concrete. Weight the candle down so it doesn’t push out. After 45 minutes, gently pull the candle out and peel away the plastic mold.
- Styling Tip: Leave the texture raw and imperfect for a wabi-sabi aesthetic.
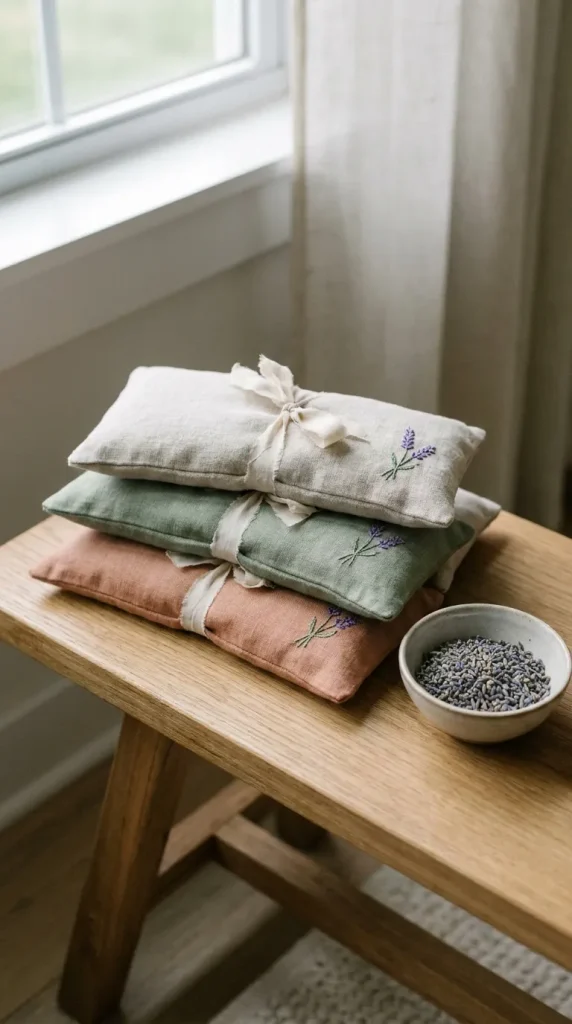
5. Linen Lavender Eye Pillows
Perfect for yoga enthusiasts or anyone seeking a bit of evening relaxation, these linen eye pillows provide soothing weight and aromatic bliss.
- Materials Needed: Linen fabric scraps, dried lavender buds, uncooked organic rice or flaxseeds, fabric shears, iron-on hemming tape (for a no-sew option), or a sewing machine.
- The Process: Cut two rectangles of linen fabric measuring 4 inches by 9 inches. Place the right sides together. If you are using hemming tape, apply it along three of the edges and iron to seal the seams. If sewing, stitch a simple straight line around three sides. Turn the pouch right-side out. In a bowl, mix two parts flaxseeds or rice with one part dried lavender. Fill the pouch about three-quarters full so it remains flexible. Fold the open raw edges inward and use hemming tape or a final topstitch to close the pillow completely.
- Styling Tip: Choose muted, earthy linen tones like oatmeal, sage green, or dusty terracotta.
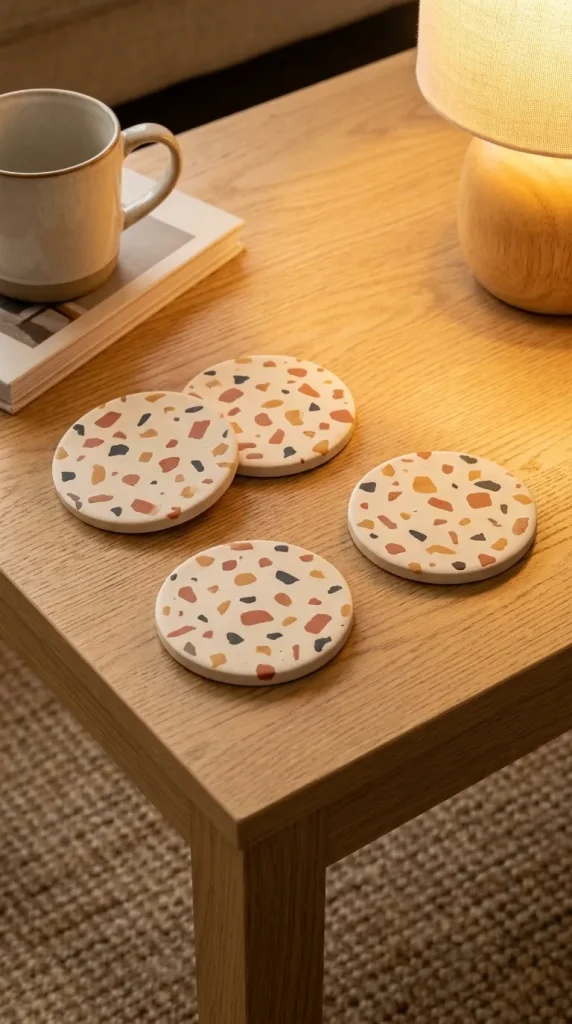
6. Modern Terrazzo Polymer Clay Coasters
Terrazzo is a timeless design pattern that looks complex but is remarkably easy to replicate using polymer clay.
- Materials Needed: White or cream polymer clay (for the base), small scraps of colored clay (terracotta, black, sage, ochre), a rolling pin, a circular cookie cutter, parchment paper, and a baking sheet.
- The Process: Roll out the white clay on a sheet of parchment paper until it is about a quarter-inch thick. Take tiny pinches of your colored clay scraps and chop them into irregular, jagged fragments using a butter knife. Scatter these colored flecks randomly across the top of your white clay base. Place another piece of parchment paper over the top and gently roll over it with the rolling pin to press the colored flecks flat into the base. Use your circular cutter to stamp out the coasters. Bake according to the clay package instructions (typically 15–20 minutes).
- Styling Tip: Once cooled, seal with a matte varnish to give them a premium, stone-like finish.
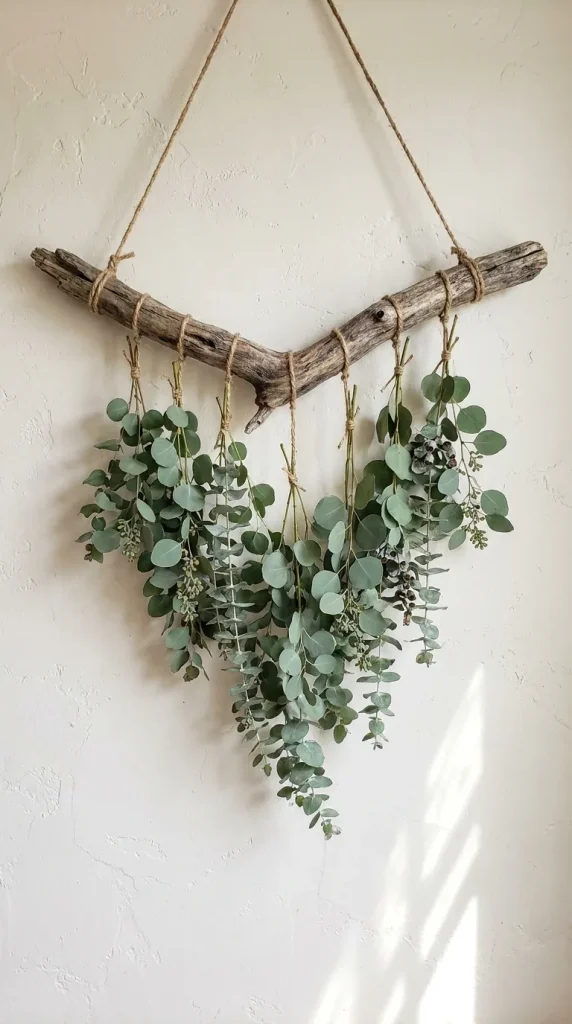
7. Eucalyptus and Twine Wall Hanging
Bring a touch of bohemian spa energy to your bedroom or living space with a living wall hanging that dries beautifully over time.
- Materials Needed: A clean, dried fallen branch or a wooden dowel, fresh silver dollar eucalyptus stems, natural jute twine, and scissors.
- The Process: Cut a long piece of twine and tie it securely to both ends of your branch to create the hanger. Cut varying lengths of eucalyptus branches. Tie a piece of twine to the base of each stem, then tie the other end to the main wooden branch, letting the stems drape downward gracefully. Stagger the lengths, keeping the longest pieces in the center to create a V-shape silhouette.
- Styling Tip: Hang this over a bed or in a bathroom where the steam from the shower will release the natural eucalyptus oils.
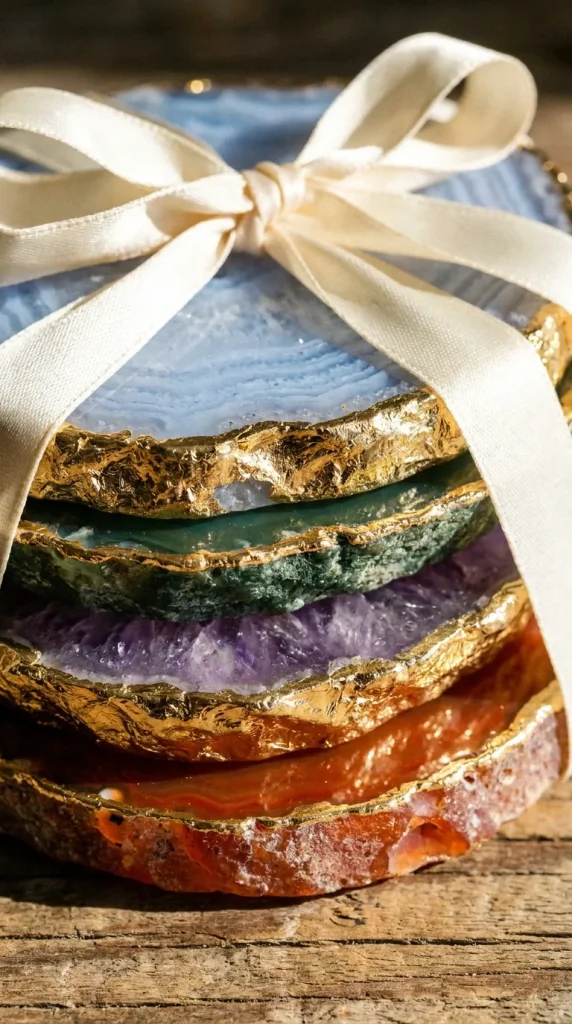
8. Gilded Agate Coasters
Elevate basic agate slices into luxurious living room showpieces using just a touch of metallic paint.
- Materials Needed: Raw agate slices (available at crystal shops or craft stores), liquid gold leaf or metallic gold paint, a small detail paintbrush, and clear silicone bumper pads.
- The Process: Clean the agate slices thoroughly to remove any dust. Shake your liquid gold leaf well. Dip your detail brush into the paint and carefully trace the outer, rough edge of the agate slice. Follow the natural contours and crevices of the stone to emphasize its organic beauty. Let the paint dry for 20 minutes. Flip the slice over and apply four small clear silicone bumpers to the bottom to protect your furniture surfaces.
- Styling Tip: Stack four of these together and tie them with a silk ribbon to make a beautiful, handmade housewarming gift.
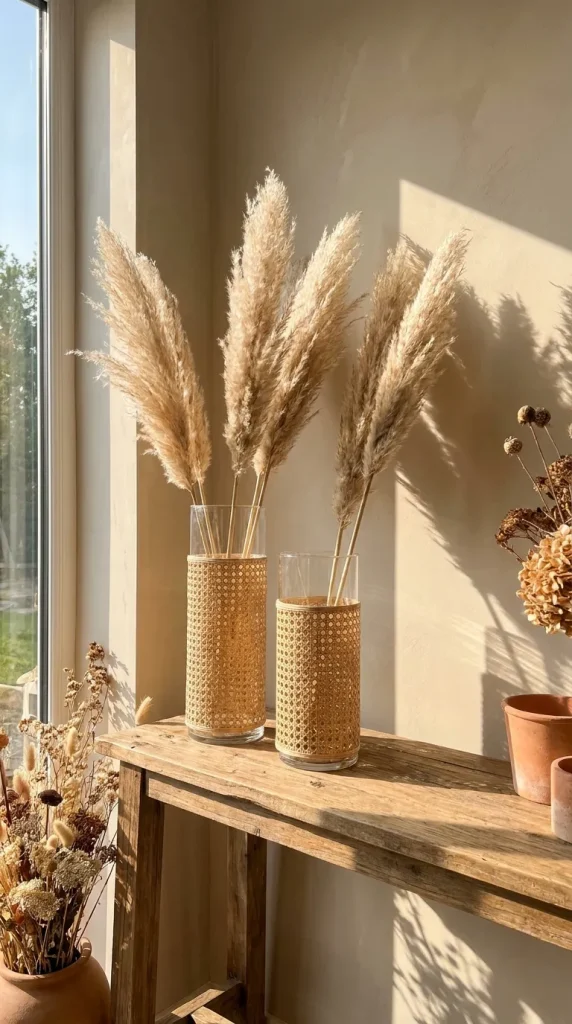
9. Rattan Wrapped Glass Vases
Turn cheap, basic glass cylinder vases from the dollar store into high-end, textured home accents that look like they belong in a coastal resort.
- Materials Needed: Plain glass cylinder vases, flat rattan reed or cane webbing scraps, a hot glue gun, and scissors.
- The Process: Clean the exterior of the glass vase. Cut a strip of rattan reed long enough to wrap around the circumference of the vase with a slight overlap. Apply a vertical line of hot glue to the glass, press the starting edge of the rattan into it, and hold until set. Wrap the rattan tightly around the glass, applying small dots of glue along the way to prevent slipping. Secure the final edge with another line of hot glue, ensuring the seam is clean and tight.
- Styling Tip: Fill these with dried pampas grass or bunny tails for an effortless, neutral aesthetic.
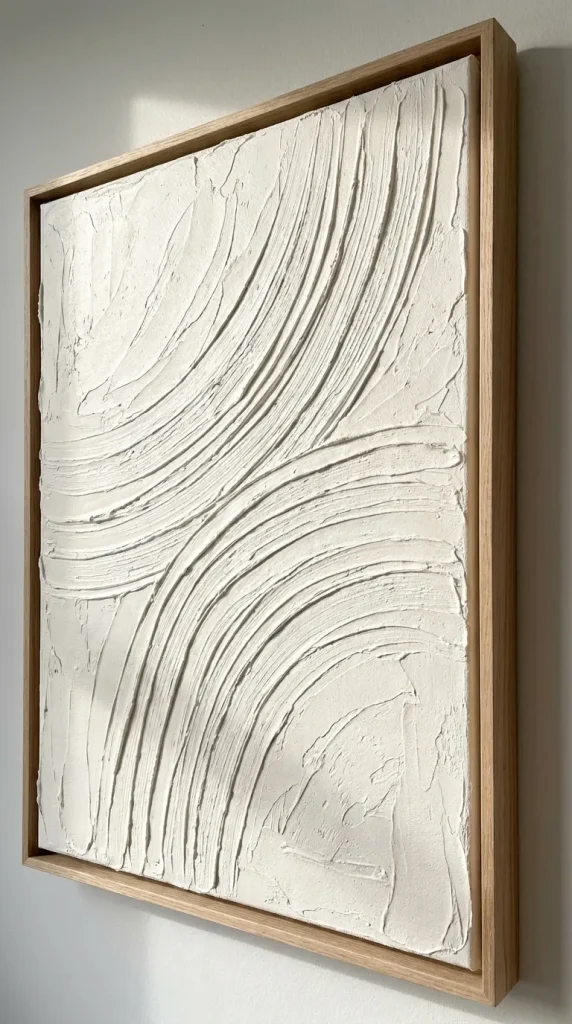
10. Textured Canvas Monochrome Art
You don’t need to be an experienced painter to create stunning, gallery-worthy art. Textured minimalist paintings are all about dimension and the play of light.
- Materials Needed: Stretched canvas (any size), lightweight joint compound or modeling paste, a putty knife or a notched trowel, and matte acrylic paint (white, beige, or charcoal).
- The Process: Scoop a generous amount of joint compound onto your canvas. Use the putty knife to spread it across the surface, creating intentional ridges, sweeping arcs, or structured geometric lines. The beauty lies in the texture, so avoid making it perfectly smooth. Allow the compound to dry for about 30–40 minutes until the surface is set. Gently brush a layer of matte acrylic paint over the entire piece to unify the color and highlight the shadows created by the ridges.
- Styling Tip: Display this in a floating wooden frame to instantly elevate the DIY into a luxury art piece.
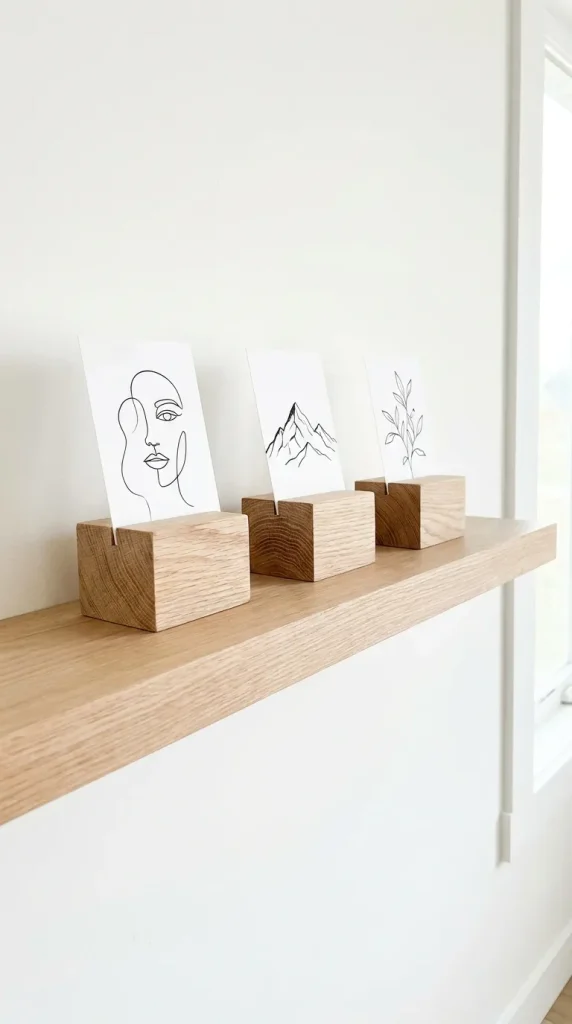
11. Minimalist Wood Block Photo Holders
Ditch the traditional heavy picture frames for a modern, airy way to display your favorite snapshots or art prints.
- Materials Needed: Small wooden blocks or thick craft molding cut into 2×2 inch cubes, a hand saw or a thick craft saw, sandpaper, and wood stain or furniture wax.
- The Process: Take your wooden cube and decide which face will be the top. Using a small hand saw, make a straight, shallow cut diagonally down into the top center of the block, roughly a half-inch deep. This will create the slot for your photo. Sand down all sides and edges until smooth to the touch. Rub a light layer of wood stain or natural furniture wax over the block to bring out the grain. Let it dry, then slip a photo or postcard into the slot.
- Styling Tip: Use these to display black-and-white polaroids or minimalist line art prints.
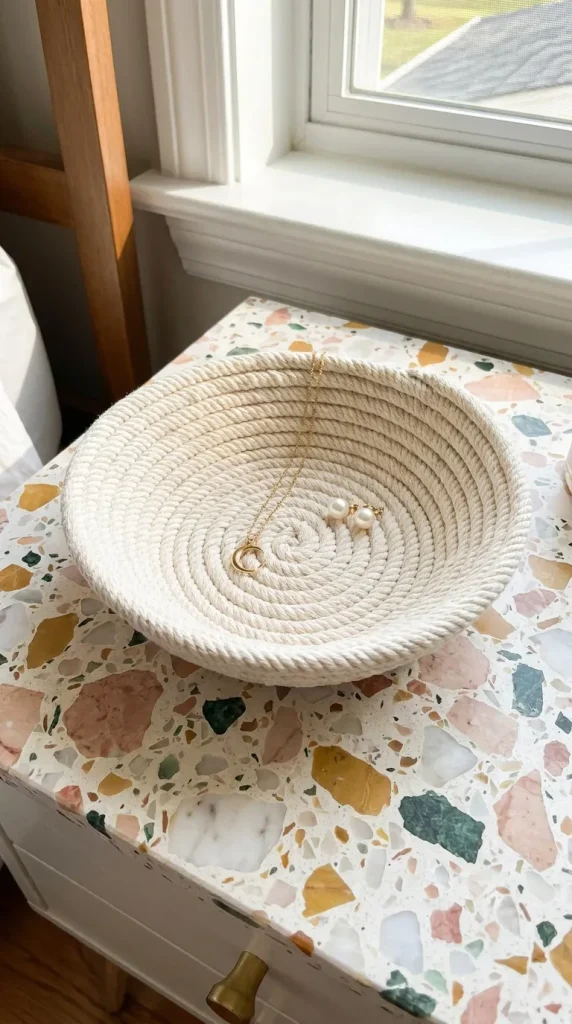
12. Macrame Cord Coiled Bowls
These textured, organic bowls are fantastic for holding jewelry on a nightstand, keys at the entryway, or simply serving as a beautiful decorative accent.
- Materials Needed: 5mm cotton macrame cord, a hot glue gun, and scissors.
- The Process: Take the end of your cotton cord and apply a small drop of hot glue, folding it in on itself to start a tight spiral coil. Continue wrapping the cord around this center point, applying a thin, continuous bead of glue along the inner edge as you spin. Once your flat base reaches about 3 inches in diameter, begin stacking the cord slightly on top of the previous layer rather than next to it. This will cause the walls of the bowl to curve upward. Continue until the bowl is your desired height, cut the cord at an angle, and glue the end down cleanly inside the rim.
- Styling Tip: Leave the natural cream color raw, or dye the bottom half using fabric dye for an ombré look.
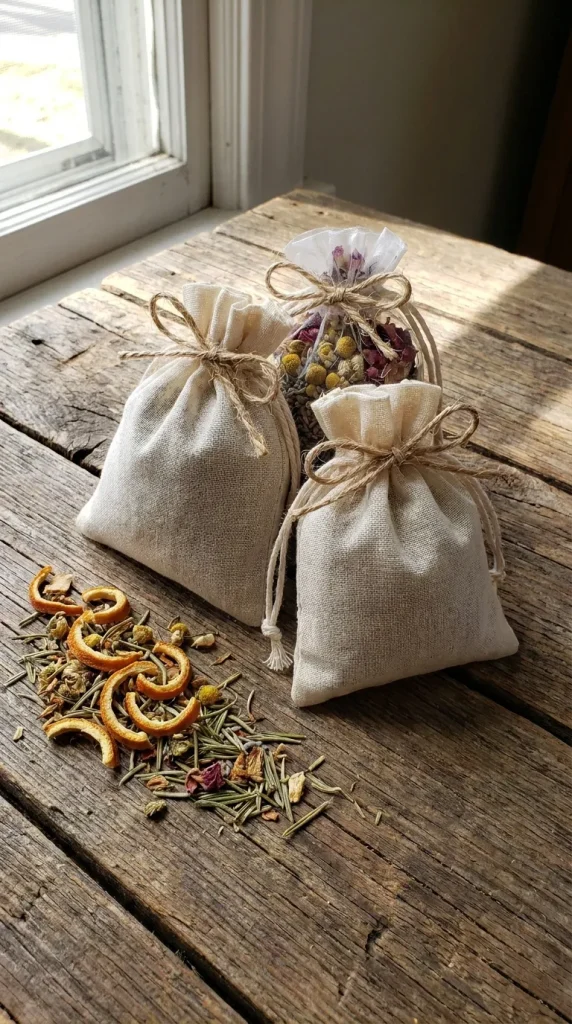
13. Scented Botanical Drawer Sachets
Keep your linens and clothing smelling wonderfully fresh with elegant fabric sachets filled with natural herbs and essential oils.
- Materials Needed: Small cotton or muslin drawstring bags, dried rosemary, dried orange peel, cedar shavings, and essential oils (like sweet orange or patchouli).
- The Process: In a mixing bowl, combine your dried rosemary, orange peels, and cedar shavings. Add 10–15 drops of your favorite complementary essential oils directly onto the botanical mixture. Stir thoroughly to distribute the scent evenly. Spoon the aromatic mixture into your muslin bags until they are filled comfortably. Pull the drawstrings tight and tie them in a neat bow.
- Styling Tip: Toss these into your luggage when traveling to keep your clothes smelling crisp on long trips.
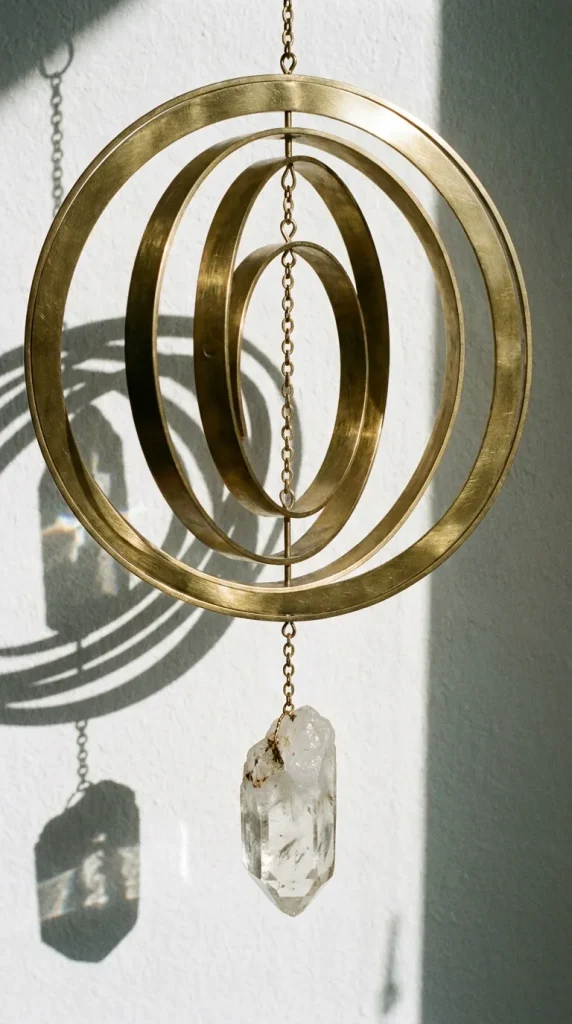
14. Brass Ring Geometric Wall Mobile
Bring movement and mid-century modern elegance into your home with a delicate, geometric brass mobile that catches the ambient light.
- Materials Needed: Brass crafting rings of various sizes (2-inch, 4-inch, and 6-inch), thin brass jewelry wire, wire cutters, and a small piece of raw crystal or a wooden bead.
- The Process: Lay out your brass rings on a table to design a balanced, geometric composition (such as nesting smaller rings inside larger ones or hanging them in a vertical chain). Use pieces of thin brass wire to bind the rings together where they touch, wrapping the wire tightly several times and clipping the excess clean. Suspend a raw crystal or a single geometric wooden bead from the center of the bottom ring using a short piece of wire. Tie a loop of clear nylon thread or more wire to the very top to hang it.
- Styling Tip: Hang this near a window where it can catch the breeze and cast beautiful moving shadows across the room.
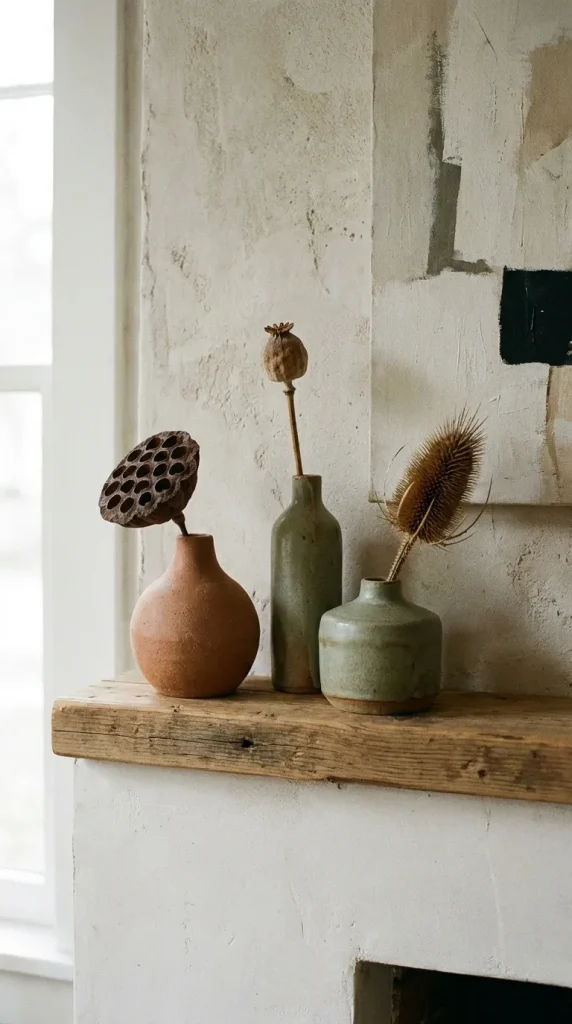
15. Painted Ceramic Bud Vases
Transform mismatched thrift store ceramic vases into a cohesive collection of trendy, matte-finished structural art pieces.
- Materials Needed: Old ceramic vases or glass bottles, matte acrylic paint, baking powder, and a foam paintbrush.
- The Process: Thoroughly clean and dry your vessels. In a small cup, mix your choice of acrylic paint color with a teaspoon of baking powder. The baking powder will react with the paint, causing it to puff up slightly and create a thick, gritty, stone-like texture. Use your foam brush to apply the mixture to the vase using stippling or directional strokes. Let the first coat dry for 20 minutes, then apply a second coat to ensure full coverage. Once dry, the vase will look like authentic, expensive earthenware.
- Styling Tip: Style these as a trio on a mantelpiece, each holding a single dry stem or seed pod.
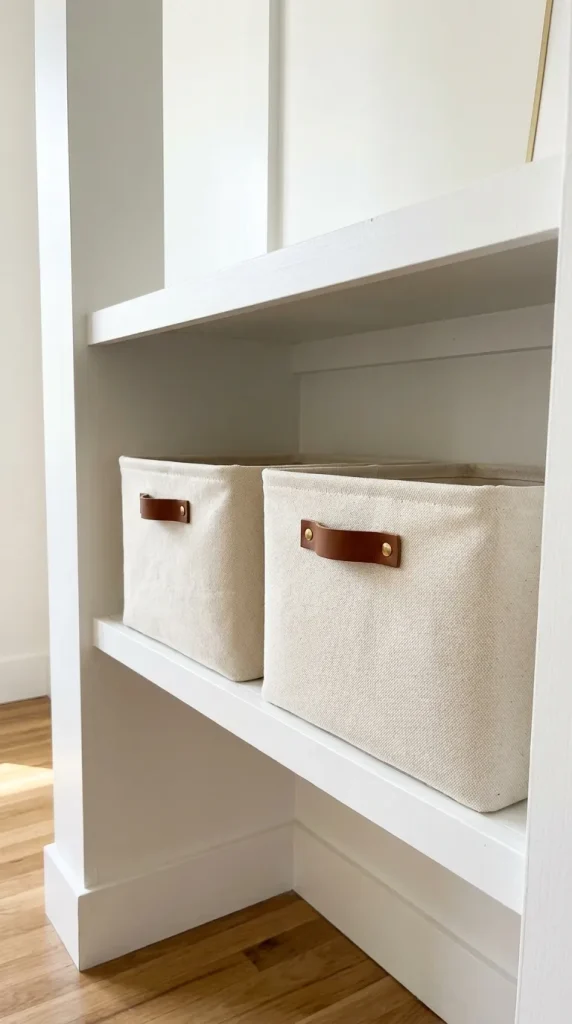
16. Fabric Covered Storage Bins
Organize your shelves beautifully by transforming ordinary plastic or cardboard delivery boxes into chic, fabric-lined organizational baskets.
- Materials Needed: Sturdy cardboard boxes, a canvas or heavy cotton drop cloth fabric, fabric glue or a hot glue gun, and scissors.
- The Process: Cut off any top flaps from your box. Cut a piece of fabric large enough to wrap entirely around the outside of the box with an extra two inches at the top and bottom. Apply fabric glue to one side of the box at a time, smoothing the fabric down firmly to avoid wrinkles. Fold the excess fabric at the bottom down like a present package and glue it flat to the base. Fold the top excess fabric over the rim into the interior of the box and glue down securely for a clean, professional edge.
- Styling Tip: Add a small leather tab handle to the front of the box using a brass fastener for an extra high-end touch.
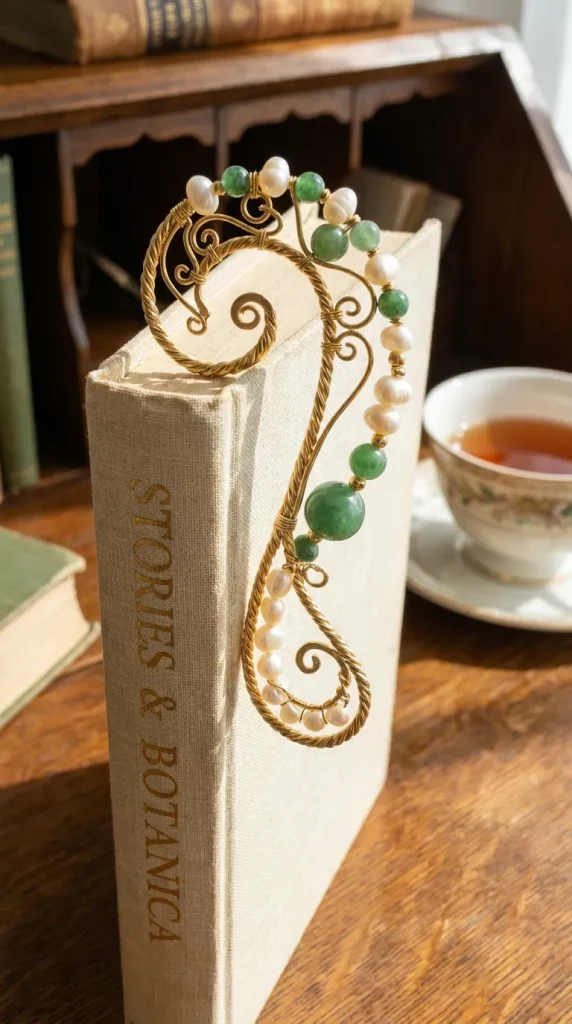
17. Delicate Beaded Wire Bookmarks
For the avid reader, a beautiful bookmark turns the act of picking up a book into a luxurious ritual. These make stunning, thoughtful gifts that take minutes to assemble.
- Materials Needed: Thick gauge jewelry wire (gold or silver), flat nose pliers, wire cutters, and an assortment of high-quality glass, pearl, or gemstone beads.
- The Process: Cut a length of wire roughly 10 inches long. Using your flat nose pliers, roll one end of the wire into a tight, beautiful flat spiral or loop to act as the bottom stopper. String a beautiful combination of pearls, wooden beads, or crystals onto the wire, pushing them down to the loop. Leave the center section of the wire bare—this is the part that will sit inside the pages of the book. At the opposite end of the wire, create another loop, adding a single hanging charm or tassel before sealing it shut. Bend the top section into a graceful hook that can drape over the spine of the book.
- Styling Tip: Match the crystals used in the bookmark to the aesthetic or theme of your current read.
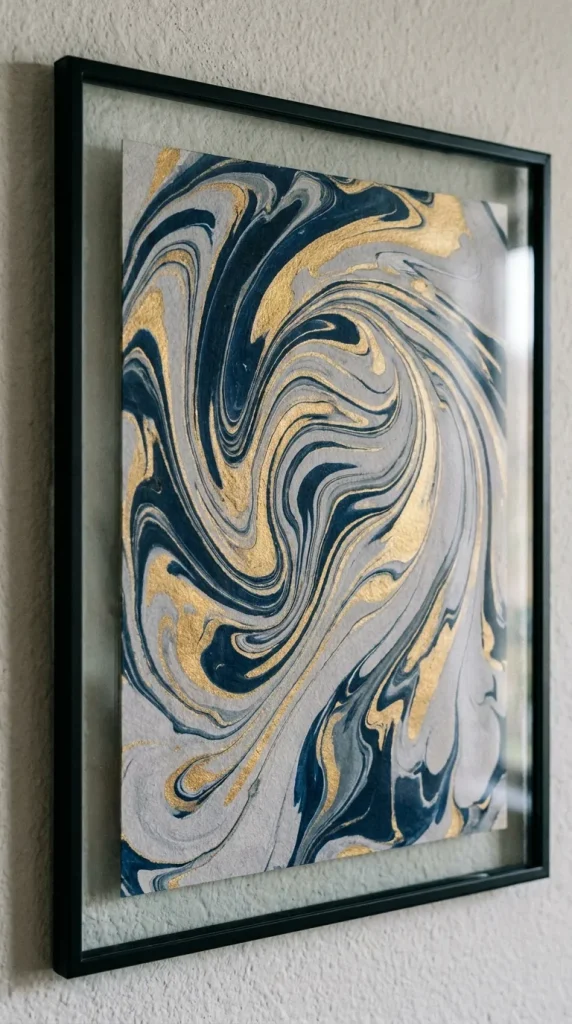
18. Marbled Paper Art Prints
The ancient art of marbling produces entirely unique, mesmerizing patterns that emulate natural stone, waves, and smoke clouds.
- Materials Needed: Heavy watercolor paper or cardstock, shaving cream, liquid acrylic paints or food coloring, a shallow baking dish, a ruler, and a toothpick.
- The Process: Fill the bottom of your shallow dish with a thick layer of plain white shaving cream, smoothing the surface with a ruler. Drip several drops of different colored acrylic paints across the surface of the shaving cream. Take a toothpick and gently drag it through the paint droplets, swirling them together to create an elegant, marbled pattern. Take your piece of paper and gently press it flat onto the shaving cream matrix. Lift the paper straight up. Use the straight edge of a ruler to scrape off the excess shaving cream in one clean motion, revealing the vibrant marbled pattern transferred onto the paper. Let it dry completely.
- Styling Tip: Once dry, cut the paper into clean geometric shapes and frame them in minimalist black frames.
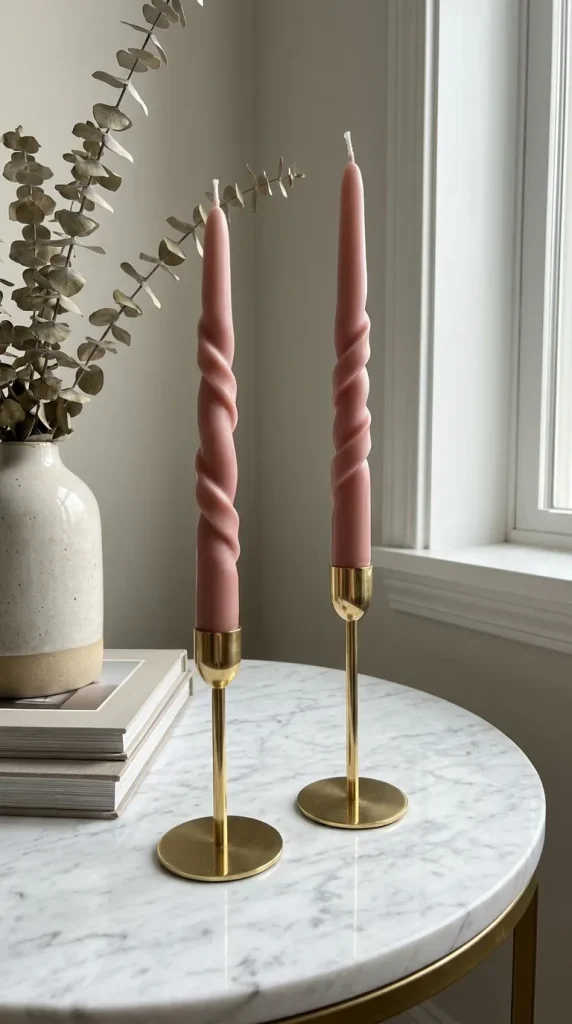
19. Twisted Taper Candles
Give standard, inexpensive grocery store taper candles a high-end, sculptural makeover that brings a playful yet sophisticated silhouette to your dining landscape.
- Materials Needed: Standard paraffin wax taper candles (must be solid color, not dipped), a shallow dish filled with warm water, and a rolling pin or smooth glass bottle.
- The Process: Submerge the middle section of your taper candles in a bath of warm (not boiling) water for about 10–15 minutes until the wax becomes pliable and soft. Lay the candle on a flat surface. Using a rolling pin, gently flatten the center section of the candle, leaving the base and the top tip round. Slowly and carefully, twist the flattened section of the candle to create a beautiful spiral ribbon effect. Place the candle back into a cold-water bath to instantly set the new shape.
- Styling Tip: Pair these with modern ceramic holders and display them on a festive tablescape.
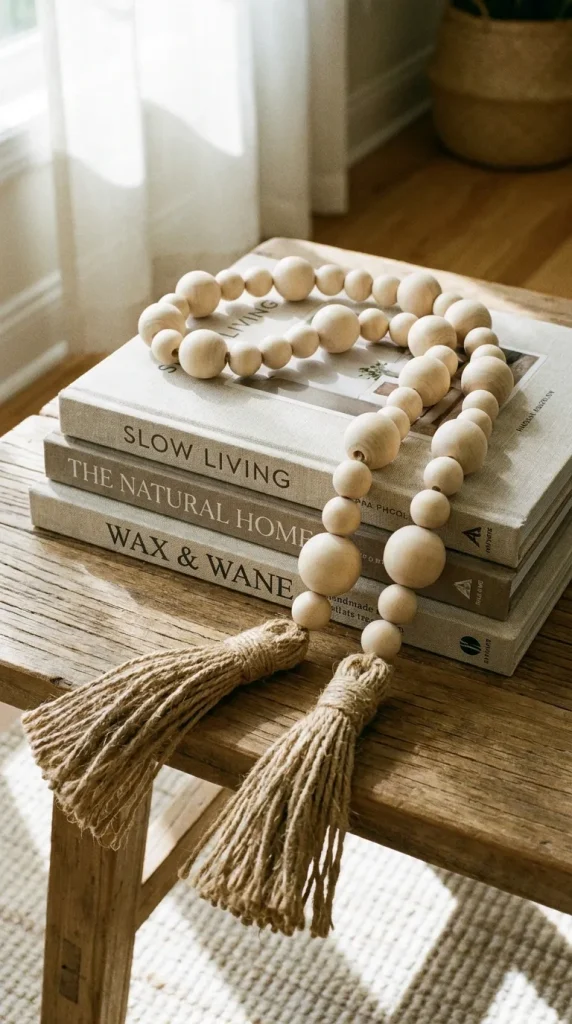
20. Natural Wood Bead Garland
A staple of modern organic and farmhouse home design, wood bead garlands add texture and visual softness when draped over books, bowls, or trays.
- Materials Needed: Unfinished wooden beads in various sizes (15mm, 20mm, 25mm), natural hemp twine, a large tapestry needle, and scissors.
- The Process: Cut a piece of twine roughly 4 feet long. Create a classic tassel by wrapping twine around your hand multiple times, tying off the top, and cutting the bottom loops. Tie this tassel securely to one end of your long twine piece. Thread your tapestry needle with the other end of the twine and begin stringing your wooden beads. You can create a uniform look using all one size, or design an alternating pattern with large and small beads. Once you reach your desired length, create a second matching tassel and tie it tightly against the final bead to secure the garland.
- Styling Tip: Loop this effortlessly over a stack of linen-bound coffee table books for an instant designer vignette.
Tips for a Stress-Free 1-Hour Craft Session
To truly enjoy the experience of a quick craft, preparation is key. Treat this hour as a dedicated window of creative self-care.
- Prep Your Station First: Gathering your tools mid-craft breaks your creative flow and eats into your time. Spend five minutes setting out everything you need before you start.
- Embrace Imperfection: The beauty of handmade items lies in their unique character. A slight wobble in a clay coaster or an asymmetrical line in textured art adds authentic soul that factory-made items lack.
- Protect Your Surfaces: Keep a roll of butcher paper or a silicone mat handy to quickly lay down over your workspace. Knowing you don’t have to scrub paint or glue off your table later keeps the session genuinely relaxing.
By introducing these quick, stylish projects into your routine, you can satisfy your creative itch, destress after a long day, and gradually build a curated collection of beautiful, handmade elements that make your house feel truly like a home.